You have one great portrait. Your face looks right, the pose is natural, the smile is real. But the hoodie is wrong for a LinkedIn profile, and the messy bedroom behind you ruins the shot. A reshoot costs time and money. An AI photo editor costs a sentence of text.
Modern image editing models read a photo the way a stylist and a location scout would. They find the person, the clothes, the light and the scene, then rewrite only the parts you name. Ask for "a charcoal suit in a glass office lobby" and the face stays yours while everything else changes. This article shows which models do it best, how to run the workflow in four steps, and which prompts produce results that look like real photographs instead of pasted collages.
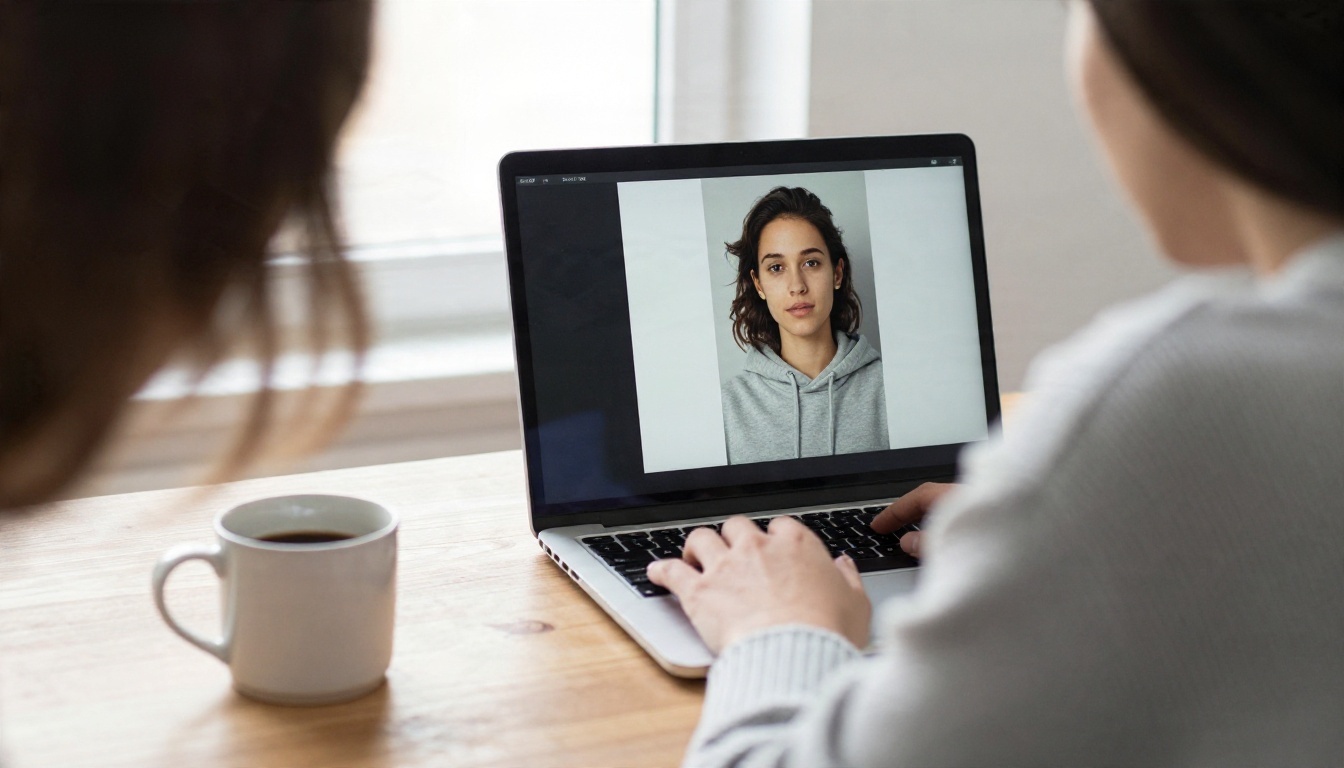
💡 Quick answer: Upload a clear portrait to an image editing model such as Nano Banana, write one sentence for the outfit and one for the background, and tell the model to keep the face, pose and lighting. Run it, compare, and adjust one detail at a time.
How the Editor Actually Works
Masks and Context
Older editors made you draw selections by hand. You traced the shirt, copied a new shirt from somewhere else, and spent an hour blending edges. Current models skip that. They receive your photo and your instruction together, then regenerate the image with the changes applied.
The model decides what counts as "outfit" (shirt, jacket, dress, accessories) and what counts as "background" (everything that is not the person). It keeps the parts you did not mention. That is why a prompt like "keep the face and hair exactly the same" matters. It tells the model which pixels are protected.
Why Lighting Matters
A new outfit in a new location only looks real if the light agrees. If your original photo was taken under a warm indoor lamp and you ask for a snowy mountain, the model has to decide whether to relight your face. Good editors do relight, but they need a hint. Mention the light in the prompt: "soft overcast daylight", "golden hour from the left", "even studio softboxes". The sentence costs you five words and saves you three retries.
| What you change | What the model must adjust | Prompt hint that helps |
|---|
| Outfit only | Fabric folds, shadows on skin, collar and neckline | "Same pose, natural fabric folds" |
| Background only | Edge light, color spill, depth of field | "Match the light direction on her face" |
| Both together | Everything above plus overall color grade | "Photorealistic, one consistent light source" |
Free Models Worth Trying
PicassoIA lists several editing models, and a number of them have free access to start with. Limits change, so check the model page before you plan a batch of fifty photos. Here is how the most useful ones differ in practice.
Nano Banana for Quick Swaps
Nano Banana is the model I reach for first when I want a fast outfit swap. It follows plain English well, keeps faces stable, and handles instructions like "replace the grey hoodie with a navy blazer" without rewriting the whole scene. If you need higher resolution or finer fabric, Nano Banana Pro produces 4K output and holds small details such as buttons and stitching better.
Qwen Image Edit Plus for Precision
Qwen Image Edit Plus is strong when the instruction is specific and you want the rest left alone. It is a good pick for changing one garment, such as a tie, a scarf or a jacket, while the hair, jewelry and background stay put. A newer version, Qwen Image Edit 2511, is also on the platform if you want to compare.
Seedream 4.5 for Sharp Detail
Seedream 4.5 is built for detailed 4K images and shines when the new background needs to be rich: crowded markets, forest paths, architectural interiors. Textures on skin and cloth come out crisp. For a lighter and quicker option in the same family, try Seedream 5 Lite.
Flux Kontext Fast for Speed
Flux Kontext Fast returns edits in seconds, which makes it ideal for iteration. When you are testing five different outfits for the same photo, speed beats perfection. Pick your favorite and rerun it on a slower, sharper model for the final export.
The Four Step Workflow
This is the routine that gives me usable results on the first or second try.
- Pick a clean source photo. Choose a portrait where the face is sharp, the shoulders are visible and nothing important is hidden behind your hands. A front or three quarter view works best. Heavy shadows across the face make the relighting step harder.
- Write the outfit sentence. Name the garment, its color, its fabric and its fit. "A tailored charcoal wool suit, white shirt, no tie" gives the model far more to work with than "a nice suit".
- Write the background sentence. Name the place, the time of day and the light. "A bright glass walled office lobby, polished concrete floor, daylight from the left."
- Add the protection line. Finish with: "Keep the same face, hairstyle, pose and expression. Photorealistic, natural skin texture, consistent lighting."
Then generate two or three variations and compare. Change one thing per round. If you change the outfit, the background and the lighting all at once, you will never know which instruction caused the problem.
💡 Tip: Save the prompt that worked. A good outfit sentence is reusable across dozens of photos, and the protection line almost never needs to change.
Outfit Prompts That Work
Here are tested prompt patterns, each paired with a real example of the kind of result you can expect. Replace the details with your own.
Business and Formal
For profile photos, resumes and company pages, the goal is believable and quiet. Avoid shiny fabrics and loud patterns, which tend to look artificial.
Replace the current outfit with a tailored charcoal wool suit and a crisp white shirt, no tie. Place the person in a bright modern office lobby with glass walls and polished concrete floors, soft daylight from the left. Keep the same face, hairstyle and pose. Photorealistic, natural skin texture.
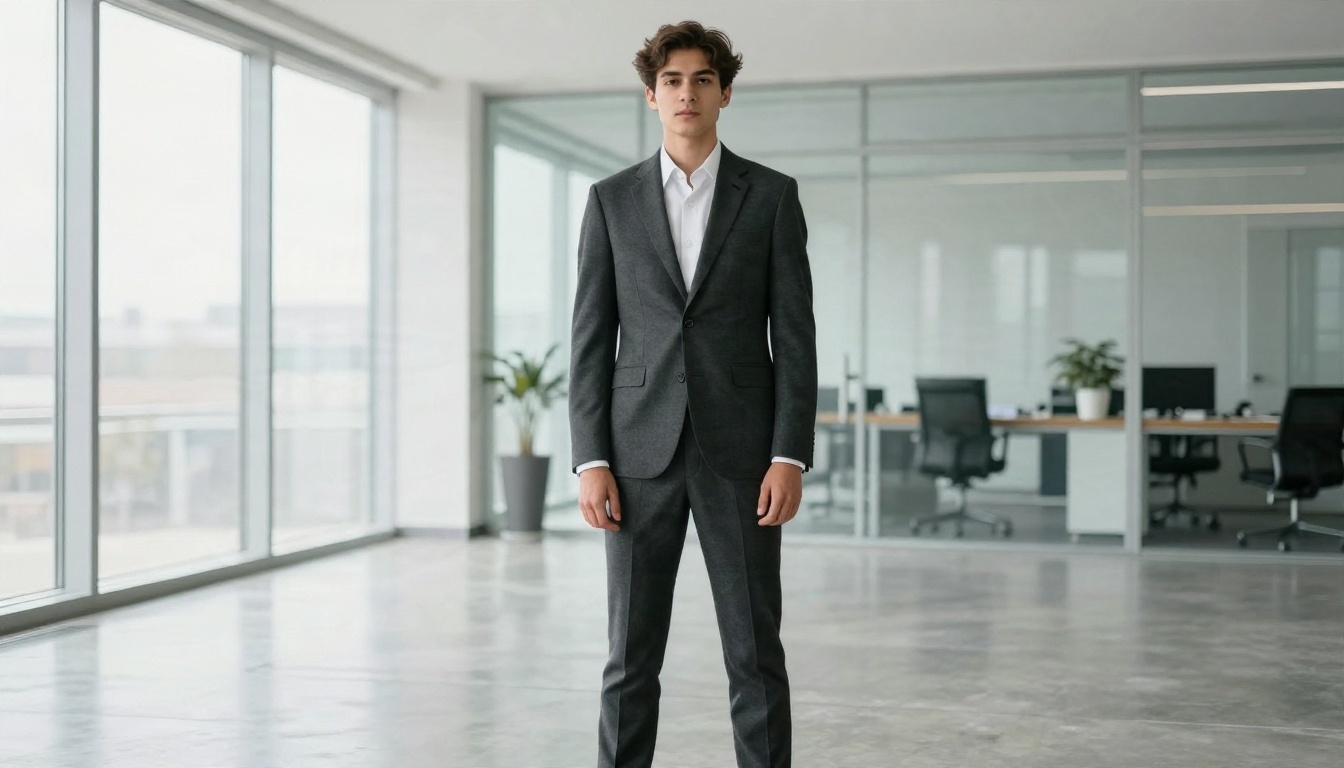
Notice how the suit shows visible weave and clean seams, and the lobby floor carries faint reflections. Those small details are what separate a convincing edit from an obvious fake. If your first result looks flat, add "visible fabric weave" and "subtle reflections on the floor" to the prompt.
Casual and Street
Casual outfits are the easiest to get right because wrinkles and imperfections are expected. Layering helps too: a denim jacket over a knit sweater gives the model natural shadows to work with.
Dress the person in a mustard yellow knit sweater under a worn denim jacket. Set the scene on a quiet autumn forest path with golden beech leaves and light mist, soft overcast light. Keep the face and expression unchanged. Shallow depth of field, 85mm portrait look.
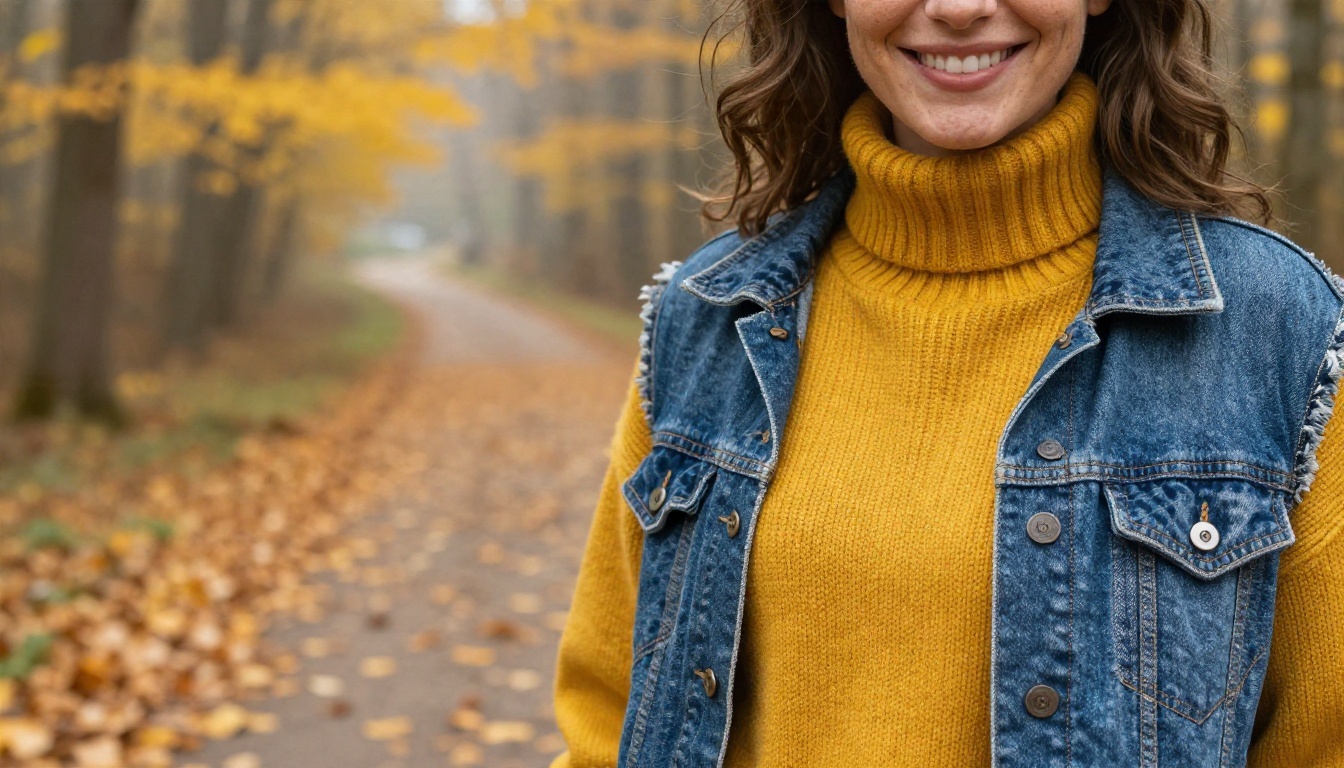
Overcast light is a gift here. It is soft, directionless and forgiving, so even if the original photo was taken indoors the new scene feels plausible. Moody city shots work the same way, as long as the prompt describes the weather.
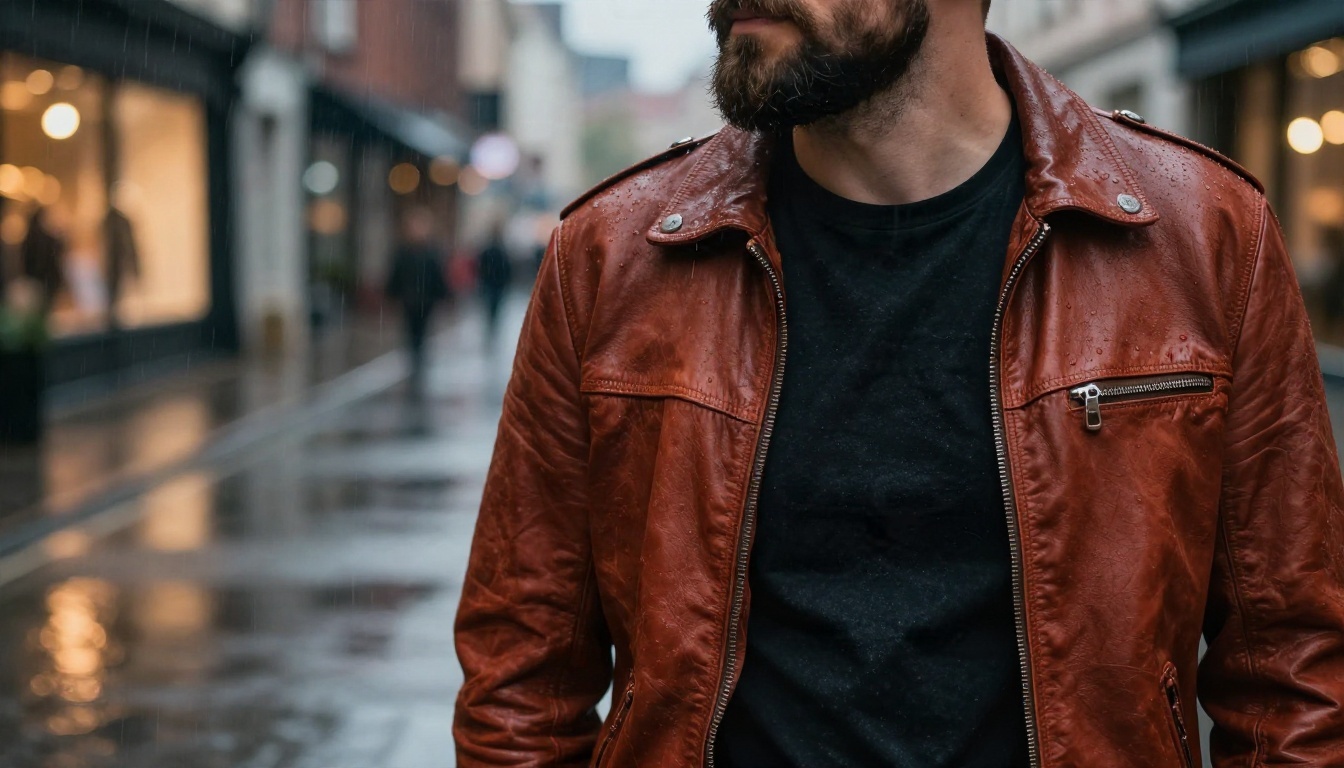
For a rainy scene like this one, ask for "fine raindrops on the shoulders" and "wet asphalt reflecting warm shop lights". Without those cues, the model may give you a dry jacket in a wet street, which breaks the illusion.
Evening and Event
Formal dresses and evening wear are where fabric detail gets tested. Satin, silk and velvet reflect light in complex ways, so use a model with strong texture handling such as Nano Banana Pro or Seedream 4.5.
Replace the outfit with an emerald green satin evening gown with fine pleats. Place the person on a marble balcony overlooking a softly lit city at blue hour, warm lantern light from behind. Keep the face and hair identical. Photorealistic, satin sheen, natural skin.
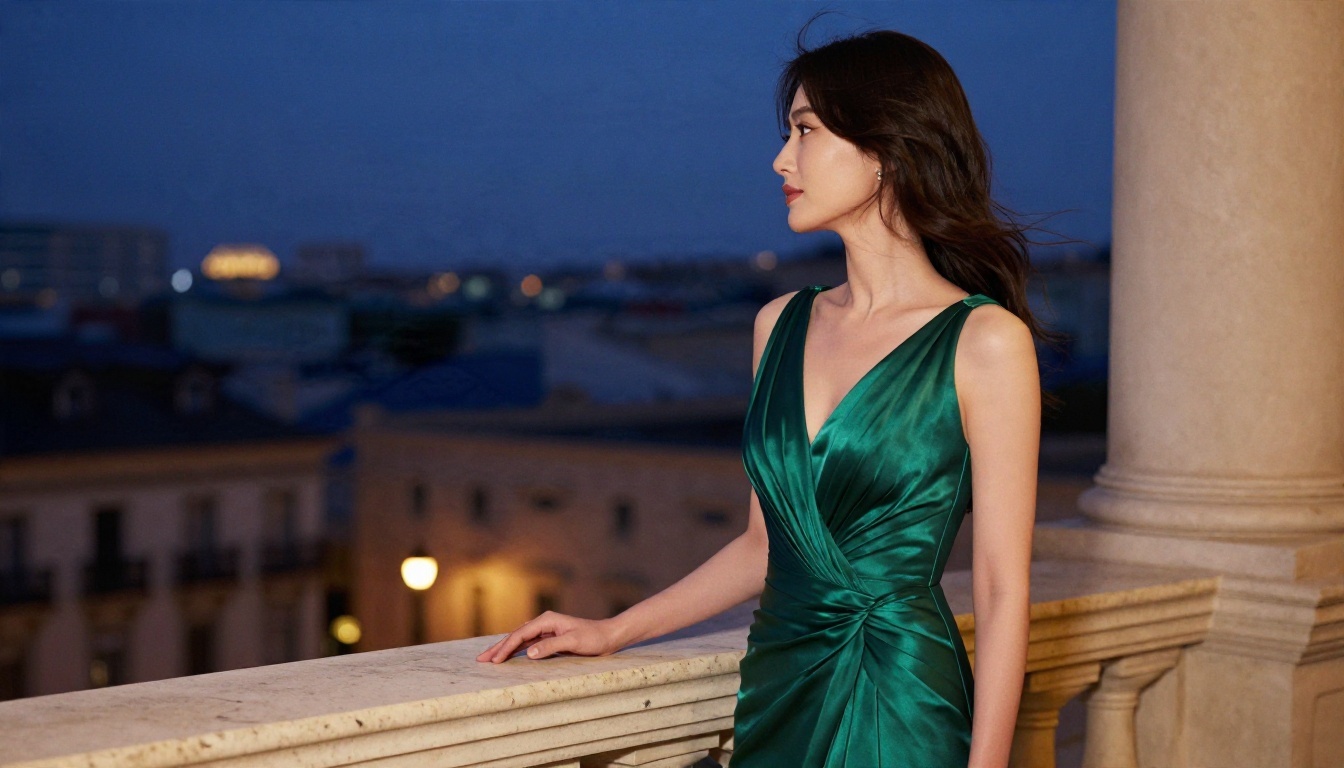
Side profile and three quarter poses suit gowns because the neckline and drape are easy to read. If the source photo is a straight on selfie, say so in the prompt and ask the model to keep the camera angle.
Background Prompts That Work
Outdoor Scenes
Outdoor backgrounds carry the strongest sense of place. The recipe is simple: location, time of day, weather and light direction. A beach at sunset with a warm low sun from the right will reliably produce long soft shadows and a golden rim light on hair and shoulders.
Keep the person exactly as they are but dress her in a flowing navy summer dress. Background: a wet sandy beach at sunset, gentle waves, warm low sun from the right, long reflections on the sand. Photorealistic, natural skin tones, fabric moving in the breeze.
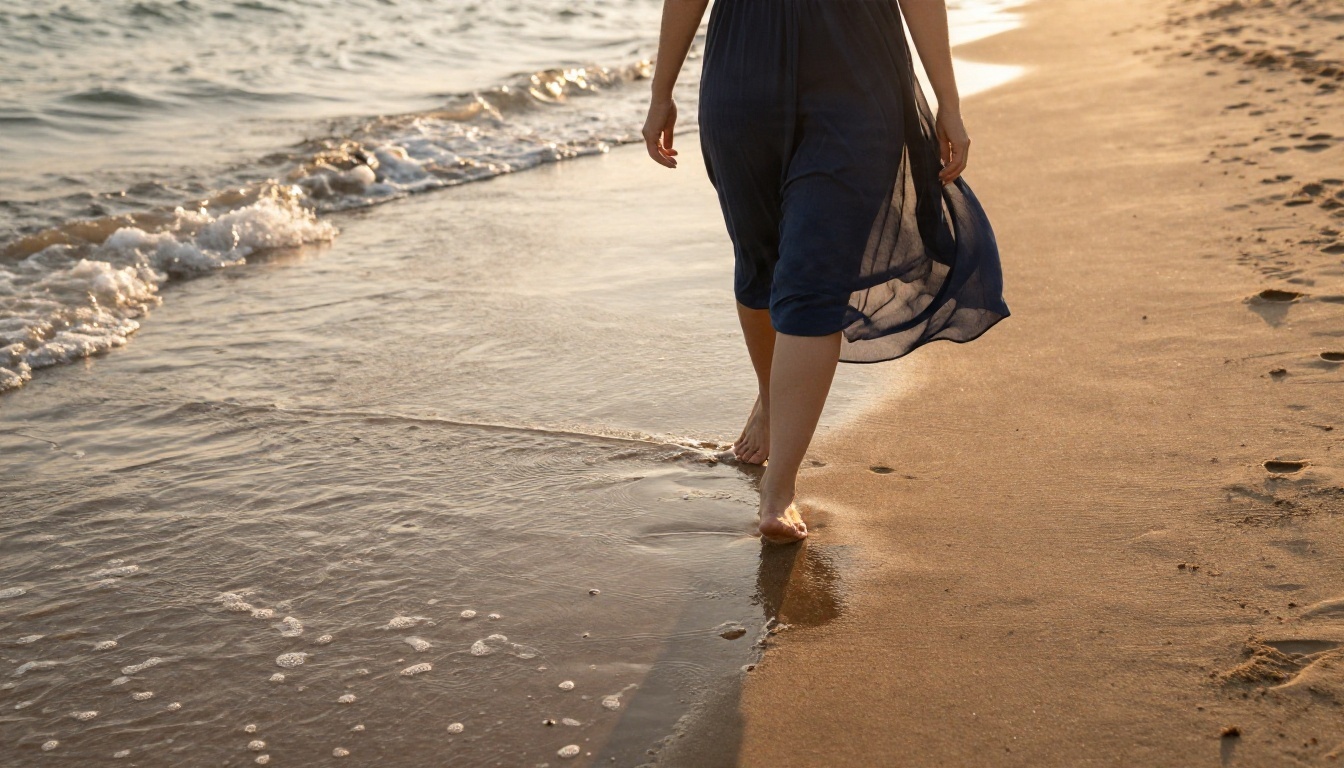
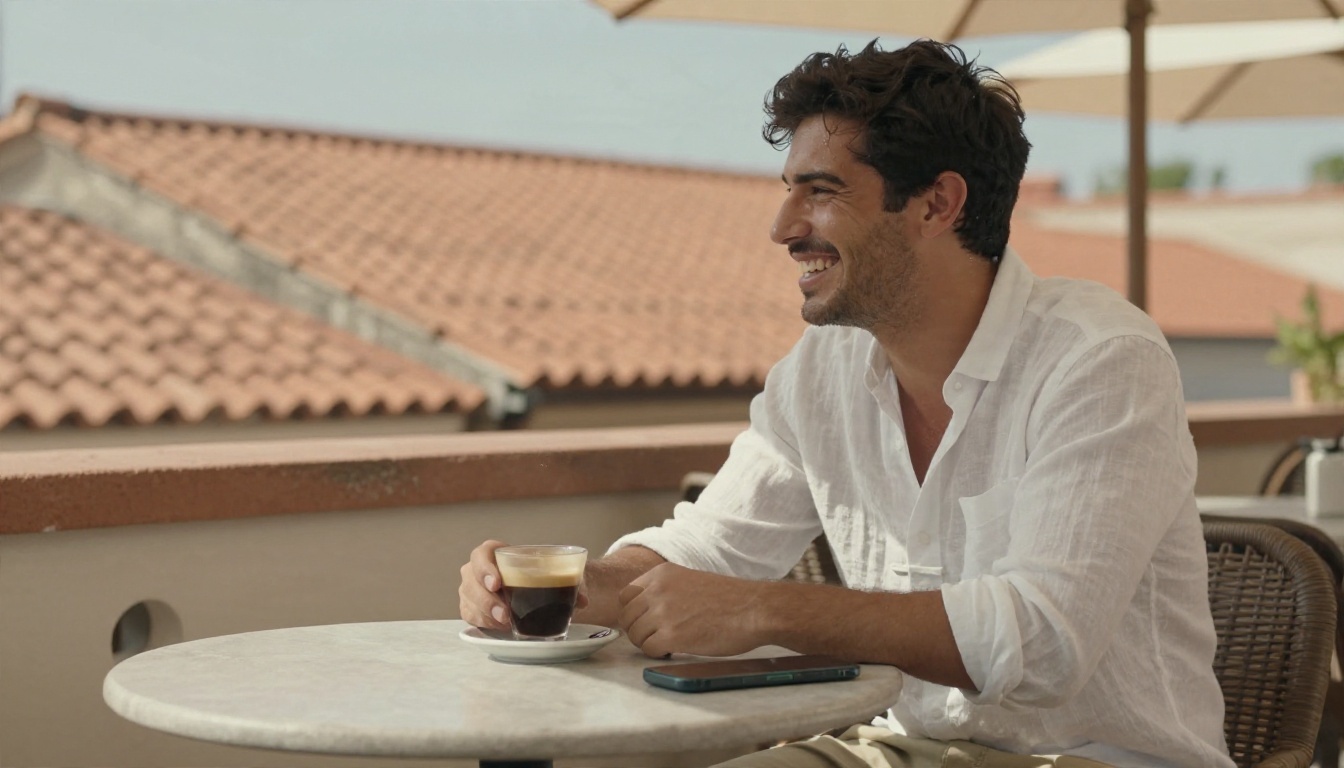
Travel style photos work especially well. A plain white linen shirt, a terracotta rooftop cafe and strong midday sun give you a holiday look without leaving your desk.
Studio and Plain Backdrops
Sometimes the best new background is no background at all. Product sellers, job applicants and anyone needing an ID style photo benefit from a seamless paper backdrop with even light on both sides.
Place the person in front of a seamless white paper backdrop in a bright photo studio, two softboxes lighting evenly from both sides. Keep the black crew neck t-shirt, face and hair unchanged. Clean edges around hair and shoulders. Photorealistic.
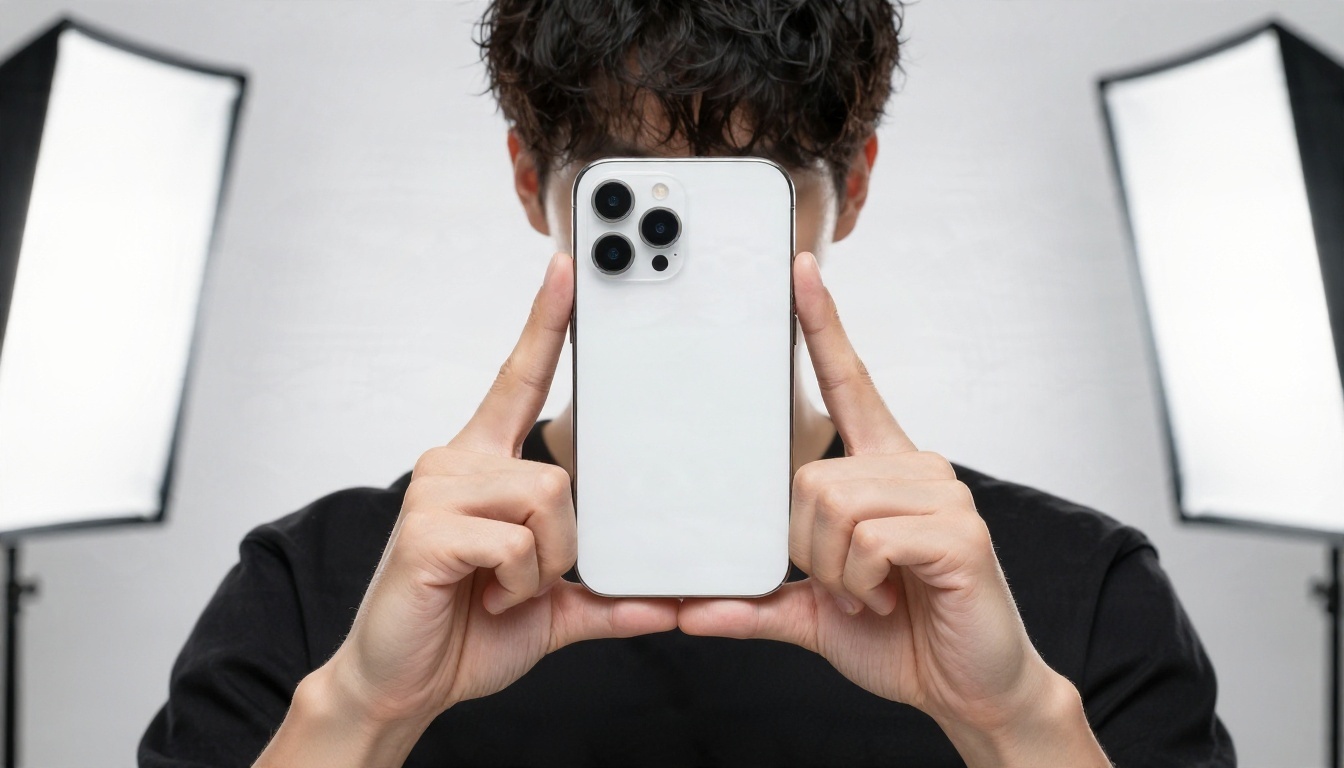
Plain backdrops expose the weak spot of every editor: hair edges. Flyaway strands and fine curls are the first thing to look pasted. If you see a halo, run the result again with "clean natural hair edges, no halo, no cutout look" added to the prompt.
Prompt Formula You Can Reuse
Think of the prompt as four small blocks, always in the same order:
- Outfit: garment, color, fabric, fit.
- Background: place, time of day, weather.
- Light: direction and quality (soft, hard, golden, overcast).
- Protection: keep face, hairstyle, pose, expression; photorealistic; natural skin texture.
Fabric words carry more weight than most people expect. "Linen", "wool", "denim", "satin" and "leather" each tell the model how creases, shine and shadows should behave. A vague word like "nice" or "stylish" gives it nothing to render.
Mistakes That Ruin the Result
Mismatched Lighting
The most common failure is a person lit from the left standing in a scene lit from the right. Your eye catches it instantly even if you cannot say why. Fix it by naming the light direction in the prompt, or by choosing a background that suits the original light. A face with strong side light looks natural in a street with low sun and fails in a flat studio.
Warped Hands and Faces
Hands, jewelry and glasses are tricky. If your source photo has fingers overlapping a sleeve, the model may invent new fingers. Crop or retake the source so hands are clear, or tell the model "keep the hands exactly as in the original". For faces, never ask for a new expression and a new outfit in the same pass. Do the outfit first, then adjust the expression in a second edit if needed.
Overloaded Prompts
Fifteen adjectives do not give you fifteen times the quality. They give the model competing instructions. Stick to one outfit, one location, one light. Add detail only where the first result was weak.
Wrong Resolution
If the source photo is small and blurry, the edit will be soft no matter what model you choose. Upscale first with a super resolution model, then edit. A sharp input leads to sharp fabric and skin in the output.
💡 Common fix list:
- Halo around hair: add "clean natural hair edges".
- Plastic skin: add "visible pores, natural skin texture".
- Flat colors: add "film grain, natural color grade".
- Wrong fabric: swap vague words for "wool", "linen", "satin" or "denim".
Handling Cutouts and Blur
Not every job needs a full regeneration. If you only want a clean subject on a new backdrop, or a softer background behind the same photo, two lighter tools save time.
The Remove Background model gives you a clean cutout you can place on any color or image. It is a good first step when you plan to build a custom scene in another editor. For product shots, Product Cutout is tuned for objects with hard edges, and Recraft Remove Background is another quick option to compare.
If your background is fine but too busy, Depth of Field blurs it like a fast portrait lens, pushing attention back to the person. That single change often makes a casual snapshot look professional.
Use Cases Worth Your Time
People edit outfits and backgrounds for very practical reasons. Here are the ones I see most often:
- Profile photos: one good headshot becomes a business version, a creative version and a casual version.
- Online stores: a single model photo can show the same garment in different settings.
- Social posts: change the season, the city or the dress code without rebooking a photographer.
- Family photos: replace a cluttered room with a clean backdrop for a card or an invitation.
- Concept boards: show a client five wardrobe directions from one test shot in an afternoon.
A word on honesty. If you edit a photo that will be used where authenticity matters, such as an official ID or a dating profile, keep the changes believable and be open about the edit. Altering your own clothes and scenery is a creative choice. Pretending a photo is untouched when it is not is where trouble starts.
Try It on Your Own Photo
You now have everything you need: a model for each job, a four block prompt formula, and a list of mistakes to dodge. The fastest way to see how it works is to try it on a photo you already own.
- Open Nano Banana on PicassoIA and upload a clear portrait.
- Paste the business prompt from above, then swap in your own details.
- Generate two versions, pick the better one and change a single detail.
- Rerun the final choice on Nano Banana Pro or Seedream 4.5 for a sharper export.
Start with a simple outfit change, then add a new scene. Within ten minutes you will have a small set of images that would have taken a studio day. Open PicassoIA, upload your photo and try your first prompt today. You can also browse every available editing model at picassoia.com/en/all-models.


