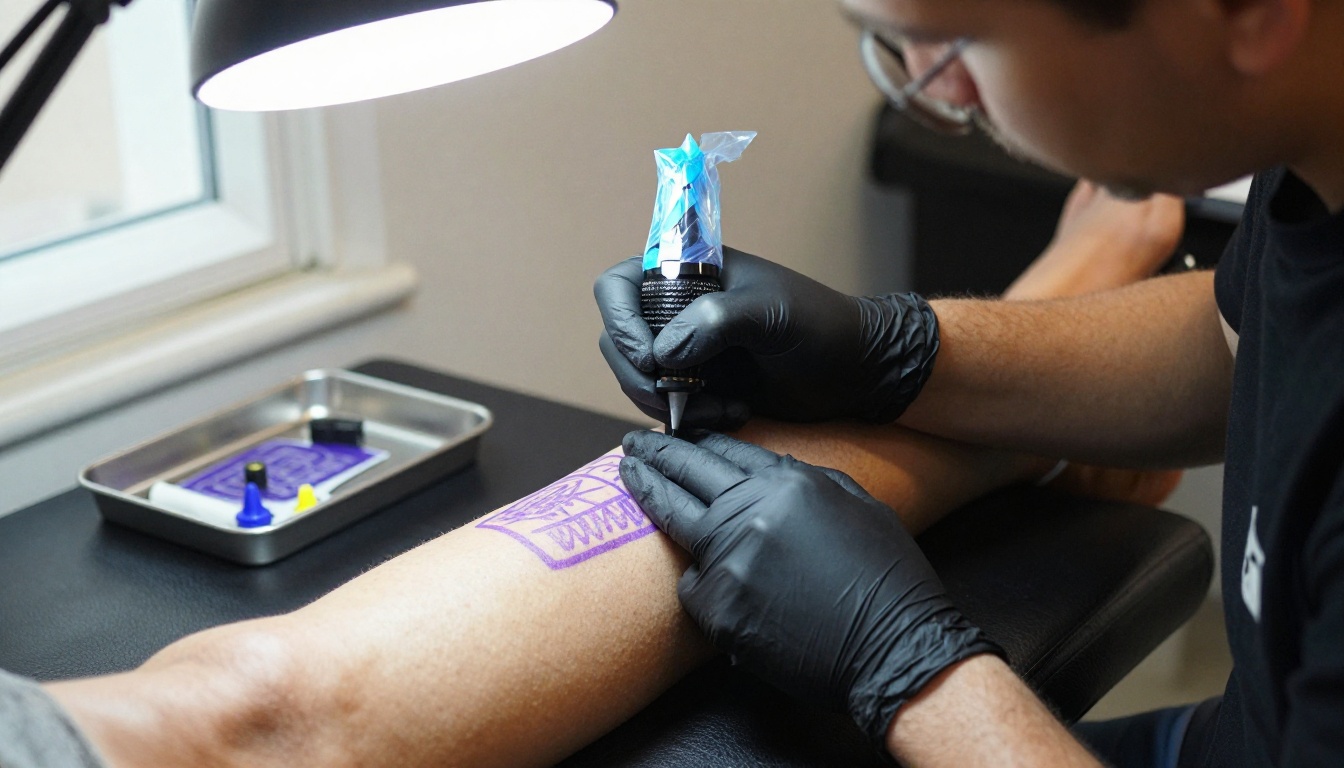
AI Tattoo Generator Free: From Photo, Text and On Your Body
A free AI tattoo generator can turn a photo, a sentence or a picture of your own arm into a design you can show a tattoo artist. See which models handle photos, lettering and body previews, copy the prompts that work, and spot the problems that show up once the ink heals.
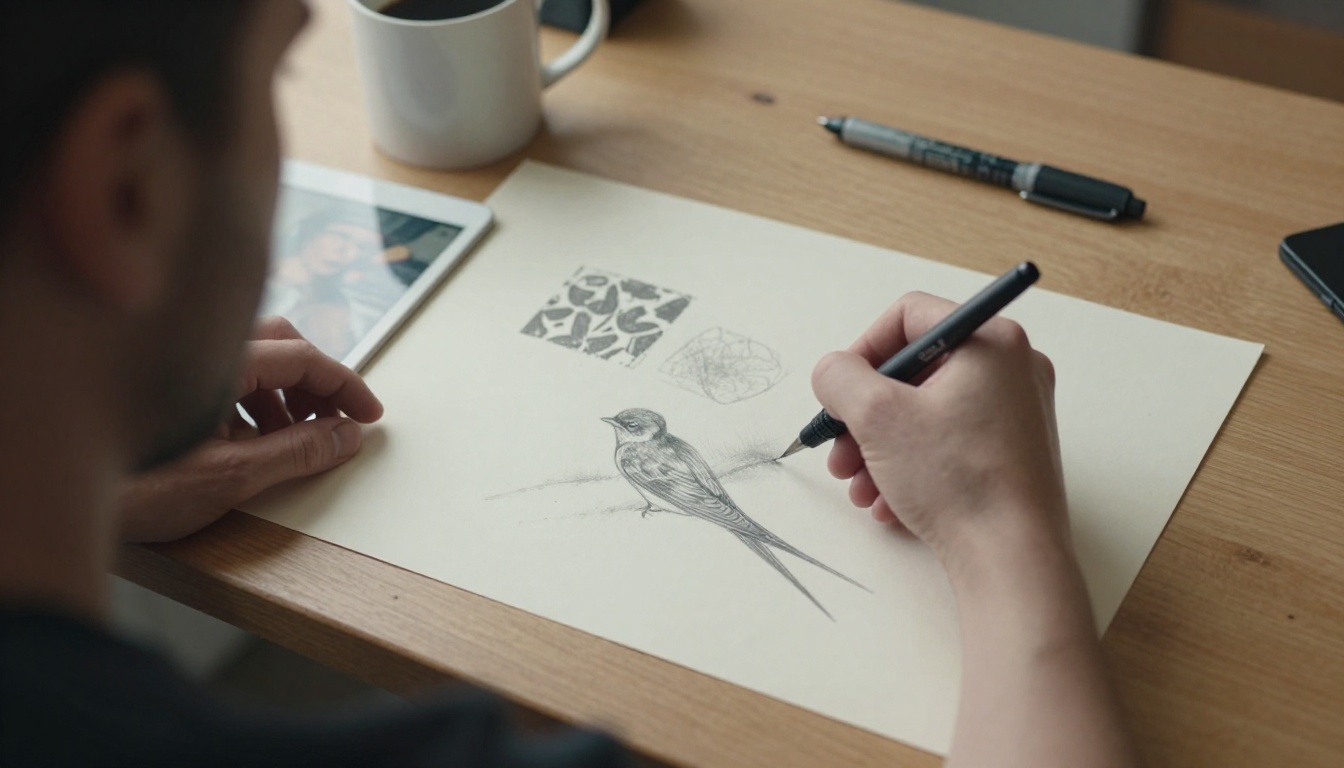
You can go from a rough idea to a believable tattoo preview in about ten minutes, and you don't need to pay a designer or sit through a consultation to get there. An AI tattoo generator turns a sentence, a reference photo or a picture of your own arm into a design you can actually show an artist. The free options are good enough that you can walk into a studio with a clear plan instead of a saved-pins board and a vague feeling.
This article breaks down the three ways people use these tools: typing a description, starting from a photo, and previewing the result on their own skin. You get copy-ready prompts, a table that matches each model to a job, a step-by-step tutorial, and a list of the mistakes that waste the most time.
💡 Quick reality check: a generator gives you a reference, not a finished stencil. Your tattoo artist still decides line weight, spacing and placement. Treat the AI output as the first draft of a conversation, not the last word.
What an AI Tattoo Generator Does
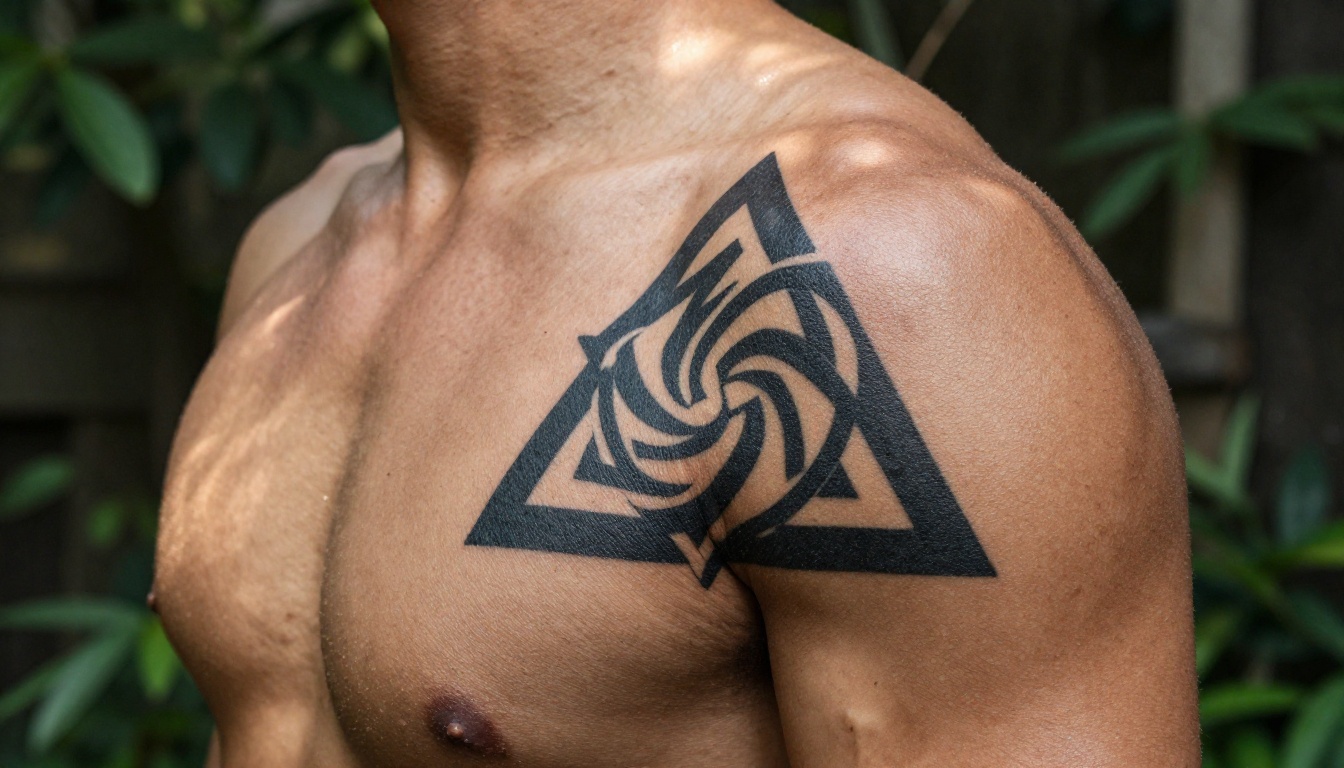
A tattoo generator is an image model pointed at a very specific target: black and gray or color linework designed to sit on skin. Instead of producing a landscape or a product shot, it produces flash-style art. That means a clean subject, controlled line weight, no distracting background, and enough contrast to survive being inked.
Most of the useful work happens before the model runs. The better your input, the less you fight the output. That input comes in three forms, and each one solves a different problem.
Text prompt: you describe the subject, style and placement in plain language. Best when you know the feeling you want but not the exact picture.
Reference photo: you upload a pet, a plant, a landscape or a portrait and ask for a tattoo version. Best for personal and memorial pieces.
Photo of your body: you upload a picture of your forearm, shoulder or calf and ask the model to place the design on it. Best for judging size and flow before you commit.
Many people chain all three: start with text, refine with a photo, then place the final design on a picture of their own skin.
Why Preview Before You Book
A tattoo lasts for decades, so a bad idea gets paid for slowly. A preview costs nothing and exposes problems early. Maybe the design looks great flat but fights the curve of your arm. Maybe a script reads well at poster size but turns into a smear at two centimeters. Maybe the composition feels crowded once it sits next to a mole or a scar.
It also makes the studio visit faster. Artists work from references all day. A clean design with a rough size and placement saves a long back-and-forth and often leads to a more accurate quote.
Free AI Tattoo Generators Compared
You don't need a dedicated tattoo app. General image models do the job well as long as you prompt them the way a tattoo artist would think. On PicassoIA, these are the models worth trying, matched to the job each one handles best.
On any AI platform, "free" usually means free to try, with limits on speed, resolution or how many generations you get. The PicassoIA pages for Nano Banana Pro and Ideogram v4 Quality describe both as free to use online with no coding, and the first one exports JPG or PNG with no watermark added. Limits can change, so check the model page before you plan a long session.
Quality Checks Before You Save
Run every result through this short list before you keep it:
Isolated subject: plain white or empty background, no random border or frame.
Readable lines: zoom in to 200% and confirm the outlines stay crisp, not fuzzy.
Breathing room: lines that sit too close together tend to bleed into one dark patch once inked.
Correct anatomy: animals have the right number of legs, flowers have believable petals, hands have five fingers.
No fake text: any letters in the design should be real words, spelled correctly.
Turn a Photo Into a Tattoo
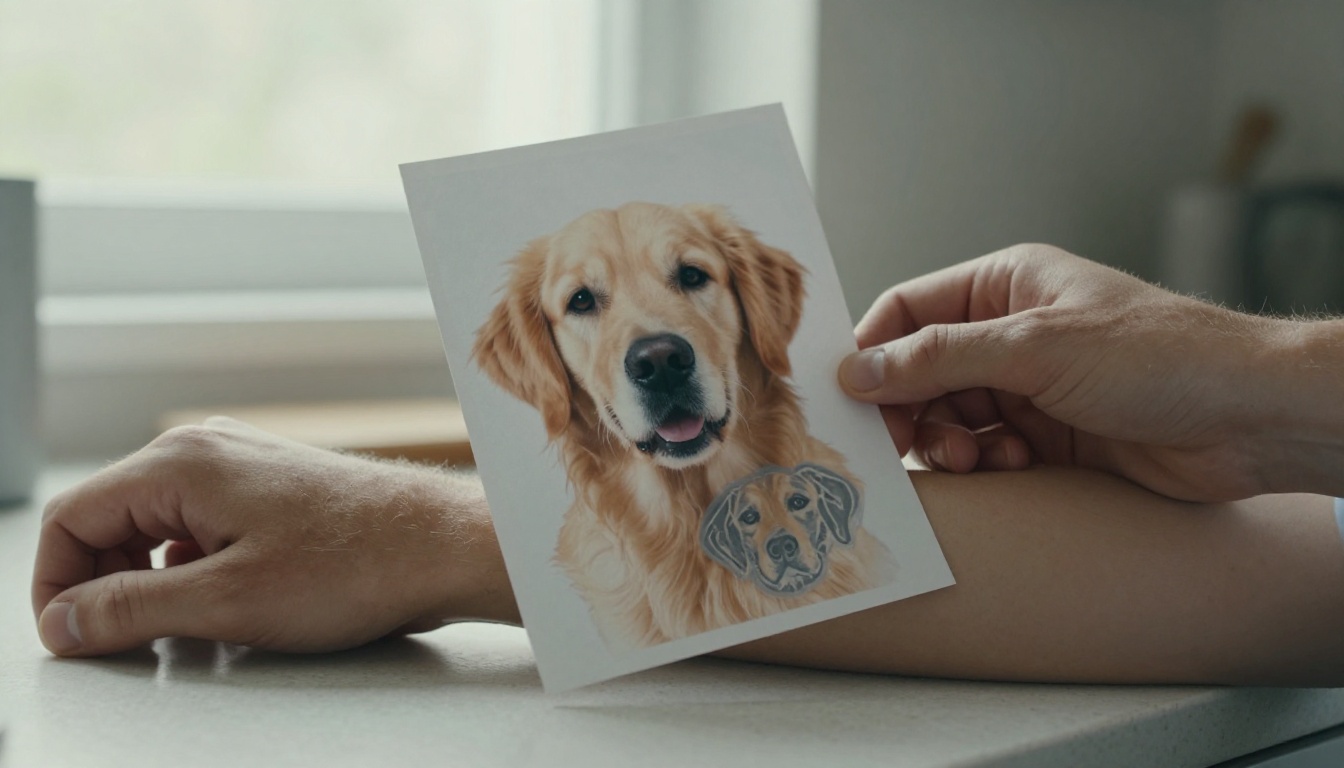
Photo-to-tattoo is where AI saves the most effort, because a likeness is the slowest thing for a human to draw from scratch. A good pet portrait or a favorite landscape can go from photo to flash-ready design in a few runs.
Pick the Right Source Photo
The model can only work with what the photo gives it. A strong source has these traits:
Sharp focus on the face or eyes, since eyes carry the likeness.
Even light with no harsh shadow cutting across the subject.
Simple background, because a plain wall or a blurred garden is easy to strip away.
Large subject that fills most of the frame, so fur, petals or facial detail survive.
One subject per photo, unless you want a layered scene on purpose.
A Prompt for Pets and Portraits
Upload the photo as a reference image in Nano Banana Pro, then paste something like this:
Convert this photo into a black and gray realism tattoo design of the dog's face. High contrast, soft smooth shading, clean outline around the fur, isolated on a plain white background, no border, no text, front view, centered.
Run it three or four times and compare. Look at the eyes first. If the eyes feel wrong, the tattoo will feel wrong no matter how good the fur looks. Change one thing at a time between runs, such as "more contrast" or "less shading", so you know what caused each difference.
Keep Consent and Copyright Clear
Use your own photos, or photos you have permission to use. If the subject is a person, ask them before you turn their face into a permanent design. And don't feed another artist's finished tattoo into a generator and ask for a copy. Ask for something inspired by a style instead, or commission the original artist. Tattooists spend years building a recognizable hand, and studios notice when a design is lifted.
Create a Tattoo From Text
When you don't have a photo, text is the faster route. The gap between a usable tattoo design and generic clip art almost always comes down to the prompt.
The Four-Part Prompt Formula
Every strong tattoo prompt answers four questions. Write them in this order.
Part
What to write
Example
Subject
What is drawn
a barn owl with spread wings
Style
The tattoo style
fine-line, blackwork, traditional, realism
Constraints
Ink, shading, detail level
black ink only, light stippling, no color
Output
Background and framing
isolated on white, centered, no border
Put together, it looks like this:
Fine-line tattoo design of a barn owl with spread wings, black ink only, light stippling for the feathers, clean thin outlines, isolated on a white background, centered, no border, no text.
Style Words That Change Everything
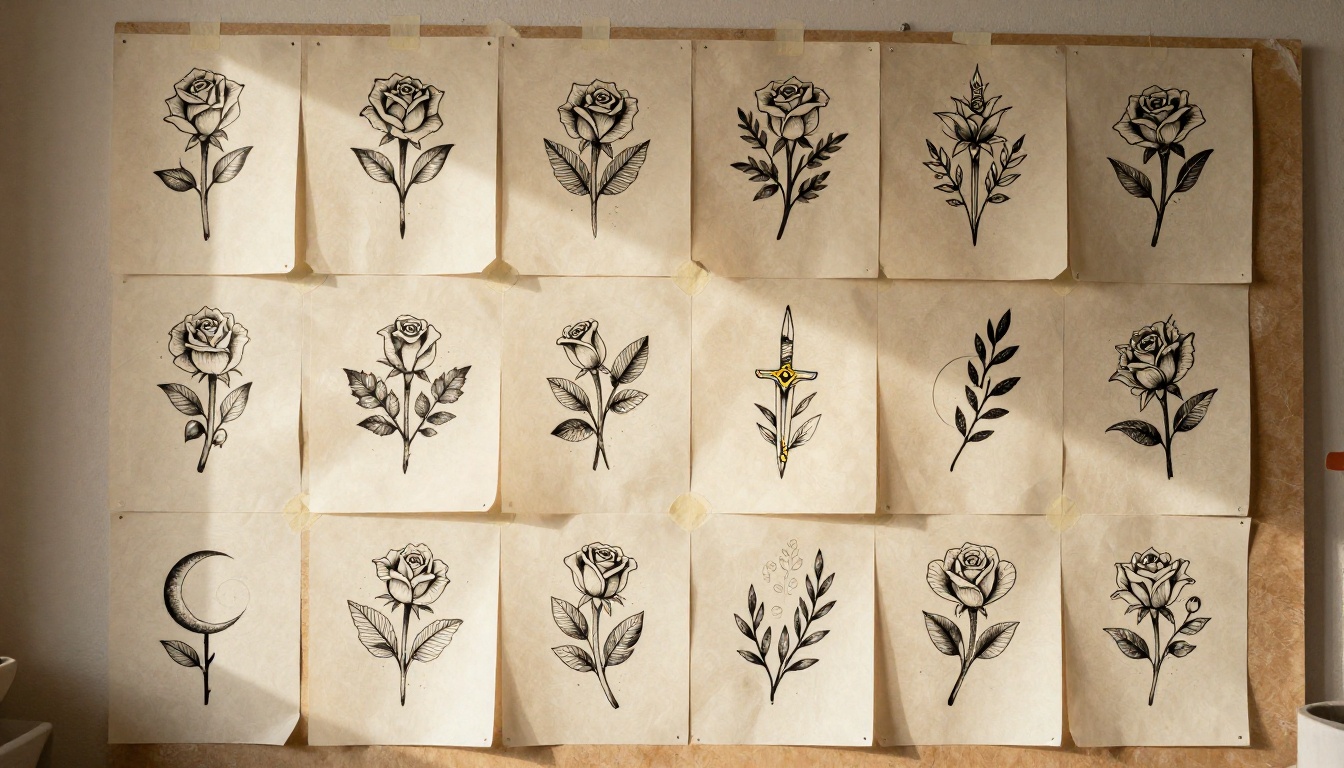
The style term does more work than any other word in the prompt. These are reliable starting points:
Style
Prompt words
Best for
Fine-line
hairline, single needle, delicate
Small botanicals, minimal symbols
Blackwork
solid black, bold shapes, high contrast
Geometric pieces, mandalas, large areas
Traditional
bold outline, limited palette, flat shading
Roses, anchors, daggers, swallows
Realism
black and gray, smooth gradients, depth
Portraits, animals, nature
Dotwork
stippling, dot shading, fine dots
Geometric and sacred patterns
Minimalist
one continuous line, simple shape
Tiny symbols, abstract forms
If your results look like a photograph of a tattoo instead of a design, add "tattoo flash sheet" or "stencil design" to the prompt. If they look cartoonish, add the word "realistic linework" and remove words like "illustration".
Lettering and Short Words
Text inside images is where many models slip, so use a model that treats lettering as a priority. Ideogram v4 Quality is a solid pick because its Magic Prompt step tidies your description before generating, and you can give it a natural-language prompt or a structured JSON prompt for tighter control.
Keep these rules in mind for words:
One to three words at most. Long quotes multiply the chance of a typo.
Put the exact text in quotation marks inside the prompt.
Check every letter at full zoom. Swapped or doubled letters are common.
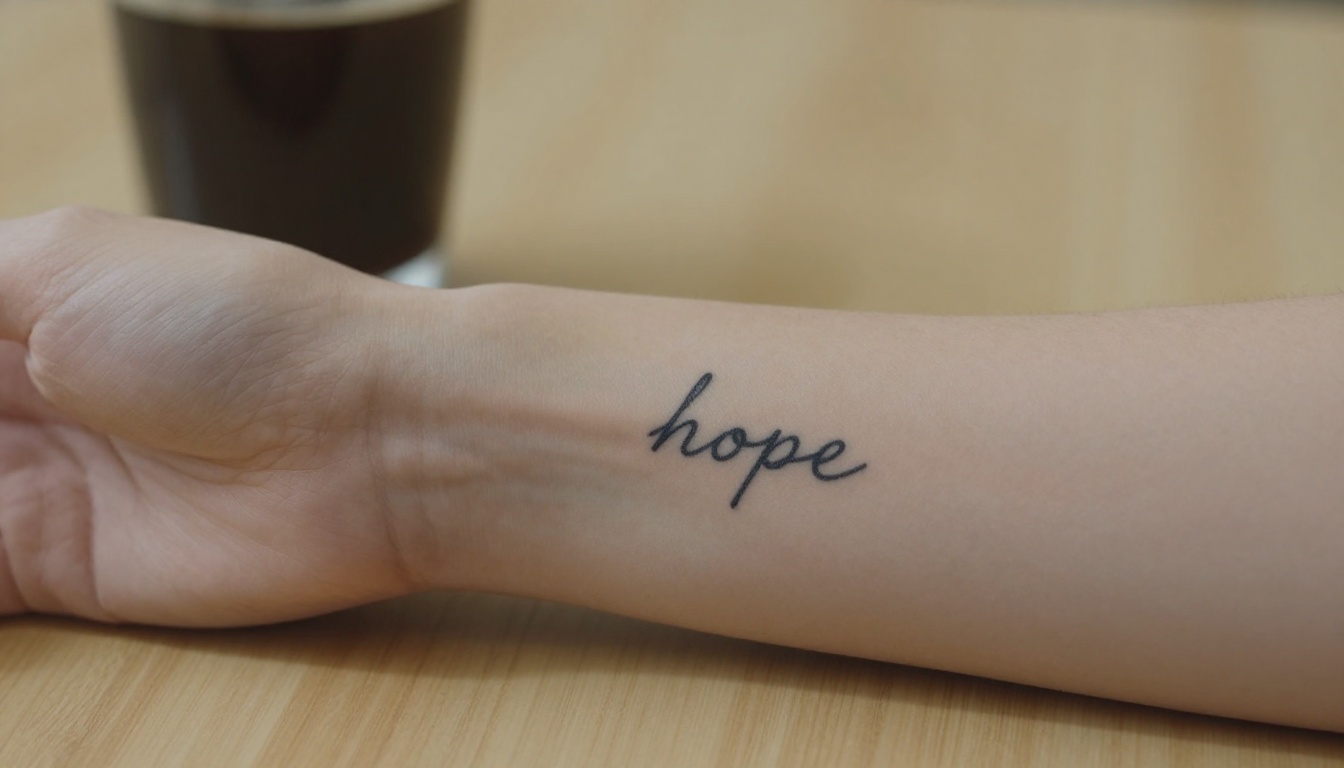
Match the script to the size. Thin cursive looks elegant on screen and can blur on skin at a small size.
💡 Tip: Fine lines and tiny letters tend to soften as skin ages and ink spreads slightly over the years. Ask your artist how small is too small for the exact design you have in mind.
See It On Your Own Body
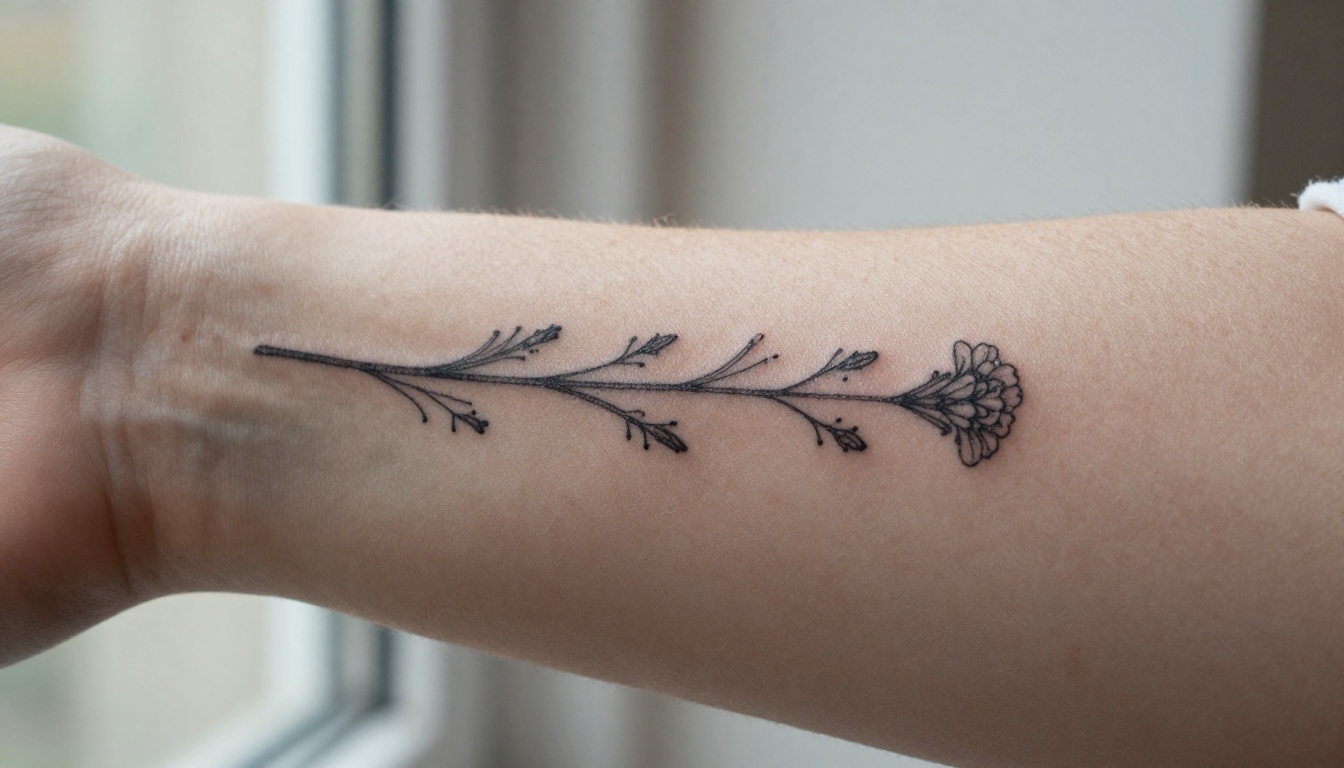
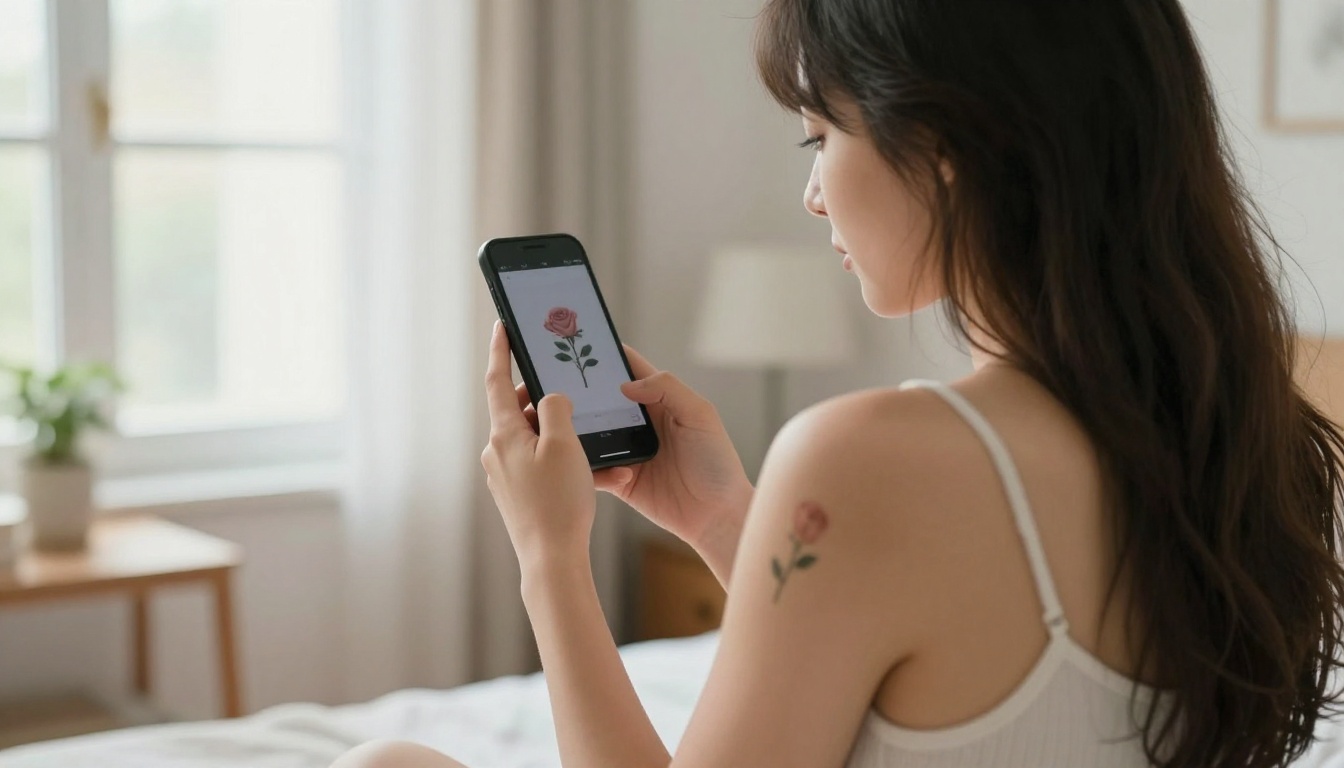
This is the step that makes an AI tattoo generator more than a clip-art machine. Instead of imagining how a design will look on you, you put it on a photo of your actual arm and judge it with your own eyes.
Photograph Your Skin Properly
The preview is only as believable as the photo you start from.
Use daylight from a window, not a flash that flattens the skin.
Hold the limb in a natural pose, the one you'll have most of the time, not a stretched or flexed one.
Shoot straight on, with the camera parallel to the skin, to avoid distortion.
Keep the background plain so the model focuses on the body.
Include a coin or ruler beside the spot if you want a rough sense of scale.
Size, Placement and Flow
Bodies curve, and good tattoos follow those curves. A tall design usually sits well along the length of a forearm or calf. A round design suits a shoulder or thigh. When you write the placement prompt, describe the position in proportions instead of centimeters, because the model reads relative size far better than exact measurements.
Place the tattoo design from the second image on the inner forearm in the first image. Match the skin tone, lighting and curve of the arm. The tattoo should span about one third of the forearm length, black ink, slightly soft edges like fresh healed ink.
The Paper Test
An AI preview can't prove real scale, so finish with a low-tech check. Print the design at the size you want, cut it out, and tape it to your skin. Wear it for a day. Look at it in the mirror, in a t-shirt, in the shower light, from across a room. If you still like it after 24 hours, you have a far stronger case than any screen preview can give you.
💡 Remember: previews look sharper and darker than a healed tattoo. Expect slightly softer lines once the skin has settled.
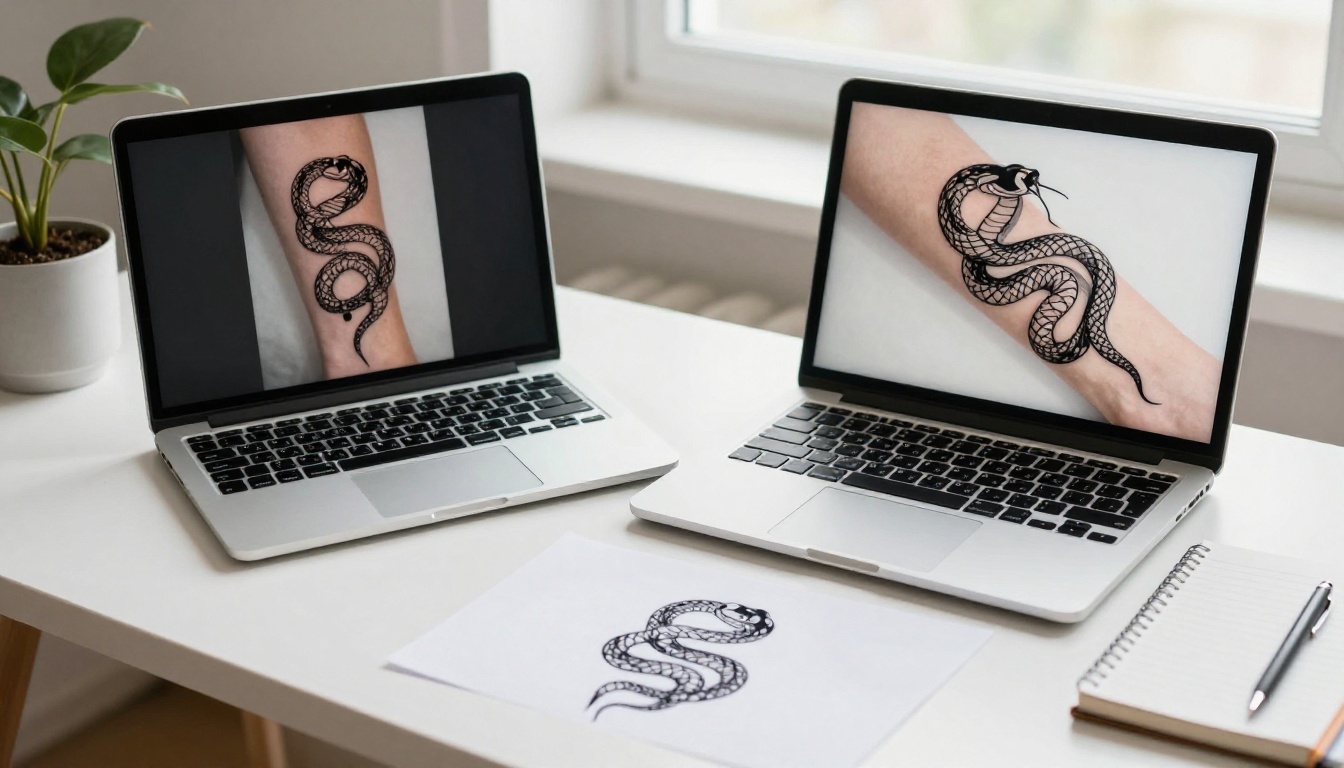
This is the how-to for the body preview. Nano Banana Pro is the best fit for body previews because it takes up to 14 reference images alongside your text prompt, so you can hand it your arm photo and your design at the same time.
Follow these steps:
Open the model. Go to the Nano Banana Pro page on PicassoIA.
Add your references. In the image input, upload the photo of your arm and the tattoo design. Tell the model which is which in the prompt, for example "first image" and "second image".
Write the prompt. Use the placement prompt from the previous section and adjust the body part and size.
Set the aspect ratio. Leave it on match_input_image so the result keeps the framing of your photo.
Pick a resolution. Use 1K for quick drafts, the 2K default for most work, and 4K when you want to inspect fine lines.
Choose the format. PNG keeps edges cleaner if you plan to cut the design out later. JPG is fine for previews.
Leave the safety filter on its default. The default, block_only_high, is the most permissive setting, though some prompts can still be blocked.
Generate and compare. Run three or four variations and change only one variable at a time.
The settings worth remembering, in one place:
Setting
Recommended value
Why
Image input
Arm photo plus design
Lets the model place the design on your skin
Aspect ratio
match_input_image
Keeps your original framing
Resolution
2K, then 4K for the final
Fast drafts first, detail check last
Output format
PNG for the final
Cleaner edges for later edits
Clean Up the Design Afterward
Once you have a design you like, a few extra models make it studio-ready. Run it through Recraft Vectorize to get clean, scalable linework, use Remove Background to isolate the artwork, and sharpen small files with Real ESRGAN before you print or send them.
Take the Design to the Studio
The generator ends where the artist begins. A great AI design is a brief, and the person holding the needle turns it into something that works on skin.
What to Bring
The design on a white background, in two sizes if you can.
The body preview so the artist sees the placement you imagined.
Two or three style references that show the mood, line weight and shading you like.
A note on size and placement, in your own words.
Say upfront that the design started as an AI draft. Most artists are fine with it, and they will tell you honestly what needs to change.
What AI Gets Wrong
Models draw on a screen, not on skin. These are the problems artists spot first:
Lines too thin or too close, which blur together as the tattoo heals and ages.
Smooth gradients that look great in pixels and are hard to reproduce with a needle.
Tiny details in feathers, eyes or lettering that disappear at real size.
Invented text and symbols that look meaningful and mean nothing.
Anatomy slips, like an extra toe on a paw or petals that don't connect to a stem.
Because of all this, expect the artist to redraw part of the design. They might simplify a busy area, thicken a line, or tilt the composition so it flows with a muscle. That isn't a rejection of your idea. It is the step that turns a good picture into a good tattoo, and it is the reason the design will still look right in ten years.
Make Your First Design Today
The fastest way to find out what you want is to make a few options and look at them side by side. Open Nano Banana Pro, upload a photo of the spot you have in mind, and try the placement prompt from this article. Then switch to Ideogram v4 Quality for a short word or a symbol, and compare the results.
Start small: one subject, one style, one body part. Make five versions, keep the best two, and sleep on them for a few days. The design that still feels right after the excitement fades is the one worth taking to a studio.
Ready to experiment? Create your own tattoo designs and body previews on PicassoIA, and browse every available model at picassoia.com/en/all-models.