You drew a 64x64 hero, a 512x512 icon or a texture that looked fine in the editor, and now the art director wants it at 4K for a store page, a trailer and a physical poster. Resize it in a normal image editor and you get mush. That is the moment art asset up resolution stops being a nice idea and becomes a daily problem for indie developers, modders and anyone shipping game art on a small budget.
The good news: free online upscalers have become genuinely useful. The bad news: they are not magic, and some of them quietly wreck exactly the kind of art game teams make most often, which is pixel art and hand painted sprites. This article shows what works, what fails, and where the hard limits sit, so you can decide before you burn an afternoon on the wrong tool.
What Up Resolution Really Means
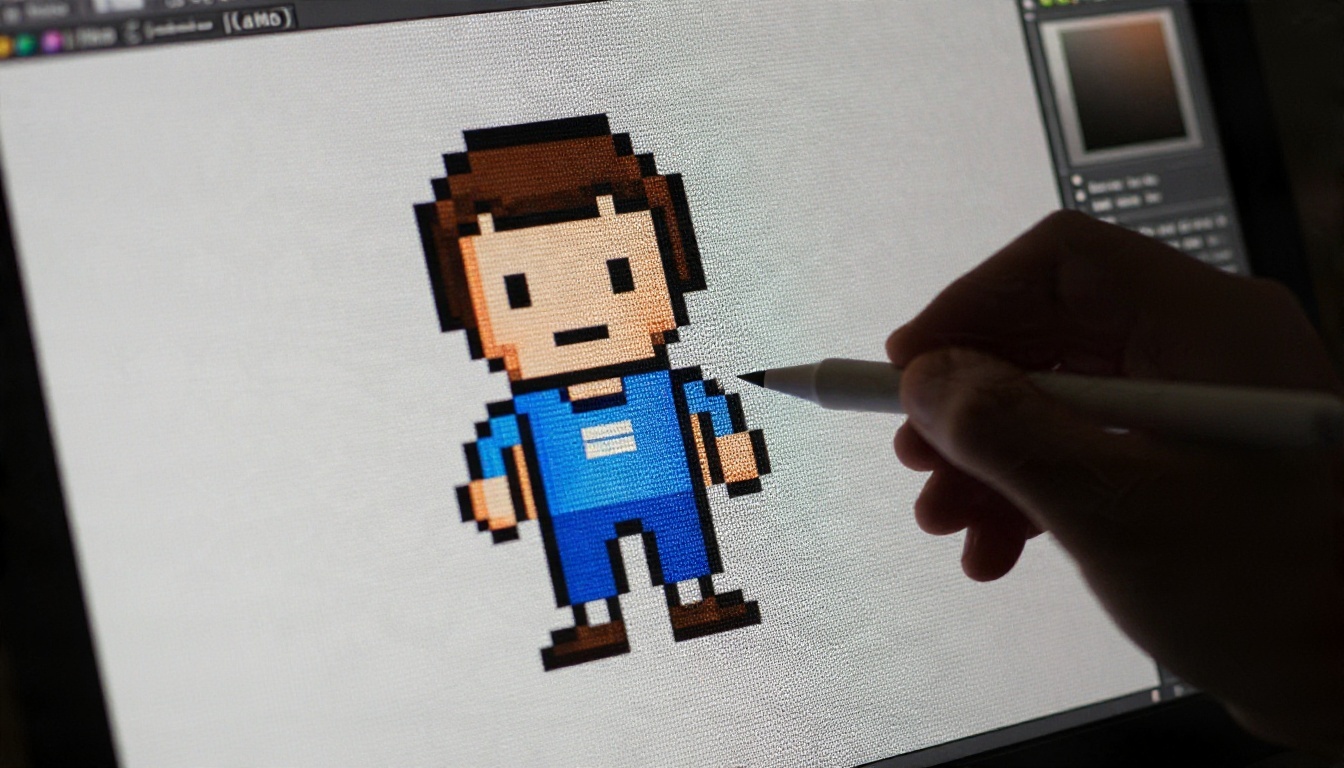
Up resolution means producing an image with more pixels than the source. The question is where the new pixels come from. There are two very different answers, and mixing them up is the root of most bad results.
Interpolation vs AI Reconstruction
Classic resizing (bilinear, bicubic, Lanczos) calculates each new pixel from its neighbors. Nothing new is invented, so edges get softer as the image grows. A 4x enlargement of a sharp 128 pixel icon looks like a smudged photocopy.
AI upscalers work differently. They are trained on huge sets of paired low and high resolution images, so they predict what plausible fine detail should exist between the original pixels: the edge of a sword, the grain of wood, the strands in a beard. The result is sharper and often much more convincing, but it is a prediction, not a recovery of lost information. Keep that sentence in mind, because it explains every limit later in this article.
Why Game Art Is Different
Photos forgive a lot. Game assets do not. A few reasons:
- Hard, intentional edges. Sprites and UI icons rely on clean silhouettes, and an upscaler that rounds corners ruins readability.
- Limited palettes. Pixel art often uses 16 or 32 colors on purpose. Smoothing introduces dozens of in-between shades.
- Transparency. Most sprites have alpha channels, and halos around the edge show up instantly against a dark level background.
- Consistency. One upscaled character next to ten untouched ones looks wrong, even if the upscaled one is technically better.
💡 Rule of thumb: the more stylized and low-resolution the source, the more careful you need to be. Painted art, concept sketches and textures respond well. Strict pixel art needs a different approach.
Pixel Art and Sprites: The Catch
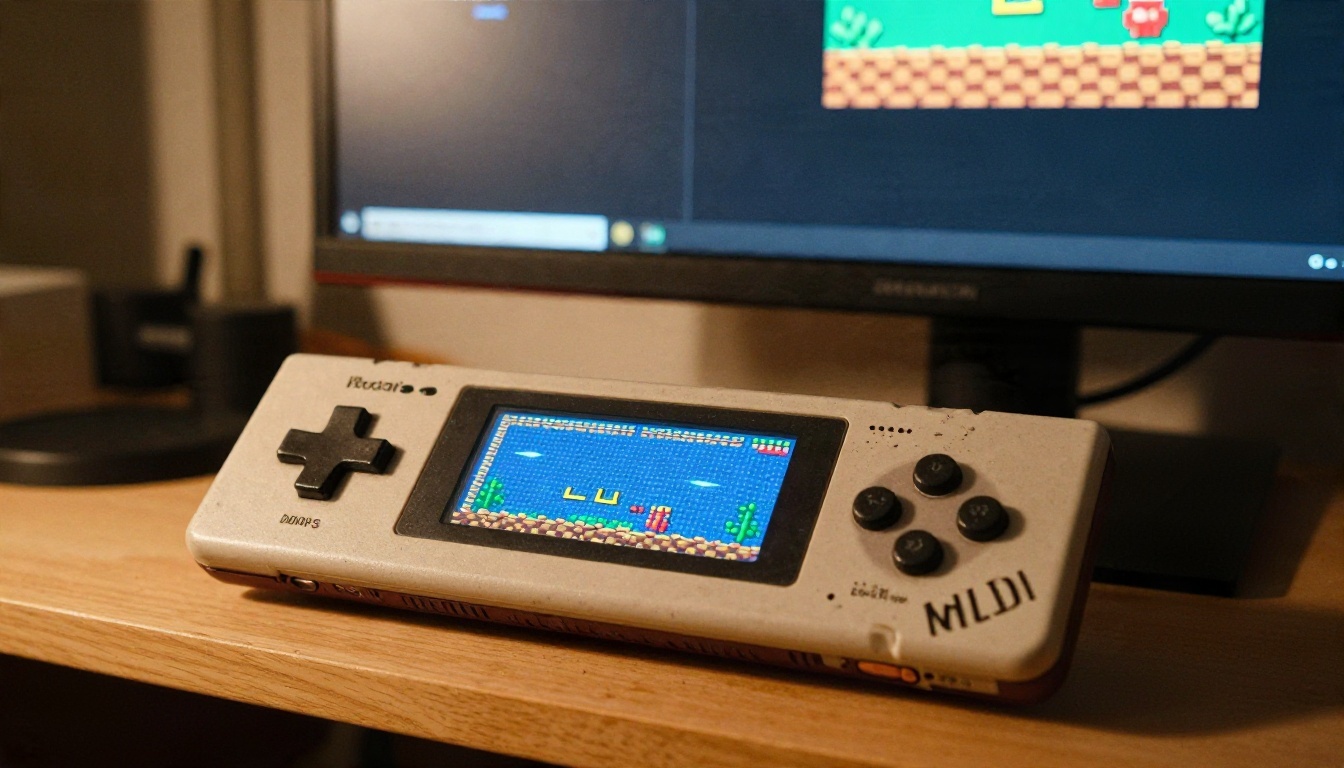
This is the part most "free upscaler" landing pages skip. If your art is real pixel art, where every pixel was placed by hand, a general AI upscaler is often the wrong first choice.
When Nearest Neighbor Wins
Nearest neighbor scaling just repeats each pixel as a block. A 64x64 sprite at 4x becomes 256x256 with the exact same look, only bigger. No blur, no invented detail, no palette drift. For pixel art that has to stay pixel art, this is the correct method and it is free in every image editor.
Use integer multiples only (2x, 3x, 4x, 8x). A 3.5x scale produces uneven pixel sizes, which looks like a rendering bug. If your engine allows it, scale in-engine with point filtering and keep the source file untouched.
When AI Helps Sprites
There are real cases where an AI upscaler earns its place with sprite work:
- Low-resolution painted sprites from older projects, where the original was drawn small but not pixel-perfect.
- Old game assets you want to remaster, such as scanned sprite sheets or screenshots where the source file is gone.
- Concept art for sprites that was exported too small for the art book or store page.
- Pixel art you want to turn into a smooth, painted look on purpose, for example a remaster that deliberately drops the retro style.
💡 Honest note: the fourth case changes the art style. That is a creative decision, not a technical fix. Decide it with your team before batch processing a whole sprite sheet.
Free Online Upscalers Worth Using
You do not need to install anything. Browser-based upscalers handle most one-off jobs in under a minute. PicassoIA hosts a full set of super resolution models, and each one has a different personality.
Real ESRGAN for Clean 4x
Real ESRGAN is the workhorse. It does a clean 4x enlargement, handles noise and compression artifacts well, and is a strong default for painted sprites, screenshots and scanned art. If you only try one model on a batch of old assets, start here. It is predictable, which matters when you are processing fifty files and want the same behavior on each.
Portraits, Icons and Textures
Different assets need different models:
- Crystal Upscaler is tuned for portraits up to 4x, so it suits character busts, dialogue portraits and NPC faces.
- Clarity Pro Upscaler leans photorealistic and adds believable micro detail, which helps with material textures like stone, leather and metal.
- Image Upscale from Topaz Labs enlarges up to 6x, useful when you need print sized output from a small source.
- Upscaler from Google gives a 4x result that stays faithful to the source without heavy reinvention.
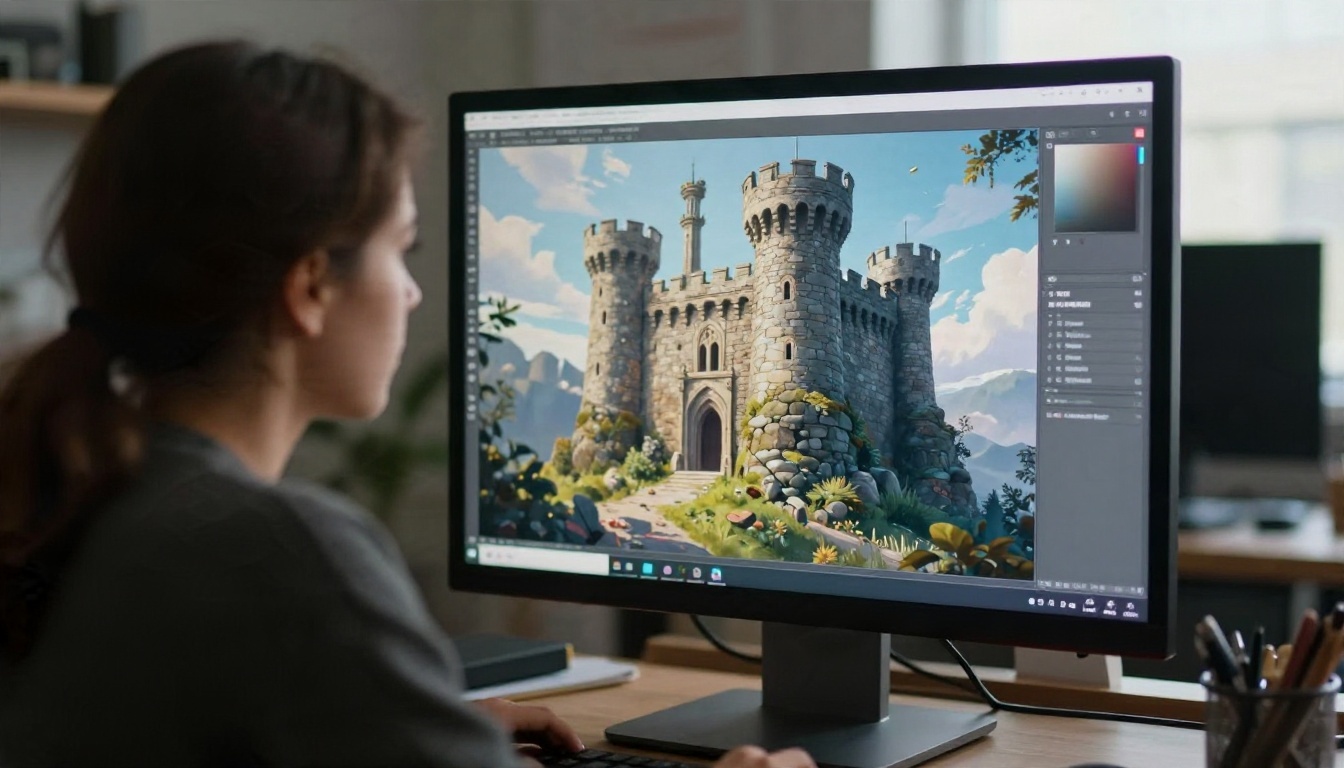
Quick Fixes with P Image Upscale
When you just need a sharper preview for a Discord post or a pitch deck, P Image Upscale is fast, and speed matters when you are iterating. Two more options deserve a mention for stylized work: Recraft Crisp Upscale keeps lines clean, which suits icons and flat colored art, while Recraft Creative Upscale adds depth and new detail, which is better for painted backgrounds. For a plain size increase with minimal interpretation, Increase Resolution goes up to 4x.
A Workflow That Keeps Style
Running a file through an upscaler is the easy part. The steps around it decide whether the output is usable in a build.
Prepare the Source File
Before upscaling, check three things:
- Export lossless. A PNG will upscale far better than a JPEG, because compression blocks get amplified into visible patterns.
- Flatten or separate. If the sprite has a background, remove it first or upscale on a flat color. Complex backgrounds confuse edge detection.
- Crop tight. Remove empty margins so the model spends its effort on the actual subject.
Pick the Scale Factor
Bigger is not always better. A 2x pass on a small source usually looks more natural than a 6x pass, and you can run a second 2x pass if you need more. Here is a rough starting table:
| Source size | Target use | Suggested scale | Notes |
|---|
| 64 to 128 px sprite | Store page art | 4x | Compare with nearest neighbor first |
| 256 px icon | HD UI | 2x | Crisp style models keep edges clean |
| 512 px texture | 2K material | 4x | Check tiling seams afterward |
| 512 px portrait | Poster print | 4x to 6x | Portrait focused model works best |
| Old screenshot | Remaster reference | 2x to 4x | Expect invented detail |
Check Edges and Alpha
Open the result on a dark background and then on a bright one. Fringing, white halos and leftover background pixels show up fast. If the output loses transparency, upscale on a solid color and cut the subject out again with a background removal model before importing it into your engine.
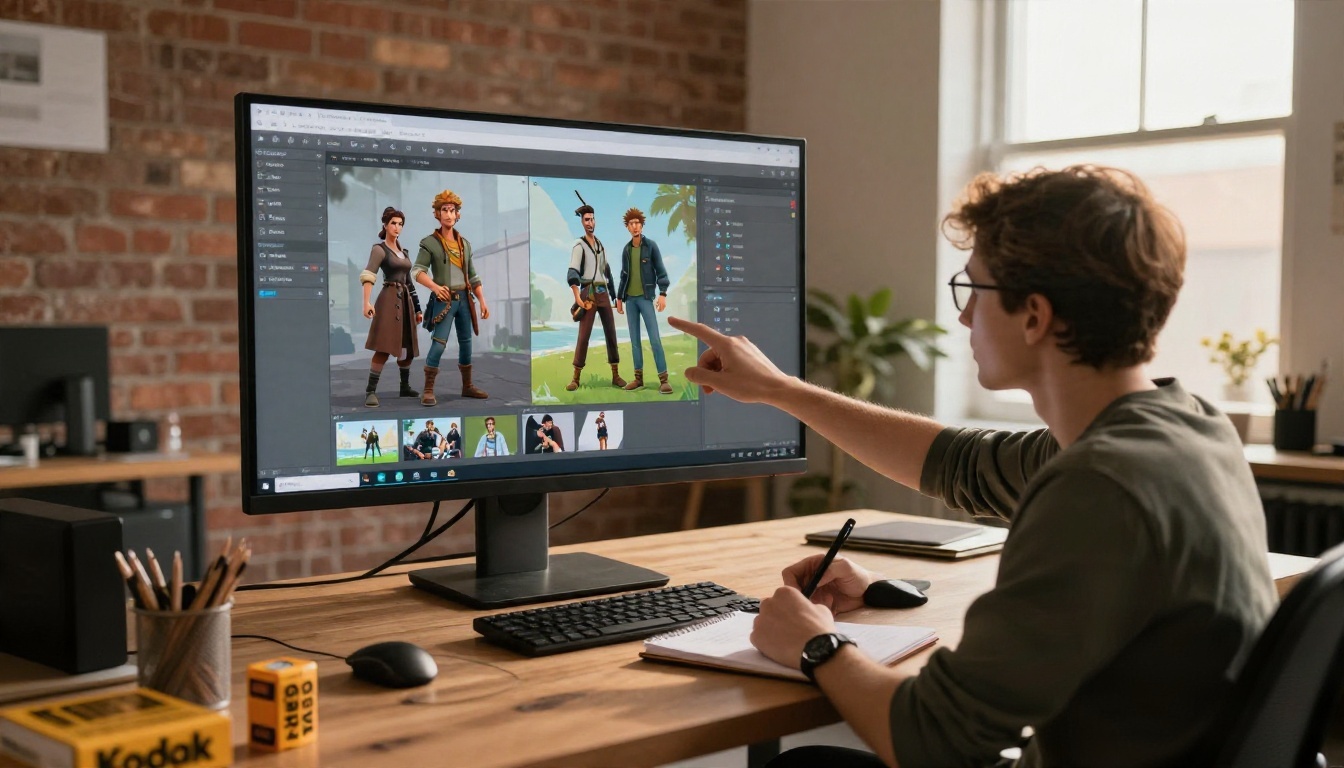
The Limits Nobody Mentions
Every upscaler has limits, and being upfront about them saves you from shipping a mistake.
Invented Detail
Because the model predicts rather than recovers, it can add things that were never in your art: an extra buckle, a different eye shape, a pattern on a cloak that changes between frames. For a single illustration that may be a happy accident. For a character with a defined design, it is a continuity error.
Always compare the result with the original at 100 percent zoom. If the character's face, logo or emblem changed, reject the output or try a more conservative model.
Tiling Seams and Palettes
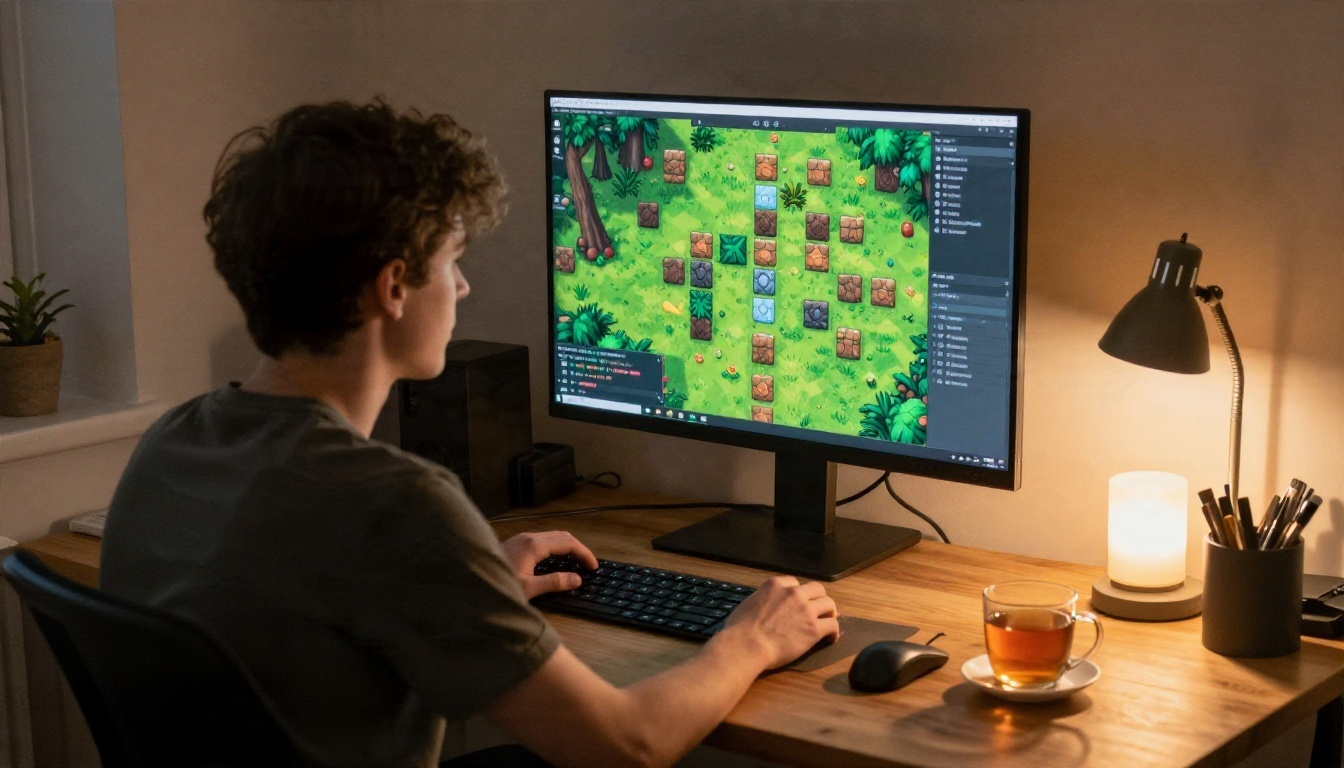
Tilesets and seamless textures are a special risk. Most upscalers process the image as a single frame and do not know the left edge should match the right edge. After upscaling, tile the result in a 3x3 grid and look for visible lines. Fix seams by offsetting the image by half its width and painting out the join.
Palettes drift too. A limited palette sprite upscaled with an AI model can pick up dozens of new shades. If the art needs a fixed palette, run a color reduction step afterward and check the result against the original swatches.
Size Caps and Licensing
Free tools come with practical ceilings:
- Input and output size limits. Very large sheets may need to be split into tiles and stitched back together.
- Animation consistency. Upscaling each frame of a sprite animation separately can cause flicker, because small differences are interpreted differently on each frame. Test a short loop before processing the whole set.
- Rights. Upscaling art you do not own does not give you the right to use it. Remaster your own work, or work you have permission to modify.
💡 Reality check: an upscaler cannot restore information that is not in the file. A 16 pixel blob will not become a detailed face. It will become a confident looking guess.
Which Model for Which Asset
Here is a quick reference you can pin next to your monitor.
If you want to run the same sprite through three models and compare, do it. Upscaling costs very little compared with the time you would spend repainting by hand, and the differences between models are easy to spot side by side.
Three Mistakes That Waste Time
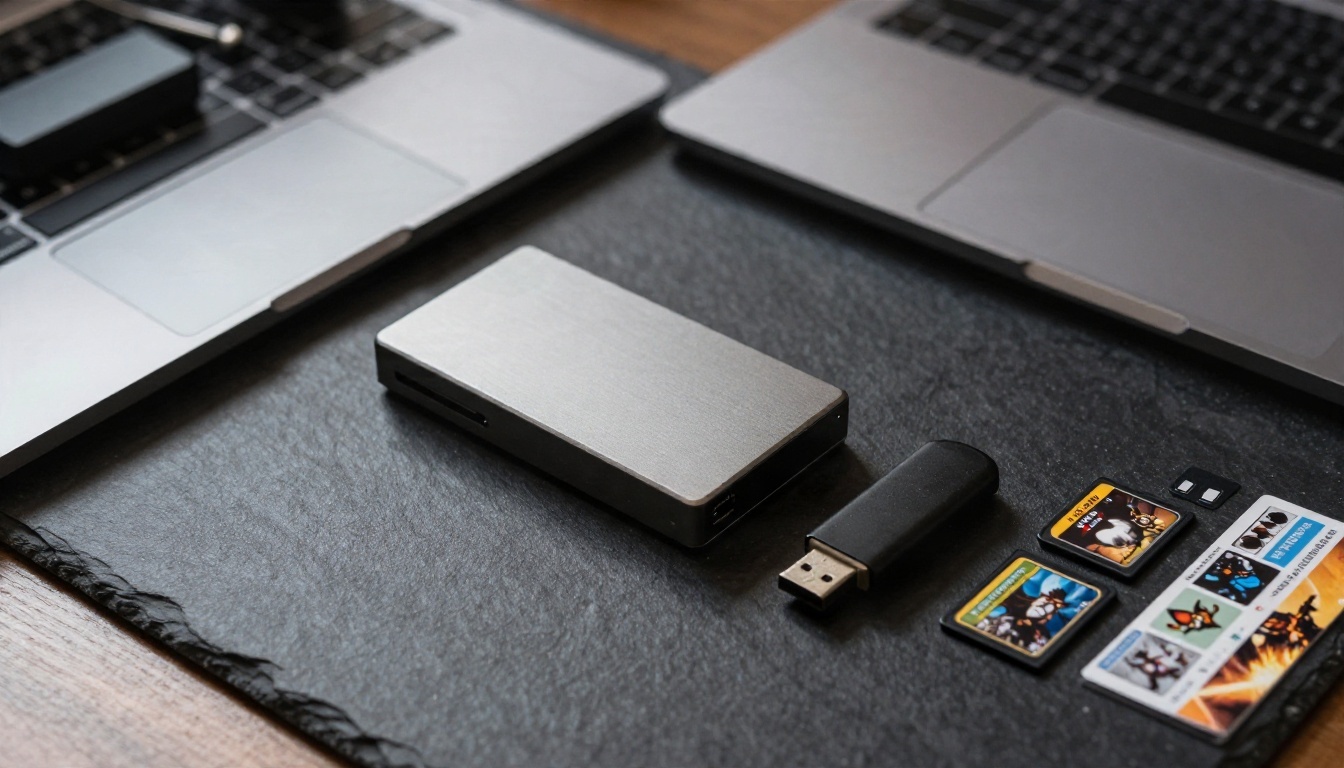
1. Overwriting the original. Save every upscale as a new file with the scale in the name, such as hero_idle_4x.png. Keep the source file safe on a separate drive. When a model changes a detail you did not notice, you will want the original to compare against.
2. Upscaling a JPEG. If your only copy is a compressed JPEG, run a cleanup or denoise first, or choose a model that handles compression artifacts. Otherwise the blocks become part of the art.
3. Processing a full sheet in one pass without a test. Take one representative sprite, one icon and one texture. Run them first. Check edges, palette and proportions. Only then batch the rest. Ten minutes of testing beats an hour of redoing.
💡 Small team habit: keep a text note with the model name, scale factor and settings you used for each asset type. When someone joins the project six months later, the whole look can be reproduced.
Try It on Your Own Art
The best way to see what an upscaler can do is to feed it your own work. Pick one asset you have been avoiding, a small icon, an old sprite sheet or a texture that looked soft in a screenshot, and run it through two or three models side by side on PicassoIA. Compare the edges at full zoom, look for invented details, and keep the version that respects your art style.
Start with Real ESRGAN for a safe 4x, switch to Crystal Upscaler for faces, and try Image Upscale when you need print resolution. Free, fast and low risk: the worst outcome is that you fall back to nearest neighbor scaling and learn which of your assets need hand work. The best outcome is a whole library of game art that finally looks as sharp on a 4K screen as it did in your head.


