Most people who search for a ComfyUI nude prompt are not short on ideas. They are short on control. The positive prompt looks fine, then the render comes back with six fingers, waxy skin, a warped waistline or a face that looks like it was sanded off. Nine times out of ten the fix sits in two places: the negative prompt and the sampler settings. This article gives you both, written as blocks you can paste straight into a node graph, and then shows the free online route for anyone who does not want to run a local install.
Everything here stays on the tasteful side: boudoir, glamour, swimwear, implied artistic nudity. No explicit content, and every example assumes fictional adult subjects.
💡 Quick answer: use a short, targeted negative prompt, keep CFG between 5 and 7 on SDXL style checkpoints, run 25 to 30 steps with dpmpp_2m and the karras scheduler, and skip the negative prompt entirely on Flux models, where CFG 1 makes it inert.
What a Nude Prompt Really Does
A ComfyUI prompt is two text encoders feeding one sampler. The positive one pulls the image toward what you describe. The negative one pushes it away from what you list. When people write "nude prompt" they usually mean a positive prompt for adult glamour or artistic figure photography, paired with a negative prompt that keeps the anatomy believable.
Positive and negative prompts
Think of the positive prompt as the brief for a photographer and the negative prompt as the list of things you refuse to accept on the contact sheet. A strong positive prompt names the subject, the setting, the light, the lens and the film look. A strong negative prompt names the specific defects you keep seeing, not every defect you have ever read about.
A clean positive example for a boudoir style render:
photo of an adult woman in an ivory silk robe, sunlit loft bedroom, soft window light from the left, 85mm lens, shallow depth of field, natural skin texture, film grain, Kodak Portra 400 look
Adult only ground rules
A few rules keep this workflow clean and safe:
- Depict fictional adults only. Add words like "adult woman" or "woman in her late twenties" to the positive prompt.
- Put terms like
child, childlike, minor, underage in the negative prompt as a hard guardrail.
- Never use a real person's face or likeness without their permission.
- Keep results non-explicit if you plan to publish anywhere public.
Negative Prompt Examples You Can Copy
Long negative prompts that list 80 terms are a habit inherited from early Stable Diffusion 1.5 days. Modern checkpoints respond better to short, specific lists. Generate one baseline image with an empty negative prompt, look at what actually goes wrong, and only then add terms for those defects.
Here are three blocks. Combine them as needed.
Baseline anatomy block
This one targets the classic body and hand failures:
bad anatomy, deformed, extra fingers, fused fingers, missing fingers, extra limbs, extra arms, extra legs, malformed hands, long neck, distorted proportions, twisted torso
Photo realism block
This one fights the plastic, airbrushed look that makes a render feel fake:
plastic skin, waxy skin, overly smooth, airbrushed, cgi, 3d render, illustration, cartoon, painting, oversaturated, harsh flash, blurry, lowres, jpeg artifacts, watermark, text, signature
Clothing and framing block
This one keeps fabric, framing and safety under control:
cropped head, cut off, bad framing, duplicate, extra straps, melted fabric, child, childlike, minor, underage
Which block fixes what
| Problem you see | Add this to the negative prompt | Also try |
|---|
| Six fingers, fused hands | extra fingers, fused fingers, malformed hands | Raise steps by 5, lower CFG by 1 |
| Waxy, doll like skin | plastic skin, airbrushed, overly smooth | Add "visible pores, natural skin texture" to the positive |
| Stretched torso or neck | long neck, distorted proportions, twisted torso | Use a portrait ratio like 832x1216 |
| Illustration look | cgi, 3d render, illustration, painting | Add "RAW photo, 85mm lens" to the positive |
| Heavy grain or blur | blurry, lowres, jpeg artifacts | Increase resolution, add an upscale pass |
| Random text or logos | watermark, text, signature | Lower weight of style tags |
💡 Weighting tip: in ComfyUI you can write (plastic skin:1.3) to push a term harder. Stay between 1.1 and 1.4. Above 1.5 the sampler starts producing strange side effects, such as washed out colors and flat lighting.
ComfyUI Settings That Matter
Prompts get the attention, but the KSampler node decides whether your image is sharp or mushy. These are the values most workflows converge on after some experimenting.
Sampler, steps and CFG
For SDXL based checkpoints, a safe baseline looks like this:
| Setting | Recommended value | Why |
|---|
| Sampler | dpmpp_2m | Stable, clean detail |
| Scheduler | karras | Smooth noise falloff, good skin |
| Steps | 25 to 30 | Beyond 35 you mostly burn time |
| CFG | 5 to 7 | Higher values burn skin tones and add contrast |
| Denoise | 1.0 | For text to image |
| Resolution | 832x1216 or 1024x1024 | Native SDXL training buckets |
Community guides often suggest starting at CFG 5 and 28 steps, then raising the step count slightly if faces or hands look off. That advice holds up well for portrait work.
Flux and the CFG 1 problem
Here is a point that trips up many people. Flux dev and Flux schnell are guidance distilled, so you run them at CFG 1.0. At CFG 1 the negative prompt is ignored. You can type 200 words into the negative box and nothing changes. Instead, you steer with the positive prompt and a guidance value set in a dedicated Flux guidance node, typically around 3.5.
If you really want negative control on Flux, custom nodes such as a CFG less negative prompt or a sampler with negative attention guidance exist for exactly this purpose. They add complexity, so try the positive prompt route first. Phrase things positively: "detailed hands with five fingers" works better on Flux than "no extra fingers".
Resolution and aspect ratio
Do not generate at 512 pixels and hope for the best. Pick a native bucket, then upscale. For standing or seated full body portraits, portrait ratios (832x1216, 896x1152) reduce stretched limbs. For landscape scenes such as a beach or a hotel room, use 1216x832.
Seeds and batch size
Fix the seed while you tune settings, so each change is something you can actually compare. Once you like the look, switch the seed to randomize and set a batch of 4. You will usually find one frame in four where the hands behave.
Fixing Common Problems
Even with tuned settings, a few issues keep coming back. Here is how to handle them without rebuilding the whole graph.
Extra fingers and warped hands
Hands are small relative to the frame, so the model has few pixels to work with. Three fixes, in order of effort:
- Add the hand terms from the anatomy block to the negative prompt.
- Increase steps by 5 and lower CFG by 1.
- Add an inpainting pass or a hand detailer node that re-renders only the hand region at higher resolution.
Plastic skin
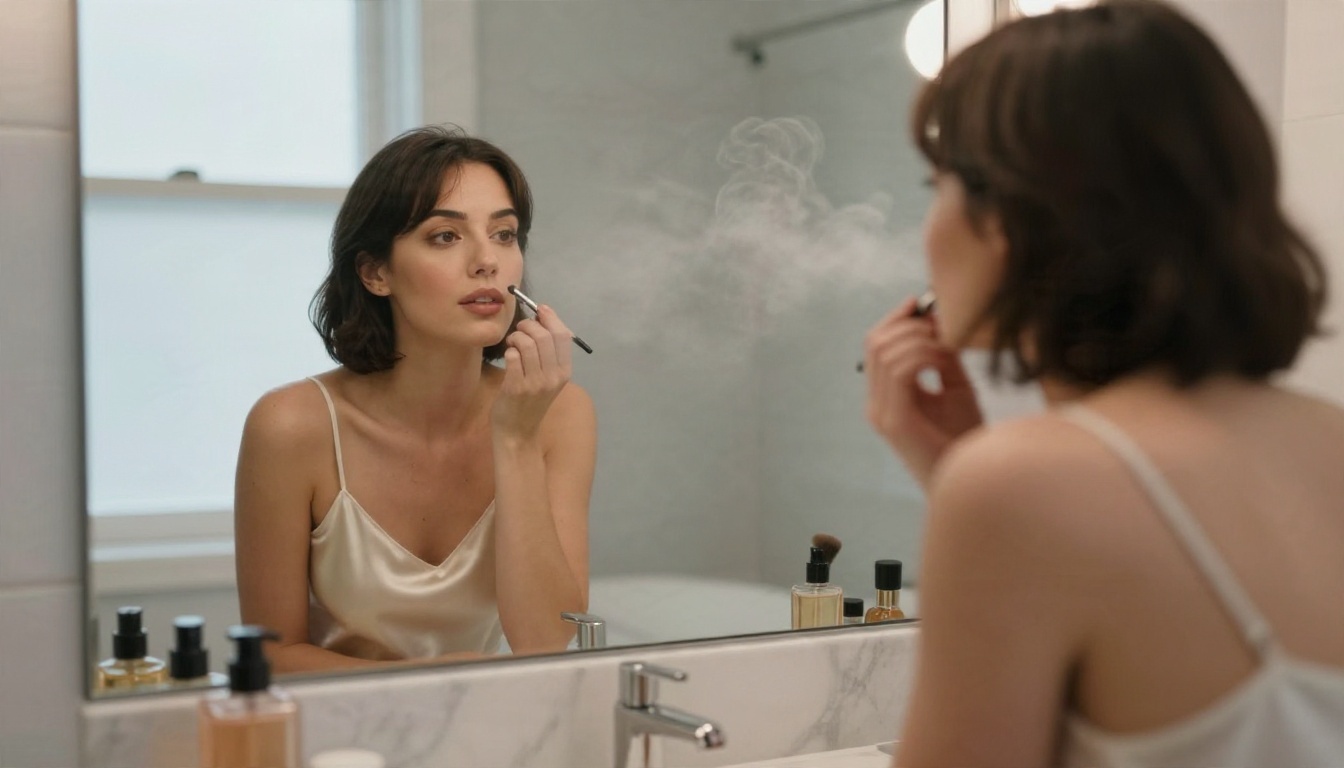
Plastic skin comes from three culprits: high CFG, a style heavy checkpoint and vague skin language in the positive prompt. Lower CFG to 5, add visible pores, subtle freckles, natural skin texture, peach fuzz to the positive prompt, and keep the photo realism block in the negative prompt.
Muddy or crushed lighting
If shadows go black or the whole frame turns orange, your lighting description is too thin. Name the direction and the source: "soft window light from the left", "golden hour backlight", "diffused overhead daylight". Direction words do more than quality words like "beautiful" or "stunning".
💡 Prompt order matters. Put subject and setting first, lighting second, lens and film look last. Tokens at the front carry more weight.
Free Online Options Without a GPU
ComfyUI is powerful, but it asks for a decent graphics card, a few gigabytes of checkpoints, and patience when a custom node breaks after an update. If your laptop struggles, you have two realistic routes.
| Route | Setup time | Control | Best for |
|---|
| Local ComfyUI | Hours | Total | Heavy custom graphs |
| Hosted workflow runner | Minutes | High | Reusing your existing graphs |
| Prompt based online model | Seconds | Medium | Fast, polished results |
Run your existing graph online
If you already built a workflow, you do not have to throw it away. Any ComfyUI Workflow on PicassoIA accepts a ComfyUI workflow exported in API format and runs it online, with no local GPU. You pick the output format (WebP, JPG or PNG), set the output quality from 0 to 100, and seeds randomize automatically so every run gives a fresh result.
Skip the graph entirely
If you just want the picture, a prompt based model does the sampler work for you. You type the positive prompt, and the model handles steps, CFG and resolution internally. For adult glamour and boudoir style work, this is faster and often sharper than a hand built graph. The next two sections show how.
How to Use Any ComfyUI Workflow on PicassoIA
Here is the short path from a local graph to an online render with Any ComfyUI Workflow:
- Export your graph. In ComfyUI, use Save (API format). The standard save will not work, it must be the API version.
- Open the model page and paste the JSON string, or a URL pointing to it, into the
workflow_json field.
- Add input files if your graph loads a reference image, a ControlNet map or an archive of assets. You can also replace inputs with URLs directly inside the JSON.
- Choose output format. PNG for editing, WebP for the smallest file, JPG for sharing.
- Set output quality. The default is 95. Drop it to 85 for lighter files.
- Leave Randomise Seeds on for exploration. Turn it off when you want to repeat a good frame.
- Use Force Reset Cache if an old node output seems to leak into a new run.
💡 Parameter tip: keep your negative prompt inside the graph exactly as you tuned it locally. The online runner executes the same nodes, so the blocks in this article work unchanged.
Best Models for Adult Glamour
If you want results without tuning a single sampler, these are the models to try on PicassoIA, in the order I would reach for them.
- Seedream 4.5. The first stop for adult glamour and boudoir style prompts. It produces sharp 2K or 4K images, supports 16:9, 9:16, 3:4 and other ratios, and takes up to 14 reference images. Write a natural language prompt and it handles skin texture and lighting well.
- PicassoIA Image Editor Pro. An unlimited generation editor, so you can iterate as often as you like, fix details and restyle an existing photo without counting credits.
- Z Image Turbo. Fast and sharp, ideal for testing a prompt idea in seconds before you commit to a heavier model.
- Flux 2 Klein 9B Base LoRA. A good pick when you want a particular style through a LoRA.
- SDXL Multi Controlnet LoRA. The closest match to a classic ComfyUI SDXL setup, with layered control through ControlNet and LoRA.
- SDXL Lightning 4Step. Four step generation for very fast drafts.
- Qwen Image 3 Pro. Strong photorealism for portraits and lifestyle scenes.
💡 Why it works: hosted models are uncensored enough for tasteful adult glamour, unlimited on the Editor Pro, and return an image in seconds, so you spend your time on prompts instead of node wiring.
How to Use Seedream 4.5 on PicassoIA
Seedream 4.5 needs no negative prompt, so the steps are short:
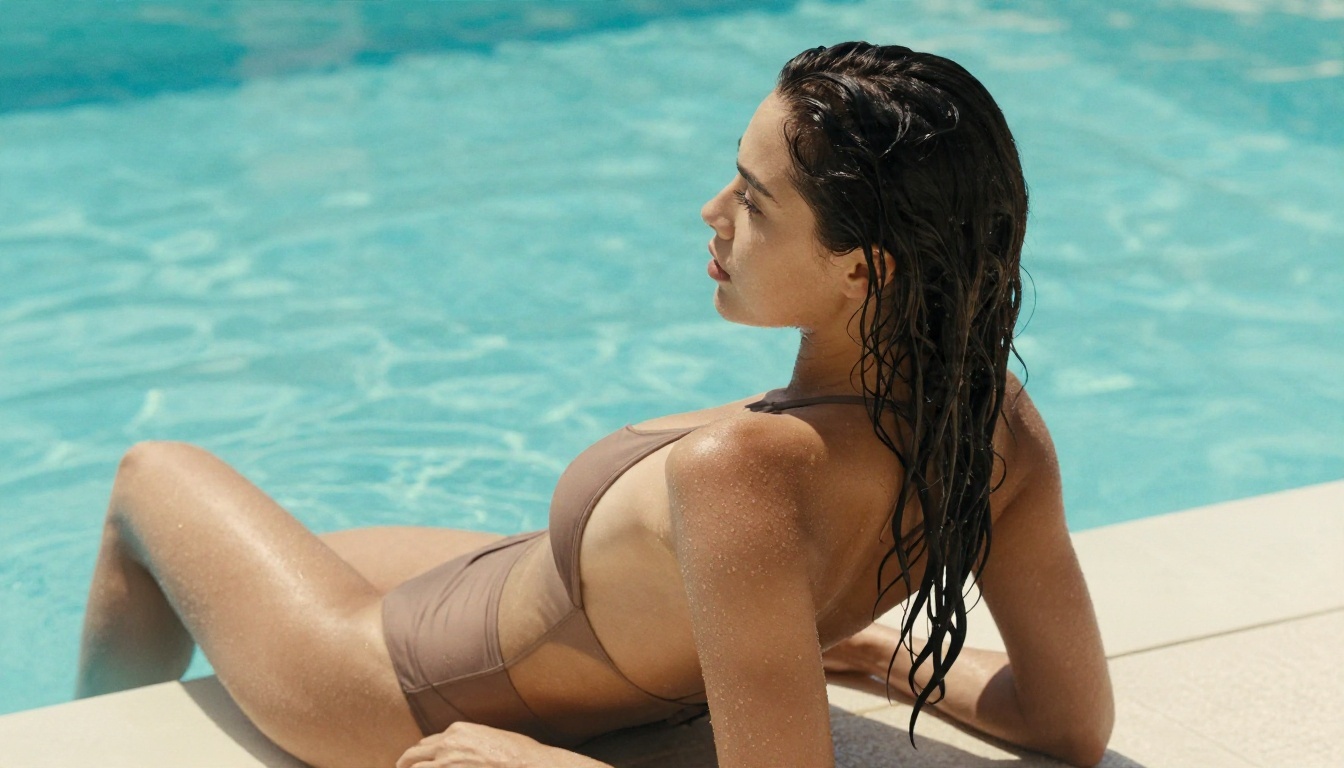
- Write the prompt in plain sentences. Describe the subject, the setting, the light direction, the lens and the film look. For example: an adult woman in a white bikini on a Mediterranean beach at golden hour, warm backlight, 50mm lens, natural skin texture, film grain.
- Set the size. Pick 2K for fast drafts, 4K for final prints.
- Pick the aspect ratio. 16:9 for landscape scenes, 3:4 or 2:3 for full body portraits, 9:16 for stories.
- Add references. Upload 1 to 14 images if you want to hold a pose, an outfit or a color palette.
- Try batches. Set sequential generation to auto and ask for several related images, up to 15, to compare variations in one run.
- Rewrite instead of negating. If the skin looks too smooth, add "visible pores, subtle freckles" to the prompt rather than listing what to avoid.
Turn negatives into positives
The habit that makes the biggest difference when you move from ComfyUI to a prompt based model is rewriting your negative list as positive instructions:
| ComfyUI negative term | Positive replacement |
|---|
extra fingers, malformed hands | "natural hands with five fingers" |
plastic skin, airbrushed | "visible pores, subtle freckles, natural skin texture" |
cgi, 3d render, illustration | "RAW photo, shot on 85mm lens, Kodak Portra 400" |
blurry, lowres | "sharp focus on the eyes, fine detail" |
bad framing, cropped head | "full figure, centered, wide 16:9 composition" |
Settings Cheat Sheet
Keep this table close while you work.
| Model family | CFG | Steps | Negative prompt | Notes |
|---|
| SDXL checkpoints | 5 to 7 | 25 to 30 | Yes, short | dpmpp_2m with karras |
| SD 1.5 checkpoints | 6 to 8 | 25 to 35 | Yes, longer | Needs hand fixes more often |
| Flux dev | 1 | 20 to 28 | Ignored | Use a Flux guidance node near 3.5 |
| Flux schnell | 1 | 4 | Ignored | Quick drafts only |
| Hosted prompt models | Internal | Internal | Not needed | Write positive instructions |
Start Making Your Own Images
You now have working negative prompt blocks, a table of sampler values and two ways to skip the local setup. The fastest way to see what changes is to run the same idea twice: once in your graph, once on a hosted model.
Open Seedream 4.5, paste a prompt from this article, and compare the render with what your ComfyUI graph produces. Then try the unlimited PicassoIA Image Editor Pro to refine details on the frames you like best. If you already have a workflow you trust, run it online with Any ComfyUI Workflow and skip the GPU.
Ready to see more options? Browse every image model at picassoia.com/en/all-models and start creating your own photoreal glamour images today with Picasso IA.


