If you want photorealistic images from text in 2027, one model name keeps coming up in professional circles: FLUX.3 Max. It is not the hype cycle talking. The third major iteration of Black Forest Labs' FLUX architecture pushes output quality to 4 megapixels, handles prompt instructions with near-perfect accuracy, and does all of this in seconds. Whether you are creating product photography, editorial portraits, or cinematic landscapes, FLUX.3 Max produces results that are genuinely difficult to distinguish from a camera.
This article breaks down exactly what makes FLUX.3 Max stand out, how it compares to the competition, and how you can use it right now through FLUX 2 Max on PicassoIA.

Why FLUX.3 Max Hits Different
Most text-to-image models have one obvious flaw: they work beautifully on simple prompts but fall apart the moment you get specific. Ask for a subject in a particular pose, with particular lighting, in a particular environment, and the model either ignores half your instructions or generates something generic.
FLUX.3 Max was built to fix that. Its architecture processes every element of your prompt with equal weight, meaning the lighting direction you specify, the camera lens you describe, and the surface texture you ask for all show up in the output. That level of prompt adherence is what separates it from older diffusion models and even current alternatives from other major labs.
The Prompt Problem Nobody Talks About
Prompt accuracy is the silent war in AI image generation. Midjourney gives you beautiful images that often reinterpret your intent. DALL-E 3 is consistent but visually safe. Stable Diffusion variants require tuning and LoRA stacking to get specific results.
FLUX.3 Max reads your prompt more literally than any of its competitors. If you write "warm volumetric morning light from the left with an 85mm f/1.2 lens," that is what you get. The model's text encoder treats each descriptive clause as a distinct instruction rather than averaging everything into a vague aesthetic.
💡 Pro tip: Write FLUX.3 Max prompts like camera directions, not artistic descriptions. Specify lighting direction, lens focal length, distance from subject, and surface textures. The model rewards precision.
4MP Output Without the Compromise
Resolution has been the professional bottleneck for AI image use. Most models top out at 1 megapixel, which works for web thumbnails but fails for print, large-format digital displays, or any context where quality gets scrutinized up close.
FLUX.3 Max outputs up to 4 megapixels in a single generation run. That is four times the pixel density of standard 1MP models. You can then take that 4MP image and push it further with AI upscaling tools, reaching print-ready file sizes that were impossible with AI just 18 months ago.

FLUX.3 Max vs. Everything Else
The AI image generation space has never been more competitive. Here is where FLUX.3 Max actually stands compared to the main alternatives right now.
Side-by-Side Comparison
| Feature | FLUX.3 Max | Midjourney v7 | DALL-E 3 | SD 3.5 Ultra |
|---|
| Max Resolution | 4 MP | ~2 MP | ~1 MP | ~2 MP |
| Prompt Accuracy | Very High | Medium | High | Medium |
| Generation Speed | Fast | Medium | Fast | Slow |
| Photorealism | Exceptional | Stylized | Good | Variable |
| Reference Image Input | Up to 8 images | Limited | None | Limited |
| Custom Aspect Ratios | Yes | Yes | Limited | Yes |
| Free Access | Yes via PicassoIA | Paid only | Paid only | Paid or local |
FLUX.3 Max vs. Midjourney
Midjourney's output looks stunning. It has trained users to expect a particular aesthetic: painterly, dramatic, cinematic in an almost oversaturated way. For mood boards and creative direction work, it remains excellent.
Where it falls short for professional production: you cannot get a precise, neutral product photo or a natural documentary portrait from Midjourney without significant prompt fighting. FLUX.3 Max delivers the clean, controlled photorealism that product photographers and editorial teams actually need. You describe the shot, the model executes it.
FLUX.3 Max vs. DALL-E 3
DALL-E 3 integrates into ChatGPT, which makes it convenient for casual users. It handles text rendering well and follows conversational instructions reasonably. But its resolution ceiling and tendency toward a specific "soft AI look" limit its utility for high-stakes visual production.
FLUX.3 Max is sharper, more detailed, and more configurable at the technical level. The gap becomes obvious the moment you need images for anything beyond web thumbnails.
FLUX.3 Max vs. Stable Diffusion Variants
Open-source Stable Diffusion models offer flexibility but demand time investment. You need to install software, download checkpoints, manage VRAM, and learn which LoRA stacks produce which results. For someone who knows the ecosystem well, this is a feature. For everyone else, it is a significant barrier.
FLUX.3 Max runs in your browser with no setup, no downloads, and no GPU required on your end. The results are competitive with or better than heavily tuned SD setups for most use cases.

How to Use FLUX 2 Max on PicassoIA
FLUX 2 Max on PicassoIA gives you the full FLUX.3 Max capabilities with no software installation. Here is the exact workflow.
Step 1: Write a Specific Prompt
The biggest difference between average and outstanding results is prompt specificity. Do not write "a portrait of a woman." Write something like: "Close-up portrait of a woman in her 30s, direct natural window light from the left creating soft Rembrandt lighting, 85mm f/1.2 lens, shallow depth of field, natural skin texture with subtle freckles, dark tailored blazer, photorealistic, Kodak Portra 400 grain."
Every additional descriptor is another instruction the model follows. Treat your prompt as a shot brief to a photographer.
Prompt structure that works:
- Subject: Who or what, specific age or physical description
- Action or pose: Standing, seated, mid-motion, angle relative to camera
- Environment: Interior, outdoor, specific location type and surrounding details
- Lighting: Direction, quality (hard or soft), natural vs. artificial, color temperature
- Camera: Lens focal length, aperture, distance from subject
- Texture and atmosphere: Film grain, surface materials, mood description
- Style: RAW, photorealistic, editorial photography, specific film stock
Step 2: Set Resolution and Aspect Ratio
FLUX 2 Max supports the following options:
- Resolutions: 0.5 MP, 1 MP, 2 MP, 4 MP
- Aspect ratios: 1:1, 16:9, 3:2, 2:3, 4:5, 5:4, 9:16, 3:4, 4:3, or fully custom width and height
For editorial work and high-fidelity image assets, select 4 MP. For web content and social media, 2 MP generates faster while still looking sharp at screen size. For portrait format social posts, set 9:16 at 2 MP.
💡 Note: 4 MP at non-square aspect ratios approaches the 2048×2048 pixel ceiling. The model handles this automatically, but 2 MP gives you more consistent sizing across all ratios.
Step 3: Use Reference Images
One of FLUX 2 Max's most powerful features is reference image input. You can upload up to eight images to guide the output, which makes it viable for brand-consistent production at scale.
Practical uses for reference images:
- Upload existing brand photos to match style and composition across a campaign
- Feed a product shot as reference and describe a new background or lighting scenario
- Use a portrait reference photo and describe a new environment around the same subject
Step 4: Export and Deploy
Download in PNG for lossless quality, JPG for compressed web delivery, or WebP for optimized browser performance. The quality slider from 0 to 100 controls lossy compression for JPG and WebP outputs.
For reproducing the same output across multiple sessions, use the seed parameter to lock in a result. Same seed plus same prompt equals the same image every time, which is essential for iterative workflows.

What You Can Actually Create
FLUX.3 Max excels across a wide range of professional visual categories. Here are the outputs that consistently demonstrate its lead over competing models.
Portraits That Look Like Photographs
Portrait generation is where AI models most commonly fall short. Skin texture, lighting transitions across the face, and authentic expression are technically demanding. FLUX.3 Max handles all three consistently enough for professional output.
The model renders subsurface scattering in skin correctly, which is the subtle translucency that makes real skin look alive rather than plastic. Combined with accurate depth of field from lens specification in your prompt, portraits from FLUX.3 Max routinely hold up to the scrutiny that trips up most other models.
For professional headshots, editorial portraits, or character reference images, this is the right tool.
Product Photography Without a Studio
Traditional product photography requires a studio setup, a skilled photographer, post-processing time, and meaningful budget. FLUX.3 Max compresses all of that into a 30-second workflow.
Describe the product, the surface it sits on, the lighting angle, and the output format. The model generates controlled, clean product imagery that works for e-commerce listings, ad creatives, and presentation decks.

The reference image input extends this further. Upload an actual product photo and describe the new background or environment you want. The model respects the product's shape, color, and texture while rebuilding the context around it.
Culinary and Editorial Work
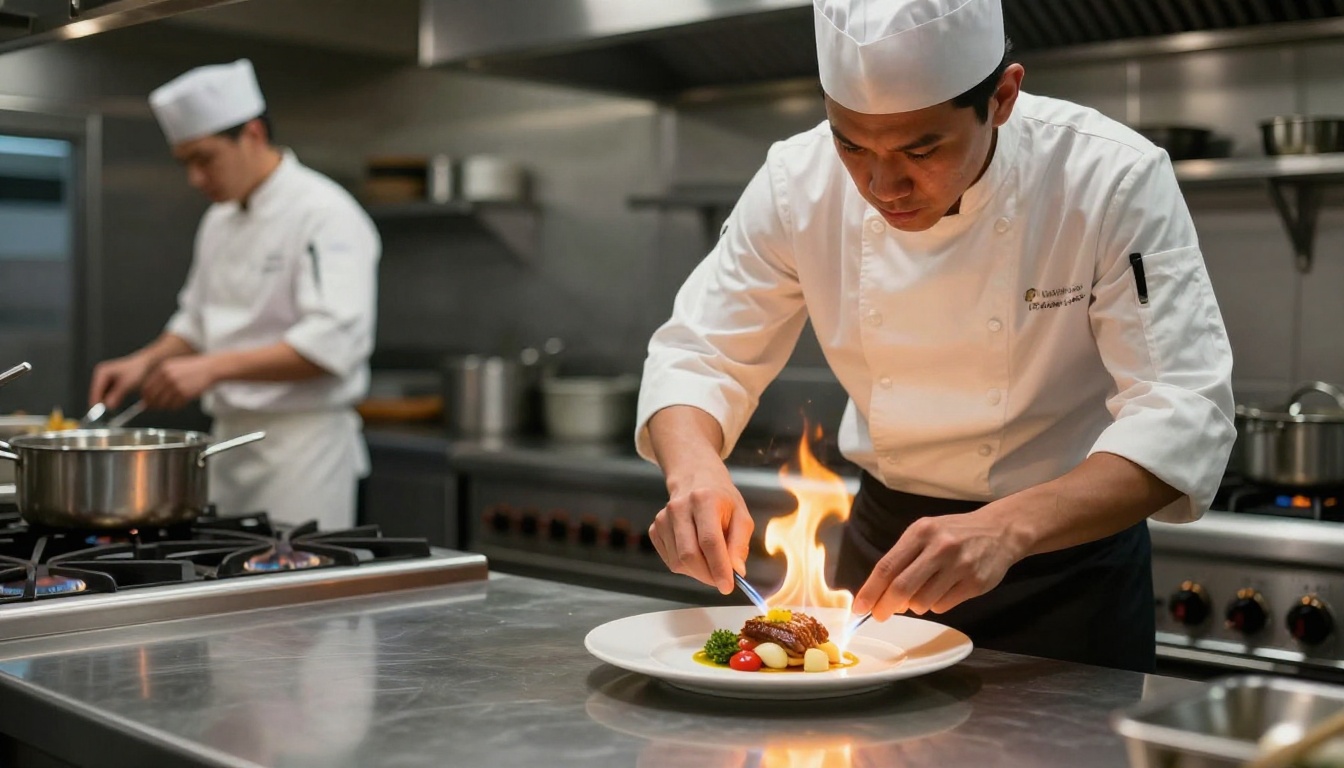
Food photography requires precise lighting control and color accuracy for the final image to be commercially effective. FLUX.3 Max captures the micro-textures of food surfaces: steam rising from a hot dish, sauce gloss on a plated element, the textural contrast between crispy and soft components.
Street and Documentary Photography
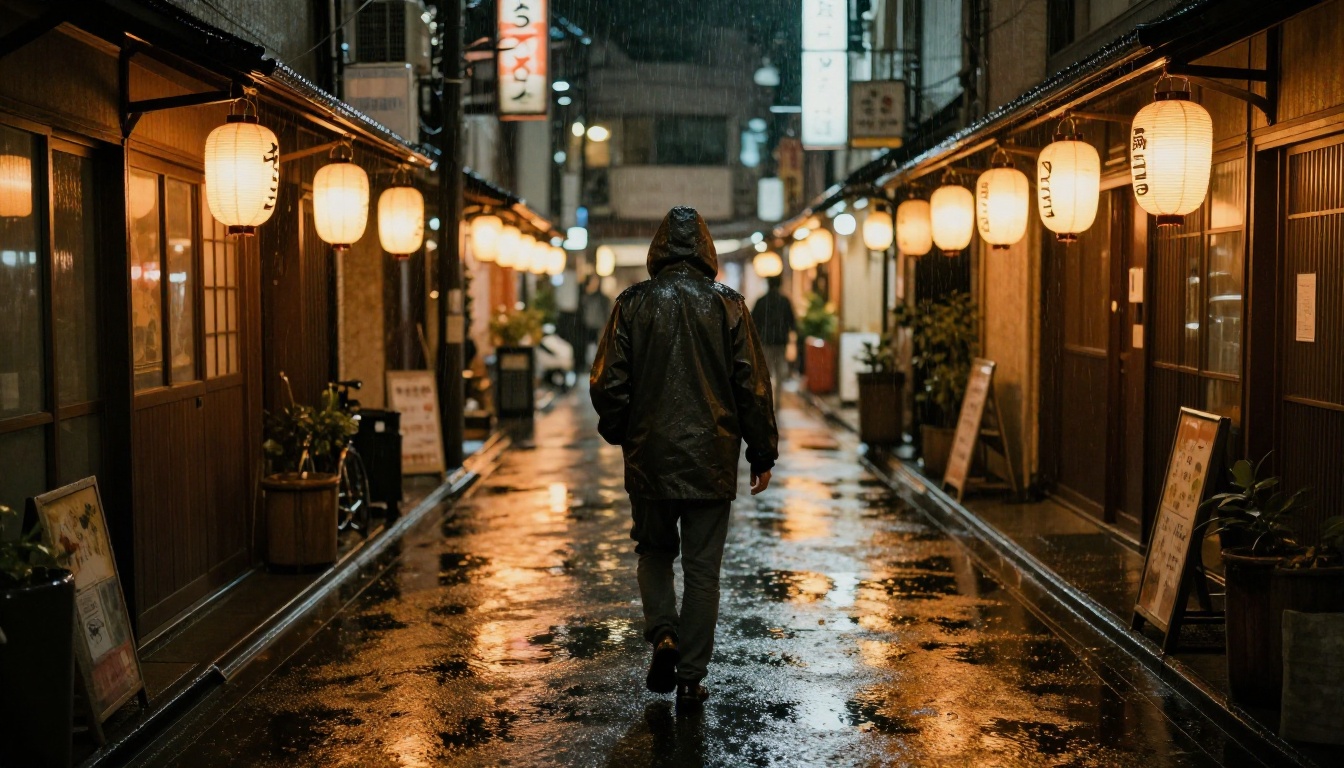
The hardest images to generate convincingly are those that feel genuinely observed rather than constructed. FLUX.3 Max generates street photography with the kind of imperfect authenticity that reads as real: rain reflections in puddles, motion blur on passersby, the layered visual depth of busy urban environments at night.
Edit Any Image with Flux Kontext Max
Generating from scratch covers many use cases. But often you have an existing image that is 90% right and needs one specific change. That is where Flux Kontext Max comes in.
You upload any image, type what you want changed in plain language, and the model applies the edit in one pass. Change a background, swap clothing, fix visible text on a sign, or shift the lighting of an entire scene. No selection tools, no masking, no layers.
What Flux Kontext Max can do in a single prompt:
- "Change the background to a clean white studio environment"
- "Swap the subject's outfit to a dark tailored suit"
- "Rewrite the text on the billboard to say [your text]"
- "Add morning fog to the outdoor scene"
- "Shift the color grading to warm golden hour tones"
- "Remove the clutter from the desk and replace it with a single notebook"
For image editing without design software, Flux Kontext Max is the fastest available workflow.
Remove Backgrounds in One Click
Once you have your FLUX.3 Max output, background removal is a common next step, particularly for product images, portrait cutouts, and composite work.
The Remove Background tool on PicassoIA handles this automatically. Upload your image and download a clean PNG with a transparent background. The model handles complex edges including hair strands, fine fabric details, and translucent materials without the manual selection work that traditional photo editors require.
When to use background removal after generating with FLUX.3 Max:
- Product images for e-commerce listings where you need an isolated subject
- Portrait cutouts for marketing materials, banners, or composite layouts
- Character assets for digital design projects or presentation decks
- Any output where you want to place the subject into a different context than what was generated
The workflow takes under a minute from generation to isolated asset.
Upscale to Print Quality
A 4MP image from FLUX.3 Max is excellent for digital use at any screen resolution. For large-format print, billboard advertising, or high-DPI display output, you can push it further with the AI upscaling tools available on PicassoIA.
The Clarity Pro Upscaler is the strongest match for FLUX.3 Max outputs because it adds texture detail intelligently rather than interpolating pixels. For portrait work specifically, it adds fine skin and hair detail that makes the final image look even more photographic at large sizes.
💡 Full production workflow: Generate at 4MP with FLUX 2 Max → Remove background if needed with Bria Remove Background → Upscale 4x with Clarity Pro Upscaler → Download at print resolution. No software installs at any step.
The Full FLUX Family on PicassoIA
Beyond FLUX 2 Max, PicassoIA gives you access to the complete FLUX model lineup for different speed and quality tradeoffs within the same platform.
| Model | Best Use Case | Speed |
|---|
| FLUX 2 Max | Highest quality, 4MP output, up to 8 reference images | Medium |
| FLUX 1.1 Pro | Fast high-quality with image prompt support | Fast |
| FLUX Dev | Img2img editing, full 12B parameter model | Medium |
| FLUX Schnell | Rapid iteration, unlimited free generations | Instant |
| FLUX Kontext Max | Text-driven image editing in one prompt | Fast |
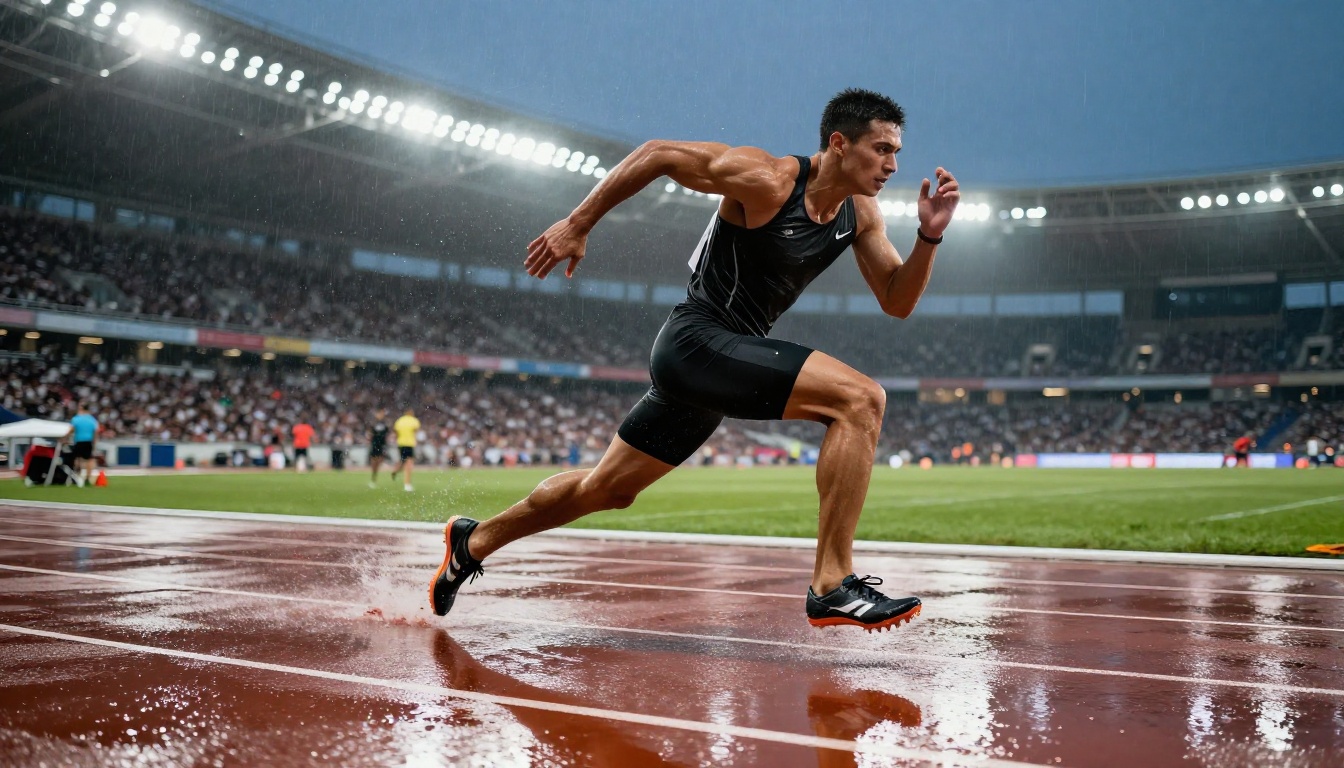
For most professional workflows, the natural progression runs like this: prototype quickly with FLUX Schnell to test directions without spending time on each iteration, refine your strongest concepts with FLUX 1.1 Pro, and deliver final assets at maximum resolution with FLUX 2 Max. If any output needs targeted edits, FLUX Kontext Max handles that in a single text prompt without touching photo editing software.
Try It Now
The gap between AI image generation and professional photography has been closing faster than most people expected. With FLUX.3 Max, that gap is narrow enough that for a growing number of real production use cases, AI generation is simply the faster, more flexible choice.
No photographer schedule, no studio booking, no post-processing queue. You write a precise prompt, select your resolution, and download a professional-grade image in under 30 seconds.
Every FLUX model in this article is available on PicassoIA. You can start with FLUX Schnell for free unlimited iterations, or go directly to FLUX 2 Max for 4MP professional-grade output. Combine your results with the background removal tool and Clarity Pro Upscaler and you have a complete image production workflow without leaving the browser.
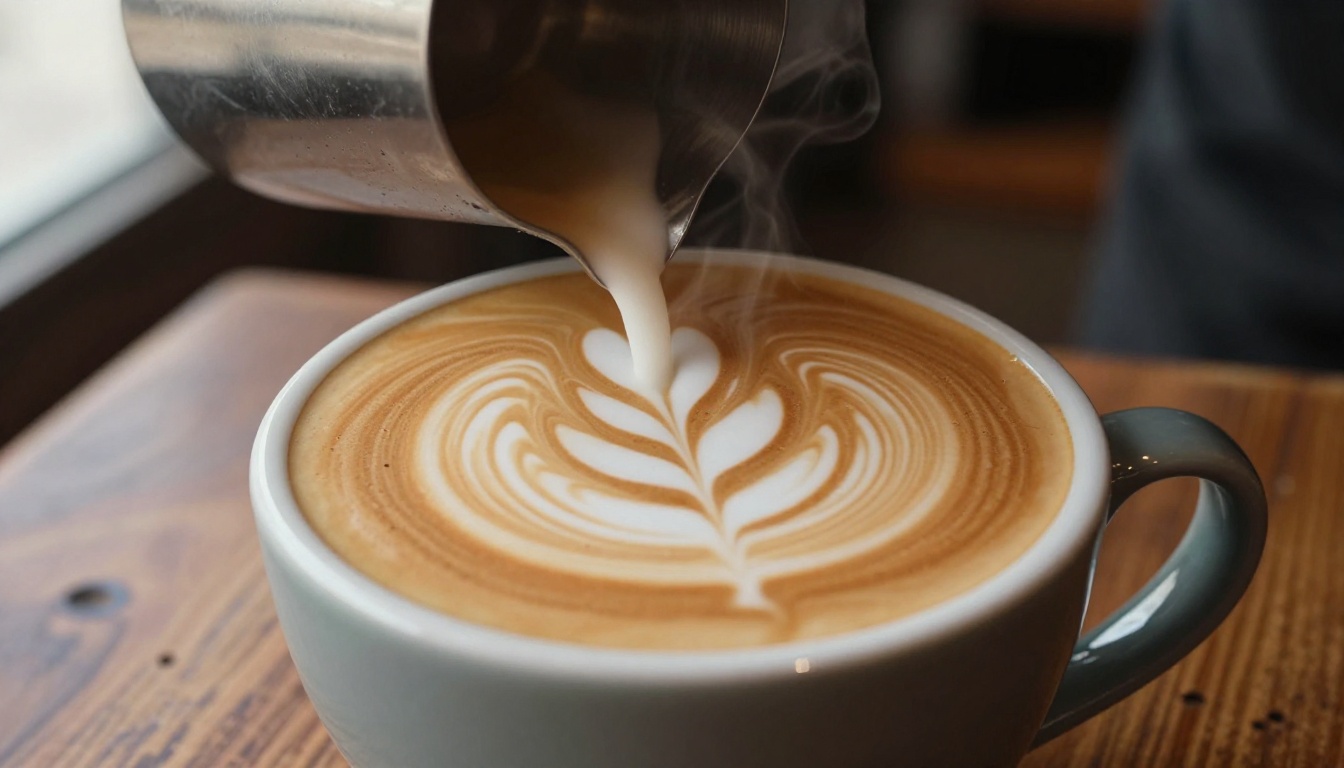
Open PicassoIA, pick your starting model, write your first precise prompt, and see what FLUX.3 Max actually does when you give it specific instructions.


