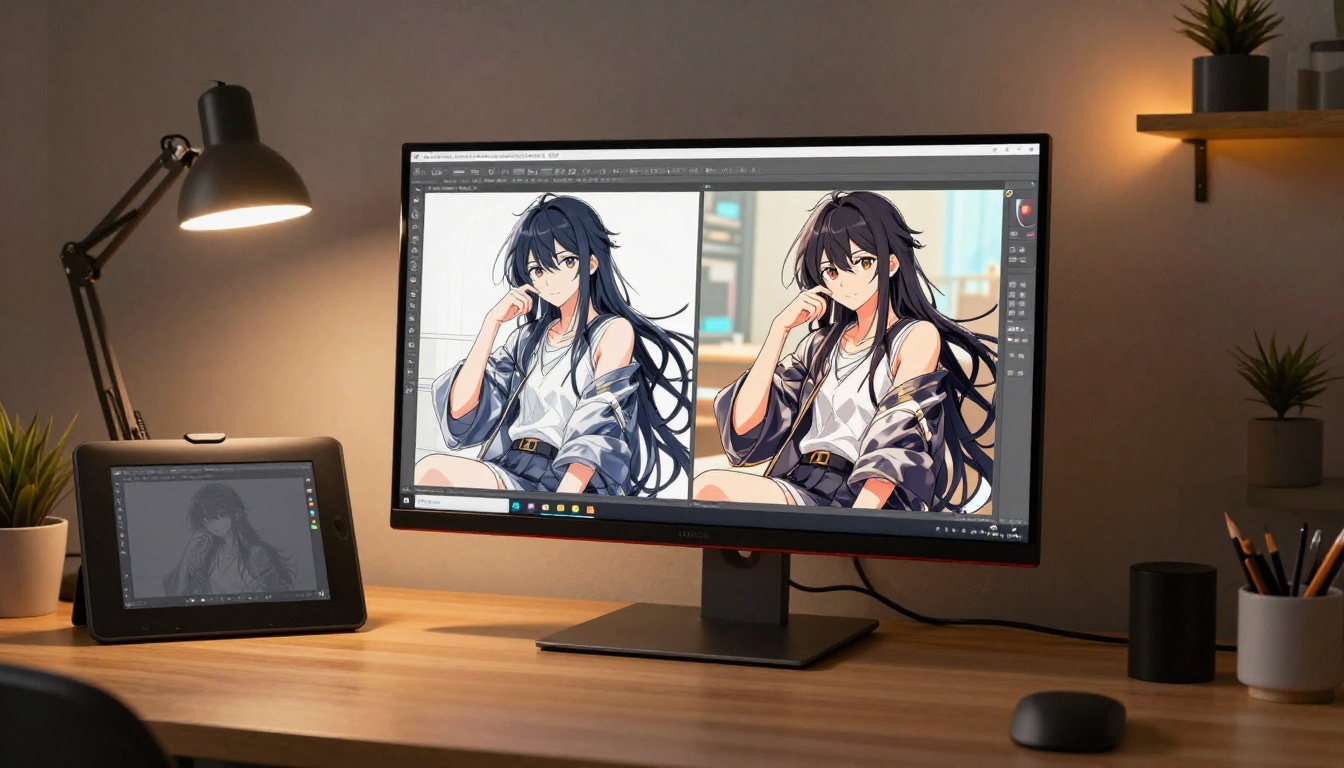
How AI Turns Rough Sketches Into Anime Illustrations
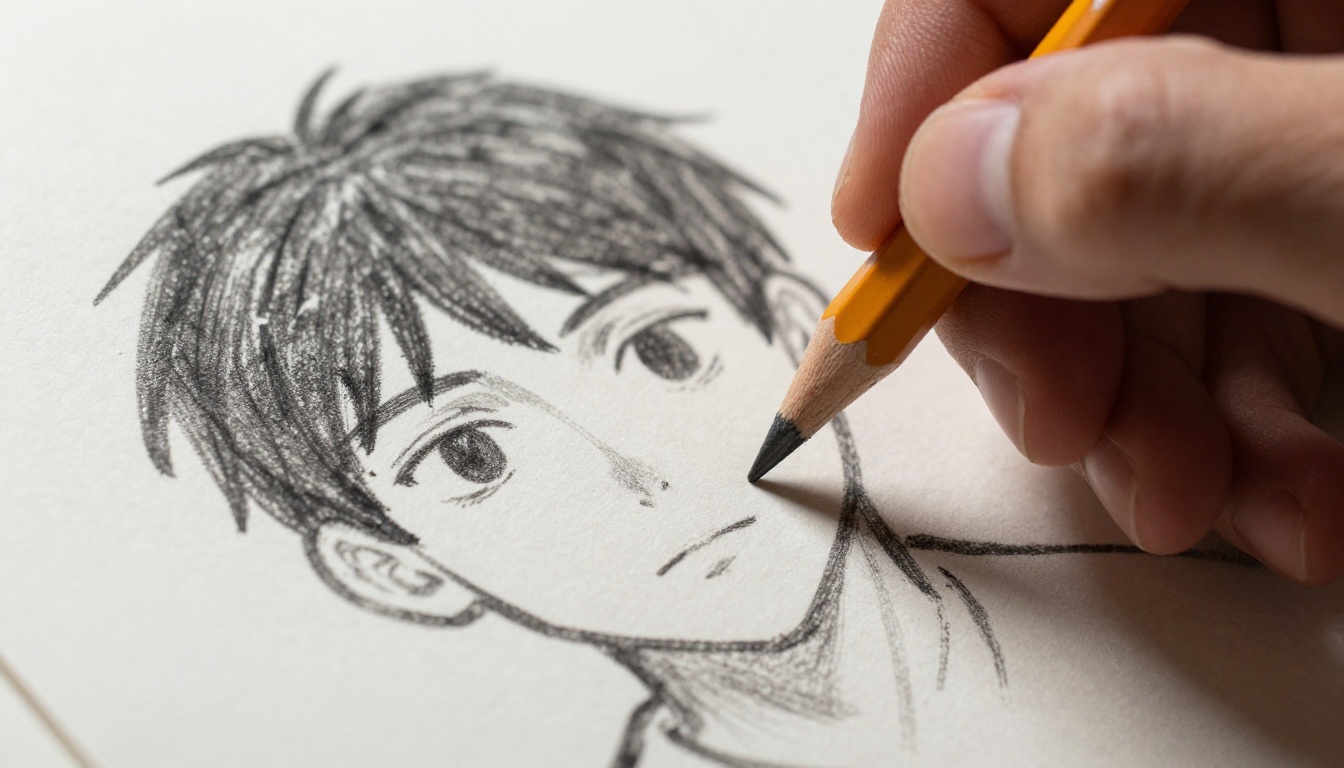
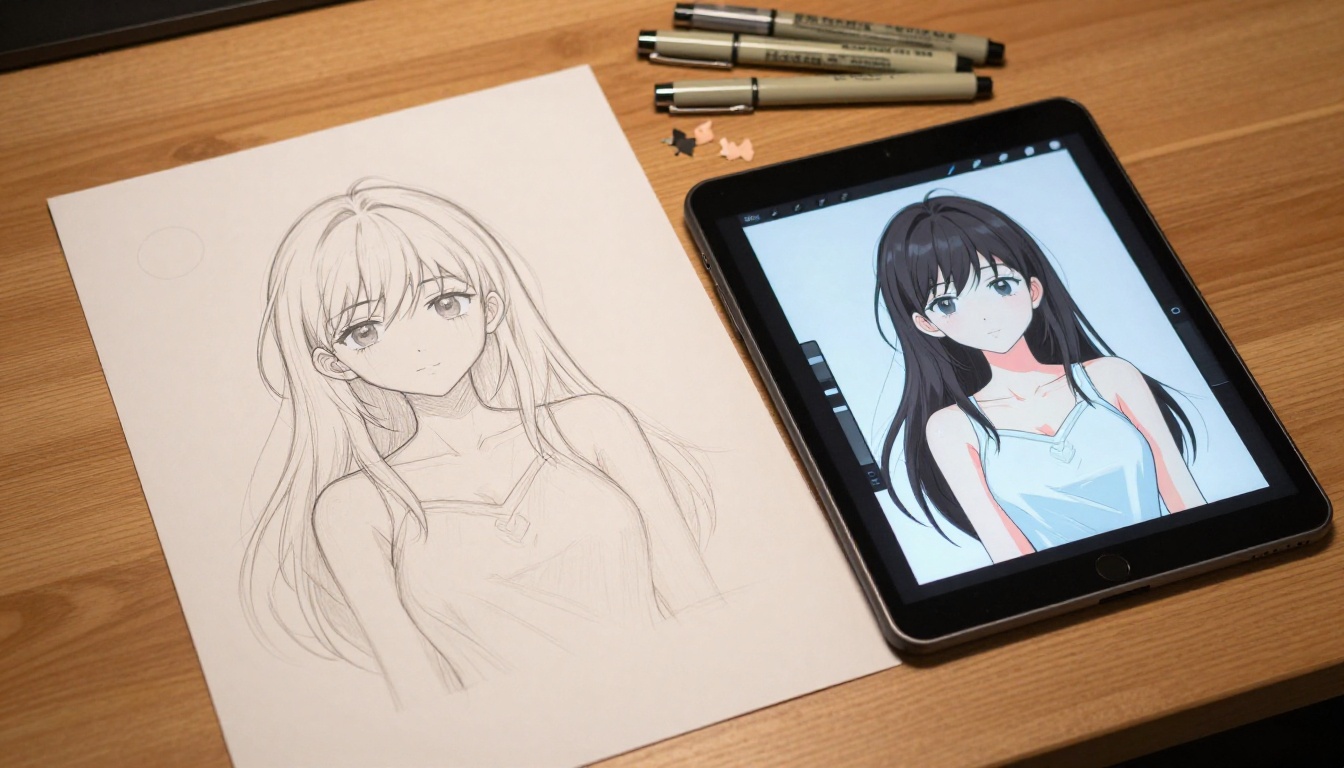
AI technology is reshaping how artists, hobbyists, and creators produce anime illustrations from rough sketches. This article shows exactly how the conversion process works, which AI models perform best for different sketch types, and how to get professional anime art results whether you start with a simple gesture drawing or a detailed pencil draft.
Rough sketches don't have to stay rough. The space between a loose pencil drawing and a polished anime illustration used to take years of practice to cross. AI closes it in seconds now. Whether your sketch looks like confident gestural strokes or something you'd be embarrassed to show anyone, today's models can read your lines, interpret your intent, and output anime-style illustrations that match what you had in your head. This piece breaks down exactly how that process works, which tools do it best, and how to get consistent results on your first try.
What's Actually Happening Inside the AI
When you upload a rough sketch, the model isn't just "colorizing" your drawing. Something more interesting is happening under the hood.
How the Model Reads Your Lines
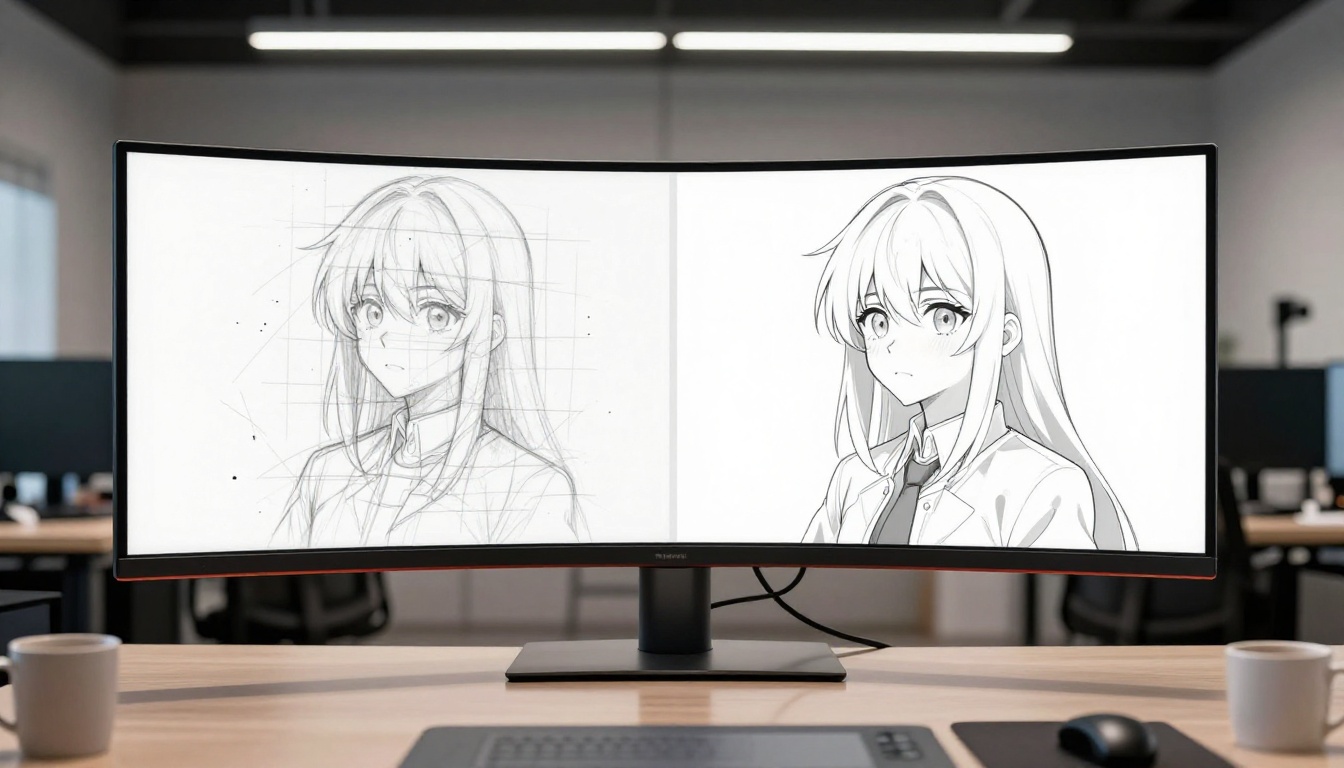
AI image models don't evaluate whether a sketch is well-drawn. They operate on edges, shapes, and spatial relationships. A rough sketch is fundamentally a set of lines describing those relationships: where the head sits relative to the shoulders, where the hairline falls, where the hands are positioned. Models like Controlnet Scribble extract a structural map from those lines. That map serves as the conditioning input for the generator.
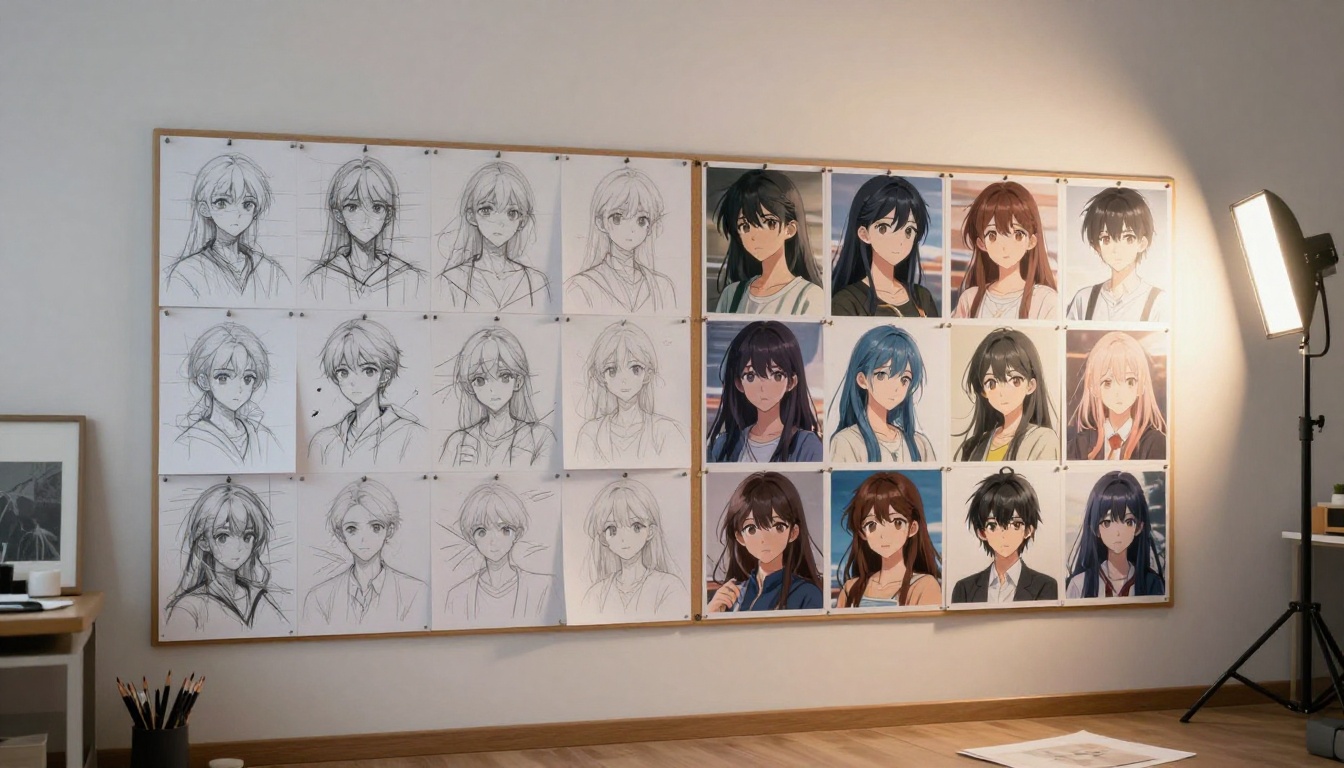
The diffusion model uses your sketch's structure as a spatial skeleton, then generates a new image that respects it. The AI provides everything your sketch didn't: line weight variation, cel-shaded color gradients, expressive eye highlights, fabric folds in clothing, textured hair. You provide the bones. The model provides the rest.
💡 The AI doesn't color your sketch. It generates a brand new image that uses your sketch as a spatial blueprint.
Style Transfer vs. Full Redraw
Two fundamentally different approaches exist, and they produce very different results:
Style Transfer applies an anime aesthetic on top of your existing pixels. The overall structure and some rough texture of your sketch carries over. This works when you want to preserve specific details, but it can make messy sketches look messy in anime style, just with a different color palette.
Full Redraw via ControlNet treats your sketch only as a structural guide. The model generates the image almost from scratch, producing clean anime linework and shading while following your original proportions. This approach doesn't try to work around the rough quality of your sketch. It starts fresh with your sketch as the reference architecture.
For anime illustration specifically, full redraw using ControlNet conditioning produces cleaner, more polished results in the vast majority of cases. Unless you have pixel-level details in your sketch that must be preserved exactly, this is the method to reach for.
The 3 Methods AI Uses to Convert Sketches
Not all sketch-to-anime pipelines work the same way. There are three distinct methods currently in wide use, each suited to different inputs and goals.
ControlNet Scribble
ControlNet is a technique that conditions a diffusion model on a secondary input beyond the text prompt. Controlnet Scribble is specifically built to work with loose, imprecise line input. The scribble variant is tolerant of messy strokes, overlapping lines, and incomplete shapes, which makes it ideal for rough sketches that wouldn't work with more precise conditioning methods like ControlNet Canny.
How it works: Your sketch is converted to a simplified edge map. The model then generates an image conditioned simultaneously on your text prompt and that edge map. The text prompt controls style, color, and content; your sketch controls composition and structure.
Best for:
Genuinely rough, unpolished sketches
Quick pose and composition studies
Any sketch type without clean outlines
Watch for:
Very complex scenes with overlapping elements can confuse edge detection
Fine structural details like small hands or intricate accessories may shift in the output
LoRA-Based Anime Fine-Tuning
LoRA (Low-Rank Adaptation) models are compact, targeted add-ons trained on specific visual styles. Qwen Image Edit Plus LoRA Photo To Anime uses built-in LoRA fine-tuning to drive base model output toward a specific anime aesthetic. Upload a portrait or character sketch and the LoRA steers the generation toward clean anime-style rendering with minimal setup.
Best for:
Portrait and face conversion
Consistent anime style across multiple outputs
Artists who want reliable results without complex prompt engineering
Watch for:
Strong LoRAs can override fine structural details from your sketch
Style is less customizable than a ControlNet approach
Image-to-Image Diffusion
In image-to-image mode, the AI treats your sketch as the starting point. It adds a controlled amount of noise to your image before running the denoising process that produces a new output. The denoising strength parameter (typically 0.0 to 1.0) controls how radical the transformation is: low strength keeps close to your sketch, high strength allows free reinterpretation toward anime aesthetics.
Best for:
Flexible strength adjustment across multiple generations
Any sketch quality level
Gradual style refinement across iterations
Watch for:
Too high a strength and your original composition is lost
Too low and the rough quality of your sketch bleeds into the output
Method
Input Quality Needed
Composition Control
Best Output Style
ControlNet Scribble
Low (rough OK)
High
Prompt-driven anime
LoRA Photo-to-Anime
Medium (portrait)
Medium
Consistent anime face
Image-to-Image Diffusion
Any
Adjustable
High at strong settings
How to Use Controlnet Scribble on PicassoIA
Controlnet Scribble is available directly on PicassoIA and is one of the most accessible entry points for sketch-to-anime conversion. Here's the step-by-step workflow.
Step 1 - Prepare Your Sketch
The model handles rough input well, but these small adjustments meaningfully improve your results:
Use white or light-colored paper. High contrast between paper and drawn lines helps the edge detector work accurately.
Draw with dark media: a 2B or 4B pencil, ink pen, or fine-liner. Light gray pencil marks can disappear during edge processing.
Photograph or scan at decent resolution: aim for at least 1000 pixels on the short side. Scan at 300 DPI when possible.
Avoid heavy shading or crosshatching: the edge detector reads these as additional structural lines, which produces cluttered output. Keep shading minimal in sketches you plan to convert.
Crop the sketch tightly: remove large areas of blank paper before uploading.
Step 2 - Write the Right Prompt
Your text prompt is as important as the sketch itself. The model uses the sketch for spatial structure and the prompt for everything else: style, color, content, atmosphere. Vague prompts produce vague output.
Here's an example prompt that produces strong anime character output:
anime illustration, young female character, long flowing dark hair,
school uniform with pleated skirt, detailed expressive eyes with
catchlights, soft cel-shading, clean ink outlines, Makoto Shinkai
inspired color palette, warm afternoon light, high detail, 4k
Negative prompt (what to push away):
realistic, photorealistic, 3d render, blurry, deformed, extra limbs,
low quality, watermark, bad anatomy, text
Specifying a named anime visual reference (Makoto Shinkai, Kyoto Animation style, Studio Trigger) gives the model a much clearer target than "anime" alone.
Step 3 - Adjust and Iterate
The conditioning scale controls how tightly the output follows your sketch:
0.5 to 0.7: Loose adherence, more creative anime output, more variety across seeds
0.8 to 1.0: Strong adherence to sketch structure, more predictable results
Above 1.0: Very tight structural match, sometimes at the cost of anime aesthetic quality
Start at 0.75 as your baseline. If the output ignores your sketch, increase the scale. If the anime style feels stiff or overfit to your rough lines, reduce it.
💡 Generate 4 to 6 times with different seeds before changing any setting. The same prompt and conditioning produces dramatically different results across seeds. Record the seeds that work.
Best Models for Anime Illustration Results
PicassoIA hosts multiple models suited to anime output from sketch input. The right choice depends on what kind of sketch you're starting with and what anime style you want to reach.
Proteus v0.3 for Character Art
Proteus v0.3 was trained heavily on anime character art. It produces the most distinctly anime output with the least prompt engineering required. Default outputs include clean cel-shaded color, expressive eye rendering, and natural anime proportions, including slightly enlarged eyes, soft facial features, and detailed hair.
This model works best when:
Your sketch is a character portrait or half-body illustration
You want strong, clean anime aesthetics without extensive prompt writing
You're aiming for mainstream commercial anime production style
Practical note: Proteus v0.3 tends to add background elements even when your sketch is a plain character on white. Add white background, no background, simple background to your negative prompt for character-only output.
Krea 2 Medium for Painterly Styles
Krea 2 Medium produces anime-adjacent output with a more painterly quality. Where Proteus v0.3 outputs crisp digital anime, Krea 2 Medium produces something with more warmth and hand-crafted character. Think of the difference between the clean digital cel-shading of modern streaming anime versus the warmer, more textured look of older theatrical anime films.
This model works best when:
You want a softer, more artistic result that reads less like digital production art
Your sketch has expressive, gestural quality you want the output to carry
You're producing concept art or illustration work rather than production-style anime
Qwen Photo-to-Anime for Portraits
Qwen Image Edit Plus LoRA Photo To Anime is specifically optimized for face and portrait conversion. Its built-in LoRA fine-tuning makes it the most reliable option when your sketch is primarily a face drawing. It maps facial proportions from your sketch to anime-style features while preserving the character's identity.
This model works best when:
Your sketch is a portrait, head shot, or bust illustration
Facial accuracy from sketch to anime output matters
You're converting character design sheets where face consistency is critical
Model
Best Use Case
Anime Style Character
Sketch Type
Proteus v0.3
Full character illustrations
Strong commercial anime
Rough to clean
Krea 2 Medium
Painterly, expressive art
Soft artistic anime
Gestural sketches
Qwen Photo-to-Anime
Portrait conversion
Consistent anime face
Portrait drawings
Controlnet Scribble
Any rough composition
Flexible (prompt-driven)
Any type
Upscaling Your Anime Art to Print Quality
After generation, most anime outputs sit at 512x768 or 1024x1024 resolution. That looks fine on a phone screen but becomes visibly soft when printed, zoomed, or displayed at high resolution.
Why Upscaling Matters for Anime
Anime illustration relies heavily on clean, precise linework. At low resolution, lines become soft at their edges. This immediately reads as low quality to trained eyes and reduces the visual impact of the artwork significantly. Proper upscaling sharpens those lines to the standard of hand-drawn or professionally inked anime.
Clarity Pro Upscaler vs Real ESRGAN
PicassoIA offers multiple upscalers, but two stand out for anime work:
Clarity Pro Upscaler is the recommended choice for anime illustration. It uses AI-powered creative upscaling that doesn't just enlarge pixels. It generates plausible new detail at the higher resolution, sharpening linework and adding depth to color in ways that align naturally with anime aesthetics. The result at 2x or 4x scale looks like a higher-quality original render rather than a stretched version of a smaller image.
Quick 4x upscales when creative enhancement isn't needed
Preserving exact color values without AI reinterpretation
Batch-processing multiple images efficiently
For the best possible final output, run your best generation through Clarity Pro Upscaler before publishing or printing. For extreme enlargement, Topaz Image Upscale supports up to 6x with strong linework preservation.
💡 Don't skip the upscaling step. The difference between a native-resolution output and a 4x upscaled version of the same image is significant, especially for anime linework.
4 Mistakes That Kill Your Results
After watching hundreds of sketch-to-anime attempts fall short, the same errors appear repeatedly. All of them are easy to avoid once you know what to watch for.
1. Uploading an overly detailed sketch
This is counterintuitive. More detail in your sketch does not guarantee better anime output. Heavy crosshatching, dense pencil shading, and textured areas confuse the edge detector. It starts treating shadow areas and texture as structural lines, which produces cluttered, confusing output. Simple sketches with clear, confident outlines consistently outperform heavily rendered pencil drawings for this specific application.
2. Writing vague prompts
"Anime girl" is not a prompt. The model needs specifics: what length and style of hair, what clothing type, what color palette, what named anime visual reference, what background, what emotional expression. Every vague detail is something the model fills randomly. Specific prompts give you control. Generic prompts give you the model's default interpretation, which is rarely what you intended.
3. Not testing multiple seeds
Diffusion models are stochastic. The same prompt and conditioning with different random seeds can produce outputs ranging from unusable to exactly right. Most people stop after one or two bad generations and conclude the prompt isn't working. The real issue is often just seed variation. Generate 4 to 6 times before changing any settings. Record seeds that produce good results.
4. Publishing at native resolution
An image at native generation resolution is a draft. The finished piece needs upscaling. Anime audiences and artists view work zoomed in. Linework softness that's invisible at thumbnail size becomes obvious at full view. Running your best output through Clarity Pro Upscaler adds a few seconds to your workflow and separates your output from most of what people publish without this step.
Start Creating Your Own Anime Illustrations
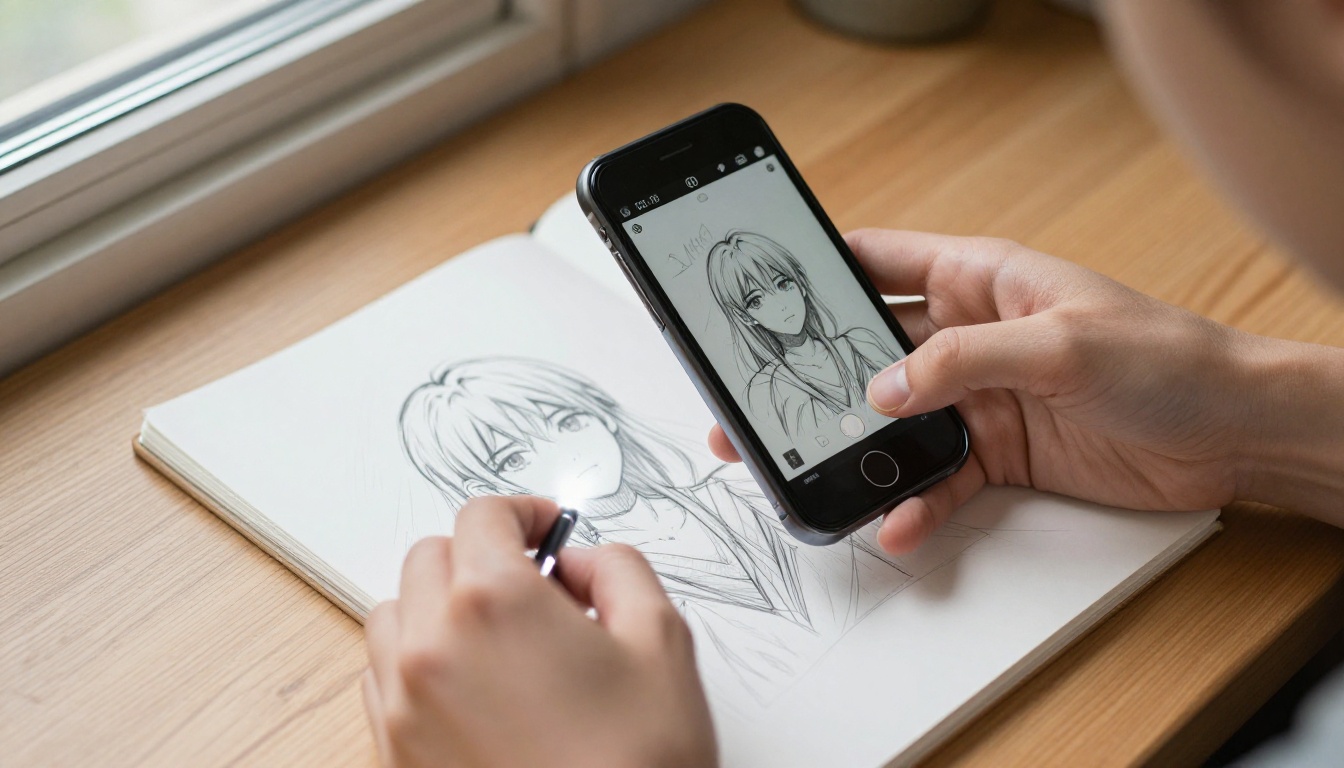
The workflow is simpler than most people assume. Sketch something, photograph or scan it, upload it to Controlnet Scribble on PicassoIA with a specific anime prompt, generate across several seeds, pick the best output, then upscale with Clarity Pro Upscaler. That full pipeline runs in under 5 minutes from first upload to finished illustration.
For portrait sketches, swap Controlnet Scribble for Qwen Photo-to-Anime. For strong character art aesthetics, try Proteus v0.3. For a more painterly result, Krea 2 Medium is the right pick.
What once required years of anime art training, professional illustration tools, and significant hours per drawing is now accessible to anyone with a pencil and an internet connection. The quality ceiling from this stack is genuinely high when the pipeline is used with intention.
PicassoIA brings every model in this workflow into one place, no installation required, no complex local setup needed. Try uploading your next rough sketch. Pay attention to what the AI does with your lines, adjust the conditioning scale, refine your prompt, and iterate across seeds. The more intentionally you work with the process, the more precisely you can direct it toward the anime illustration you had in mind when you first picked up that pencil.