You have a photo that is almost right. The coat is the wrong colour, the background is cluttered, or the print in your grandfather's hand is faded to a ghost. Flux Kontext Dev fixes that kind of problem with one sentence. You upload the picture, type what should change, and the model rewrites only that part while keeping the rest of the frame recognisable.
This article covers what the model does, how to run it free online, which settings matter, prompts that work, and where it runs out of road. Some numbers come from the model's public documentation, and others come from the settings exposed on PicassoIA. I have marked which is which.
What Flux Kontext Dev Actually Does

Flux Kontext Dev is the open-weights member of the Kontext family from Black Forest Labs. It has roughly 12 billion parameters and it works on an image you supply, not on an empty canvas. The instruction you write is treated as an edit order: change this, keep that.
Editing, not just generating
A normal text-to-image model starts from noise and invents a new picture. Kontext starts from your picture. That difference explains most of its behaviour:
- Character consistency: a face, a haircut or a jacket tends to survive the edit.
- Local changes: you can swap a colour or an object without redrawing the whole scene.
- Chained edits: you can feed the output back in and make a second change, then a third.
- Text instructions: no masks, no brushes, no layers.
💡 Think of it as a very literal photo retoucher. It follows what you write, so vague prompts get vague edits.
Dev, Pro and Max compared
Black Forest Labs ships several Kontext versions. The Dev model is the one with downloadable weights. The others are hosted. All of them are on PicassoIA.
| Model | Access | Best for | Trade-off |
|---|
| Flux Kontext Dev | Open weights, non-commercial licence | Testing, learning, personal projects | Slightly less polish on hard edits |
| Flux Kontext Pro | Hosted | Reliable everyday edits | Not open weights |
| Flux Kontext Max | Hosted | Tougher prompts and typography | Highest cost tier |
| Flux Kontext Fast | Hosted | Quick iterations | Speed over fine detail |
If your edit is simple, Dev is usually enough. If you are fighting it for the fifth time, move up a tier before you burn an afternoon.
How to Use It Free Online
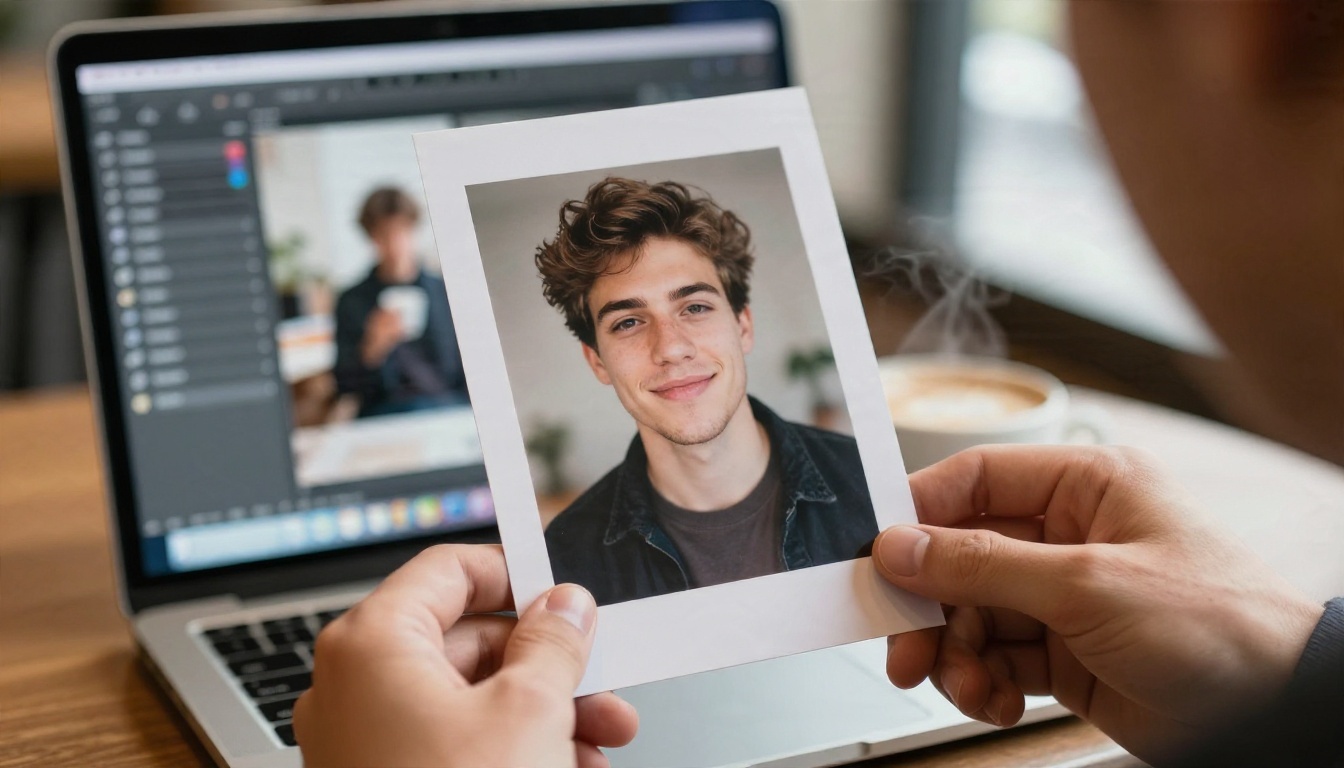
"Free" can mean two different things here: free in a browser, or free on your own machine. Both are real, and each has a cost that is not money.
Free in your browser
The fastest route is the hosted version of Flux Kontext Dev on PicassoIA. You open the page, drop in a photo, write the instruction, and press generate. There is nothing to install and no GPU needed on your side. Free access on hosted platforms is normally capped by usage, so check the current allowance on the page before you plan a large batch.
Free on your own GPU
Because the weights are public, you can also run the model locally. Community guides report these rough VRAM figures:
| Version | Approximate VRAM | Notes |
|---|
| Full bf16 | About 24 GB | Highest fidelity, heavy |
| FP8 checkpoint | About 12 GB | Roughly twice as fast as bf16 in one report |
| NF4 quantised | About 7 GB | Fits small cards, some quality loss |
Those figures come from third-party write-ups and they vary with the tool you use, so treat them as a starting estimate. Local running costs you setup time and electricity, but no per-image fee.
💡 If you only need a handful of edits this week, the browser route saves hours of installing drivers and downloading checkpoints.
Settings That Change Results

The PicassoIA page for Dev exposes a short list of controls. Each has a clear job.
| Setting | Default | What it does |
|---|
| Prompt | None | The edit instruction |
| Input image | None | The photo to change |
| Guidance | 2.5 | How hard the model follows your text |
| Inference steps | 30 | How many refinement passes it runs |
| Aspect ratio | Match input | Output shape, from 1:1 to 21:9 |
| Seed | Random | Repeats a result when reused |
| Output format | WebP | WebP, JPG or PNG |
| Output quality | 80 | Compression level for WebP and JPG |
Guidance scale
Guidance is the setting people touch first. The reference example in the model's documentation uses 2.5, and that is also the default on PicassoIA. Raise it a little, to around 3 or 3.5, when the model ignores part of your instruction. Lower it when the result looks harsh, over-sharpened or too far from the original.
The pattern I would follow: change guidance in small steps of 0.5, one run at a time. Large jumps make it hard to see what caused the difference.
Inference steps
The default is 30 steps. More steps give the model more passes to refine detail, at the price of longer waits. For a first pass, stay at 30. If edges look soft or small textures look smeared, try a modest bump. If you are only testing whether a prompt works, fewer steps will give you a quicker rough answer.
Aspect ratio
Leave it on match input image for most edits. That keeps the framing you started with. Change it only when you want a new crop on purpose, for example turning a square photo into a 16:9 banner. Be aware that changing shape asks the model to invent content at the new edges.
Seed
A seed makes a result repeatable. Found an edit you like but want a slightly different prompt? Keep the seed fixed and change one phrase. The difference you see is then caused by the words, not by luck.
Format and quality
Pick PNG if you plan to edit the result further, because it avoids compression. Choose WebP or JPG for sharing and web use. Output quality only matters for those two formats.
Real Examples With Prompts
The wording of the prompt decides whether you get a clean edit or a messy one. These three patterns cover most daily work.
Restore an old photograph
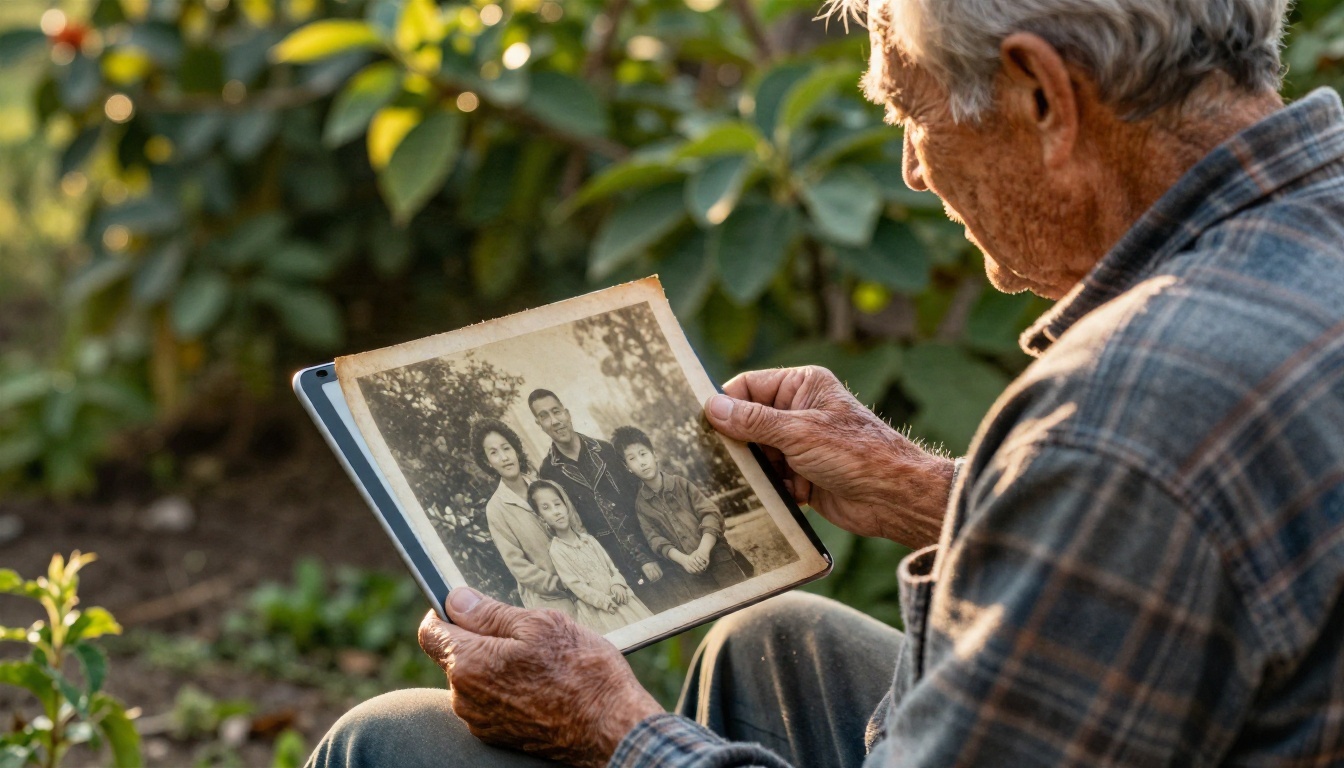
Scanned family prints are the classic use case. A prompt like this works well:
"Restore this photograph: remove scratches and fading, recover natural skin tones, keep the faces and clothing exactly the same."
The last clause matters. Without it, the model may smooth faces more than you want. If a face looks too clean, lower guidance and run it again with the same seed.
Change clothing or colour
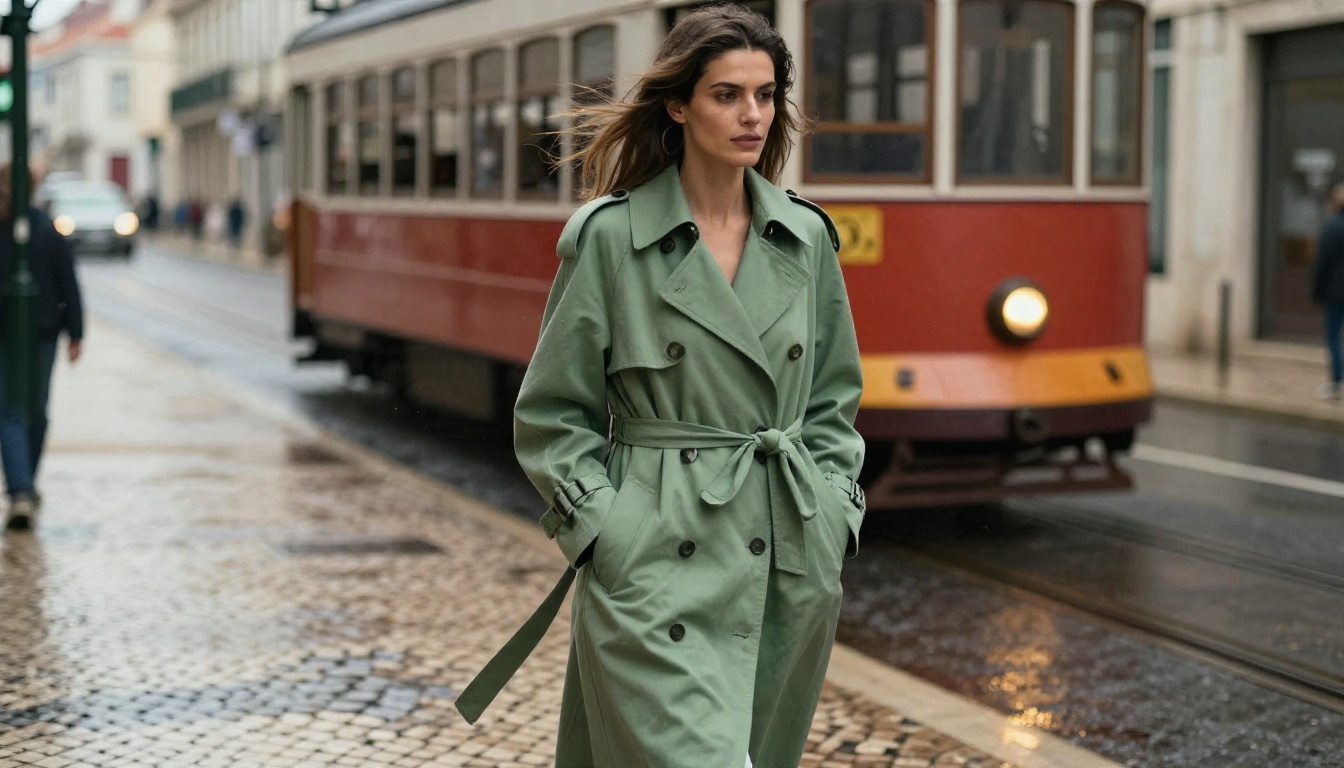
Colour swaps are where Kontext shines because the rest of the scene stays put.
"Change the coat to deep red wool. Keep her pose, the street, and the lighting unchanged."
Name the object, name the new look, and then list what must stay. That three-part structure is the single most useful habit for this model.
Edit a product shot

Sellers use it to change a surface, add a prop, or remove a distracting object.
"Replace the travertine surface with dark walnut wood. Keep the mug and wallet exactly as they are."
For pure background blur, there is a dedicated tool: Depth of Field. For a quick portrait cleanup, try Professional Headshot.
Prompt habits that help
- Be specific: "the red scarf" beats "that thing".
- Say what stays: list the pose, the face, the lighting.
- One change at a time: stacked edits increase drift.
- Chain, don't cram: run edit one, then feed the result into edit two.
- Quote text: if you want words in the image, put them in quotation marks.
How to Use Flux Kontext Dev on PicassoIA

Here is the full path from photo to finished edit.
- Open the model page. Go to Flux Kontext Dev on PicassoIA.
- Upload your image. The input accepts JPEG, PNG, GIF and WebP files. Pick a sharp, well-lit source for the best result.
- Write the instruction. Use the pattern: change X to Y, keep Z the same.
- Leave guidance at 2.5. Start there. Move in steps of 0.5 only if the first result misses.
- Keep steps at 30. This is the default and a sound starting point.
- Set the aspect ratio. Use match input image unless you want a new crop.
- Choose a format. PNG for further editing, WebP or JPG for sharing.
- Generate and compare. If you like the result, note the seed. If not, adjust one thing and run again.
- Chain the next edit. Download the output and upload it as the new input.
💡 Keep a small log of prompt, guidance and seed for edits you want to repeat. It saves guesswork on the next batch.
If you have trained a style or subject, Flux Kontext Dev LoRA lets you apply a LoRA on top of the same editing approach.
Limits You Will Hit
Every tool has edges. Knowing them early saves frustration.
Licence limits
The Dev weights are released under the FLUX.1 Non-Commercial License. That means free access for research and non-commercial work. Black Forest Labs says commercial licences for its open-weights models can be bought through a self-serve portal. Sources disagree on exactly how the licence treats generated outputs, so read the official licence text before you use results in paid work. When in doubt, a hosted commercial option such as Flux Kontext Pro may be simpler.
Hardware limits
Running locally is not free of cost. Full precision wants around 24 GB of VRAM, and smaller cards need quantised versions with some loss in fidelity. If your GPU is modest, the browser route will be faster than fighting out-of-memory errors.
Quality limits
Dev is strong, but it is not magic. Expect these weak spots:
- Drift over many edits: faces and textures can slowly change when you chain many steps.
- Fine text: small lettering inside a photo may come back garbled.
- Big structural changes: moving a pose or camera angle is much harder than changing a colour.
- Crowded scenes: with many people, the model can mix up who should change.
- Over-smoothing: restoration can remove natural skin texture if guidance is too high.
When to Pick Another Model

Dev is a good first stop, not the only stop. Here is when I would switch:
A good workflow is to test the idea on Dev, then rerun the winning prompt on a stronger model when the final quality matters.
Try Your Own Edits
You now have the full picture: what the model does, where to run it, the settings worth touching, prompts that hold up, and the limits to plan around. The fastest way to see it is to try it on a photo you already own.
Open Flux Kontext Dev on PicassoIA, upload one picture, and write a single clear instruction. Change a colour, clean a background, or bring back a faded print. Then adjust one setting and compare the two results side by side. If you want to test other editors, browse the full model list at picassoia.com/en/all-models and run the same prompt through two or three of them. Ten minutes of testing will teach you more than any list of tips.


