Google Try On API: Code Example, Photo Requirements and Not Working Fixes
A hands-on look at Google's Virtual Try-On API: a working Python and REST code example, the photo requirements for person and garment images, and a symptom-by-symptom fix list for errors, empty results and bad fits.
You send two photos to Google's Virtual Try-On API, one of a person and one of a garment, and you expect a clean image of that person wearing the clothes. Sometimes that is exactly what comes back. Other times you get a 403, an empty list, or a sweater that has melted into the jeans. The difference usually comes down to three things: the code, the photos, and a handful of settings nobody reads until something breaks.
This article walks through all three. You get a working Python example, a REST request you can paste into a terminal, the photo requirements that decide whether the output looks real, and a symptom-by-symptom list of fixes for the "not working" moments. Since Google's model is not something you can run on PicassoIA, there is also a section on getting similar results with models that are.
What the API Actually Does
Google's Virtual Try-On is a model on Vertex AI. You give it an image of a person and one or more product images, and it returns new images of the same person wearing the product. It does not generate a random model. It edits your photo, keeping the face, pose, background and proportions, and swaps the clothing.
💡 Quick mental model: think of it as an editing endpoint, not a text-to-image endpoint. There is no creative prompt to tune. The quality of the result is decided almost entirely by the two photos you upload.
Model IDs and Versions
This is the first place people get stuck. Google's current English reference lists virtual-try-on-001 as the supported model, and it is marked as generally available. Older pages and several translated copies of the documentation still mention virtual-try-on-preview-08-04, the preview version. If you copy a snippet from an old tutorial and your project cannot call that preview ID, you will see a "model not found" style error that looks like a bug but is really a naming issue.
Item
Details
Current model ID
virtual-try-on-001
Older preview ID
virtual-try-on-preview-08-04
Platform
Vertex AI on Google Cloud
Inputs
One person image, one or more product images
Image sources
Base64 bytes or a Cloud Storage URI
Variations per request
1 to 4 (sampleCount)
Output size
Matches the input image ratio and resolution
Where PicassoIA Fits In
Google's Virtual Try-On model is not on PicassoIA. If you want to run virtual outfit previews today without a Google Cloud project, the alternatives are covered further down, including P Image Try On, which was built for this exact task.
Python Code Example
Here is a minimal, working flow. It assumes you already have a Google Cloud project with Vertex AI enabled and billing attached.
Setup Before the First Call
Create or pick a Google Cloud project and enable the Vertex AI API.
Install the Google Gen AI SDK with pip install google-genai.
Authenticate locally with gcloud auth application-default login.
Make sure your account has a role that lets it call Vertex AI models.
Pick a region. Use the same region in your client and in any REST URL.
The Python Call
from google import genai
from google.genai.types import Image, ProductImage, RecontextImageSource

client = genai.Client(
    vertexai=True,
    project="your-project-id",
    location="us-central1",
)

result = client.models.recontext_image(
    model="virtual-try-on-001",
    source=RecontextImageSource(
        person_image=Image.from_file(location="person.jpg"),
        product_images=[
            ProductImage(product_image=Image.from_file(location="sweater.jpg"))
        ],
    ),
)

with open("tryon-result.png", "wb") as f:
    f.write(result.generated_images[0].image.image_bytes)
A few notes on this snippet:
vertexai=True tells the SDK to use Vertex AI rather than the consumer Gemini endpoint. Forget it and authentication fails in confusing ways.
product_images is a list, so the structure allows several garments, but start with a single item until the basic flow works.
Method and class names in the SDK evolve between releases. If an import fails, check the current SDK reference for the exact names rather than debugging your own code.
The REST Version
If you prefer raw HTTP, or you are calling from a language without an SDK, the request looks like this:
The response comes back as a list of predictions, each holding a base64 image. Decode it and write it to a file.
Parameter
What it does
Watch out for
sampleCount
Number of variations, 1 to 4
More samples means more cost per call
storageUri
Sends output to a Cloud Storage bucket
The service account needs write access
seed
Makes results repeatable
Reported not to work when watermarking is on in the preview version
safetySetting
Sets the filter strength
Default is block_medium_and_above, and block_none needs special access
💡 Tip: the preview version also listed parameters such as baseSteps and addWatermark. Do not assume they exist on virtual-try-on-001. Send only the parameters shown in the current reference and add the rest one at a time.
Photo Requirements That Matter
Google's reference does not publish a neat checklist of pixel sizes and file limits that I could confirm, so treat the rules below as practical requirements drawn from how try-on models behave, not as official limits. What is official: the output keeps the same ratio and resolution as your input image, so a small, cropped upload gives you a small, cropped result.
The Person Photo
The person image is the foundation. Everything the model preserves, it preserves from here.
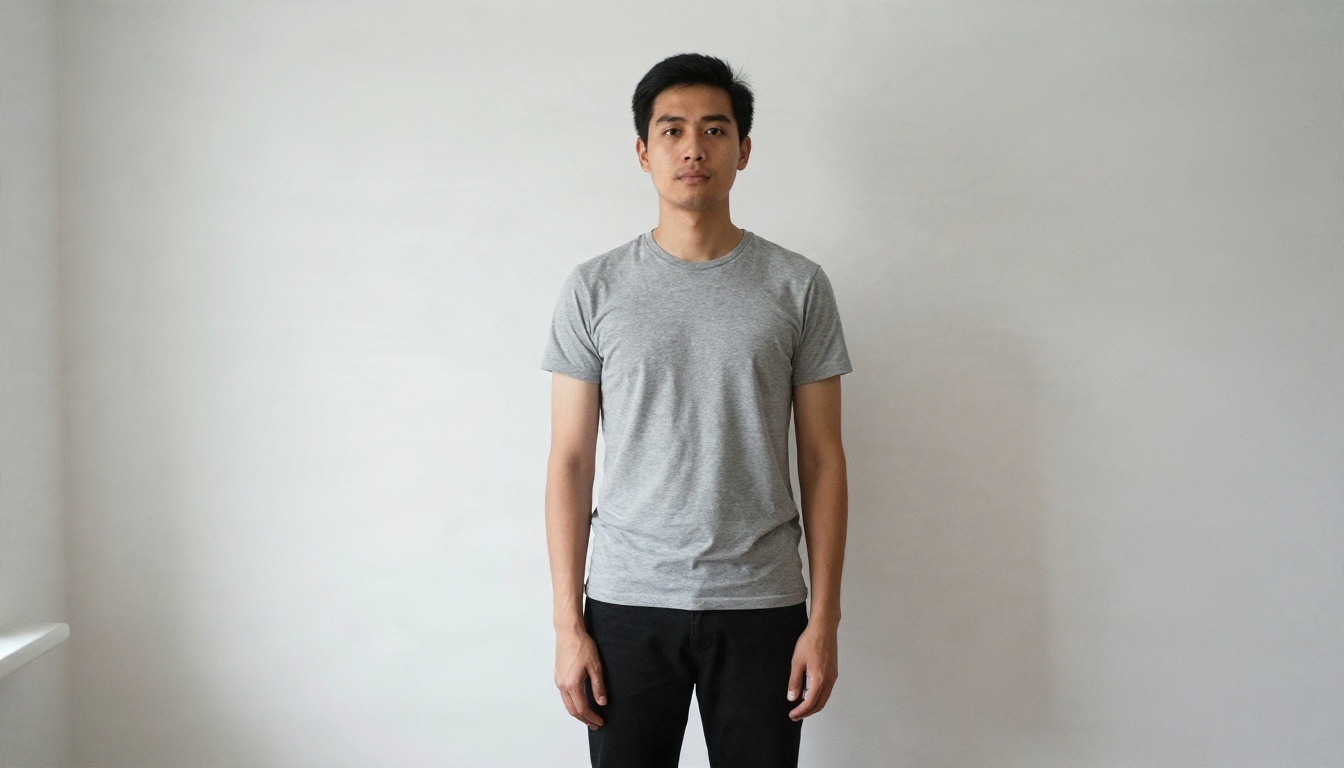
Full body or a clear upper body, depending on the garment. A jacket needs shoulders and arms visible. Trousers need legs.
Front-facing pose with arms slightly away from the torso. Crossed arms hide sleeves and confuse the edit.
Plain, uncluttered background. Busy backgrounds make edges bleed.
Even, soft light. Hard shadows across the chest get baked into the new garment.
Fitted base clothing. A baggy hoodie under a slim shirt makes the model guess the body shape.
One person only. Group photos produce unpredictable results.
High resolution, because the output inherits it.
The Garment Photo
The product image should look like a catalog shot, not a snapshot from a bedroom floor.
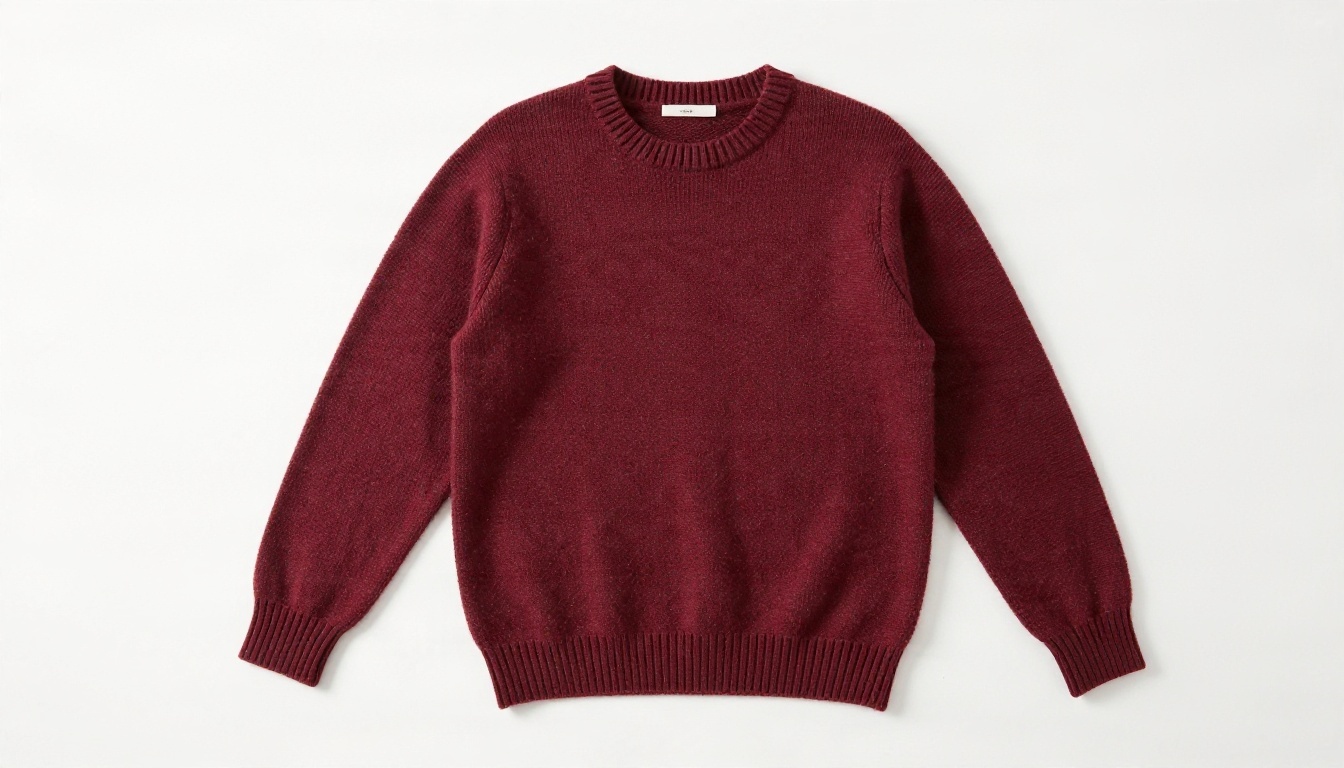
Flat lay or ghost mannequin on a white or neutral background.
Garment fully visible, no cropped sleeves or hems.
Wrinkle-free, because wrinkles get treated as part of the design.
True color, since heavy filters shift the tone.
One item per image. A model wearing the garment in the product photo can work, but a clean flat shot is the safer start.
Photo type
Good
Bad
Person
Front-facing, neutral pose, soft light
Crossed arms, side profile, harsh shadows
Person
Plain wall behind
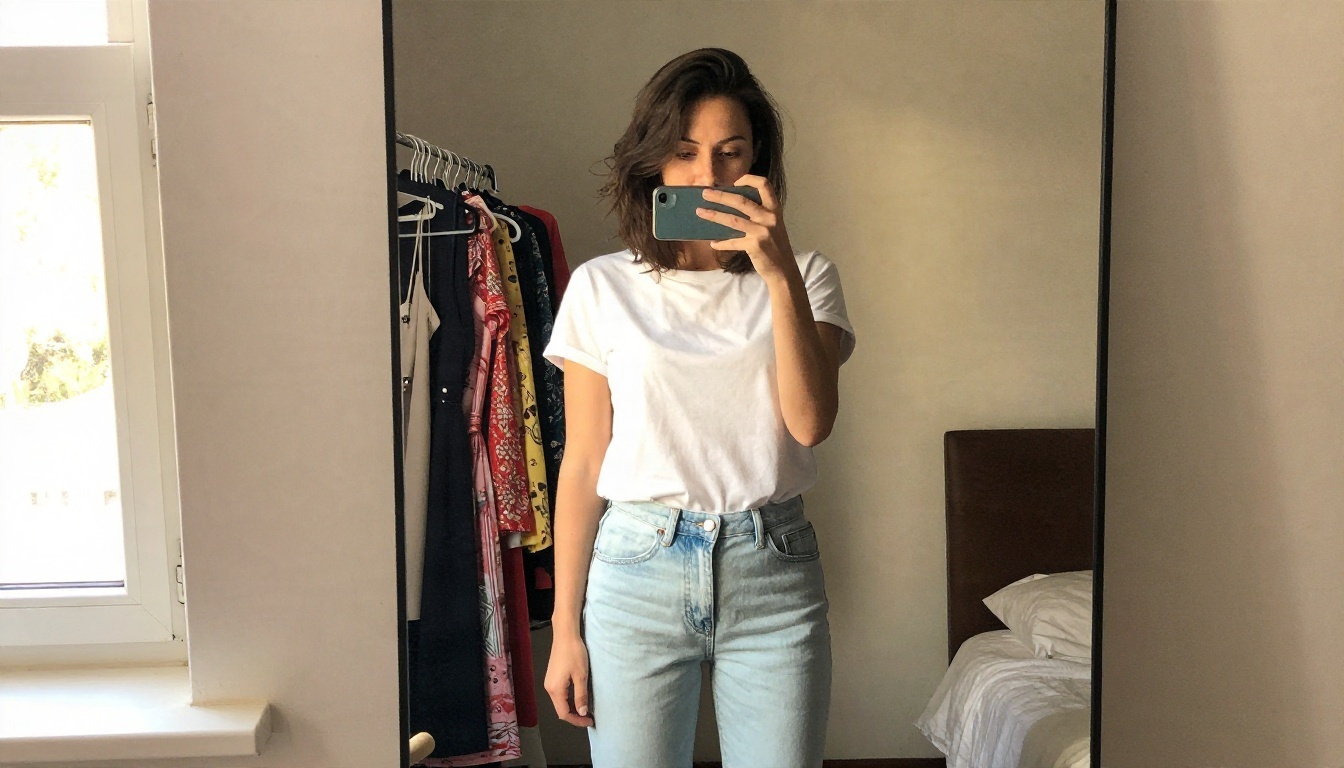
Crowded room, mirrors, multiple people
Garment
Flat lay, white background
Crumpled on a bed, partly folded
Garment
Whole item in frame
Cropped collar or missing hem
Both
Matching camera distance
One extreme close-up, one far shot
💡 Shortcut: photograph your test person against a blank wall near a window, shot at eye level from about two meters away. That single setup removes most of the "bad fit" complaints before any code runs.
Not Working? Fixes by Symptom
When something breaks, work from the error type rather than guessing. Most problems land in one of three buckets.
Permission and Model Errors
Symptom: 403 or "permission denied". The Vertex AI API is not enabled on the project, billing is missing, or your account lacks a role that lets it call models. Enable the API, confirm billing, then check the role.
Symptom: 404 or "model not found". Almost always the model ID. Switch to virtual-try-on-001, and confirm the region in your client matches the region in your request. A model ID that works in one region setup can fail in another.
Symptom: 401 or expired token. Run gcloud auth application-default login again. Access tokens from the CLI expire, and a script that worked this morning can fail this afternoon.
Symptom: 429 or "quota exceeded". You hit a rate or quota limit. Add retry with exponential backoff, lower sampleCount, and check the quota page in the Cloud console. I found no published numbers I could confirm, so the console is the place to read your actual limits.
Empty Results and Safety Blocks
Symptom: the call succeeds but the prediction list is empty or missing images. This is usually the safety filter. The default setting blocks medium and above, and photos of people in swimwear, underwear or tight clothing can trip it even when the intent is harmless. Try a more neutral base outfit on the person photo and a garment shot that does not look revealing. Do not count on block_none, because Google restricts access to it.
Symptom: 400 or "invalid argument". Check the payload shape. Base64 must be plain bytes with no data:image/png;base64, prefix. personImage takes one image, productImages takes a list. A missing wrapper object around the image field is the classic typo.
Symptom: the seed does nothing or errors. In the preview version, the seed could not be combined with watermarking. If you need repeatable output, remove the watermark parameter or drop the seed, and test on the current model ID.
Bad Fit and Odd Output
If the API runs without errors but the picture looks wrong, the cause is almost always one of the photos.
What you see
Likely cause
Fix
Sleeves look painted on
Person's arms crossed or hidden
Reshoot with arms slightly out
Garment color looks off
Filtered product photo
Use an unedited, evenly lit shot
Fabric pattern is blurry
Low-resolution garment image
Upload the highest resolution available
Old shirt still visible at the collar
Base clothing is loose or layered
Use a fitted, plain base layer
Output looks cropped
Input was cropped
Remember output matches the input ratio
Face looks slightly different
Tiny face area in the photo
Move closer or use a higher resolution
💡 Debug order that saves time: test with the cleanest person photo and cleanest garment photo you own. If that works, your code is fine and your real photos are the issue. If it fails, the issue is setup, not images.
How to Get Similar Results on PicassoIA
Google's Virtual Try-On is not on PicassoIA yet; for similar results today, try P Image Try On, built for putting a garment onto a person photo without any cloud project, billing setup or code.
Upload your person photo, using the same rules as above: front-facing, plain background, soft light.
Upload the garment photo, ideally a flat lay on a white background.
Run the model and review the result.
If the fit is off, swap in a cleaner base photo and run it again. Small photo changes matter more than anything else.
Parameter tips: keep the person and garment photos at similar quality, avoid heavy filters, and test one garment at a time. If a result is close but not perfect, use it as a starting point for an edit instead of starting over.
Other Models Worth Trying
Sometimes a dedicated try-on model is not the right tool, for example when you want to change a background, adjust lighting, or fix a detail after the swap. These work well as companions:
Unlimited photo edits, such as cleaning up a background or recoloring a garment
A practical workflow: run the garment swap with P Image Try On, then polish the result with PicassoIA Image Editor Pro, for example removing a stray shadow or fixing a wrinkle.
Real Use Cases
Online Stores
Fashion shops use try-on to cut down returns and give shoppers a better sense of fit. The API suits stores that already have clean catalog photos and can run it as a backend step. A shopper uploads a photo, your server calls the model, and the preview appears on the product page.
A few practical points for store owners:
Photograph every product the same way, so garment inputs stay consistent.
Tell shoppers how to take the photo with a simple example image beside the upload button.
Handle empty results gracefully by showing a message asking for a different photo, instead of an error screen.
Cache results, because repeat calls cost money.
Personal Fashion Previews
Not everyone has a store. If you simply want to see how a jacket might look before buying, a no-code route is faster than building a Cloud project. Take a clean photo, grab the product image from a shop listing, and run a try-on model from the browser.
Here is a simple routine that works well for personal use:
Take one good person photo and reuse it for every test.
Pick three garments in different colors or cuts.
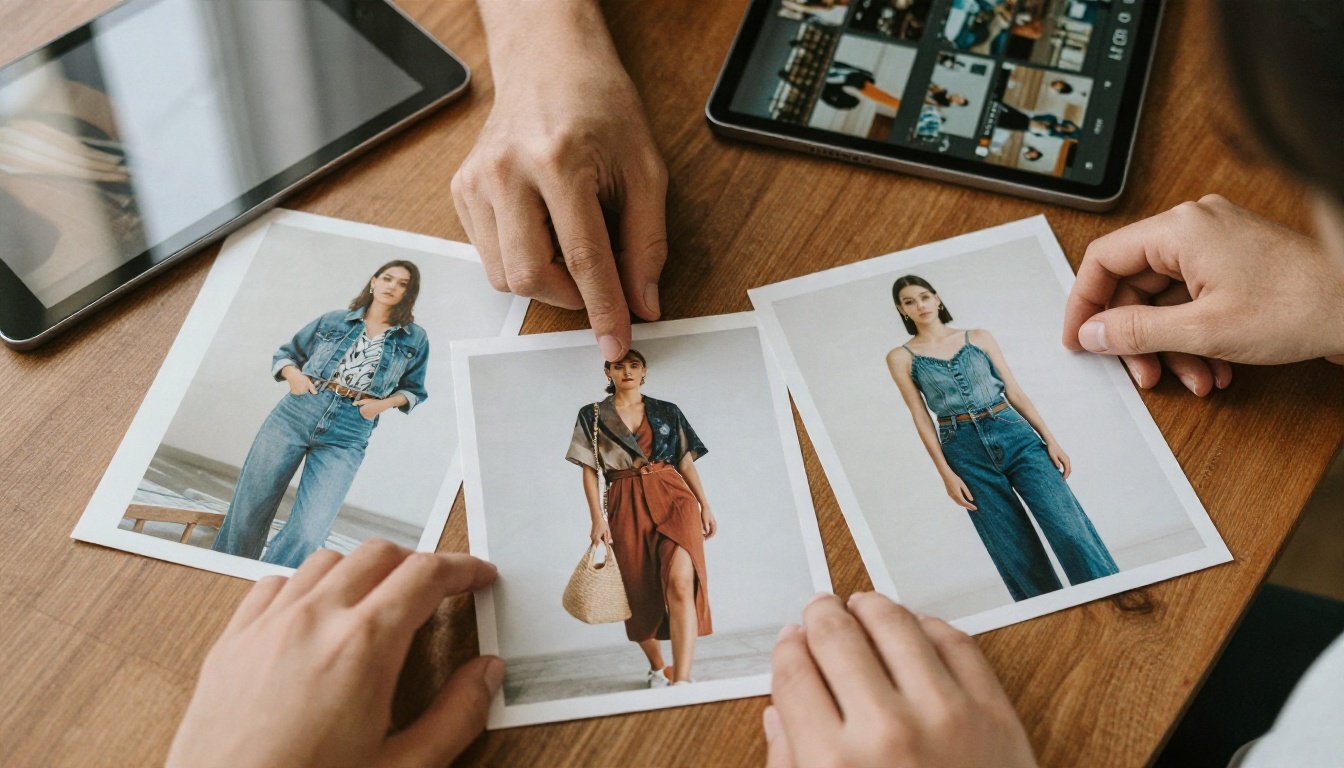
Run each one and compare the results side by side.
Keep the best two and ignore the rest.
💡 Reminder: a try-on preview shows an approximation. Fabric drape, stretch and real-world fit still depend on the garment, so treat the image as a guide for color and style, not an exact size check.
Try Your Own Outfit Previews
The Google Try On API is powerful when you have a Cloud project, clean photos and a reason to automate. When the setup, quota or safety filter gets in the way, you do not have to stop experimenting. Open P Image Try On on PicassoIA, upload a plain-wall photo and a flat-lay garment, and see the result in a few minutes. Then use Nano Banana Pro or PicassoIA Image Editor Pro to polish the details.
Try three garments, two lighting setups and one clean background, and compare. You will see quickly which photo habits matter. Ready to try more? Browse every available model at picassoia.com/en/all-models and start creating your own images today.