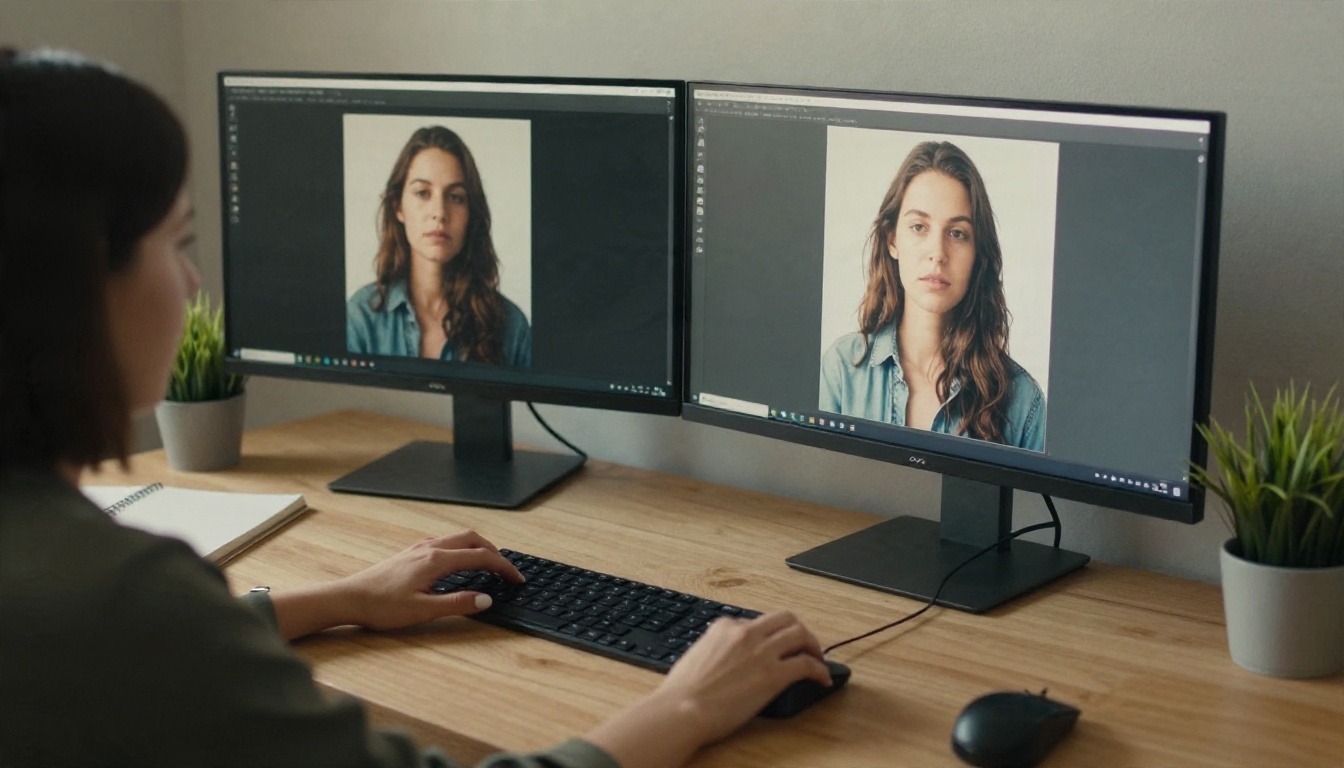
GPT Image 1.5 High Fidelity: Settings, Free Options and Prompt Examples
Which GPT Image 1.5 settings actually change detail, what high quality costs per image, where you can try it for free, and tested prompt examples for portraits, products, landscapes and food photography.
Most people who say GPT Image 1.5 looks "soft" or "plasticky" never touched the quality setting. The default is low, and low is built for speed, not detail. Flip it to high, write a prompt that names real materials and real light, and the same model suddenly produces skin pores, stitched seams and believable reflections. This article shows exactly which settings matter, what high quality costs, where you can try the model without paying, and prompts you can copy today.
💡 Quick answer: Set quality to high, pick the aspect ratio that matches your final use, and describe light, lens and texture in your prompt. Those three moves account for most of the visible improvement.
What High Fidelity Really Means
"High fidelity" gets thrown around loosely. With GPT Image 1.5 it points to two separate things, and mixing them up is the first reason people get disappointing results.
Output detail versus input faithfulness
The first meaning is output detail: how much fine texture, edge sharpness and tonal depth the image has. That is controlled by the quality setting. The second meaning is input faithfulness: how closely the result follows a reference photo you upload, especially faces. That is controlled by a different setting called input_fidelity. They are independent. You can run high quality with low input fidelity, and the other way around.
The three quality tiers
GPT Image 1.5 on PicassoIA offers low, medium, high and auto. Here is how they behave in practice:
Tier
Best for
Typical trade-off
Low
Fast drafts, composition tests, prompt iteration
Softer micro-detail, simpler textures
Medium
Social posts, thumbnails, blog illustrations
Good balance of speed and detail
High
Final renders, print, portraits, product shots
Slower and noticeably more expensive
Auto
When you do not want to decide
The model picks, so results vary run to run
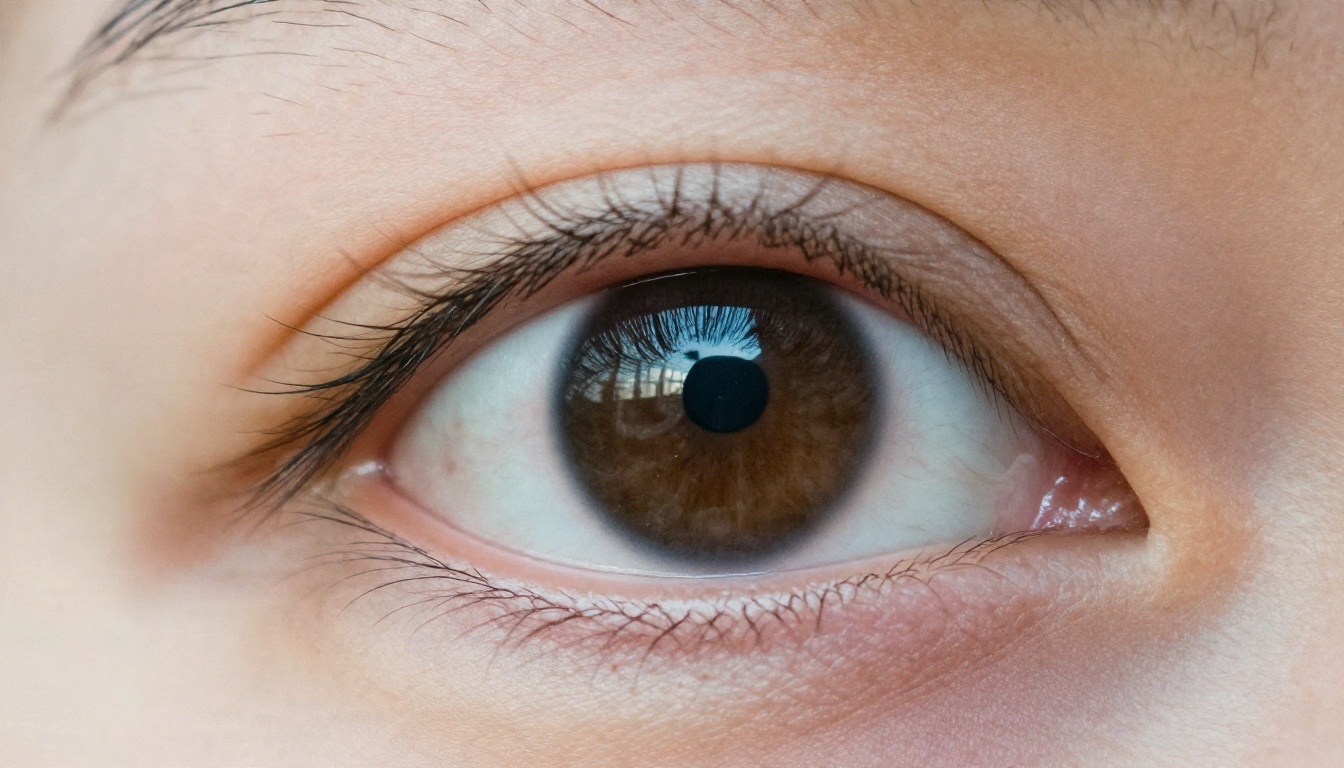
The macro eye above shows what "high" aims for: individual lashes, skin texture and a believable catchlight, with nothing smeared into a smooth blob.
Settings That Matter Most
Here is every control worth touching, in the order I would adjust them.
Quality: draft low, finish high
Work in low while you build the prompt. Change one sentence at a time, check the composition, and only switch to high when the framing is right. This workflow keeps iteration cheap and still ends with a polished file. Because the platform default is low, anyone who never opens the settings panel is judging the model at its weakest tier.
Aspect ratio
The model supports 1:1, 3:2 and 2:3 on PicassoIA, which map to the native square, landscape and portrait sizes of 1024×1024, 1536×1024 and 1024×1536. Pick the one closest to your end use before generating. Cropping a square into a wide banner afterward throws away exactly the pixels you paid for.
💡 Rule of thumb: 2:3 for portraits and posters, 3:2 for landscapes and website heroes, 1:1 for products and avatars.
Input fidelity for reference photos
If you upload one or more images through input_images, set input_fidelity to high when the face or a specific product shape must survive. At low, the model treats your photo as loose inspiration. At high, it works harder to match style and facial features. Use high for likeness and brand-accurate products, and low when you only want the mood of a reference.
Background, format and compression
Background:auto, transparent or opaque. Transparent is excellent for stickers, logos and product cutouts, and it saves a trip through a background remover.
Output format: webp by default. Choose png when you need lossless files or transparency, and jpeg for the smallest photo files.
Output compression: defaults to 90. Leave it there for web use. Push it toward 100 for print masters.
Batch generation
You can request up to 10 images per run. Generate four at low quality first, pick the strongest composition, then re-run that single prompt at high. It is the cheapest way to find a good frame.
The Real Cost of High Quality
Pricing comes from OpenAI's API, and PicassoIA runs the model for you, so you do not manage keys. The numbers below come from third-party price trackers that agree with each other, so treat them as a close estimate and confirm on OpenAI's pricing page before budgeting a large project.
Quality
Square (1024×1024)
Portrait or landscape
Low
about $0.009
slightly higher
Medium
about $0.034
slightly higher
High
about $0.133
about $0.20
The jump from medium to high is roughly four times in price, and from low to high it is more than ten times. That is why the draft-then-finish workflow matters. Ten high-quality experiments cost more than a hundred low ones.
When high is worth it
Portraits where skin, hair and eyes will be inspected closely
Product photos that need readable material finishes
Anything you will print or crop heavily
Hero images that carry a landing page
When medium is enough
Blog illustrations, social posts and slide decks rarely benefit from the extra cost. Medium gives most of the sharpness at a fraction of the price.
Free Options That Actually Work
I searched for current, official information on free access to GPT Image 1.5 and found sources that disagree. One guide says free ChatGPT users get the same image model as paid users, while another says free tiers cannot reach HD quality. OpenAI's own pages did not give a clear, current answer in what I could find. So here is the honest version: free limits change often, and you should check the app itself for today's allowance.
Free ways to test GPT Image 1.5
Free daily allowance inside ChatGPT. Availability and limits vary by account and region.
Promotional credits on API aggregators. Several offer a few dollars of starter credit, enough for dozens of low or medium images and a handful of high ones.
Platforms that bundle the model.GPT Image 1.5 on PicassoIA lets you pick quality and ratio directly, which is the real advantage: you control the tier instead of accepting whatever a chat app chooses.
Free-leaning alternatives for the same look
If your goal is photoreal quality without spending, a few other models on the platform are worth trying side by side:
Some websites advertise "free GPT Image 1.5 High" but quietly run a lighter model behind the button. A simple test: generate a close-up of a hand holding a pair of glasses. Weak models bend fingers and warp frames. If the result looks sloppy, you are not seeing the real high tier.
How to Use GPT Image 1.5 on PicassoIA
The model page has everything in one panel. Here is the sequence I follow.
Write the prompt. Use the formula in the next section: subject, setting, light, lens, texture.
Set quality to low for the first pass. Leave number_of_images at 3 or 4 to compare compositions.
Choose the aspect ratio (1:1, 3:2 or 2:3) based on where the image will live.
Pick a background. Leave auto for scenes, choose transparent for cutouts.
Add reference images if you need a face or product to carry over, and set input_fidelity to high.
Generate and compare. Pick the frame with the best composition.
Re-run at high quality. Keep the prompt identical, change only the tier, and set number_of_images to 1.
Export. Use png for transparency or print, webp or jpeg for the web.
💡 If you need more resolution afterward, a super resolution model can upscale the finished file 2x to 4x without regenerating it.
Prompt Examples That Hold Up
High quality rewards specific prompts. The formula I use is:
Subject + action + setting + light direction + lens + texture details + film or color feel
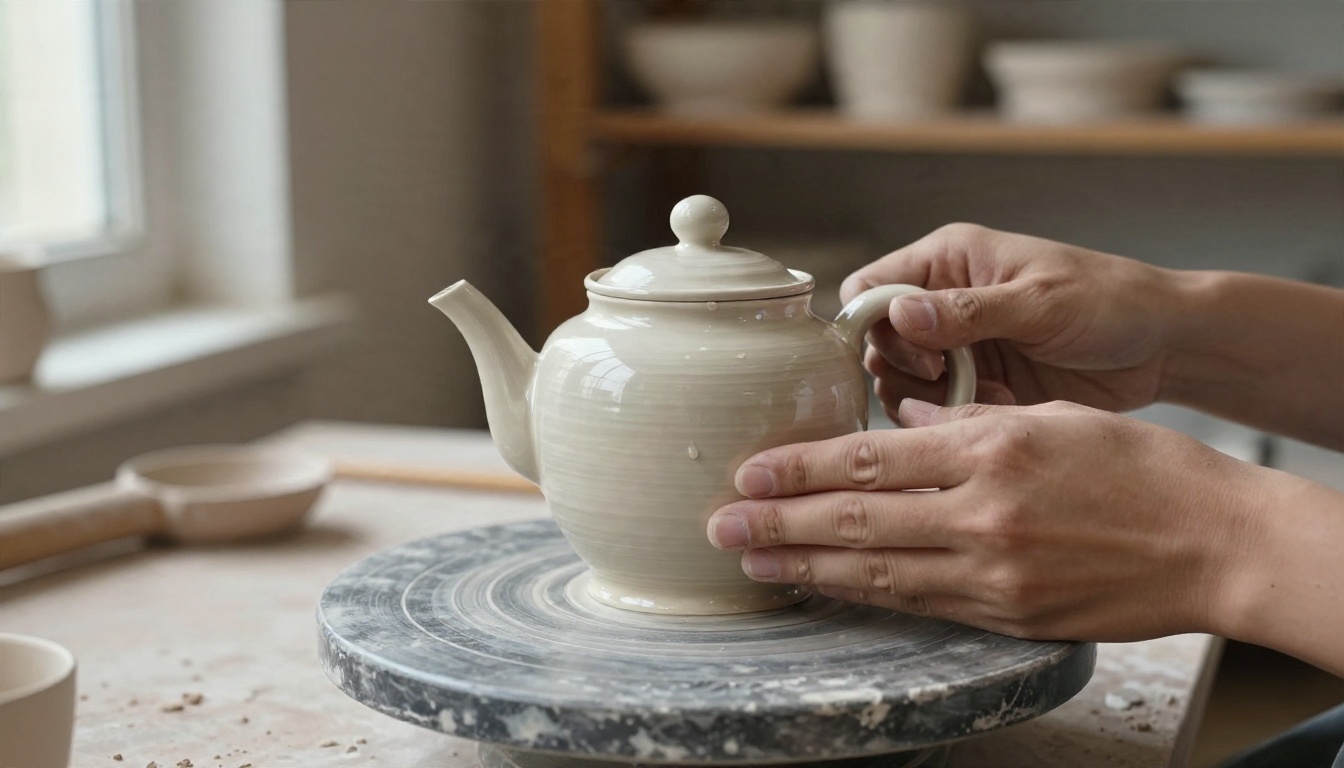
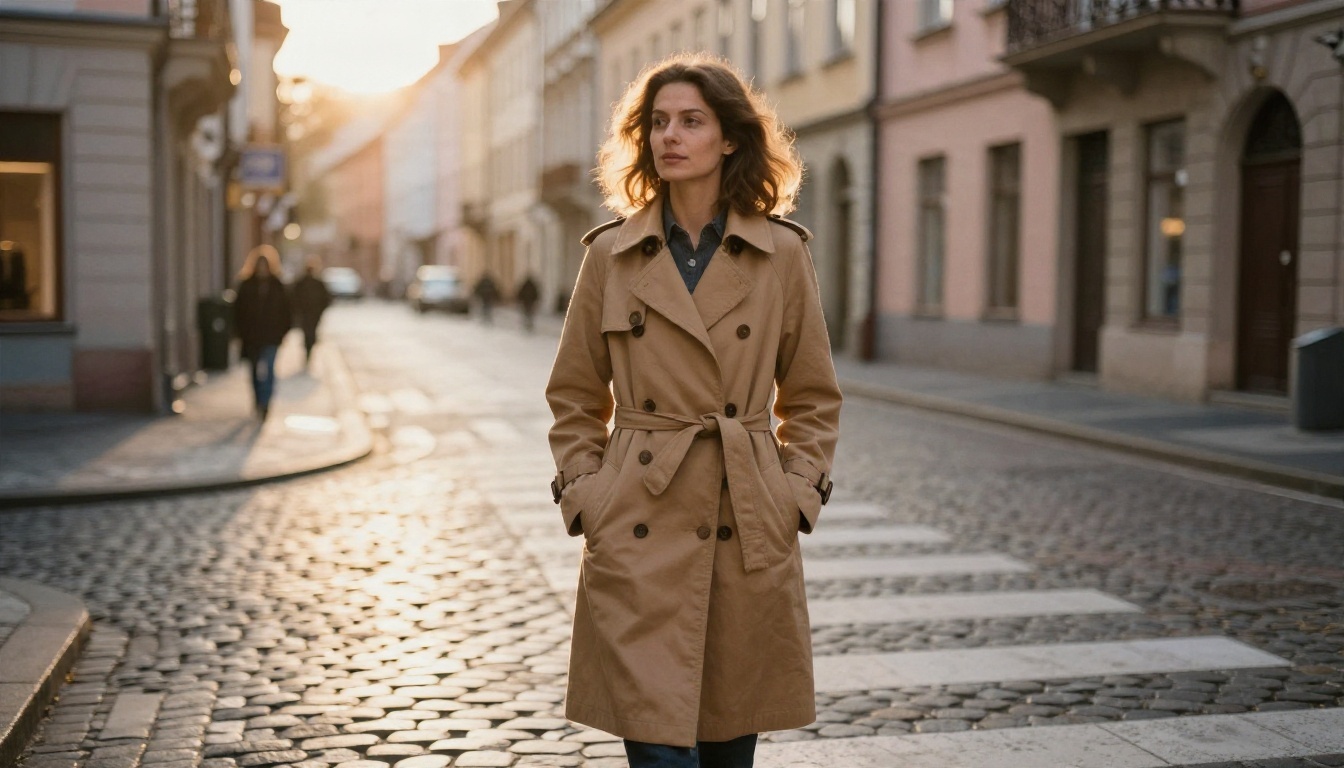
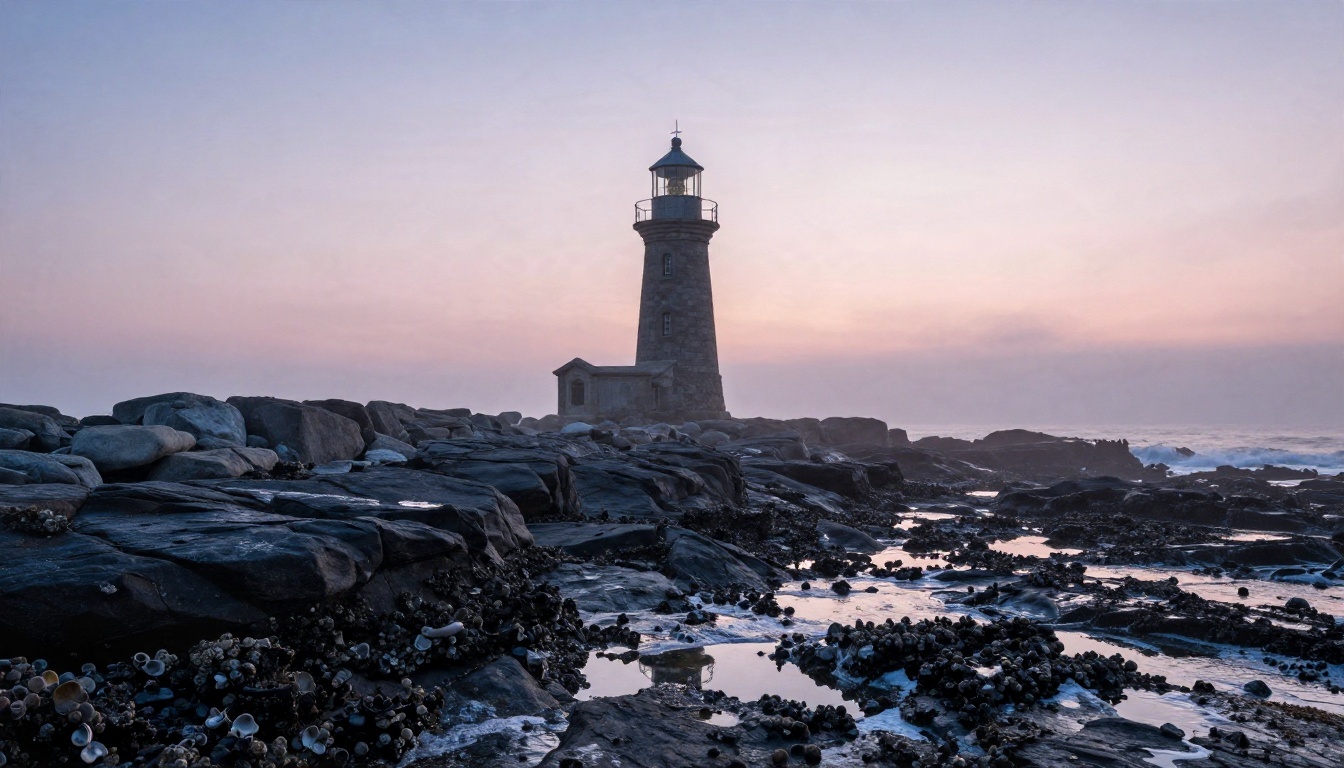
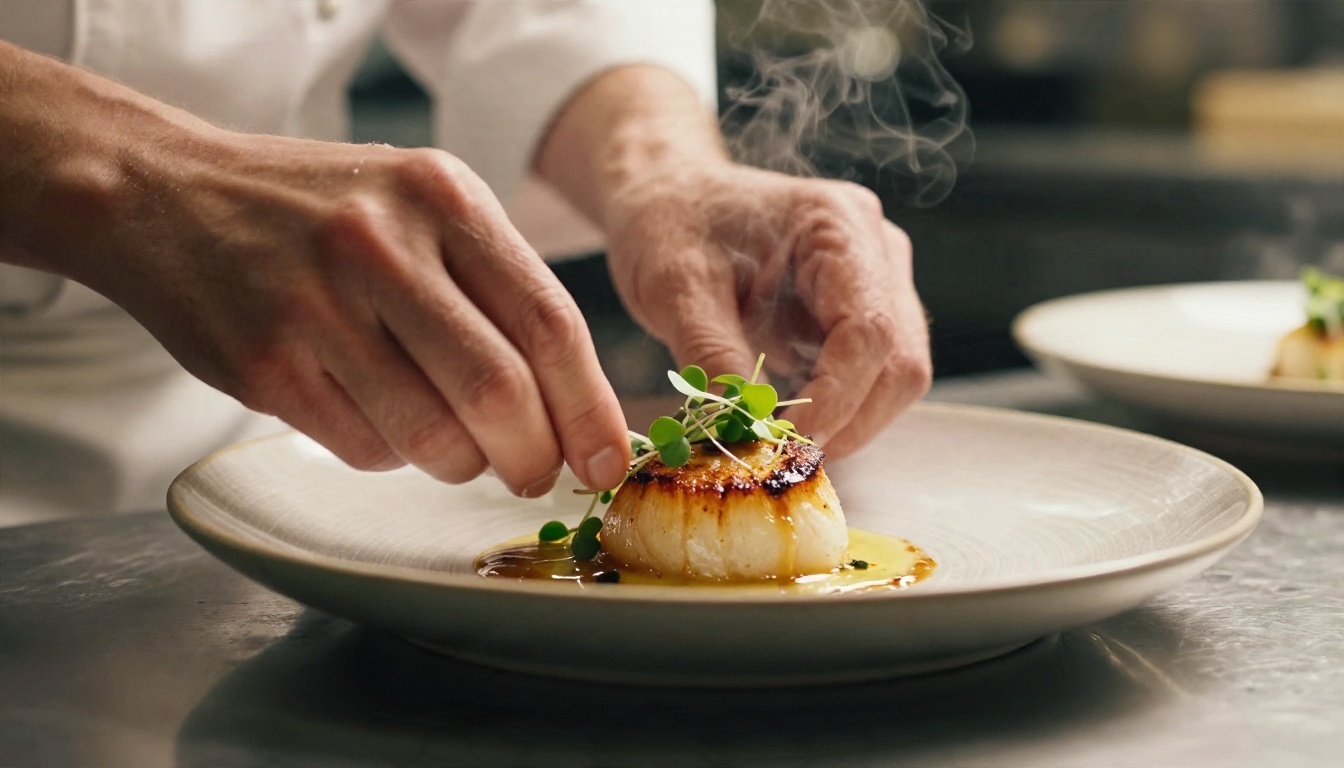
The sample photographs below show the target look for each prompt type. They illustrate the style you are aiming for, and the prompts underneath are written to push GPT Image 1.5 toward the same result.
Portrait example
Candid street portrait of a woman in a camel wool trench coat standing at a crosswalk in a European old town at golden hour, wet cobblestones reflecting warm light, pastel facades softly blurred behind her, low sun backlighting her hair, 85mm f/1.4 lens, natural skin with fine pores and peach fuzz, visible wool weave, subtle film grain, Kodak Portra 400 color
Why it works: a named lens, a light direction and two texture cues keep skin from turning waxy.
Product example
Close-up of a potter's hands holding a freshly glazed teapot on a rustic workbench, glaze drips and fingerprints visible, soft northern window light from the left, shelves of pottery blurred behind, 85mm f/1.8, glossy and matte surfaces side by side, warm earthy palette, fine film grain
Why it works: contrasting finishes (glossy and matte) force the model to render material differences, which is where high quality shows.
Landscape example
Wide photograph of a rocky coastline at dawn with a stone lighthouse, sea mist, wet dark rocks with barnacles and tide pools in the foreground, pale pink and blue sky, sunrise light from the right, 24mm f/8, deep focus, fine foam and stone texture, natural color grading
Why it works: foreground detail plus a distant subject gives the model depth to work with. Use the 3:2 ratio here.
Food example
Close-up of a chef's hands plating seared scallops with microgreens on a matte stoneware plate, light steam rising, stainless steel kitchen blurred behind, warm overhead tungsten light with soft side fill from the left, 100mm macro f/2.8, glistening sauce, crisp caramelized crust
Why it works: food depends on moisture and crust. Words like glistening and caramelized tell the model where the highlights belong.
Transparent asset example
Single ceramic coffee mug with a matte sage glaze, three-quarter view, soft studio lighting, crisp edge detail, realistic contact shadow removed, isolated subject
Set background to transparent and output_format to png. The result drops straight into a design file.
Common Mistakes to Avoid
Judging the model at low quality
Because low is the default, many first impressions come from the weakest setting. Compare the same prompt at low and high before deciding.
Stuffing the prompt with adjectives
"Ultra, hyper, 8K, masterpiece, stunning" adds noise, not detail. Replace that pile with concrete physical facts: fabric type, surface finish, time of day, lens.
Changing five things at once
If you edit the subject, lighting and ratio together, you will not know which change helped. Alter one variable per run.
Forgetting input fidelity
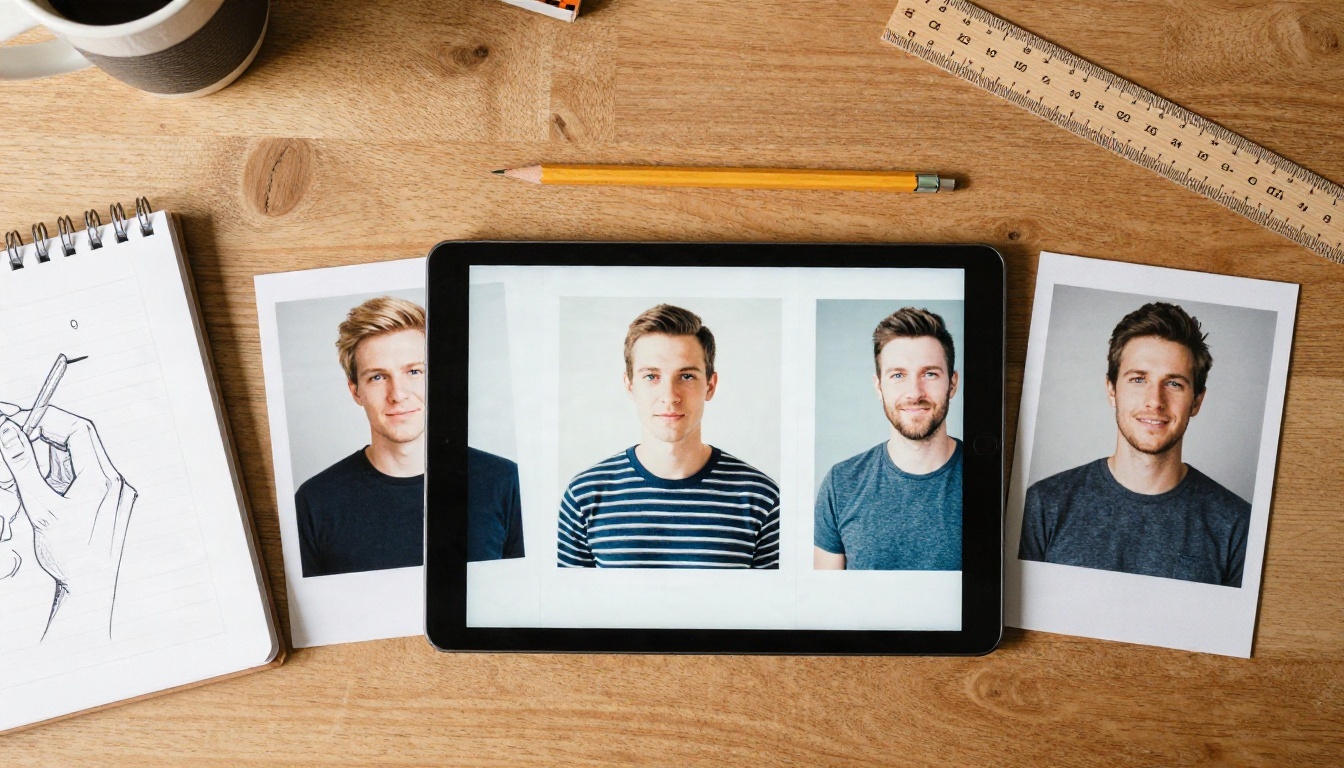
Uploading a portrait and leaving input_fidelity on low often gives a lookalike instead of the actual person. Raise it whenever likeness matters.
Requesting long text inside the image
Image models still slip on long strings of text. Keep any in-image text to one or two short words, and add longer copy in a layout tool.
Newer entries such as GPT Image 2.5 Flare and GPT Image 2.5 Sunburst are also available, so it is worth running one of your best prompts through each and comparing.
Try It Yourself
The fastest way to see what high fidelity means is to run one prompt twice. Open GPT Image 1.5 on PicassoIA, paste the portrait prompt above, generate a batch at low quality, then re-run your favorite at high. Put the two results next to each other. Then change the light direction, swap the lens, and watch how the skin, fabric and reflections respond. Ten minutes of side-by-side testing will teach you more than any settings table, and every prompt you refine becomes a template you can reuse for the next project.