You shot a great take. The framing is right, the expression is perfect, and then you notice the audio is unusable, or the script changed, or the client wants the same clip in Spanish. Re-shooting is expensive. Kling Lip Sync exists for exactly this moment: you hand it a short video and a new voice track, and it rewrites the mouth movement so the speaker appears to say the new words.
The questions people ask before they try it are practical ones. Is it free? How long can the video be? What do the settings do? This article answers all three with the real numbers, then walks through examples and fixes for the problems you will probably hit.
What Kling Lip Sync Actually Does
Think of it as a mouth replacement tool, not a video generator. The footage you upload stays your footage: same face, same lighting, same background. Only the lips and the area around them get re-animated to match a new audio source.
Video in, new audio out
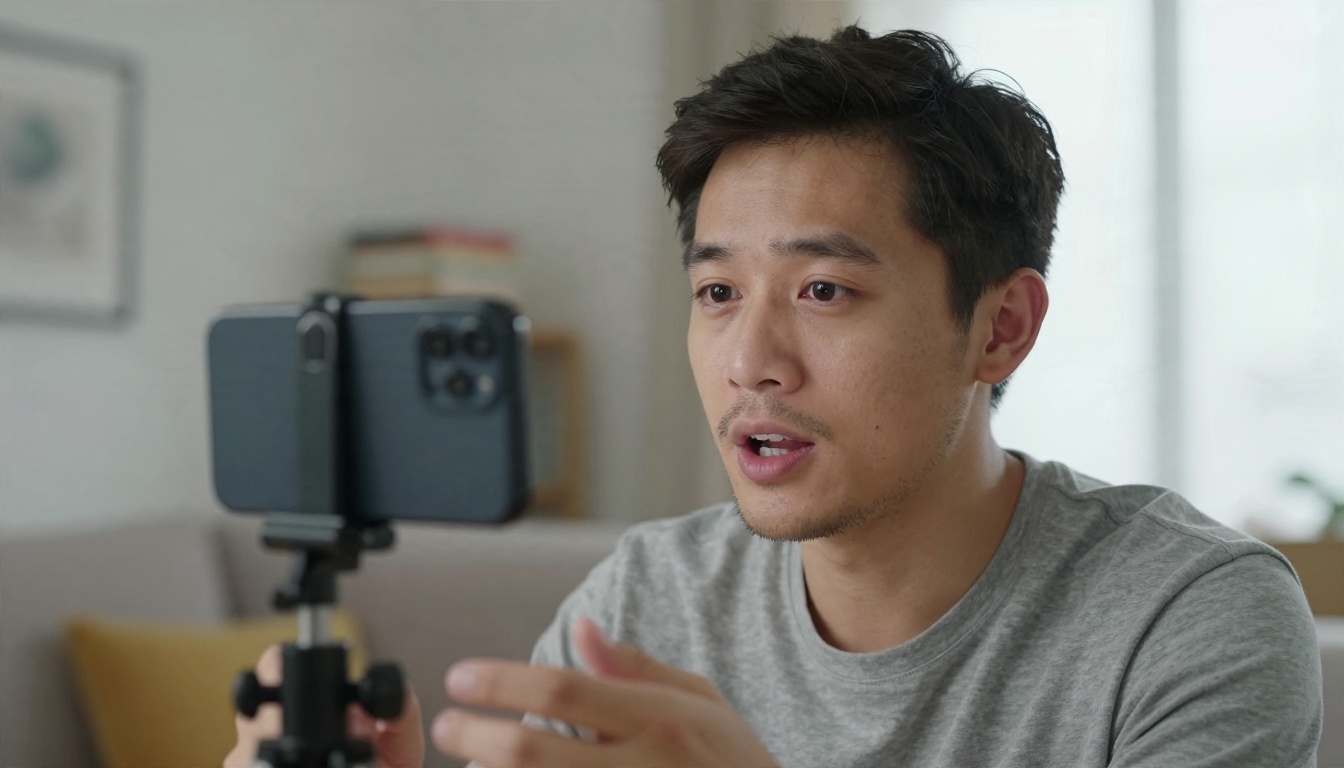
You supply a clip of a person talking (or at least facing the camera). The model detects the face, tracks the jaw and lips across the frames, and regenerates that region so it follows the phonemes in your audio. The Kling Lip Sync model page lists MP4 and MOV as accepted formats.
💡 Tip: Lip sync works best when the face is clearly visible and mostly front-facing. A clip where the speaker turns away for half the duration gives the model very little to work with.
Text or audio file, your choice
There are two ways to feed it a voice:
- Audio file: upload an .mp3, .wav, .m4a or .aac recording. Use this when you have a real voice actor, a cloned voice or a studio take.
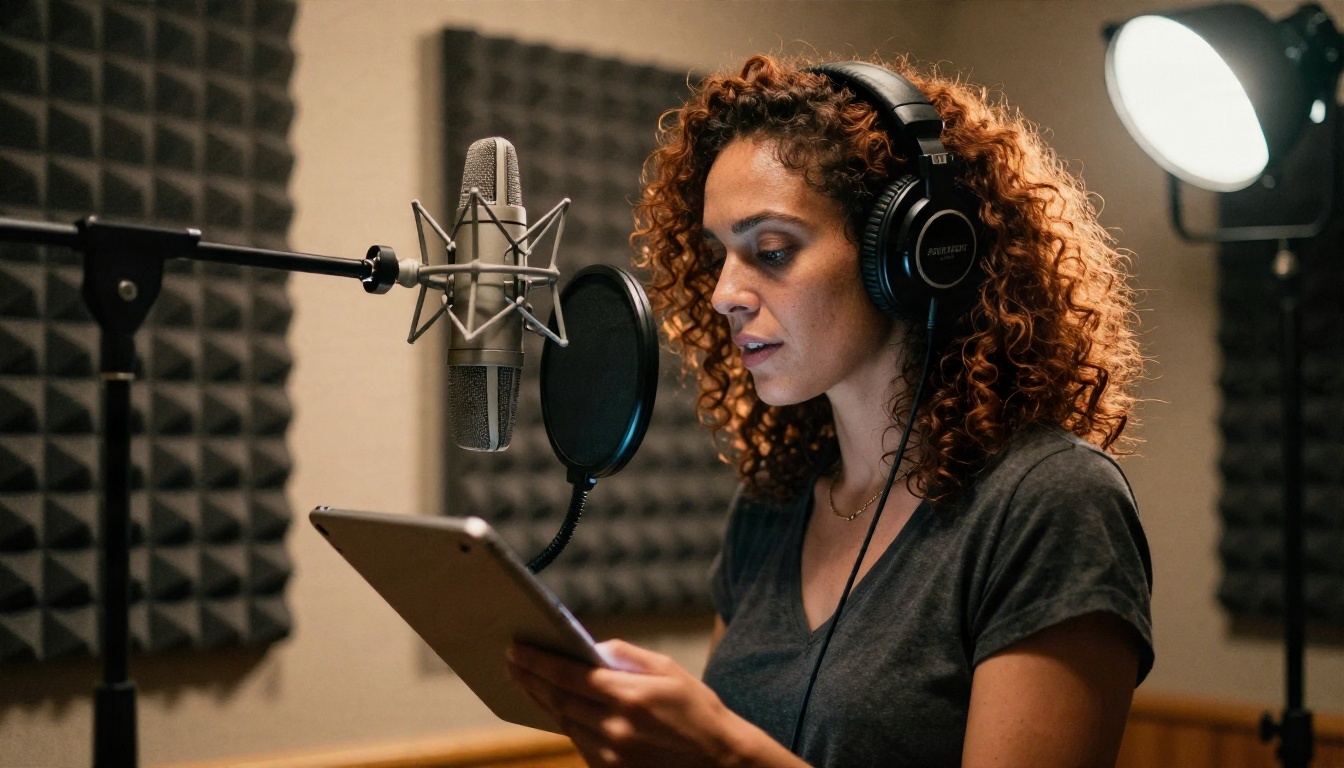
- Text script: type the words, pick a built-in voice, and the model generates the speech and syncs to it in one step. Use this for quick drafts and short social clips.
Free Options for Kling Lip Sync
The honest answer is: it depends where you run it. Pricing across platforms changes often, so treat the numbers below as a snapshot of what was reported in late 2026 and check the current screen before you commit credits.
What the official app offers
On Kling's own platform, lip sync is a credit-based feature, and the cost scales with clip length. Reports put it at roughly one credit per second of video, so a 5-second clip costs around 5 credits and a 10-second clip around 10. Free accounts have been described as receiving a daily allowance of credits, with limits such as a 720p ceiling and a watermark on exports. Those details have shifted more than once, and older tutorials quote a monthly credit figure from a previous system, so do not rely on any single blog post, including this one, for exact allowances.
Trying it free on PicassoIA
The Kling Lip Sync page on PicassoIA describes the tool as free to use online with no coding needed. That makes it a low-risk place to test whether your clip, your audio and your target language actually work before you spend money elsewhere.
Free options compared
| Route | Cost model | Typical catch |
|---|
| Official Kling app, free tier | Daily credits, per-second cost | Watermark and resolution cap reported |
| Official Kling app, paid plan | Monthly credits | Credits drain fast on retries |
| PicassoIA model page | Free to try online | Same 2 to 10 second clip window |
| Open-source lip sync tools | Free software | Needs a GPU and setup time |
💡 Tip: Whatever platform you choose, test with a 3-second clip first. Failed or mismatched attempts cost the same as good ones.
Video Length Limits Explained
Length is where most people get stuck, so here it is plainly.
The 2 to 10 second window
The model is built for short clips. According to the model specification, the input video must be between 2 and 10 seconds long. Anything shorter than 2 seconds gets rejected, and anything over 10 seconds will not pass validation. This is a product design choice: short clips keep the mouth region consistent, and the output looks better than a long, drifting render.
Input limits at a glance
| Input | Limit |
|---|
| Video duration | 2 to 10 seconds |
| Video formats | .mp4 or .mov |
| Video file size | Under 100 MB |
| Video resolution | 720p to 1080p (720 to 1920 px dimensions) |
| Audio formats | .mp3, .wav, .m4a, .aac |
| Audio file size | Under 5 MB |
One more rule matters: when the audio is longer than the video, it gets cropped to fit. When it is shorter, the speaker's mouth simply stops moving for the remainder. So write your script to fit the clip, not the other way round.

Handling longer videos
For a 40-second testimonial, split the clip into segments of 8 to 10 seconds, cut at natural pauses or at a change of camera angle, run each segment separately, and join them in your editor. Cutting mid-word creates a visible jump, so pick breaths and sentence ends instead. A rough rule: one sentence per segment.
If you need a talking video that runs for minutes rather than seconds, a different type of tool fits better. Some avatar and photo-to-video models accept long audio tracks and generate the whole performance from a single image. More on those in the alternatives section.
Settings That Actually Matter
The control list is short. That is good news, because there is less to get wrong.
Audio file or text input
Use an audio file whenever voice quality matters. The built-in voices are fine for drafts, ads with a synthetic narrator and quick tests, but a real recording carries pauses and emphasis that look more natural on the face. Keep the file under 5 MB, which for an mp3 usually means a few minutes at standard quality, far more than a 10-second clip needs.
Voice ID and voice speed
When you type a script, you choose a voice_id. The list includes English options such as a calm storyteller, an UK male, a commercial female voice and a young UK boy, plus a long list of Chinese voices. The default is an English voice called en_AOT. Pick the voice first, then check that the tone fits the face on screen. A gravelly older voice on a twenty-year-old rarely works.
Voice speed defaults to 1. It only applies to text input, not to uploaded audio. Nudge it down slightly when your script is a little too long for the clip, or up when it leaves a dead second at the end. Large changes sound robotic.
Resolution and framing
Feed the model 720p to 1080p footage. Smaller clips get rejected, and anything above that range falls outside the stated limits. The better settings are not numbers but choices on set:
- Face size: the mouth should be at least a few dozen pixels wide.
- Obstructions: no hands, microphones or scarves crossing the lips.
- Lighting: even light on the lower face avoids flicker around the mouth.
- Stability: a tripod shot syncs far more reliably than a shaky handheld one.
Real Examples Worth Trying
Numbers only go so far. Here are three situations where the model earns its place.
Dubbing a talking head
Record a short intro once in your own language. Translate the script, record or generate the new voice, and sync the clip. You end up with a version in each language without reshooting. This works best with one speaker facing the lens, the standard framing for creator intros, course previews and product explainers.
Social ad voiceover
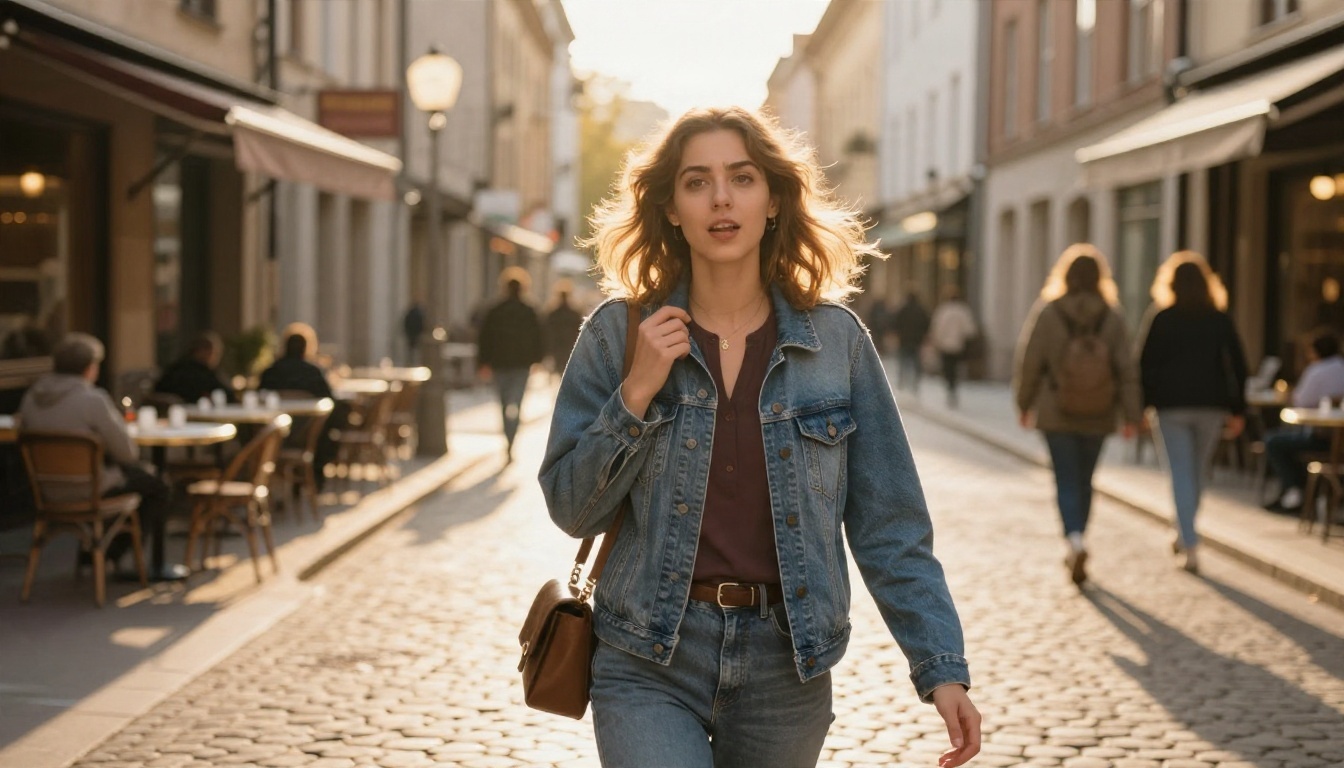
Say you shot a lifestyle clip of someone walking and talking, and the brand decides on a different tagline the day before launch. Type the new line, choose a commercial-style voice, and the clip is ready. Keep the line to roughly 20 to 25 words so it fits the 10-second ceiling at normal speech rate.
Fixing a flubbed line
An interview subject stumbles on one word. Instead of calling a second take, clip the 5 seconds around the mistake, record a clean line, and sync that segment only. Place it back in the timeline. Viewers rarely notice the join when the lighting and framing match.
Words per clip: a quick reference
| Clip length | Approx. spoken words |
|---|
| 3 seconds | 7 to 9 words |
| 5 seconds | 12 to 15 words |
| 8 seconds | 20 to 24 words |
| 10 seconds | 25 to 30 words |
How to Use Kling Lip Sync on PicassoIA
Here is the workflow from upload to download.
- Open the model. Go to the Kling Lip Sync page on PicassoIA.
- Add your video. Upload or link an .mp4 or .mov file that is 2 to 10 seconds long, under 100 MB, and between 720p and 1080p. Use
video_url. If your video was generated by Kling itself, you can use its video ID instead, but never both at once.
- Choose your voice source. Either upload an audio file (.mp3, .wav, .m4a or .aac, under 5 MB) or type your script into the text field. If you fill both, the audio file takes the lead, so leave the text empty when using a recording.
- Pick a voice. For text input, select a
voice_id. Test two or three voices on the same line before picking one.
- Set the speed. Leave
voice_speed at 1 for the first run. Adjust only if the speech runs short or long.
- Run and review. Watch the result at full size and focus on the "p", "b" and "m" sounds, where the lips must close. If they do, the sync is solid.
- Download and edit. Drop the output into your editor and stitch segments together.
💡 Tip: Keep a naming system for segments, like intro_01, intro_02. When you dub into several languages, it is easy to lose track of which file belongs where.
Fixing Common Sync Problems
Most failures come from the input, not the model.
The mouth looks slightly off
Check the audio first. Background music, echo or noise confuses the timing. Clean up the track, remove the music bed, and run again. A dry, close-mic recording gives the cleanest result.
The clip gets rejected
Compare your file to the limits table above. The usual culprits are a clip under 2 seconds, a file over 100 MB, a resolution below 720p, or an audio file above 5 MB. Re-export with a smaller bitrate and trim the length.
The speech cuts off early
Your audio is longer than your video. Either shorten the script, raise the voice speed slightly, or split the line over two clips. Remember the model crops audio rather than stretching the video.
The face flickers around the lips
Side lighting that changes quickly, heavy facial hair and motion blur all cause this. A cleaner source clip is the fix. If you cannot reshoot, try a different segment where the head is steadier.
Alternatives When You Need More
Kling Lip Sync is a strong choice for short clips. Other situations call for other tools, and all of these are on PicassoIA:
| Need | Model | Why pick it |
|---|
| Longer videos | Lipsync 2 | Syncs a voice to a video without the 10-second ceiling in mind |
| Higher fidelity | Lipsync 2 Pro | Better detail on close-ups |
| Quick social clips | PixVerse Lipsync | Fast turnaround for short posts |
| Expressive acting | React 1 | Adds emotion to the performance |
| Translation | Lipsync Precision | Built for dubbing existing video |
| Photo to talking video | Omni Human 1.5 | Starts from a single image |
| Photo to talking video | Fabric 1.0 | Quick results from a portrait |
| Avatar from a face | Kling Avatar v2 | Animates a face into video using audio |
If you have no footage at all, start with a text-to-video generator like Kling v3 Video to produce the clip, then run it through lip sync to give your character a voice.

Try It on Your Own Clip
The fastest way to judge a lip sync model is to run your own footage through it. Pick a 5-second clip, write a line of 12 to 15 words, and run it on the Kling Lip Sync page. Then try the same clip with a recorded voice and compare the two results side by side.
Once you know how it behaves, build up: dub the same clip into a second language, test a different voice, or compare it with Lipsync 2 on an identical input. You can browse every lip sync, video and image model at picassoia.com/en/all-models and make your next talking video today.


