You typed a prompt, watched a gorgeous five second clip render, and then noticed your credit balance dropped by a number that made no sense. That is the Luma Ray experience for a lot of people. The video quality is excellent, but the pricing is built around credits, and credits behave differently depending on resolution, duration, and whether you switch on HDR. This article turns that fuzzy system into real numbers: what the free tier offers, what each clip costs, where the limits sit, and which alternatives give you more footage for less money.
💡 Quick note on accuracy: Luma changes plans and credit rates often, and published sources disagree on a few figures. Treat every price below as a snapshot and confirm it on Luma's own pricing page before you pay.
What Luma Ray Actually Charges
Luma sells its Ray video models through the Dream Machine app and through an API. Both run on credits, not on a flat "per video" price. A credit is simply a unit you burn each time you generate, and the burn rate climbs with resolution, length, and extra features.

Credits, not dollars
Think of credits like arcade tokens. You buy a bundle each month, and every render spends some of them. A short 720p draft is cheap. A 10 second 1080p clip is not. The trap is that the app shows credits, while your bank statement shows dollars, so you have to convert in your head every single time.
The plan ladder
Reports from several pricing trackers line up on the broad structure of the paid plans:
| Plan | Monthly price (approx.) | Credits | Best for |
|---|
| Free | $0 | Small allowance, varies by report | Testing the look |
| Plus | About $30 ($25 billed yearly) | About 10,000 | Solo creators |
| Pro | About $90 | Several times the Plus pool | Frequent posters |
| Ultra | About $300 ($250 billed yearly) | About 150,000 | Agencies and heavy users |
Annual billing usually takes roughly 20% off. Exact credit counts for Pro differ between sources, so check the live page. The Plus and Ultra figures are the most consistent across reports.
Free Credits: What You Really Get
Here is where it gets messy. If you search "is Luma Ray free", you will find confident answers pointing in opposite directions.

Daily allowance or trial?
Some trackers describe a free plan with a small daily allowance, enough for roughly one short clip a day, locked to 720p. Others describe a monthly cap of a few dozen generations or a handful of draft videos. A third group says there is no permanent free tier on the current pricing page, and that new accounts only get a limited block of trial credits.
All three can be partly right, because Luma has adjusted its free offer more than once. The practical advice: sign up, open the credit counter, and read what your account actually shows. Do not plan a project around a free allowance you have not seen with your own eyes.
Watermarks and queues
Where sources do agree is on the catch. Free output is generally watermarked, limited in resolution, and not licensed for commercial work. Free jobs also tend to wait behind paid jobs when the servers are busy. That is fine for experiments. It is a problem if a client is waiting on a deliverable.
💡 Tip: If your only goal is to test prompts, spend free credits on 5 second clips at the lowest resolution. Save the high resolution render for the prompt you have already proven.
Cost Per Video in Real Numbers
Now the part you came for. Using the commonly reported Ray 3.2 credit rates and a Plus plan of about 10,000 credits for $30, we can estimate what each clip costs.
720p and 1080p math
Published API pricing for Ray 3.2 lists a 5 second clip at about 100 credits in 720p and about 400 in 1080p. A 10 second clip lands near 300 credits in 720p and 1200 in 1080p. Dividing a $30 plan by those numbers gives the table below.
| Clip | Credits | Clips per 10,000 credits | Approx. cost per clip |
|---|
| 5s at 720p | 100 | 100 | $0.30 |
| 10s at 720p | 300 | 33 | $0.90 |
| 5s at 1080p | 400 | 25 | $1.20 |
| 10s at 1080p | 1200 | 8 | $3.60 |
These are my own estimates from reported rates, not a quote from Luma. The Dream Machine app can price things slightly differently from the API, and some trackers report different credit counts for older Ray 3 clips. Still, the shape holds: resolution is the biggest cost lever. Jumping from 720p to 1080p quadruples the price for a clip that most viewers will watch on a phone.
HDR and EXR multipliers
HDR output reportedly costs about double the standard price, and HDR with EXR export about triple. A 5 second 720p HDR clip would then cost around 200 credits instead of 100. HDR is wonderful for colorists who want to grade footage later. For a quick social post, it is money you probably do not need to spend.
💡 Rule of thumb: Every failed or unusable generation still costs credits. If one in three of your clips is a keeper, your real cost per usable video is about 50% higher than the table above.
Limits That Catch People Out
Credits are only half the story. The other half is a set of rules about what you can combine.
Duration and feature locks
Ray 3.2 has several restrictions worth knowing before you hit generate:
- 10 second clips do not work with HDR, start frames, end frames, or looping.
- Start and end images only work with 5 second clips.
- HDR needs 720p or 1080p, 5 seconds, and no loop.
- EXR export requires HDR to be switched on.
- Loop mode does not combine with 10 seconds, HDR, or an end image.
- When you give an anchor image, the model takes the aspect ratio from that image and ignores your ratio setting.
So if you want a long clip that starts from your own photo, you cannot have both. You pick one.
Separate API credits
A detail that burns developers: credits bought for the Dream Machine app generally do not carry over to the API, which runs its own pool. If you prototype in the app and then build a product on the API, you are paying twice.
Commercial rights
Paid plans include commercial usage rights according to most reviews, while free output does not. Teams who publish client work should treat a paid plan as mandatory, and keep a screenshot of the plan terms on file.

Cheaper Alternatives Worth Testing
If your clip count is high and your budget is not, spreading the work across models is the smartest move. Different models win at different jobs, and several cost far less per clip.

Free and unlimited options
For drafts, storyboards, and social clips where perfect polish is optional, start here:
- Seedance 2.5 Lite is listed as a free, unlimited generator with clips up to 10 seconds. It is the first stop for testing ideas without watching a credit meter.
- Ray Flash 2 540p and Ray Flash 2 720p give you Luma's faster, lighter Ray 2 family for quick looks at a prompt.
- Wan 2.5 T2V Fast is a quick text to video option when you need a lot of takes.
Premium rivals
When the clip has to look expensive:
💡 Smart workflow: Draft with a free model, pick the best concept, then re-render only that winner on a premium model. You pay premium rates once instead of ten times.
How to Use Luma Ray on PicassoIA
Luma's Ray family is available on PicassoIA, so you can run it without a separate Luma subscription. The newest option is Ray 3.2, and you can also use the original Ray, Ray 2 720p, and Ray 2 540p.

Step by step
- Open the Ray 3.2 page on PicassoIA.
- Write your prompt. Name the subject, the motion, the camera movement, the lighting, and the pacing. "A fishing boat rocks at dawn, slow push in, soft mist, warm light on the hull" beats "boat video".
- Pick a duration: 5 or 10 seconds. Choose 5 if you plan to use HDR, a start image, or an end image.
- Set the resolution: 540p, 720p, or 1080p. Begin at 720p, the default.
- Choose an aspect ratio from 9:16, 3:4, 1:1, 4:3, 16:9, or 21:9. Use 9:16 for Reels and Shorts, 16:9 for YouTube.
- Optionally add a start image or end image to anchor the first or last frame.
- Run the generation and download the MP4.
Settings that save credits
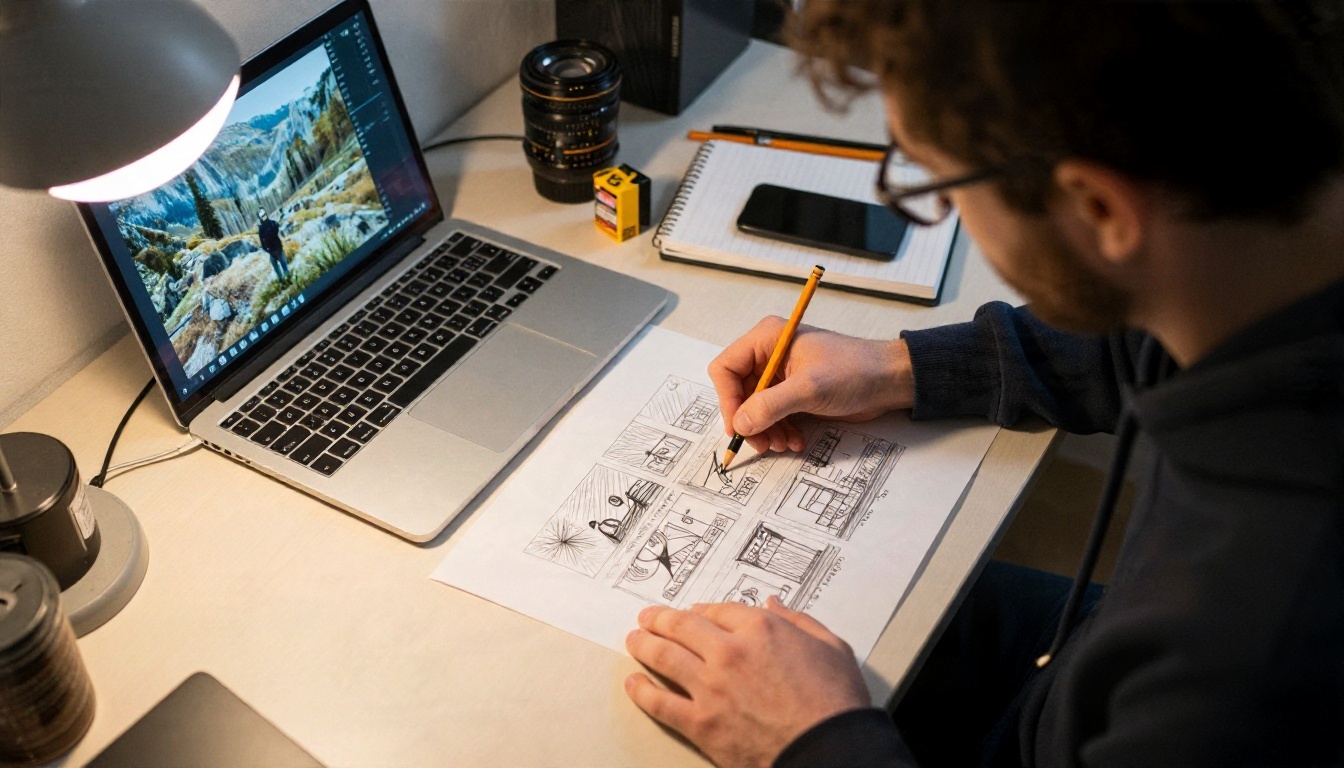
- Plan the shot on paper first. A ten second storyboard sketch avoids five wasted renders.
- Stay at 720p while iterating. Switch to 1080p only for the final pass.
- Skip HDR and EXR unless a colorist will grade the footage.
- Use one anchor image when you need the same subject across several clips. The model will match your frame instead of inventing a new look.
- Keep prompts specific. Vague prompts create random motion, and random motion creates rerolls.
Looping clips are also available for backgrounds, but remember loop mode does not mix with HDR, 10 second duration, or an end image.
Which Option Fits Your Budget
Here is a fast decision map based on how you work.
| If you are... | Best move |
|---|
| Testing ideas | Use a free allowance or a free model like Seedance 2.5 Lite |
| Posting a few clips a week | Ray 3.2 at 720p, 5 seconds |
| Delivering client work | Paid plan with commercial rights, 1080p for finals only |
| Grading in a pro suite | Ray 3.2 with HDR and EXR, accept the 2x to 3x cost |
| Producing at high volume | Mix free drafts with a premium final render |
The cheapest video is the one you only render once. Spend your effort on the prompt and the storyboard, not on the generate button.
Try Your Own Clip Today
Pricing tables are useful, but the best way to judge value is to run your own prompt and see what a usable clip is worth to you. Open Ray 3.2 on PicassoIA, render a 5 second 720p test, then run the same prompt through Kling v3 Video and Seedance 2.5 Lite to compare motion, detail, and cost side by side. Browse the full model list at picassoia.com/en/all-models, pick the one that fits your budget, and start creating your own AI videos.


