You have a block in your head. Maybe it is mossy deepslate that looks wet, or an oak plank with grain you can almost feel. Drawing it pixel by pixel takes an evening per block, and a full pack has hundreds of them. A Minecraft texture generator shortens that gap: you describe the surface, an AI model produces a tile, and you spend your time choosing and polishing instead of dotting single pixels.
This article shows how that works in practice. You will see which free online models suit the job, copy-ready prompts for the most common blocks, a step by step method to turn a generated image into a clean 16x16 or 32x32 file, and the mistakes that make a pack look muddy. Every prompt below has been written so you can paste it, change two words, and get something usable.
💡 Quick answer: use a text-to-image model to generate a flat, top-down, evenly lit material, shrink it with nearest neighbor scaling, check that it tiles, then save it with the right file name inside your resource pack folder.
What a Texture Generator Really Does
A texture generator is not a magic "make pack" button. It is a text-to-image model pointed at a very specific target: a small square tile that repeats without visible seams. The model gives you the raw material. You still decide the palette, the contrast and the final pixel grid.
The 16x16 Rule
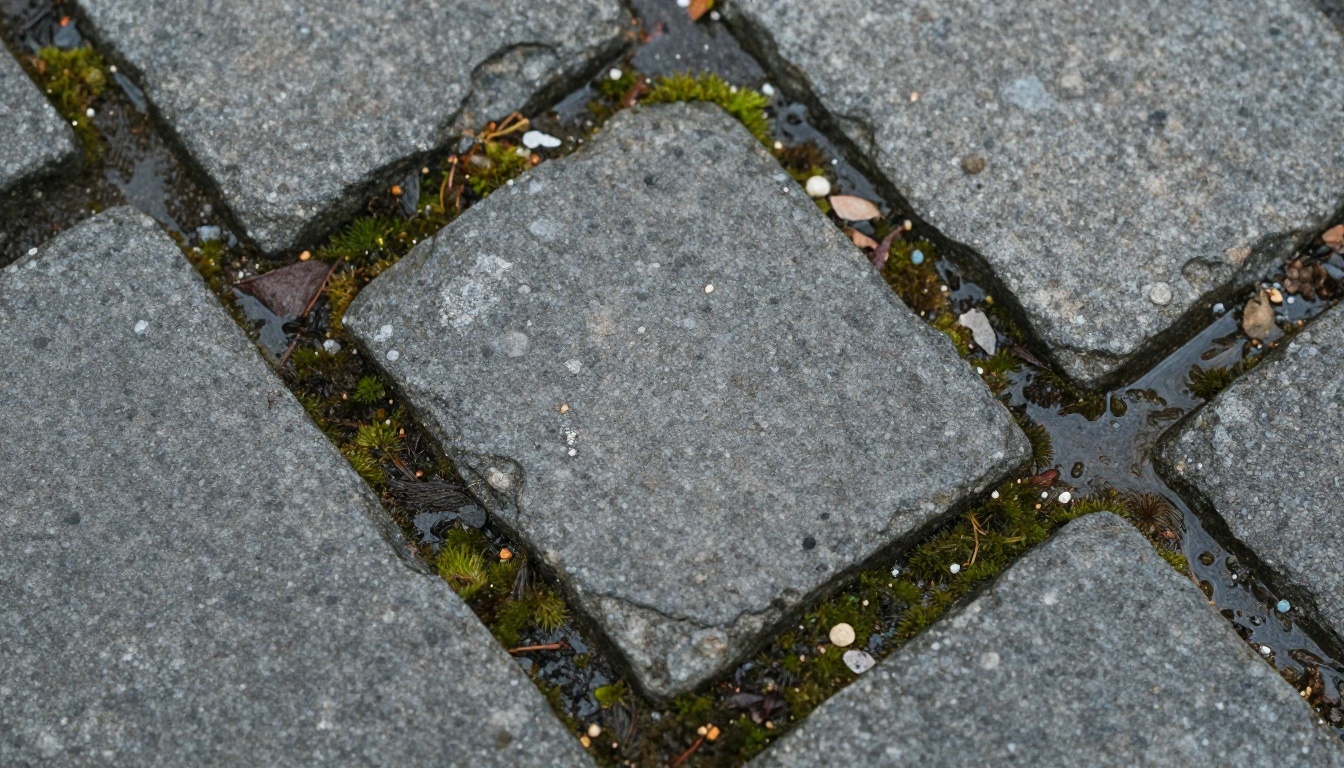
Standard block textures in the game are square tiles, and the classic size is 16x16 pixels. Larger packs use powers of two: 32x32, 64x64, 128x128 and up. The sizes matter because the game maps each texture onto a cube face, and non-square or oddly sized files break that mapping.
That tiny canvas explains why prompts for texture packs look different from normal image prompts. You are not describing a scene. You are describing one flat surface, with no perspective, no horizon, and no single object sitting in the middle.
Why AI Fits Block Art So Well
Blocks are mostly surfaces: stone, wood, dirt, sand, ore. These are exactly the subjects image models handle best, because they have seen millions of photos of them. The weak point is the pixel grid. Most generators do not output true pixel art, so the practical method is to generate a rich, high-resolution tile and reduce it yourself. We will do that below.
There is no single "Minecraft" model. What you want is a flexible text-to-image model with good material rendering and fast turnaround, because you will generate many variations of each block before choosing one.

Models Worth Trying
PicassoIA hosts a long list of text-to-image models, several of which have free options listed on their pages. These are the ones that fit texture work:
| Model | Best for | Why it works for packs |
|---|
| Flux Schnell | Fast drafts | Very quick, so you can test twenty stone variants in minutes |
| Seedream 4.5 | Detailed surfaces | Sharp micro detail on wood grain, ore flecks and rock |
| Nano Banana Pro | Following exact wording | Obeys "top-down, flat, no shadows" instructions well |
| Stable Diffusion 3.5 Large | Stylized, painterly tiles | Good for hand-painted pack styles |
| Nano Banana | Editing an existing tile | Lets you adjust a result instead of starting over |
If you want to enlarge a result before shrinking it back down for a high-resolution pack, Clarity Pro Upscaler and P Image Upscale are the super resolution options on the platform.
Which Resolution to Choose
| Pack size | Look | Generate at | Best use |
|---|
| 16x16 | Classic, chunky | 1024x1024, then reduce | Faithful, vanilla-style packs |
| 32x32 | Slightly richer | 1024x1024, then reduce | Clean upgrade that still feels like the game |
| 64x64 | Painterly detail | 1024x1024, then reduce | Cozy, hand-painted packs |
| 128x128 and above | Near realistic | 1024x1024 or larger | Realistic packs with heavy hardware needs |
💡 Tip: always generate at a size much larger than your target. A model has far more room to place grain and cracks on a 1024 pixel canvas, and reducing keeps the best of it.
Prompts That Work for Blocks
Every texture prompt follows the same recipe. Start with the material, add the surface state, force the camera to be flat, and finish with the lighting rule. The part that people forget is the last one: no shadows, no perspective. Without it, you get a rock photographed on a hillside, not a tile.
The base formula:
[material] surface, [state and detail], seamless tileable texture, perfectly flat top-down view, even diffuse lighting, no shadows, no perspective, fills the entire frame, square
Stone and Cobblestone
Stone is the easiest place to start because natural stone already looks random in a pleasant way.
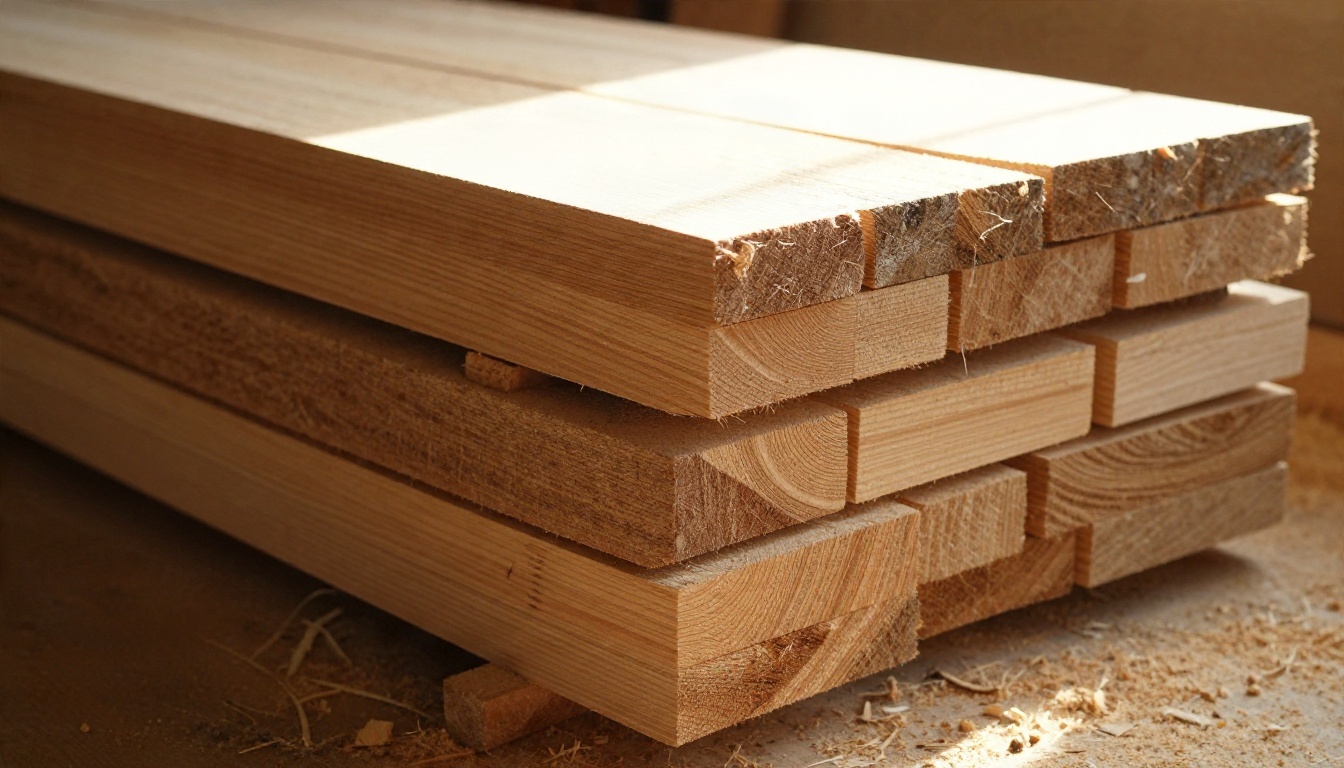
Cobblestone prompt:
Weathered grey cobblestone surface, rounded stones of different sizes with dark mortar gaps, small chips and mineral speckles, seamless tileable texture, flat top-down view, even diffuse lighting, no shadows, fills the entire frame
Mossy stone prompt:
Grey fieldstone wall surface covered in patches of green moss, damp, subtle color variation, seamless tileable texture, flat front view, even diffuse lighting, no shadows, fills the entire frame
Smooth stone prompt:
Smooth grey granite surface, fine speckles, tiny hairline cracks, very low contrast, seamless tileable texture, flat top-down view, even lighting
Keep contrast low for plain stone. In a 16x16 tile, high contrast reads as noise, and a field of noisy stone is exhausting to look at.
Wood Planks and Logs
Wood is where AI results really shine, because grain is an organic, directional pattern.
Oak planks prompt:
Horizontal oak planks, warm honey brown, visible grain lines and two small knots, thin dark gaps between boards, seamless tileable texture, flat front view, even diffuse lighting, no shadows, fills the entire frame
Dark oak prompt:
Dark walnut planks, deep chocolate brown, tight straight grain, subtle varnish sheen, seamless tileable texture, flat front view, even diffuse lighting
Log side prompt:
Rough tree bark surface, vertical ridges and furrows, grey-brown, small patches of lichen, seamless tileable texture, flat front view, even diffuse lighting
For log ends, ask for concentric tree rings, cut cross section, centered, square crop and keep the ring count low so the shape survives at small sizes.
Ores and Minerals
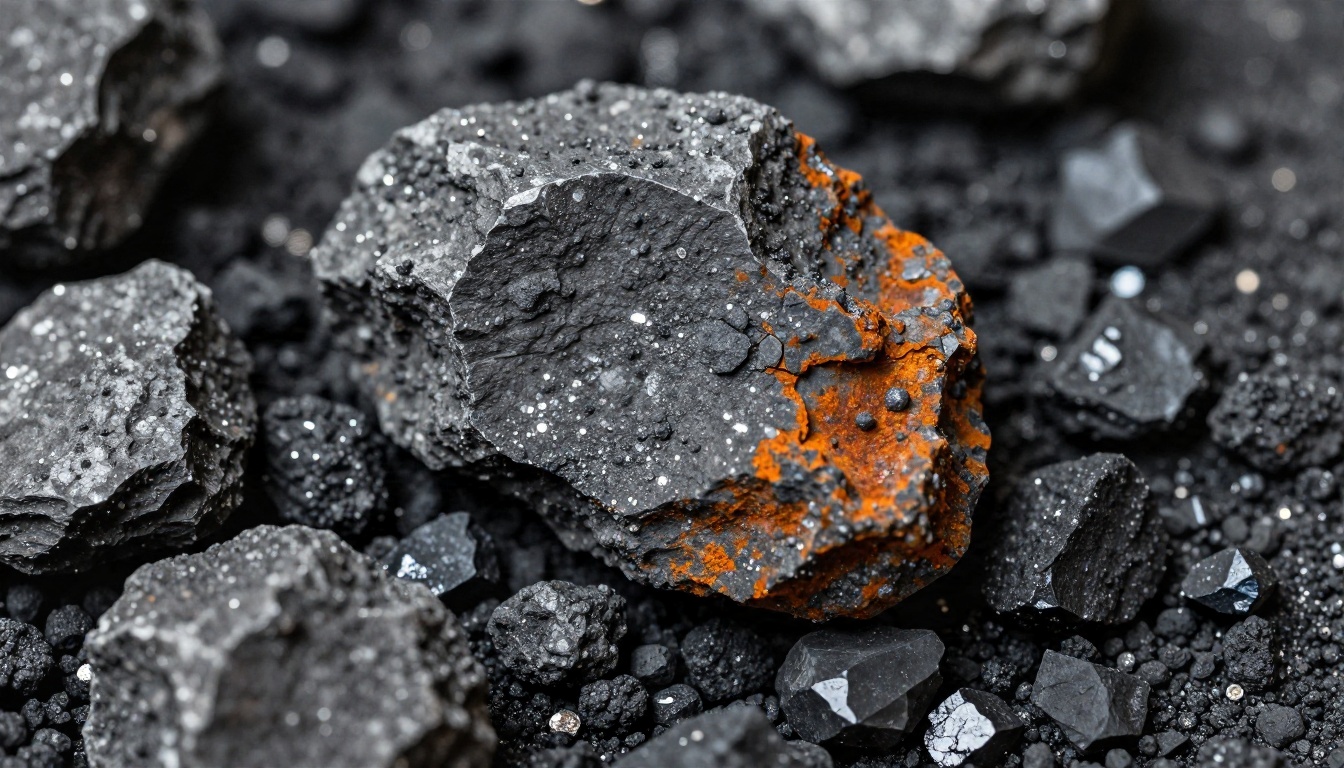
Ores are a mix of two textures: a stone background and bright inclusions. A single prompt can do both, but you get cleaner results by describing the chunks as distinct clusters rather than an all-over speckle.
| Ore | Prompt fragment to add to the base formula |
|---|
| Coal | grey stone with five or six matte black angular lumps |
| Iron | grey stone with salmon pink and rust orange patches |
| Gold | grey stone with bright yellow metallic flecks in clusters |
| Diamond | grey stone with pale cyan crystal clusters, sharp facets |
| Redstone | grey stone with deep red granular dust patches |
| Lapis | grey stone with deep blue speckled chunks |
Using the same stone base for every ore keeps your pack consistent. Generate one clean stone first, then ask Nano Banana to add each ore type to it, rather than prompting each ore from scratch.
Sand, Dirt and Grass
These blocks fill most of any landscape, so they need to be the most carefully tuned. Poor dirt will show up on every hillside.
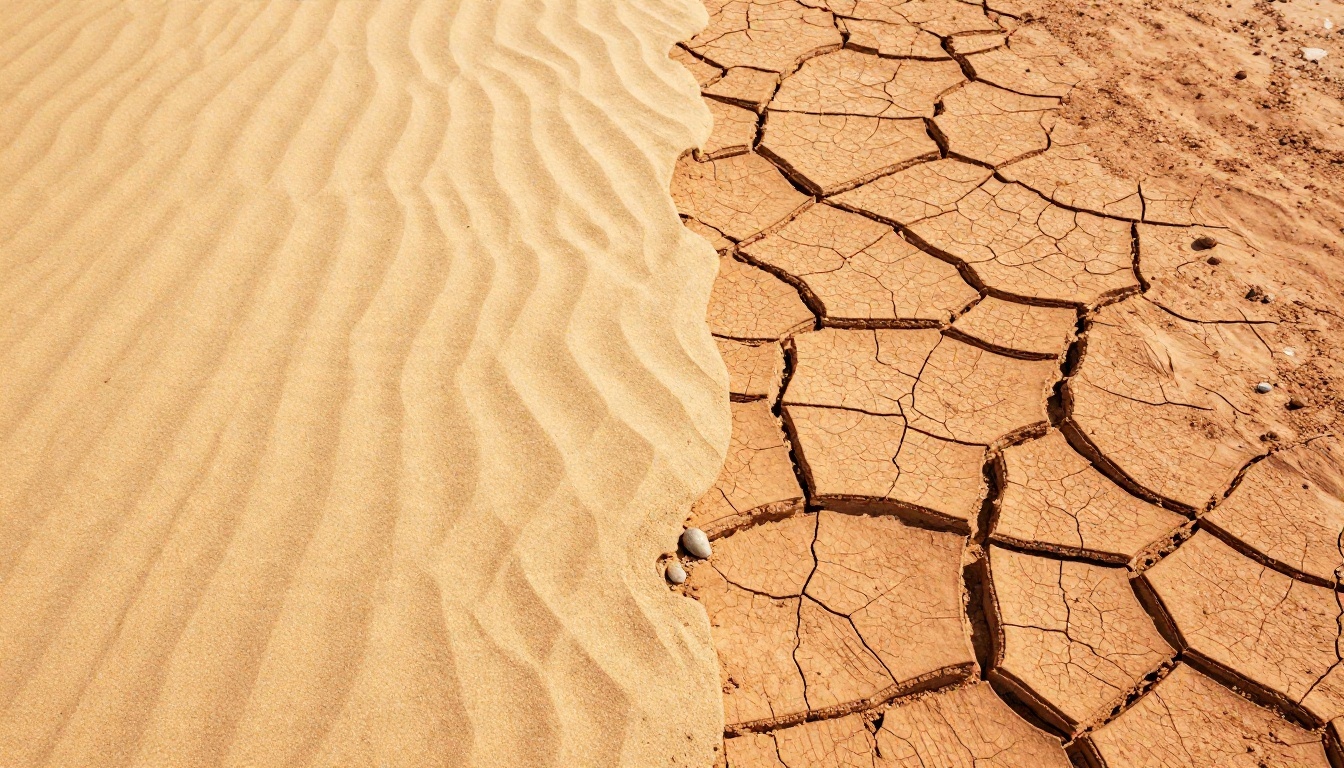
Sand prompt:
Fine pale golden sand, soft grain, tiny pebbles, very subtle ripple, seamless tileable texture, flat top-down view, even diffuse lighting, no shadows
Dirt prompt:
Dark brown garden soil, small clumps and crumbs, a few light pebbles, matte, seamless tileable texture, flat top-down view, even diffuse lighting
Grass top prompt:
Short dense green lawn seen from directly above, varied blade tones from lime to forest green, seamless tileable texture, flat top-down view, even diffuse lighting
The grass block side is the one most people get wrong. It needs a green strip at the top and dirt below. Generate the dirt, generate the grass, then merge them in an editor with a jagged edge so the strip does not look like a ruler line.
Build a Pack Step by Step
Here is the process I would follow for a first pack of ten to twenty blocks. It works on Flux Schnell, Seedream 4.5 or any model from the table above.
Step 1: Generate Many Variants
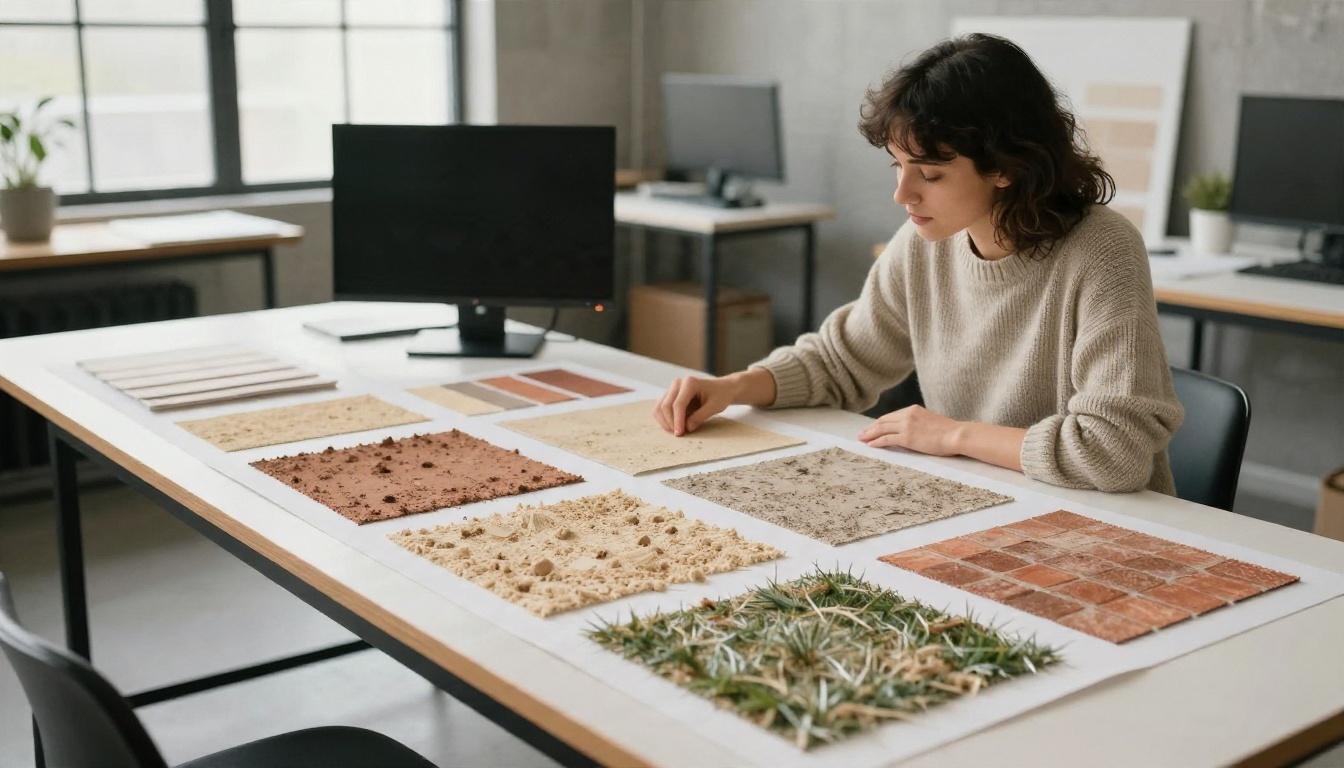
Open a text-to-image model on PicassoIA, paste a prompt from the lists above, and set a square aspect ratio. Run it four to eight times. Do not settle for the first result. Pick the one with the most even distribution of detail and the least obvious focal point.
Step 2: Reduce With Nearest Neighbor
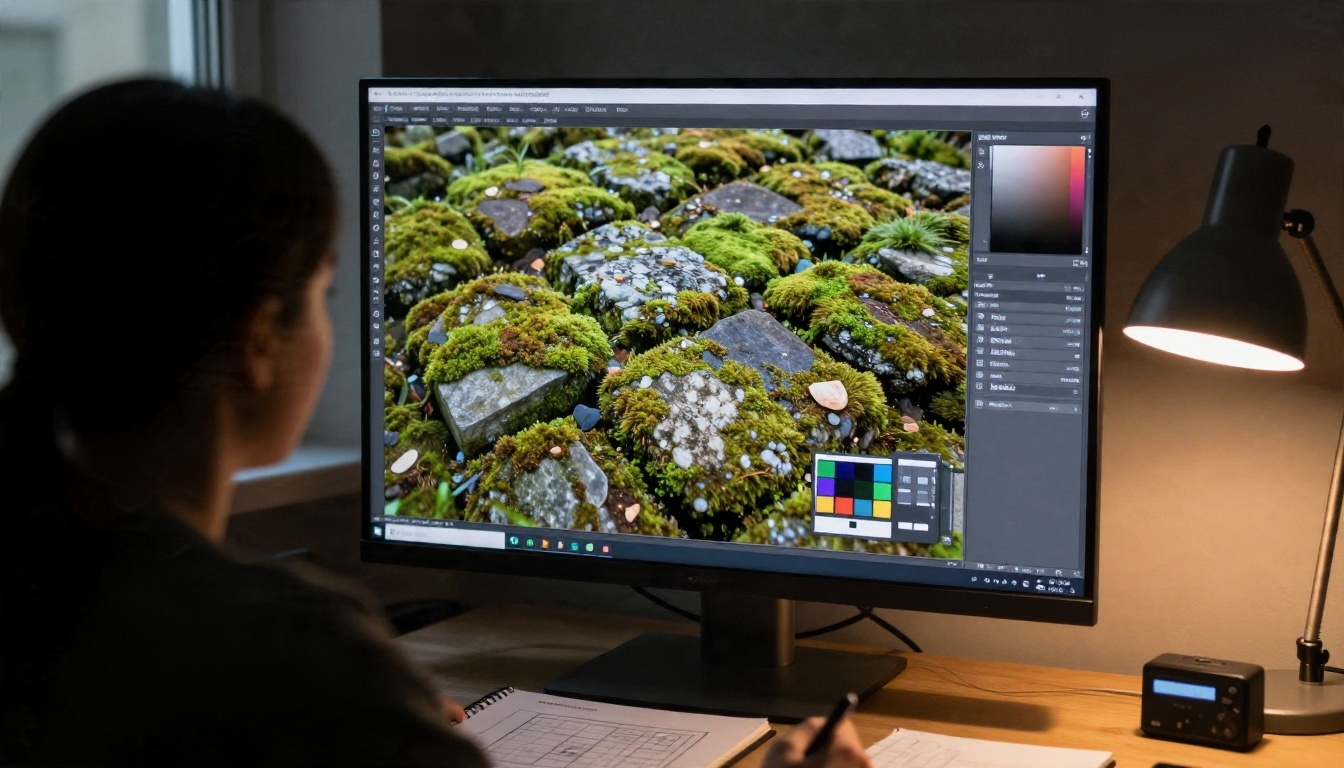
Open your pick in any image editor and resize it to 16x16, 32x32 or your chosen size. Use nearest neighbor (or "no interpolation") scaling. Smooth scaling blurs everything and ruins the crisp pixel look. If the result looks too muddy, bump contrast and saturation by about 10 to 15 percent before the reduction.
Step 3: Make It Tile
Place four copies of the tile side by side in a 2x2 grid and look for seams. Visible lines along the edges mean the model gave you a bright border or a vignette. Fix this by cropping 5 to 10 percent off all sides before shrinking, or use the editor's offset filter to move the seam into the middle and paint over it.
Step 4: Name and Place the File
For the Java Edition, a resource pack is a folder with a pack.mcmeta file and an assets/minecraft/textures/block/ directory. Block textures use the game's own file names, so your file must match exactly:
| Block | File name |
|---|
| Cobblestone | cobblestone.png |
| Stone | stone.png |
| Oak planks | oak_planks.png |
| Dirt | dirt.png |
| Sand | sand.png |
| Iron ore | iron_ore.png |
| Coal ore | coal_ore.png |
Zip the folder, drop it in your resource packs directory, and enable it in the options menu. The Bedrock Edition uses a similar layout with a manifest.json, so check the folder structure for your edition before you pack everything up.
💡 Tip: test with just three textures first. If cobblestone, dirt and planks look right together, the rest of the pack will follow the same visual rules.
Mistakes That Ruin Texture Packs
Most failed packs share the same handful of problems. Fix these and you are already ahead of most pack makers.
Too Much Detail Per Pixel
A 16x16 tile holds only 256 pixels. If your source has fifty tiny cracks, the reduction turns them into brown mush. Ask for fewer, larger features in the prompt: "five large stones", "two knots", "four ore clusters".
Lighting Baked Into the Tile
A shadow on the left of a texture will repeat every block, producing a stripe pattern across your whole world. Keep the lighting instructions strict: even, diffuse, no shadows. If a result has a gradient, remove it with a high-pass filter or simply discard it.
Clashing Palettes
Stone that is cool blue-grey next to dirt that is warm orange will feel like two different games. Pick a palette before you start: three or four base colors, and reuse their tones. Adding phrases such as muted earthy palette or warm autumn palette to every prompt helps a lot.
Ignoring Transparency
Leaves, glass, flowers and tall grass need transparent backgrounds. A generated image will not give you a transparent file. Generate the subject on a flat solid color, then use background removal to cut it out before reducing.
Style Ideas for Your Pack
Once the base prompts work, a single phrase can shift the whole look of the pack. Keep that phrase identical across every block.
Photoreal Pack
Add real photograph, natural material, high detail and generate at 128x128 or higher. This is the heaviest style on hardware, but the world looks like a miniature model. Use Seedream 4.5 for this one.
Cozy Hand-Painted Pack
Add gouache painted, soft brush strokes, warm palette, matte. This pairs well with 32x32 or 64x64 and gives cottage-style builds a storybook feel. Stable Diffusion 3.5 Large is a good fit.
Dark Fantasy Pack
Add damp, aged, desaturated, moody and push contrast slightly higher. Dark palettes hide small tiling mistakes, which makes this the most forgiving style for a first pack.
Real World Reference Packs
One shortcut: photograph or generate real-world materials, then use them as reference for what the tile should feel like. A rock from your garden or a plank from a hardware store gives you a lighting-neutral model of grain and speckle that you can describe in words to the model.
Share and Test With Friends
A texture pack that looks good in your editor can look different in a dim cave or at noon on a plains biome. Test in at least three places: a bright surface, a dark cave and under water. Fix whichever block stands out in a bad way.

Ask for Fresh Eyes
Send a screenshot to a friend without telling them which blocks you changed. If they cannot tell which ones are yours, the pack is consistent. If a single block jumps out, that is the one to redo.
Keep a Prompt Log
Save the exact prompt and the model name beside each finished texture. When you want a matching block three weeks later, you will be able to reproduce the style without guessing. A simple text file with one line per block is enough.
Build in Batches
Do ten blocks per sitting rather than the entire pack. Stone and dirt first, then wood, then ores, then decorative blocks. It keeps your palette in your head and keeps the pack from feeling like a patchwork.
Try Your Own Textures Today
You now have the prompt formula, the tools, the file names and the pitfalls. The fastest way to see how it goes is to make one block: generate a cobblestone tile, shrink it to 16x16, drop it into a pack folder and look at it in your world.
Open a text-to-image model on Picasso IA, paste the cobblestone prompt from this article, and run it a few times. Try Flux Schnell for speed, Seedream 4.5 for detail, or Nano Banana Pro when you need the model to follow every word. Swap one adjective, regenerate, and compare. Your first custom block will take a few minutes, and by the tenth you will have your own pack style.


