Realistic AI Generated Faces: Online Tools, Consistent Characters, App and Limits
Realistic AI generated faces are now easy to make in a browser or on a phone, but keeping the same character across ten photos is still hard. This article compares the online tools, shows prompts that work, and lists where faces still fail.
A few years ago, you could spot an AI face from across the room: waxy skin, mismatched earrings, eyes that stared past you. Today, a decent prompt in a browser tab gives you a portrait that fools most people on a phone screen. The catch is that "looks real in one image" and "works for a real project" are two different bars. A brand mascot, a novel character, a fictional customer in a pitch deck: all of them need the same face to show up again and again, in different light, with different expressions.
This article walks through what makes a generated face believable, which online tools do the job, how to keep a character consistent, what to expect from an AI face app on your phone, and the limits that still trip people up. Every tool mentioned is linked so you can test it yourself.
What Makes a Face Look Real
Realism is not sharpness. Many failed AI portraits are extremely sharp and still feel fake, because the face is too clean. Real faces are messy in small, specific ways.
Skin Texture Over Perfection
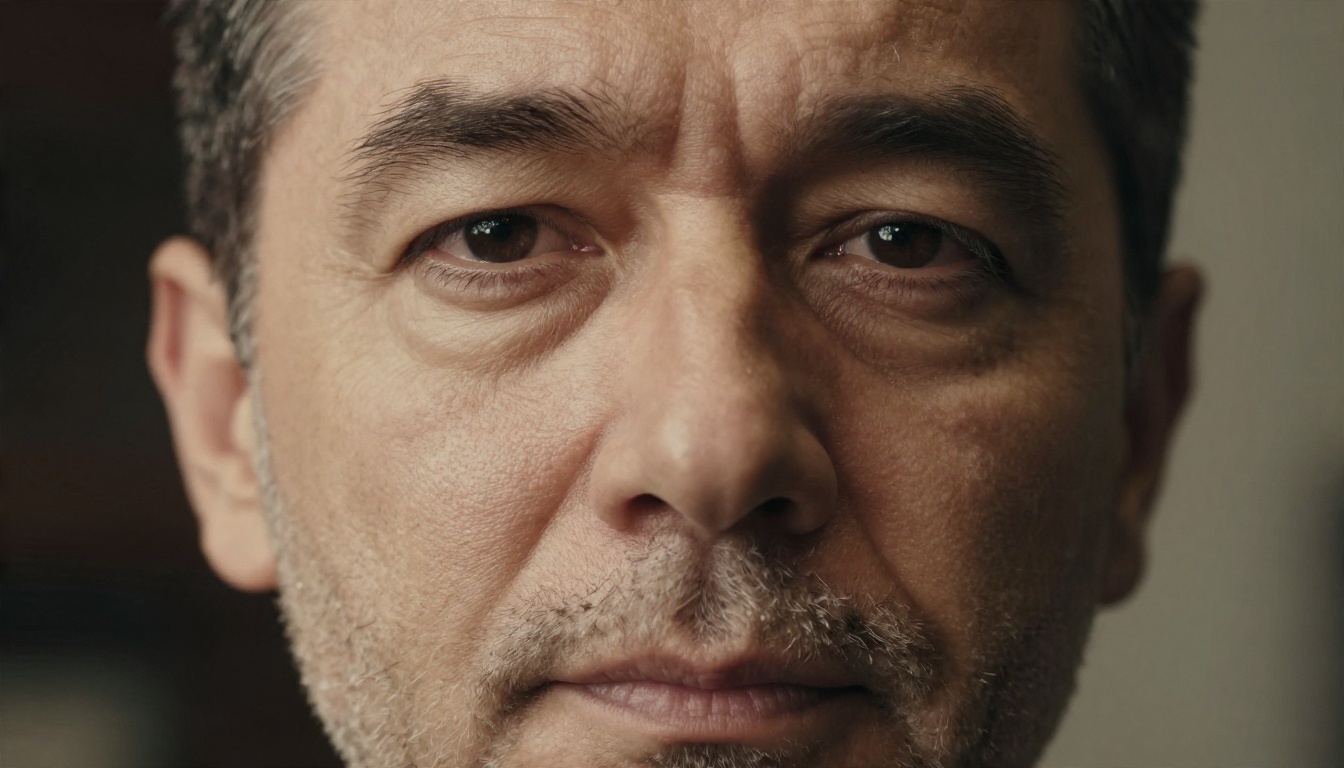
Look at any unretouched photo of a person and you will find pores, tiny hairs, uneven color around the nose, faint lines under the eyes, and a slight shine where oil collects on the forehead. When a model smooths all of that away, your brain flags the image as artificial within a second.
The fix is mostly in the prompt. Words like visible pores, fine vellus hair, natural skin sheen and unretouched push modern models toward honest texture. Words like flawless, perfect skin and beauty retouch do the opposite.
💡 Tip: If a face looks plastic, do not add more adjectives about beauty. Remove them. Then add one line about lens and light, such as "85mm lens, soft window light from the left."
Eyes, Teeth, and Ears
Three areas give away most generated faces:
Eyes: Look for catchlights that match the light source. If the window is on the left, the reflection should be on the left in both eyes.
Teeth: Too many, too even, or blurred into one white bar. Natural smiles show slight irregularity.
Ears and hairline: Mismatched earrings, ears at different heights, and hair that melts into the skin at the temples.
A quick habit that saves time: zoom to 200% on the eyes and mouth before you decide a result is usable. If those two areas hold up, the rest usually does.
Online Tools for Realistic Faces
You do not need a graphics card or a local install. Browser-based generators now handle faces well enough that the model you pick matters more than the hardware you own.
Text to Image Models
These create a face from a written description. On PicassoIA, the ones worth testing first for portraits:
Seedream 4.5 is a strong all-round choice for photographic portraits with natural skin and clean detail.
Nano Banana Pro handles detailed scenes and gives you high resolution output.
Qwen Image 3 Pro is built around photorealistic output and is a good second opinion when another model gives you stiff expressions.
Z Image Turbo is quick, which makes it useful for trying twenty variations of a face before you commit.
Ideogram v4 Quality is worth a look if your portrait also needs a sign, label or short line of text in the frame.
Seedream 5 Pro gives sharp 2K results when you want a newer option to compare against.
Editing Models for Fixes
Generating is only half the job. Once you have a face you like, editing models let you change the outfit, the background or the expression without starting over:
Nano Banana edits and generates from a reference photo with plain-language instructions.
Flux Kontext Fast is a fast editor for targeted changes such as clothing, setting or small details.
PicassoIA Image Editor Pro offers unlimited generations, which matters when you are iterating on the same face many times.
Change Haircut swaps hairstyles on an existing portrait, handy for testing a character with different looks.
Most people write prompts like a product listing. Photographers write them like a shot list. The second approach wins for faces.
A Simple Prompt Formula
Use this order, and keep each part short:
Subject: age range, ethnicity or heritage if relevant, hair, expression.
Skin and details: pores, freckles, laugh lines, stray hairs.
Setting: one place, two or three objects at most.
Light: direction and quality, such as "soft window light from the left."
Camera: lens and aperture, such as "85mm f/1.8, shallow depth of field."
Film look: "Kodak Portra 400, light grain, natural color."
Here is a prompt that follows the formula:
Woman in her late twenties, warm olive skin, dark chestnut hair tied back,
calm slightly amused expression, visible pores and faint freckles, natural
eyebrows, small lines under the eyes. Sitting by a tall window in a quiet
apartment, wooden shelf and ceramic mug out of focus. Soft morning daylight
from the left. 85mm lens f/1.8, shallow depth of field, Kodak Portra 400,
light film grain, unretouched.
Words That Help and Hurt
Helps
Hurts
unretouched, candid, documentary
flawless, perfect, airbrushed
visible pores, fine hair, natural sheen
ultra smooth, glowing skin
soft window light, overcast daylight
dramatic lighting, cinematic glow
50mm or 85mm lens
wide angle for close portraits
slight asymmetry
symmetrical face
Long strings of quality words ("8k, ultra, masterpiece, best quality") rarely help current models. One clear lens and one clear light source do more.
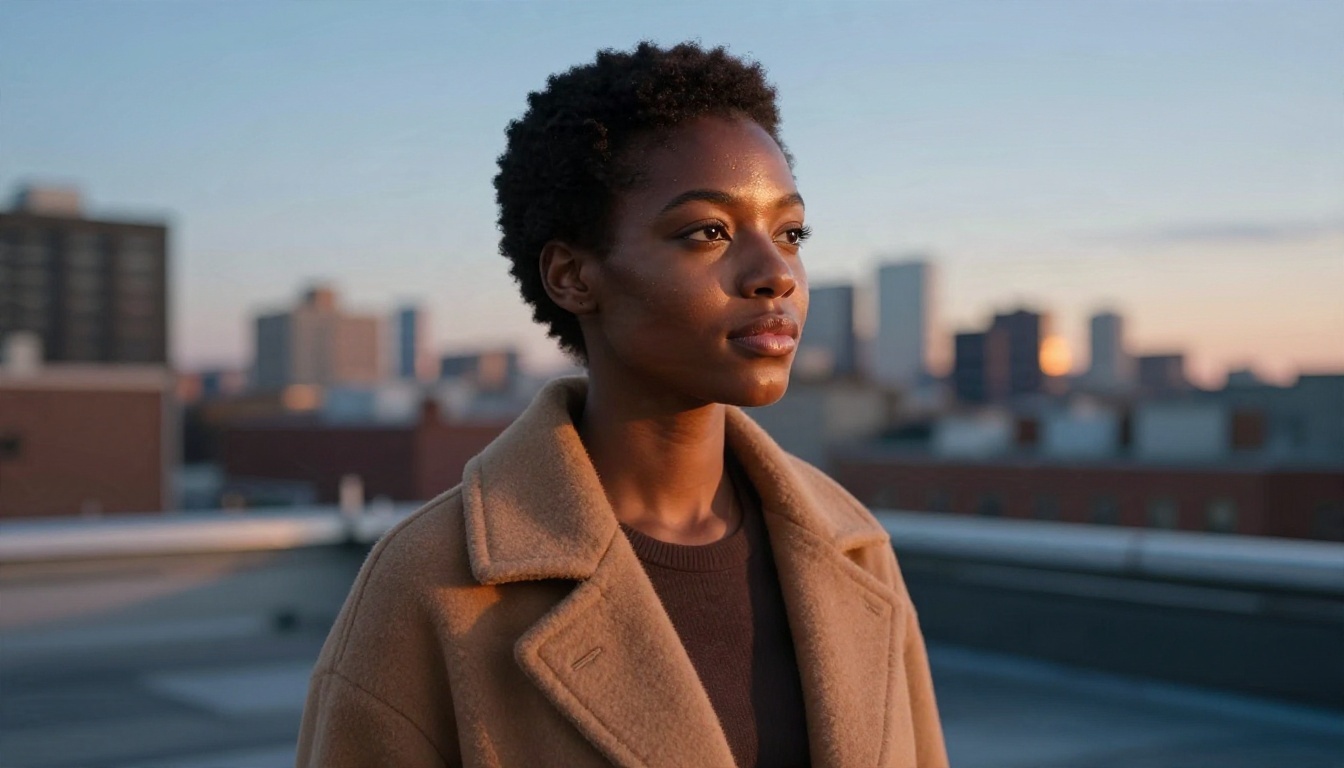
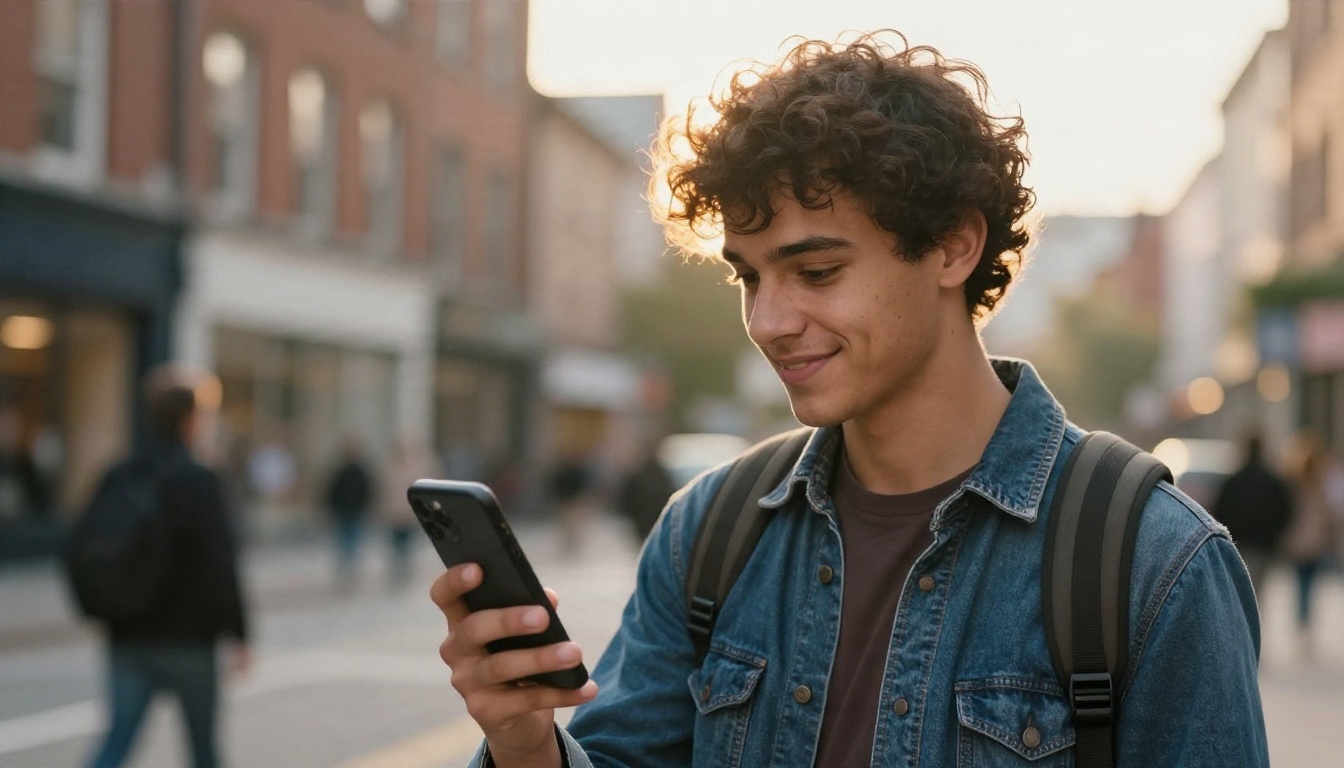
Light is where many prompts quietly fail. Mixed warm and cool light, like the dusk scene above, is harder for a model than flat daylight, so expect more rerolls when you ask for it. It is also what makes the result feel like a photograph instead of a render.
Consistent Characters Across Images
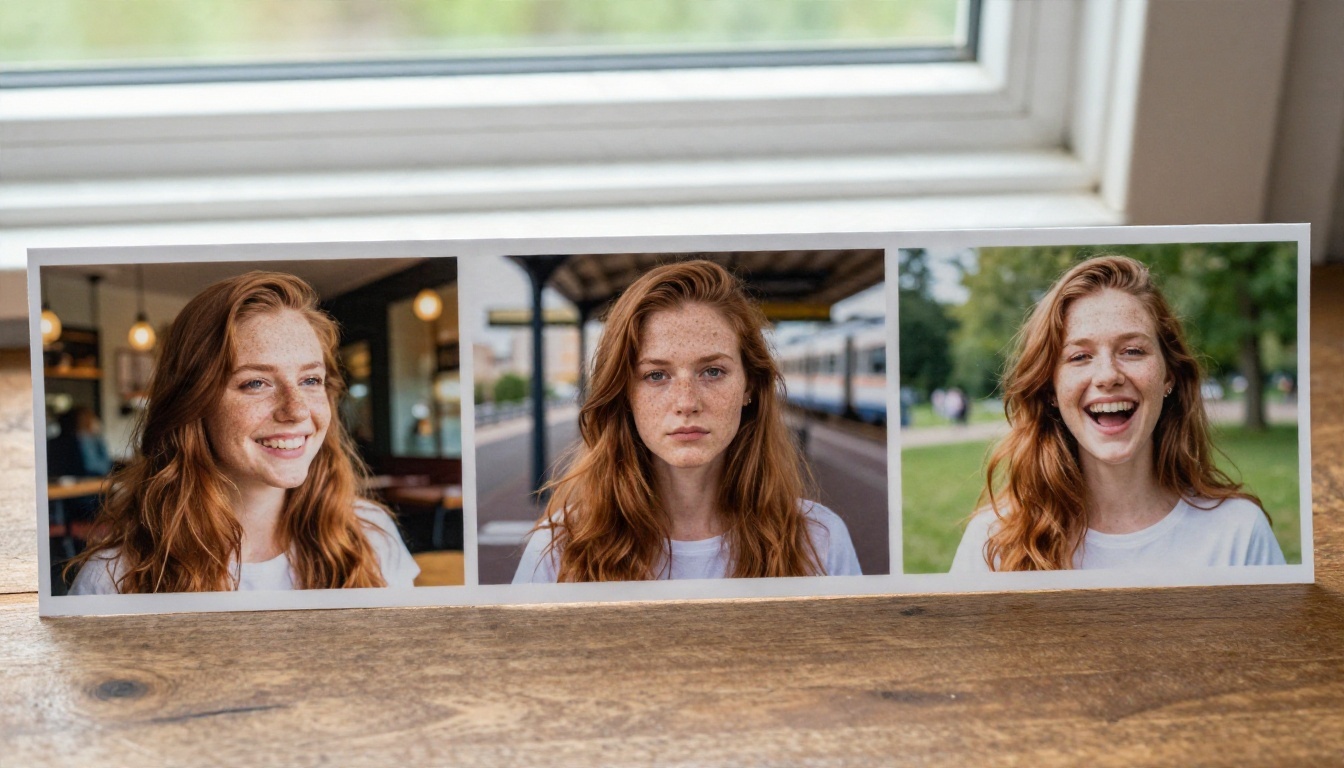
This is the part that separates a fun experiment from usable work. A single great face is easy. The same face in a café, on a train platform and in a park is the real test.
The Reference Image Method
The most reliable approach today is to generate one strong "anchor" portrait, then feed it back as a reference when you create new scenes.
Generate a neutral, front-facing portrait in even light. Pick the one with the clearest eyes and jawline.
Ask for the new scene in plain language: "Same woman, sitting in a train station, serious expression, overcast light."
Check the face against the anchor, not against your memory.
Save every success in one folder so you can pick the best reference for later rounds.
Flux Kontext Fast is another good option for this step when you want quick turnaround on each scene.
Prompt Anchors That Stick
Even without a reference image, you can raise consistency by repeating the same distinctive details word for word:
A specific hair description: "auburn hair with a left side part, shoulder length."
Two or three skin features: "freckles across the nose, small mole above the right lip."
A fixed accessory: "thin silver hoop earrings."
The same name for the character in every prompt, which some models treat as a loose identity tag.
Rewording these details between prompts is the number one cause of drift. Copy and paste instead of rewriting.
Fixing Drift Before It Grows
Faces drift slowly. The jaw gets softer in image four, the nose shorter in image seven, and by image ten you have a cousin instead of the original.
💡 Tip: Always reference your first anchor portrait, not the latest output. Using the previous result as the new reference compounds small errors, like photocopying a photocopy.
If a character needs to stay stable across dozens of images, a LoRA based model such as Flux 2 Klein 9B Base LoRA is worth testing, since it is built for guiding a model toward a specific look.
The AI Face App Question
People search for "AI face generator app" expecting a download. In practice, the choice is between an installed app and a browser tool, and for faces the browser often wins.
Browser or Installed App?
Factor
Browser tool
Installed app
Model choice
Many models in one place
Usually one model
Updates
Instant, no download
Wait for store release
Storage
Nothing to install
Takes space, caches images
Subscription traps
Pay for what you use
Often weekly auto-renewals
Workflow
Same on phone and laptop
Phone only
A browser on your phone gives you the same models as on a desktop, with none of the install friction. For portraits, that flexibility is worth more than a polished app icon, because you will probably want to try three or four different models on the same prompt.
What to Check Before You Pay
Resolution: Does the free tier cap output at a size too small for print or a website hero image?
Rights: Can you use the output commercially?
Reference uploads: If you need consistent characters, the tool must accept your own images.
Export quality: Some apps compress heavily and add a watermark.
For finishing, an upscaler can rescue a good face that came out small. Image Upscale enlarges photos up to 6x, Clarity Pro Upscaler adds fine detail, and Real ESRGAN is a free 4x option for a fast pass.
Where Realistic Faces Still Break
Honest tools still have limits. Knowing them saves hours of rerolling.
Crowds, Hands, and Props
A single face in close-up is the easiest case. Add a second person and models start blending features. Add hands holding objects and you get extra fingers or a phone fused to the palm. Crowd scenes, where each face is small, tend to show smeared or repeated features.
Practical workarounds:
Generate faces one at a time, then compose them with an editing model.
Keep hands out of frame or simple, such as resting on a table.
Use a medium or close crop, since small faces are where most errors hide.
Fix a single flaw with an editing model instead of regenerating the whole image.
Age, Ethnicity, and Variety
Models reflect the photos they were trained on. If you do not specify, you will often get the same narrow set of faces: young, smooth, and symmetrical. Be specific about age, heritage, hair type and skin tone, and push for variety by asking for older faces, uneven features and real expressions.
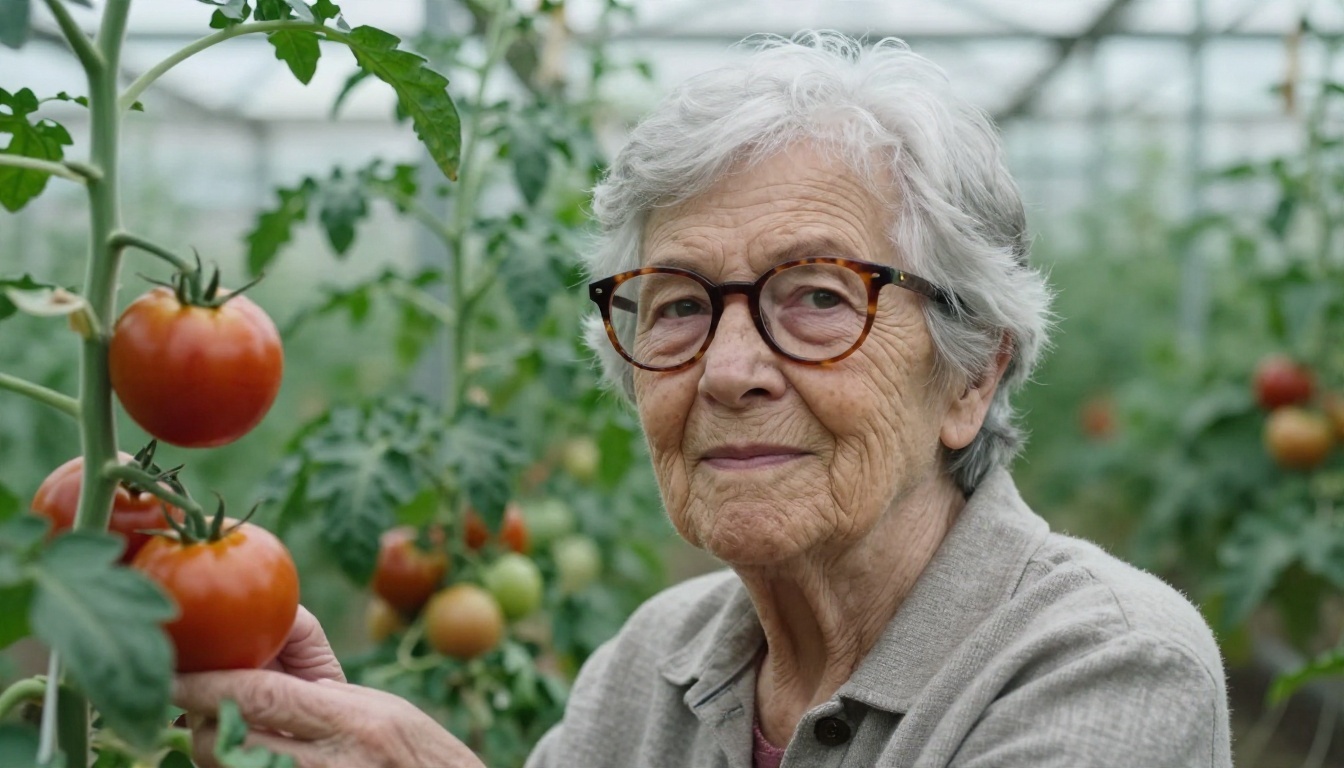
Older faces are a good stress test. Deep lines, age spots and fine facial hair are exactly what a model smooths over by default, so if it handles them well, it is a model you can trust for everything else.
Text and Fine Print
Names on badges, text on shirts and signs in the background still go wrong in many models. If text matters, use a model with strong lettering such as Ideogram v4 Quality, or add text afterward in a layout tool.
Limits Summary
Limit
How common
Workaround
Identity drift over many images
Very common
Reuse the first anchor image
Extra or fused fingers
Common
Crop hands out, or fix in an editor
Blended faces in groups
Common
Generate people separately
Wrong or garbled text
Common
Use a text-strong model
Over-smooth skin
Occasional
Remove beauty words, add pore detail
Consent and Disclosure
Realistic faces bring responsibilities that sharper pixels do not solve.
Invented People vs. Real People
Generating a fictional person is straightforward. Generating a face that resembles a real person, a coworker, a celebrity or an ex, is a different matter. Without that person's clear permission, do not do it. Do not use generated faces to impersonate someone, to build fake testimonials, or to create fake profiles.
When to Label Your Images
A simple rule: if a viewer could reasonably believe the person exists, say that the image is AI generated. That applies to ads, news style content, and anything involving testimonials. For fiction, concept art and internal mockups, a label is optional but still polite.
💡 Tip: Keep a short note with each character: the prompt, the model, the date, and the reference images used. It makes later edits faster and gives you a record of how the face was made.
Make Your First Face Today
Start small. Pick one model, write a six-line prompt using the formula above, and generate five portraits. Choose the one with the most natural eyes, save it as your anchor, then ask an editing model for two new scenes using that same face. In about twenty minutes you will know whether the workflow fits your project.
Open PicassoIA, run the prompt from this article with your own character details, and compare two or three models side by side. Browse the full list at picassoia.com/en/all-models to find the one that renders your character best.