A year ago, getting a usable 3D object meant weeks of sculpting, or a trip to a scanning booth. Today you can type one sentence, drop in one photo, and have a textured mesh in a few minutes. The catch is that "3D object generation" is not one thing. Text to 3D, image to 3D and multi-photo reconstruction behave very differently, and each one hides its own limits behind a friendly upload button.
This article walks through all three methods, shows where free tools stop being free, and ends with a practical workflow on PicassoIA that you can run today.
Three Ways to Make a 3D Object
Every generator on the market falls into one of three camps. Knowing which camp a tool belongs to tells you more about the result than its marketing page does.
Text to 3D
You describe the object, and the model invents the geometry and the texture from scratch. Under the hood, most systems first imagine a few views of the object, then lift those views into a mesh. That is why a text prompt for "a leather armchair" gives you a believable chair, but not your chair.
Image to 3D
You supply a picture, and the model infers the hidden sides. Because the front is fixed by your photo, the result matches your intent far better than text alone. The back, the underside and any occluded detail are still educated guesses.
Multi-photo reconstruction
You supply several pictures from different angles. The model has real evidence for most surfaces, so the mesh is usually the most faithful of the three. It costs you more setup time, but the guessing drops sharply.
| Method | Input | Control over shape | Typical risk | Best for |
|---|
| Text to 3D | One sentence | Low | Generic or odd proportions | Props, concepts, quick ideation |
| Image to 3D | One photo | Medium | Invented back side | Products, toys, figurines |
| Multi-photo | 3 to 5 photos | High | Needs clean, consistent shots | Real objects you own |
💡 Rule of thumb: the more of the object you can show, the less the model has to invent. Invention is where most bad meshes come from.
Text to 3D in Practice
Text to 3D is the fastest way to a first draft. It is also the method most likely to disappoint you if you expect a finished asset.
Prompts That Work
Short, concrete prompts beat poetic ones. Name the object, the material, and one distinguishing feature. Skip the scene.
- Weak: "A beautiful magical fantasy item from an ancient world"
- Strong: "A brass pocket watch with a cracked glass face and a short chain"
Keep the object single and centered. Ask for one thing, not a desk full of things. Most generators are trained on isolated assets, so a lone object lands closer to their strengths.
Where Text to 3D Falls Short
Expect trouble with three things: exact proportions (a "12 cm" object has no real size), thin parts (antennas, straps, chair legs) and text on surfaces (labels come out as smudges). If any of those matter, switch to an image-based method.
Image to 3D in Practice
When you already have a reference, image to 3D is usually the better starting point. It also gives you a trick: you can generate the reference first with a text-to-image model, fix it until it looks right, and only then convert it to 3D.
Choosing the Source Photo
A good source image is boring on purpose:
- One object, filling at least half the frame
- Plain background, ideally white or light grey
- Even light, no hard shadows across the surface
- No text or logos, since they rarely survive reconstruction
- A three-quarter angle, which shows the front and one side at once
A flat, straight-on photo gives the model little depth information. A slightly elevated three-quarter view gives it much more.
Generating the Reference Image First
If you have no photo, build one. A model such as Flux 2 Klein 4B Base or Nano Banana can produce a clean product-style picture of your object on a white background. Seedream 4.5 is another solid option when you want sharper surface detail. Iterate on the picture until the shape is right, because every flaw in the image becomes a flaw in the mesh.
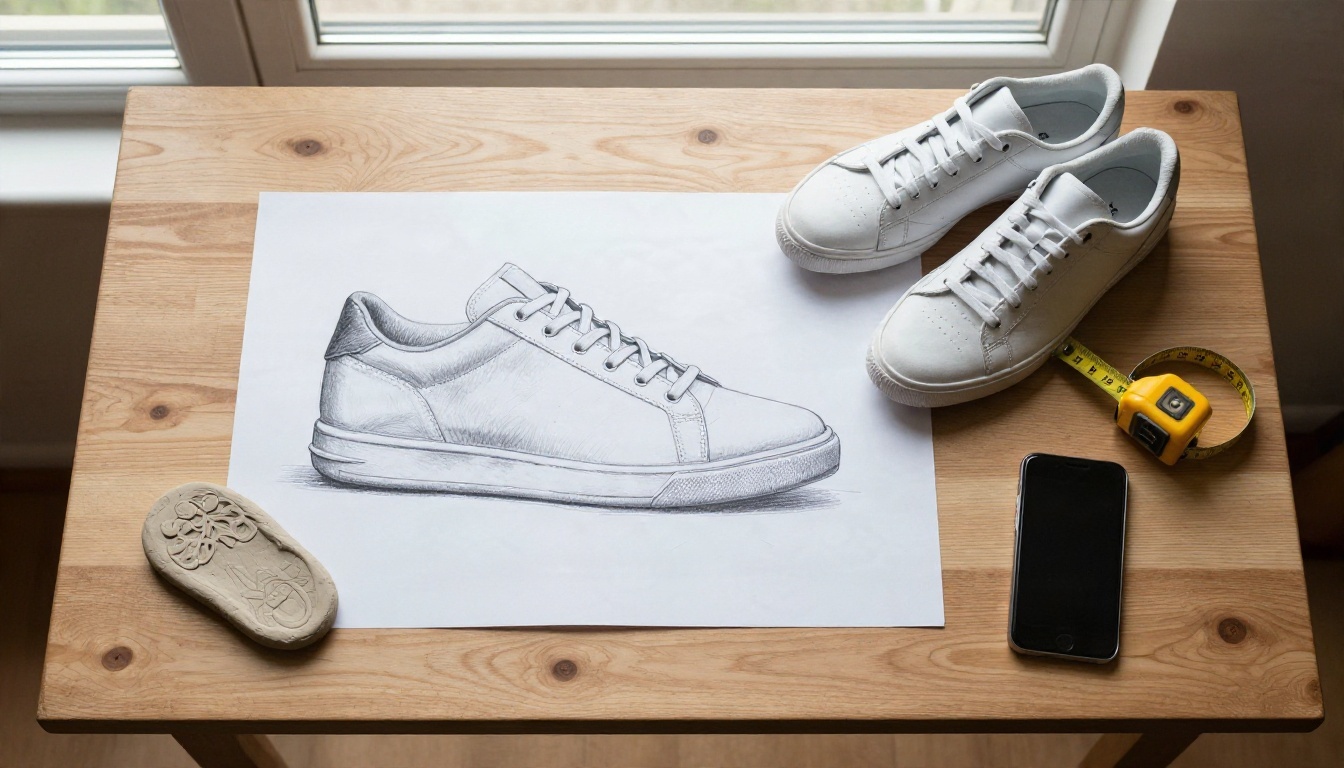
💡 Why this beats raw text to 3D: you check the design in 2D, where changes take seconds, before spending a 3D generation on it.
Single Photo vs Several Angles
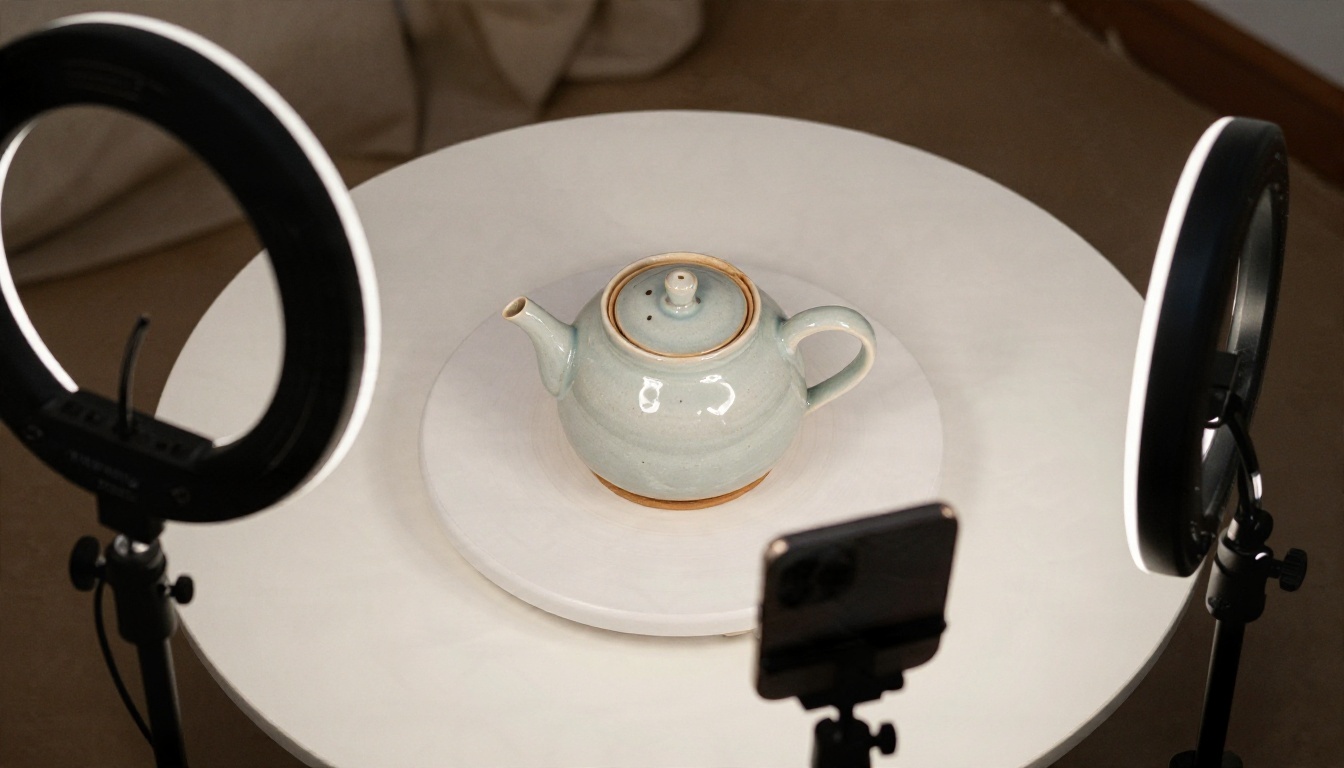
One photo is fast. Three to five photos give the model proof for the sides it would otherwise guess. For a real product, a mug, a shoe or a small statue, the extra two minutes of shooting pay off. Photograph on a turntable or walk around the object at a consistent distance, and keep the lighting identical in every shot.
"Free" in 3D generation almost always means one of three things, and each one has a different cost.
Credit-Based Free Tiers
Hosted services such as Meshy and Tripo offer a monthly allowance of credits. The numbers change often and sources disagree on the exact amounts, so check the current pricing page before you plan a project around them. What stays constant is the pattern:
- A small monthly credit pool that covers a handful of generations
- Slower queues than paid users
- Export limits, where preview is free but downloading a file may be capped
- Licensing conditions, including attribution or non-commercial use on free plans
A free tier is perfect for testing whether a method suits your object. It is a poor foundation for a production schedule.
Open-Source Models on Your Own GPU
Open weights from projects like Microsoft's TRELLIS and Tencent's Hunyuan3D family can run on your own machine, with no credits and no queue. The price is hardware and patience. Expect to need a recent NVIDIA card with a lot of video memory, a working Python environment, and some comfort with the command line. Many releases were built for Linux first.
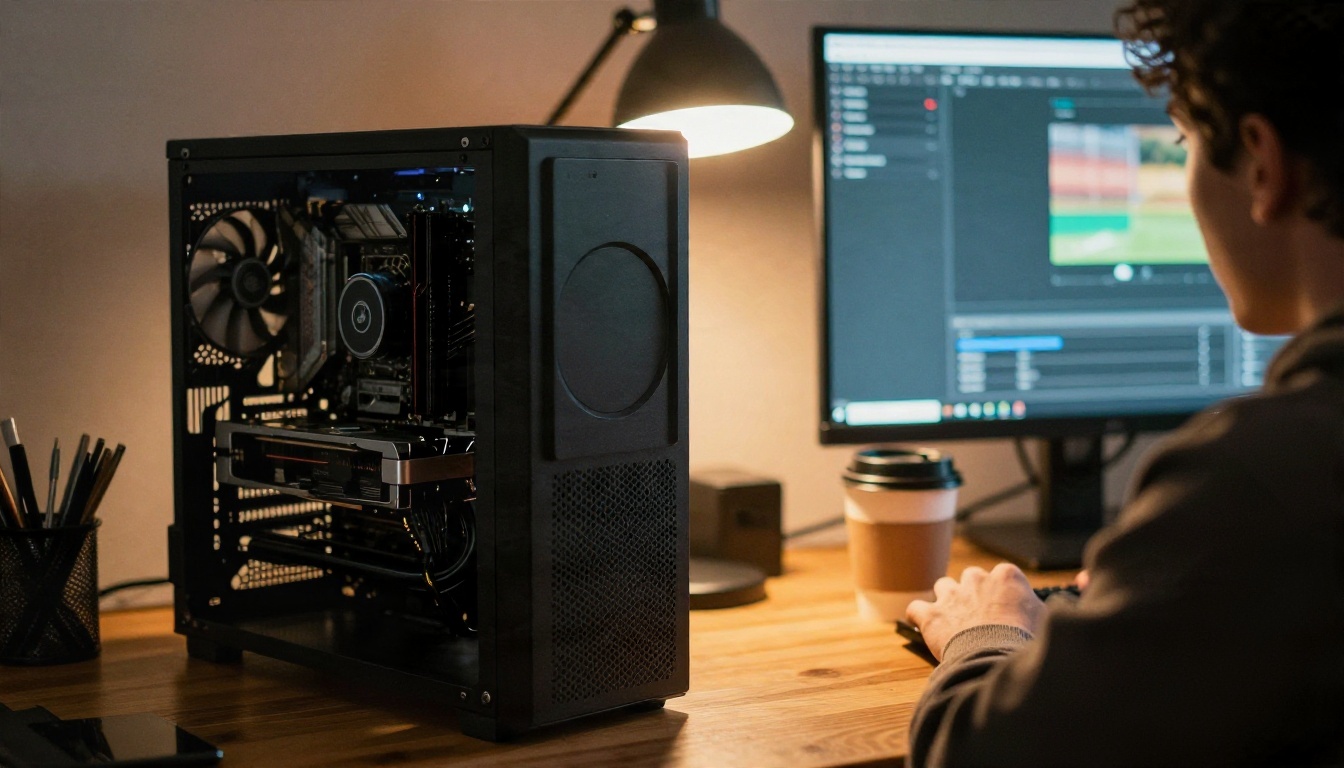
For many people, the real cost of "free and local" is the afternoon lost to drivers and dependencies.
Licensing Traps
This is the limit people skip. Before you sell a printed figurine, upload a model to a store, or ship a game asset, check:
| Question | Why it matters |
|---|
| Is commercial use allowed on this plan? | Free tiers often restrict it |
| Is attribution required? | Some plans demand a credit line |
| Who owns the output? | Terms differ between services |
| Does the source image belong to you? | A photo of someone else's design is still their design |
💡 If a project will earn money, read the terms for the exact plan you used, not the one on the home page.
How to Use Hunyuan 3D 3.1 on PicassoIA
Hunyuan 3D 3.1 accepts either a photo or a written description, and it returns a textured model without any 3D software on your side. Here is a workflow that gives dependable results.
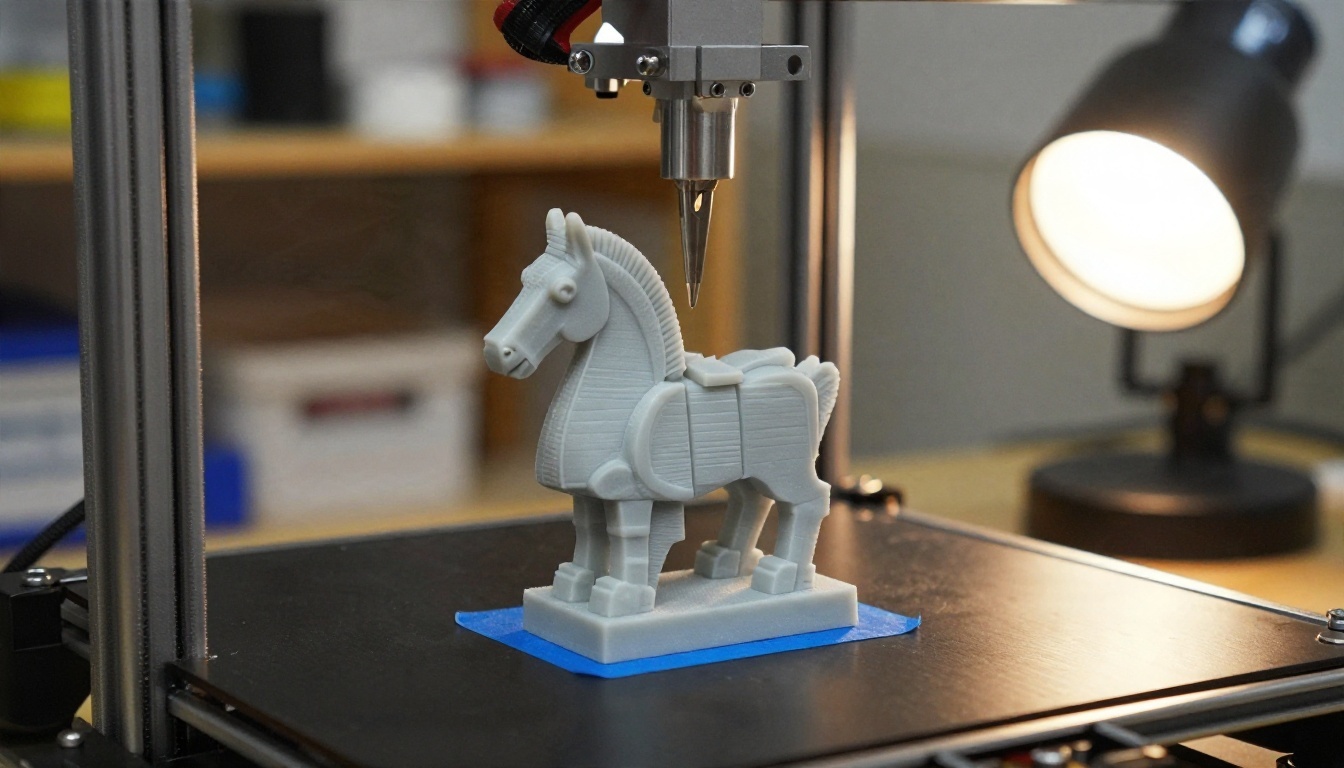
Step by Step
- Open the model page. Go to the Hunyuan 3D 3.1 page on PicassoIA.
- Pick one input. Provide either an image or a text prompt, never both. The prompt field accepts up to 1024 characters, but 15 to 30 words is plenty.
- Prepare the image. Use JPG, PNG or WEBP, between 128 and 5000 pixels per side and under 6 MB. Keep a simple background and let the object fill more than half the frame.
- Choose the generation type. Normal gives you a textured model. Geometry gives you a plain white mesh, which is ideal when you plan to paint or texture it yourself.
- Switch on PBR if you need it. Physically based materials respond correctly to light in game engines and renderers. Leave it off for a quick print preview.
- Set the face count. The default is 500,000 faces, which is dense. Lower it for web viewers and real-time use, keep it high for printing or close-up renders.
- Run it and inspect the result. Rotate the model, look at the back and the underside, and check thin parts before you export.
Parameter Tips
| Setting | Use it when | Suggested value |
|---|
| Generate type: Geometry | Printing or hand texturing | Geometry |
| Generate type: Normal | Quick visual preview | Normal |
| PBR | Game engines, product renders | On |
| Face count | Web or mobile display | Lower than default |
| Face count | Close-up renders, print | Default or higher |
💡 If the first result has a strange back side, do not rewrite the prompt. Change the source image instead, ideally to a three-quarter view with softer light.
Rodin and Other Options
Hunyuan is not the only route. Depending on your object, a different model may give you cleaner topology.
When Rodin Fits
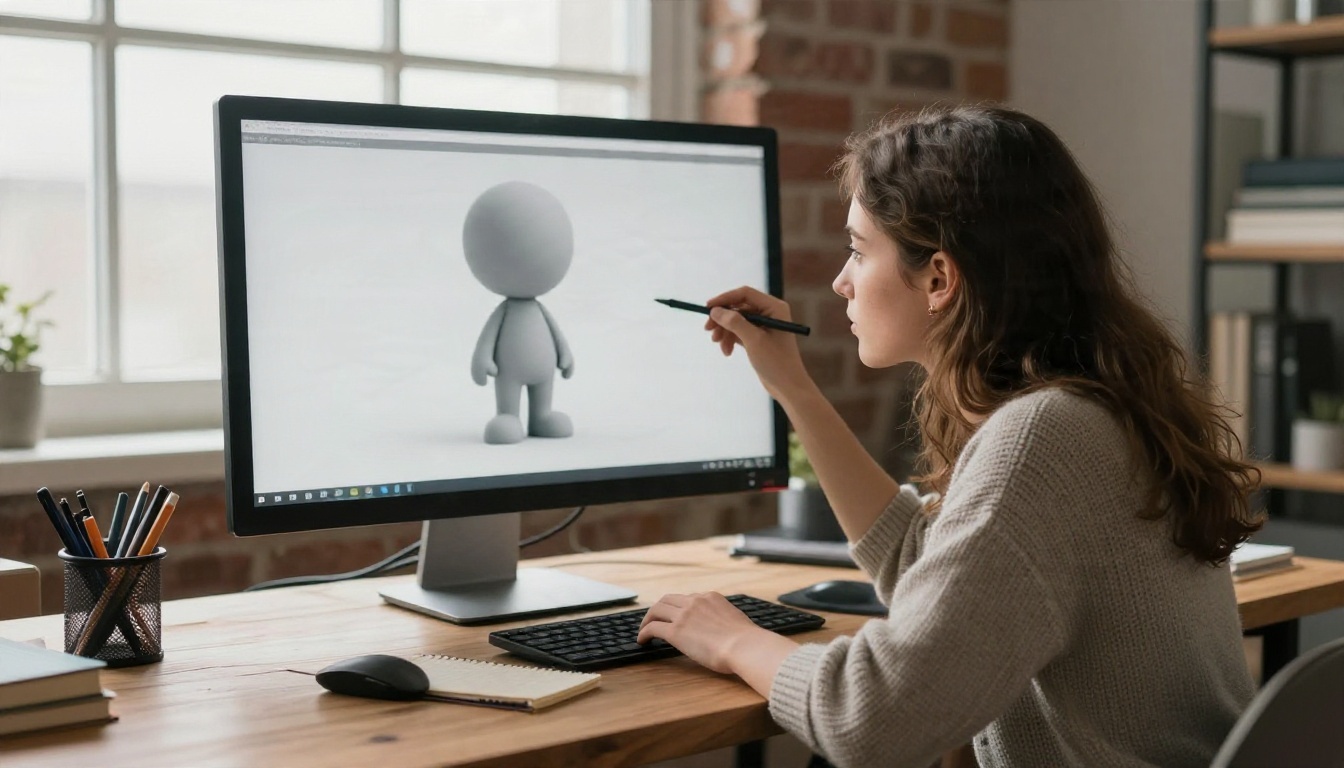
Rodin takes up to five photos at once, so it suits the multi-photo method described earlier. It exports to GLB, FBX, OBJ, USDZ and STL, which covers game engines, Apple devices and slicers. Its Quad mesh mode produces tidier geometry that is easier to edit and rig, while Raw mode keeps more surface detail. It also offers a T/A pose option for human figures.
Choosing Between the Two
| Need | Better fit |
|---|
| One photo or a text prompt | Hunyuan 3D 3.1 |
| Several photos of the same object | Rodin |
| Clean quad topology for editing | Rodin (Quad mode) |
| Adjustable polygon budget | Hunyuan 3D 3.1 |
| Output ready for slicing as STL | Rodin |
Rigging and Animation
A static mesh is only the start for characters. Create Character v1 can auto-rig a humanoid model, and Text To Motion Diffusion v2 can animate it from a written description such as "walks slowly and waves". Pair a T-pose output from Rodin with these two and you go from idea to moving character without opening a rigging tool.
Fixing Common Mesh Problems
Generated meshes look great in a preview and then misbehave on contact with real software. Most problems fall into a few buckets.
Polygon Counts
Half a million faces is fine for a render and painful for a browser. If a model will live on a website or in a mobile game, reduce the face count at generation time rather than decimating afterward. Decimation after the fact can smear fine details like fingers and facial features.
Preparing for Print
A model that looks solid on screen may not be watertight. Before printing, check these points:
- Wall thickness: thin walls under about a millimeter or two can fail on common printers
- Floating parts: pieces not attached to the body will drop off the bed
- Overhangs: add supports or rotate the model so fewer surfaces hang in the air
- Scale: generated models have no real-world size, so set it in your slicer
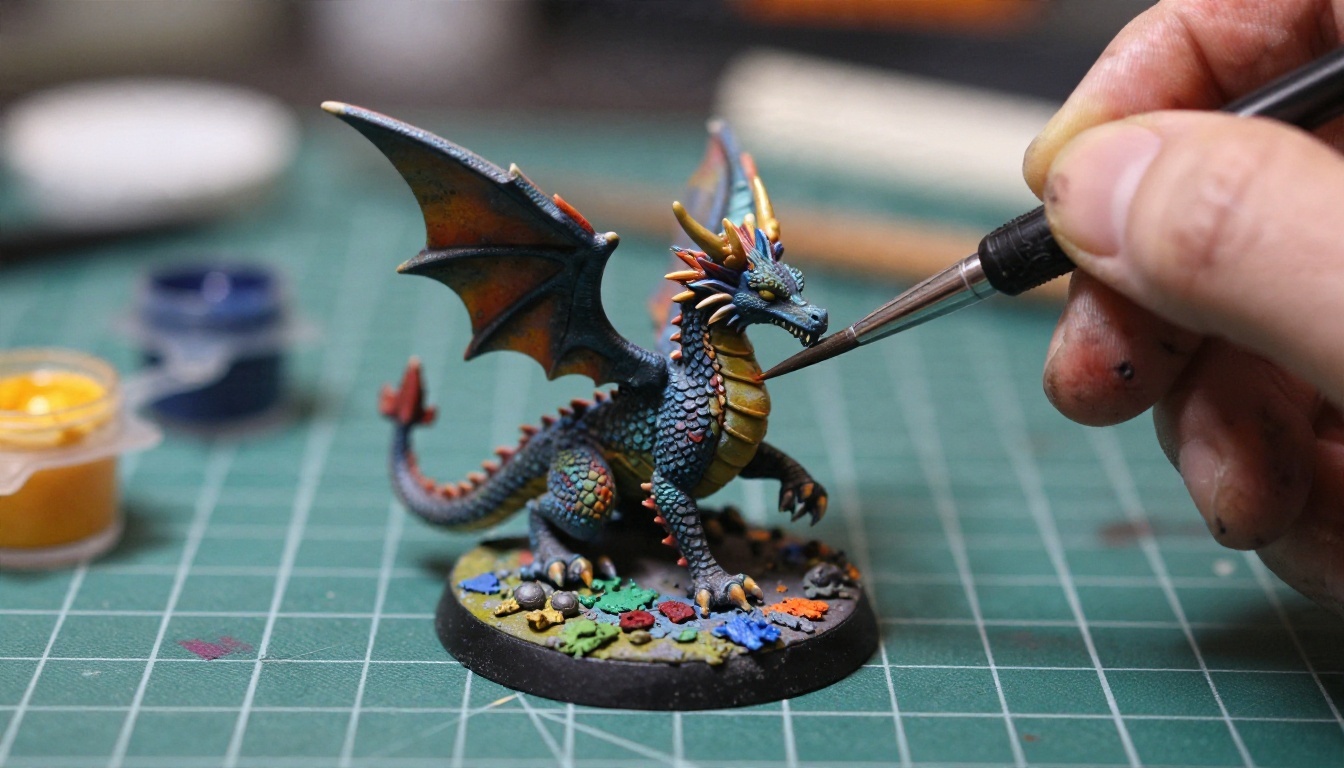
Geometry-only output is usually the friendliest for printing, since you are going to paint the surface anyway. Fine hand-painting then adds the detail that texture maps cannot.
Review With Other People
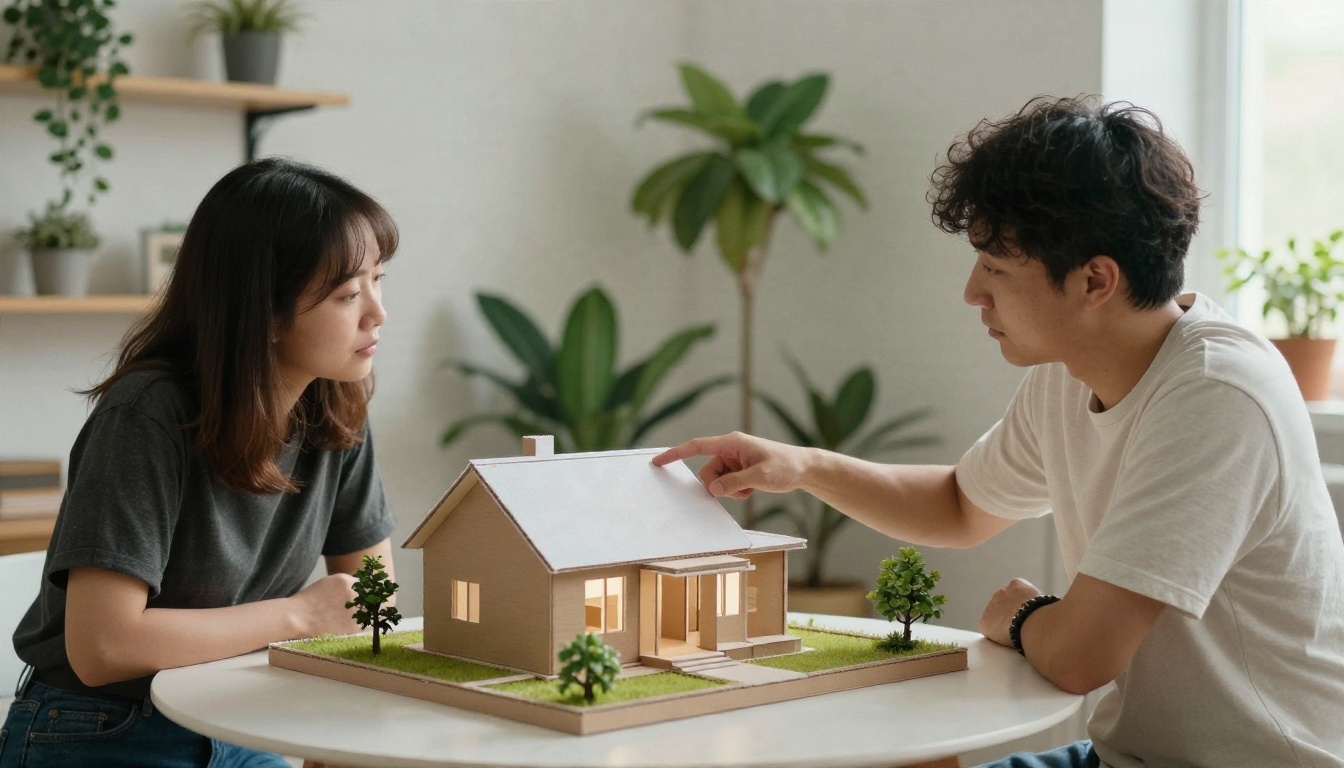
Generated models are easy to produce and easy to misjudge. Put the printed or on-screen result in front of a second person early. A colleague will spot a lopsided roof or a missing handle faster than you will after twenty minutes of staring.
Which Method Should You Pick?
A short decision list saves a lot of wasted generations:
- You have no reference and want an idea fast: start with text to 3D, then treat the result as a sketch.
- You want a specific design: generate or photograph a clean reference and use image to 3D.
- You own the real object: shoot several angles and use a multi-photo method.
- You need a printable part with exact dimensions: use generation for the shape, then confirm size and wall thickness in your slicer.
- You need a rigged character: build a T-pose model, then auto-rig and animate it.
The pattern is consistent. Text gives you speed, a single image gives you intent, and several images give you accuracy.
Try Your Own 3D Objects Today
You do not need modeling software, a powerful GPU or a week of tutorials to see how far this has come. Pick one object you care about, a mug, a toy, a piece of furniture, and run it through the workflow above. Generate a clean reference with Nano Banana or Seedream 4.5, send it to Hunyuan 3D 3.1, and compare the output against a multi-photo run in Rodin.
Within an afternoon you will know which method fits your work. Head to picassoia.com/en/all-models to browse every 3D, image and animation model on Picasso IA, and start your first mesh now.


