A year ago, getting a usable 3D object meant hours in sculpting software. Now you can type "a weathered bronze lantern with a cracked glass panel" and get a textured mesh back before your coffee cools. An AI 3D model generator from text is not magic, though. The prompt you write, the settings you pick and the way you handle textures decide whether you get a game-ready asset or a lumpy blob. This article gives you prompt examples you can copy, free ways to start, and texture fixes that actually work.
How Text to 3D Actually Works
Prompt in, mesh out
A text to 3D model reads your description and predicts a shape (the geometry) plus surface color and detail (the texture). Most current systems build the shape first, then paint it. That is why a prompt describing form and a prompt describing material are really two separate jobs, even when you write them in a single sentence.
The output is usually a GLB, OBJ, FBX, USDZ or STL file. GLB suits web and game engines, FBX suits animation pipelines, and STL is what you send to a 3D printer.

Why textures decide quality
Two models can have identical geometry and look nothing alike. One has flat color baked in, the other has PBR (physically based rendering) maps for roughness, metalness and normals, so it reacts to light like a real object. When people say an AI model "looks cheap", the cause is usually the material, not the shape.
💡 Quick rule: If your model looks like plastic, the fix is almost never more polygons. It is better material words in the prompt and PBR switched on.
Prompt Examples That Work
Strong 3D prompts are specific about the object, its material, its condition and its viewpoint. They skip the mood language you would use for a painting. A 3D generator wants physical facts.
A simple prompt formula
Use this order: object + defining shape + main material + surface wear + pose or stance.
| Part | Weak version | Strong version |
|---|
| Object | a chair | a mid-century lounge chair |
| Shape | nice shape | curved plywood shell, tapered legs |
| Material | wood | oiled walnut with brass screws |
| Wear | old | light scratches on the armrests |
| Stance | none | standing upright, single object |
Props and game assets
Props are the easiest category, because they are single objects with clear silhouettes.
- "A medieval iron lantern with a cracked glass panel, rusted hinges, hanging from a short chain, single object, neutral pose."
- "A wooden treasure chest with brass corner plates, worn leather straps and a heavy padlock, closed lid."
- "A sci-fi supply crate in dented aluminum with yellow hazard stripes, scuffed corners, stencil-free surface."
- "A stylized mushroom house with a thick thatched cap, a round oak door and small round windows."
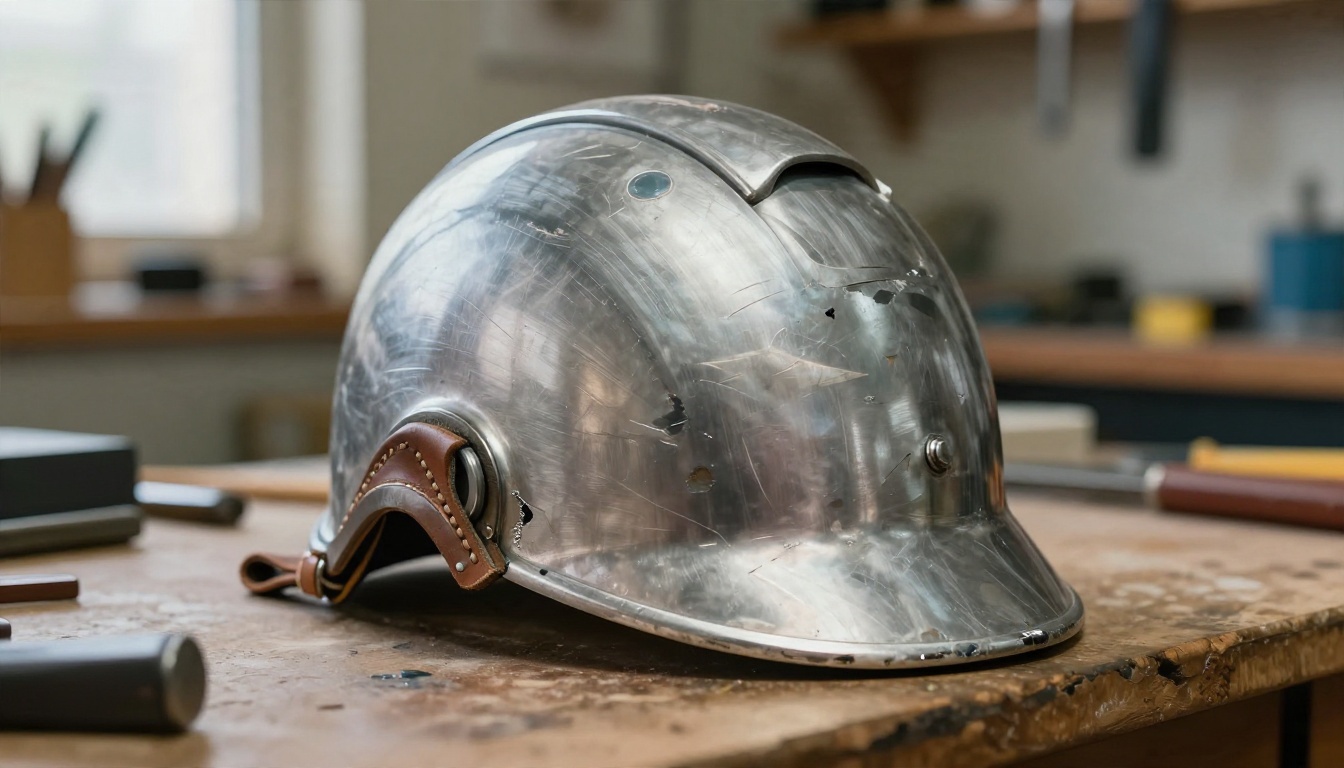
Notice that each prompt names one material per part. "Brushed aluminum" and "stitched leather" give the generator a clear target. "Cool futuristic metal" gives it nothing.
Characters and creatures
Characters are harder because limbs, hands and faces are where models fall apart. Keep the pose simple and symmetrical.
- "A fantasy knight in matte silver plate armor with burgundy cloth tabard, standing in a neutral A-pose, arms slightly away from the body."
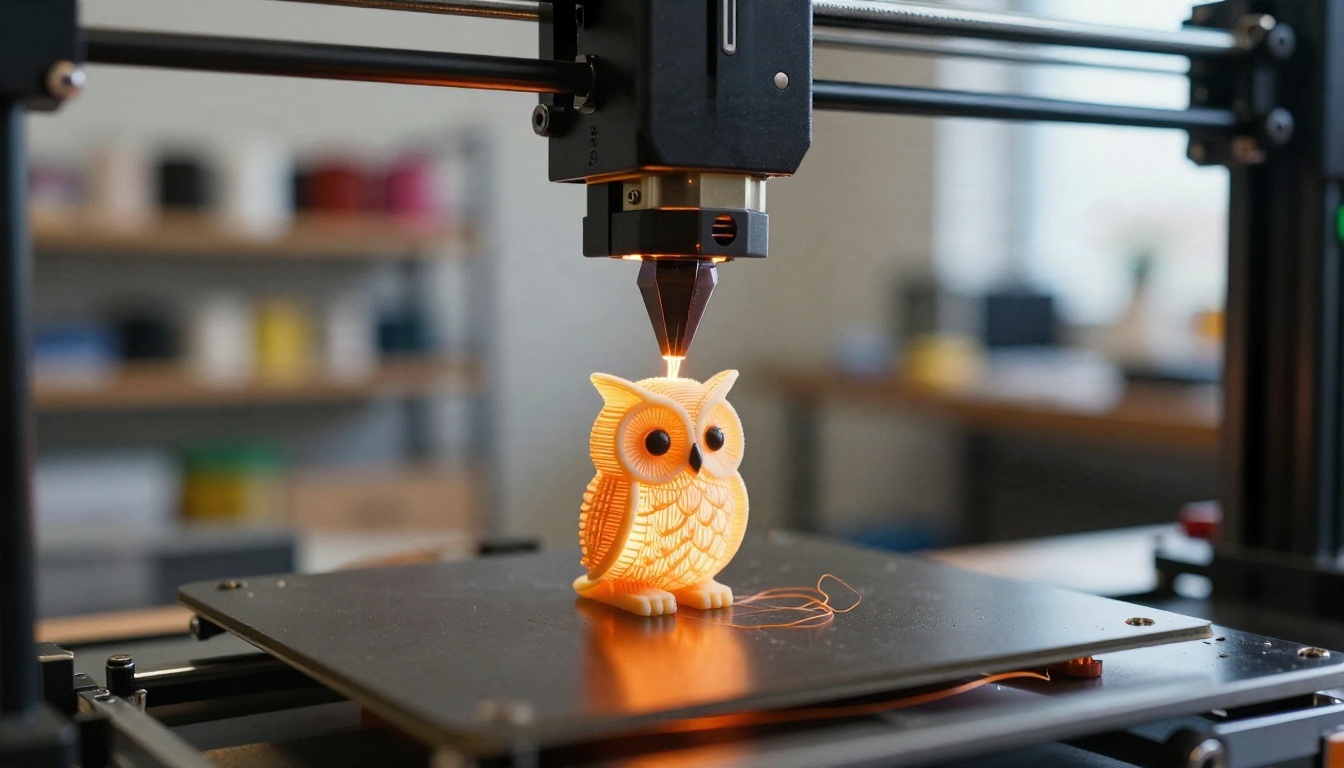
- "A small owl figurine with layered feathers, round eyes and a smooth rounded base."
- "A friendly robot mascot, rounded white body, two large round eyes, short stubby arms, standing straight."
💡 Pose matters: An A-pose or T-pose gives you separated arms and legs, which makes later rigging far easier. Dynamic action poses tend to fuse limbs into the torso.
Product and design prototypes
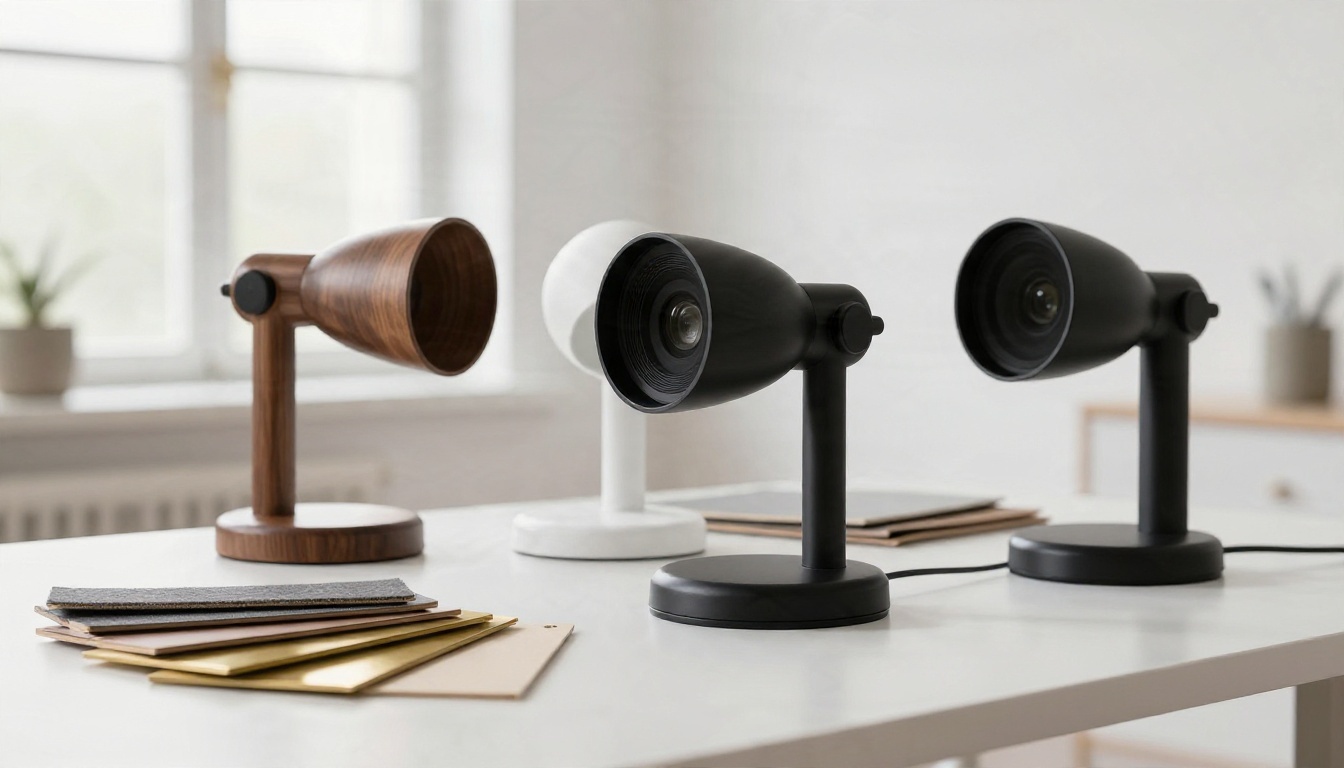
For product mockups, describe the object as if briefing a prototype maker.
- "An ergonomic desk lamp with a matte black cylindrical base, a thin articulated brass arm and a round shade."
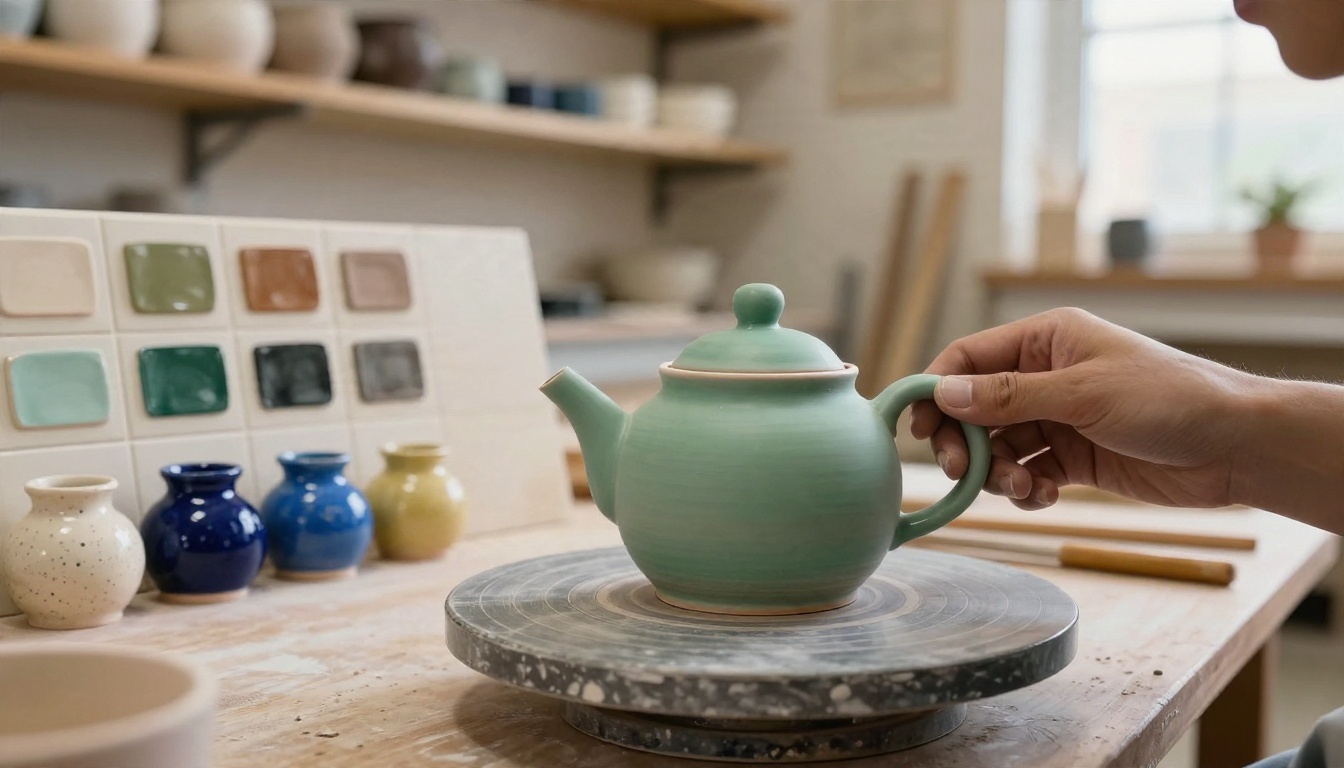
- "A minimalist ceramic teapot, celadon glaze, bamboo handle, short spout, tapered lid."
- "A running shoe sole with deep chevron tread and a visible foam midsole layer."
Words that help and words that hurt
| Helps | Hurts |
|---|
| single object, neutral pose | busy scene, crowd, landscape |
| oiled walnut, brushed steel | pretty, cool, awesome |
| light scratches, worn edges | hyper-detailed masterpiece |
| rounded base, symmetrical | floating, dynamic motion blur |
Free Options Worth Trying
You do not need a paid plan to see whether text to 3D fits your workflow. Here is where to start without spending anything.
Browser tools with free tiers
Several web generators let you try text to 3D with a limited number of free generations. Meshy and Tripo are two well-known names, and each one handles credits and export limits differently, so check the current allowance before building a project around them. PicassoIA also hosts two 3D generators, Hunyuan 3D 3.1 and Rodin, which you can run online with no 3D software installed.
Open source and local tools
If you are comfortable with a bit of setup, Blender is free and open source, and it is the best place to clean, retopologize and re-light whatever an AI generator gives you. Open weights 3D models also exist for local use, but they need a capable GPU and some patience with installation. For most people, a browser generator plus Blender cleanup is the most practical free route.
What free tiers usually limit
- Fewer generations per day or month.
- Lower polygon counts or reduced texture resolution.
- Restricted export formats, sometimes without FBX or STL.
- Queue times during busy hours.
💡 Budget tip: Spend your free generations on geometry-only tests first. Lock in the shape, then spend one generation on the final textured version.
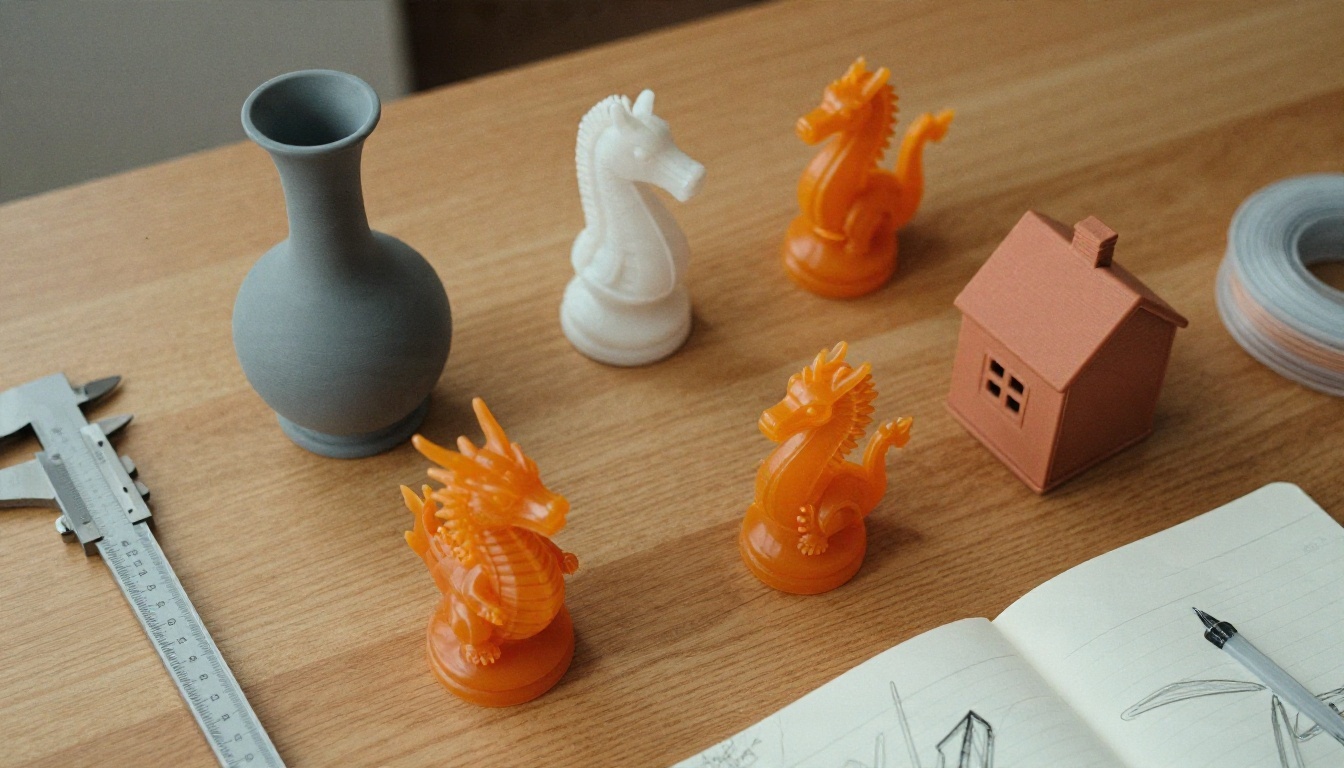
How to Use Hunyuan 3D 3.1 on PicassoIA
Hunyuan 3D 3.1 accepts either a text prompt or a single image, but not both at once. It supports PBR materials, a geometry-only mode and an adjustable face count, which makes it a good first stop for testing prompts.
Step by step
- Open the Hunyuan 3D 3.1 page.
- Paste your description into the prompt field. It supports up to 1024 characters, so you have room for material and wear details.
- Leave the image field empty. If you use an image, leave the prompt empty instead.
- Set generate_type to Geometry for a first test, or Normal for a textured result.
- Turn on enable_pbr when you want textures that react correctly to light.
- Pick a face count (more on that below), then run the generation.
- Download the model and open it in your engine, viewer or Blender.
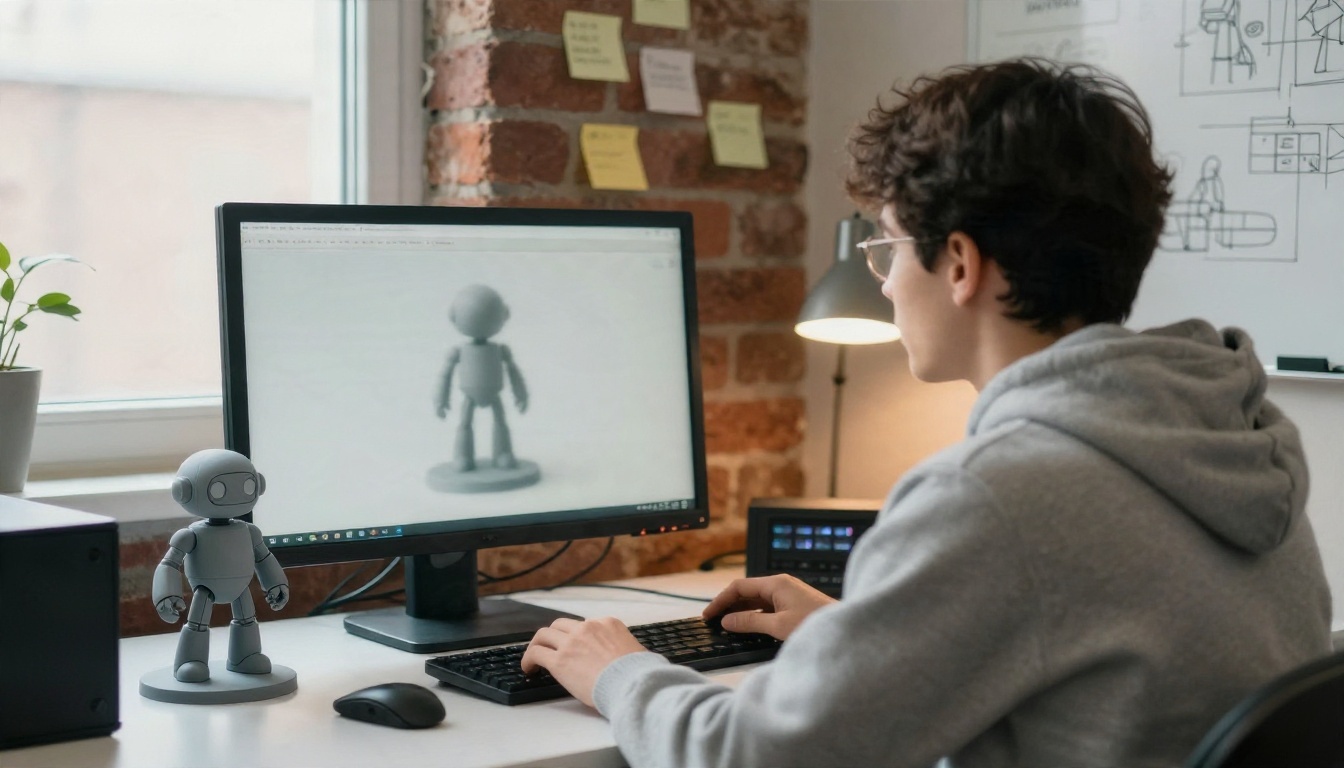
Settings that matter
| Setting | Use it when | Notes |
|---|
| Geometry mode | Testing shape, planning your own textures | White mesh, PBR has no effect |
| Normal mode | You want a finished textured asset | Color and detail maps in one pass |
| Enable PBR | Real-time engines, product shots | Better response to light |
| Lower face count | Web, mobile, AR | Faster loading, lighter files |
| Higher face count | Printing, film, close-ups | Heavier files, slower to edit |
The default face count is high, at 500,000. For a web viewer or a mobile game that is overkill, so drop it. For a printed figurine or a hero asset you will render up close, the dense setting earns its weight.
A reliable first test
Try this prompt in Geometry mode first: "A medieval iron lantern with a cracked glass panel, rusted hinges, short hanging chain, single object, neutral pose." If the silhouette is right, switch to Normal with PBR on and run it again.
Using Rodin for Cleaner Topology
Rodin takes a text prompt (required), and can also take up to five reference photos so the mesh is built from several angles at once. Its standout controls are around mesh type and export.
Quad or Raw mesh
- Quad mode produces clean, organized geometry that is easier to rig, sculpt and edit.
- Raw mode keeps more raw detail but gives you messier triangles that are better for static display or printing.
Choose Quad if the model will be animated or hand-edited. Choose Raw if you only want the final look.
Material and export choices
Rodin offers PBR, Shaded or All for materials, and exports to GLB, FBX, OBJ, USDZ and STL. A quick map:
| Goal | Format |
|---|
| Web viewer, Three.js | GLB |
| Apple AR preview | USDZ |
| Rigging and animation | FBX |
| Generic editing | OBJ |
| 3D printing | STL |
There is also a T/A pose switch for human figures. Turn it on for any character you plan to rig.
From mesh to motion and print
Once you have a character in a neutral pose, PicassoIA can carry it further. Create Character v1 auto-rigs a 3D character, and Text To Motion Diffusion v2 animates it from a written description. If you prefer a different motion style, Text To Motion VQVAE v1 is another option.
For printing, export STL, check that the model is watertight in your slicer, and print a small test first. Layer lines are normal, and light sanding plus paint hides them well.
Texture Tips That Fix Flat Models
Texture is where AI 3D models either look believable or look like toys. These habits make the biggest difference.
Name the material, not the vibe
Every part of the object should get a real-world material word: oiled walnut, brushed brass, matte celadon glaze, weathered leather, speckled stoneware. If you are unsure what a surface should look like, look at real objects first. Potters, woodworkers and leatherworkers produce exactly the surface cues a generator can borrow.
Add wear on purpose
Perfect surfaces look fake. Words like light scratches, worn edges, paint chips, rubbed corners, fingerprints in the clay break up uniform color and give the texture map something to work with. Do not overdo it: one or two wear cues per prompt is plenty.
Turn PBR on
PBR maps give you roughness, metalness and normal detail. A metal surface with PBR shines and dulls realistically as the light moves. Without it, the same metal looks like painted plastic. Whenever the destination is a game engine or a product viewer, enable PBR in Hunyuan 3D 3.1 or choose the PBR material in Rodin.
Start from a reference image
When a text prompt will not land the look you want, generate a clean reference image first, then feed that image to the 3D model. Good starting image tools on PicassoIA include Flux 2 Klein 4B Base, Nano Banana Pro and Seedream 4.5.
Ask for a single object on a plain background, centered, filling more than half the frame, with no text. That matches what image to 3D models handle best, and it gives you far more control over color and design than a text prompt alone.
Sharpen the texture source
If the reference image is soft, the resulting texture will be soft too. Running it through an upscaler such as Clarity Pro Upscaler before the 3D step gives the generator more fine detail to copy.
💡 Workflow that works: text prompt for a reference image, upscale, image to 3D with PBR on, then a quick cleanup in Blender.
Mistakes That Ruin Meshes
Describing a scene instead of an object
"A knight standing in a castle courtyard at dusk" asks for a whole environment. Generators handle one object at a time. Ask for the knight alone, then build the courtyard separately.
Overloading the prompt
Ten materials and fifteen details confuse the result. Pick the three features that define the object and let the rest be implied.
Ignoring polygon budget
A half-million face model will crawl in a mobile game. Match the face count to the destination before you generate, not after.
Skipping the geometry check
A textured model can hide a bad shape. A white geometry-only pass shows holes, merged limbs and lumpy surfaces right away, before you spend a textured generation on a flawed mesh.
Forgetting the license and use case
Check the usage terms for anything you plan to sell, such as game assets or printed products. Rules differ between platforms, and it is better to know before you ship.

Try Your First Prompt Today
The fastest way to get good at text to 3D is to run small, fast tests. Pick one object from the prompt examples above, run it in geometry mode, fix the shape, then add PBR and materials. Ten minutes of experiments will teach you more than an hour of reading.
Open Hunyuan 3D 3.1 for quick text prompts, or Rodin when you want quad topology and multiple export formats. Generate a reference image with Nano Banana Pro if you want tighter control over the look. When the model is ready, rig and animate it with the Uthana tools, or send the STL to your printer.
Browse the full catalog of models at picassoia.com/en/all-models and start creating your own 3D models, textures and reference images on Picasso IA today.


