A brick wall that repeats every two meters, with the same dark stain popping up again and again, ruins a scene faster than bad lighting does. Anyone who has built a game level, an architectural render or a product mockup knows the pain. You either pay for a texture library, spend an evening cloning pixels in an editor, or accept the pattern and hope nobody notices. AI based texture generation gives you a fourth option: describe the surface in a sentence, get a tile back in seconds, and check that the edges match before you use it.
This article walks through what works today, which free tools are worth opening, and the exact prompts that produce believable brick, wood, concrete, fabric and metal. You will also see how to test a tile for seams, how to fix repetition, and how to move a finished surface into a 3D workflow.
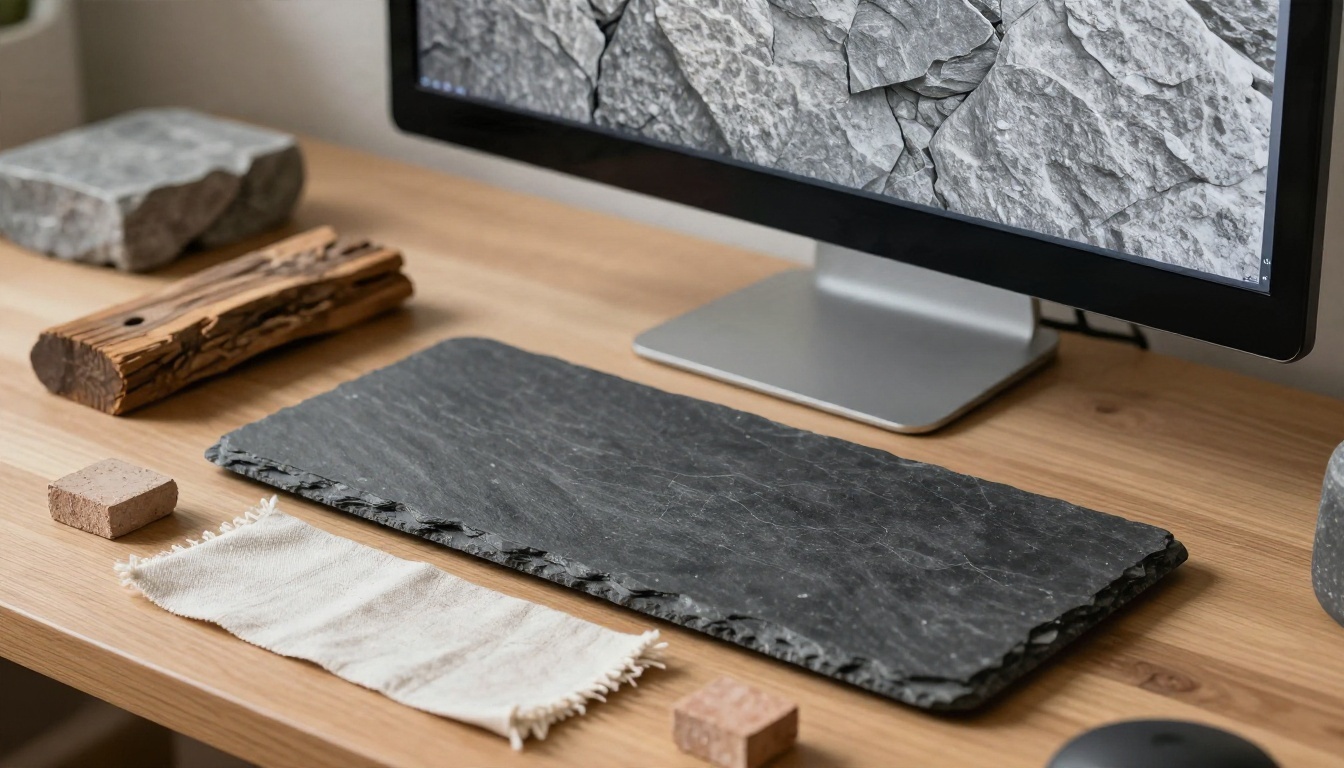
What AI Texture Generation Does
A texture is a flat image that gets wrapped onto a surface in a 3D scene, a game engine or a design layout. Walls, floors, fabric on a sofa, the skin of a rock: all of these are textures applied to geometry. Traditionally they came from photographing real surfaces and cleaning them up by hand, or from scanning libraries sold by the square meter of pixels.
AI generation replaces the photographing and the cleaning. You write a prompt, a model draws a surface that matches it, and some models are built so that the left edge flows into the right edge and the top into the bottom. That last property is the whole point, and it deserves its own explanation.
Seamless Means Edges Match
A seamless (or tileable) texture is one you can place side by side, in any direction, with no visible line where two copies meet. Imagine a sheet of wrapping paper cut so that the pattern continues perfectly from one sheet to the next. If the pattern on the right edge does not line up with the left edge, you get a hard vertical line every time the image repeats.
Normal image generators do not care about this. They produce a nice composition with a clear center and fading borders. Put four of them in a grid and the grid looks like four photographs, not one continuous surface.
💡 Quick rule: If you can see where one copy ends and the next begins, the tile is not seamless, no matter how good the single image looks.
Texture vs Photo
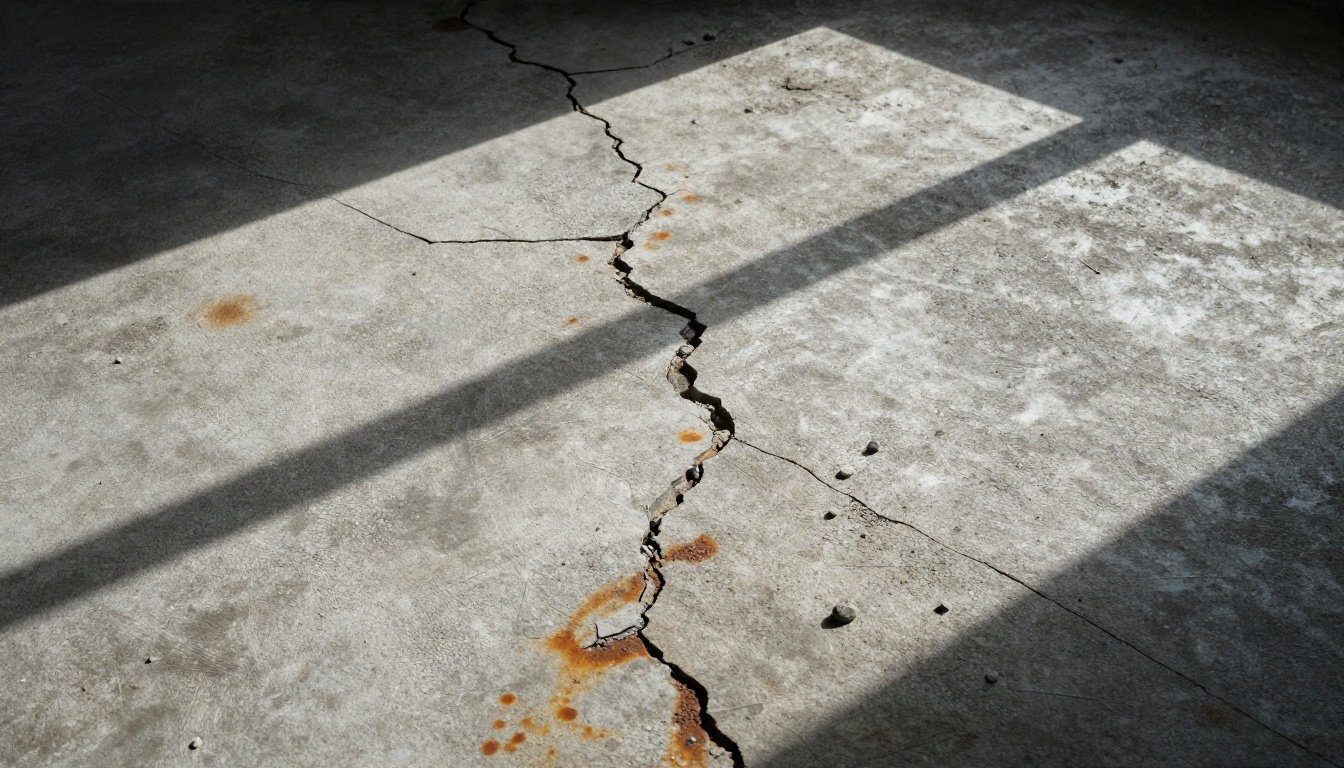
Not every great surface image makes a good texture. A dramatic shot of a cracked floor with deep shadows from a window is a beautiful photograph, but it carries baked-in lighting and a clear focal point. Those two things are the enemy of a repeating tile.
A usable texture has:
- Flat, even light with no strong shadow direction
- No focal point, no single crack or knot that draws the eye
- Consistent scale, so details do not grow or shrink toward the edges
- Consistent focus across the entire frame
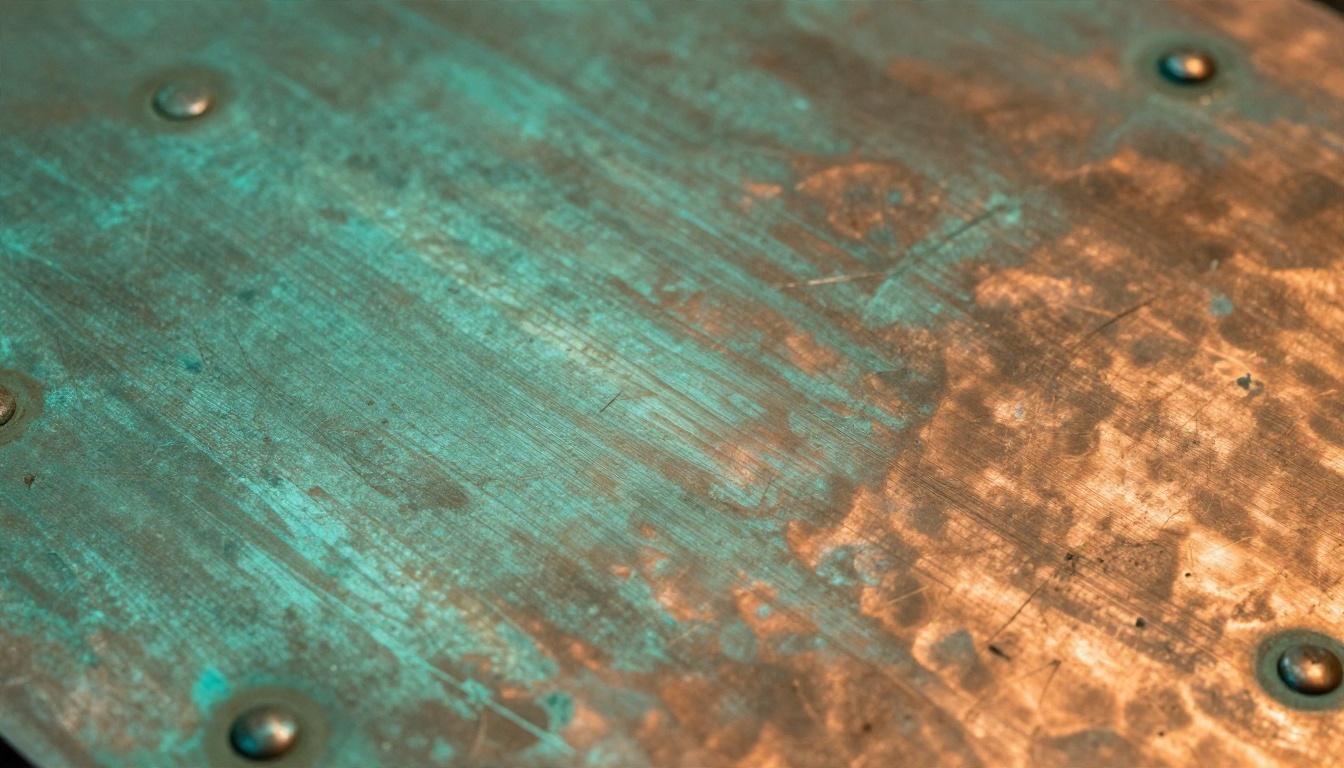
The reference photos in this article are intentionally moody. Use them as a target for color and material character, then ask the generator for the flat, evenly lit version.
You do not need a subscription to start. Several models can produce a usable surface, and they fall into three groups: a tool built for tiles, general image models that respond well to surface prompts, and an upscaler that fixes resolution afterward.
Material Diffusion for Tiles
Material Diffusion is the one model in this list built specifically for the job. Every output is designed to repeat without visible edges, so you skip the manual seam repair. It supports image variations (feed in an existing texture and get alternatives in the same repeating format), inpainting with a mask, output sizes from 128 to 1024 pixels, and a choice of DDIM, K-LMS and PNDM schedulers.
That resolution ceiling is real. Material Diffusion is a good generator of the base pattern, not a source of 4K hero assets. Pair it with an upscaler when you need more pixels.
General Models With Tile Prompts
Modern text to image models can imitate a flat, evenly lit surface very well when you ask for one. They are not built to wrap their edges, so treat the output as a strong candidate, then run the offset test described later in this article.
Good options on PicassoIA:
- Seedream 4.5 for crisp, high resolution surfaces with fine grain and pores
- Nano Banana Pro for accurate color control and editing a surface after the fact
- Imagen 4 for photorealistic organic materials such as wood, stone and leather
- Flux Schnell when you want many variations quickly and will pick the best one
- Qwen Image 3 for photorealistic results with a literal reading of long prompts
Upscaling Small Tiles
A 512 by 512 tile looks soft when stretched across a large wall. Real ESRGAN upscales images 4x and restores edge detail, which turns a base tile into something you can use at a closer camera distance. Upscale first, then check the seams again, because a 4x enlargement can exaggerate small mismatches.
| Tool | Best at | Tiles natively | Typical use |
|---|
| Material Diffusion | Repeating patterns | Yes | Base tile, variations, inpainting |
| Seedream 4.5 | Fine detail, high resolution | No | Hero surfaces, close-ups |
| Nano Banana Pro | Color control, editing | No | Recoloring, fixing a patch |
| Imagen 4 | Organic realism | No | Wood, stone, leather |
| Flux Schnell | Speed | No | Batch exploring of looks |
| Real ESRGAN | Upscaling | Not applicable | Final resolution boost |
Prompts That Produce Clean Tiles
Texture prompts are not like portrait or landscape prompts. You are not describing a scene, you are describing a surface that has no scene at all. Cut everything that implies a viewpoint, a place or a mood.
The Prompt Formula
Use this order and keep each piece short:
- Material: what it is made of (weathered red brick, brushed steel, oak planks)
- Condition: new, worn, damp, cracked, mossy, polished
- Scale and view: "flat top-down view", "close-up", "evenly filling the frame"
- Light: "even diffuse lighting, no shadows, no highlights"
- Tiling words: "seamless", "tileable", "repeating pattern", "texture"
Words that help: seamless, tileable, flat lighting, top-down, uniform, high detail, texture map.
Words that hurt: dramatic, cinematic, sunset, depth of field, bokeh, vignette, a single, and anything naming a place. Each of these pushes the model toward a composition instead of a surface.
💡 Tip: Write the prompt as if you were labeling a sample in a material library. "Rough oak planks, worn, top-down, even light, seamless texture" beats a long poetic sentence every time.
Brick and Stone Examples
Brick: Weathered red brick wall, pale lime mortar, small chips, slight color variation between bricks, flat frontal view, even diffuse light, seamless tileable texture
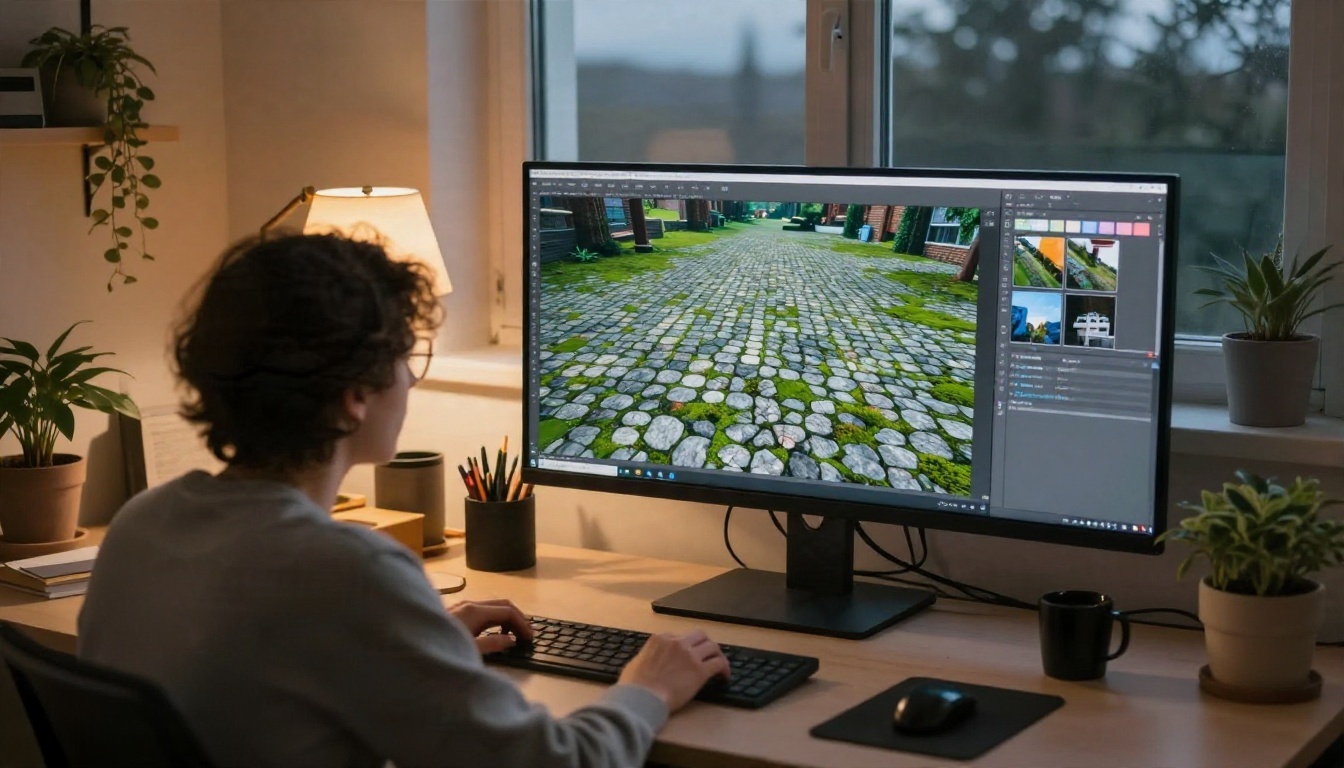
Cobblestone: Mossy cobblestone pavement, uneven grey stones, damp, green moss between joints, top-down view, even lighting, seamless texture
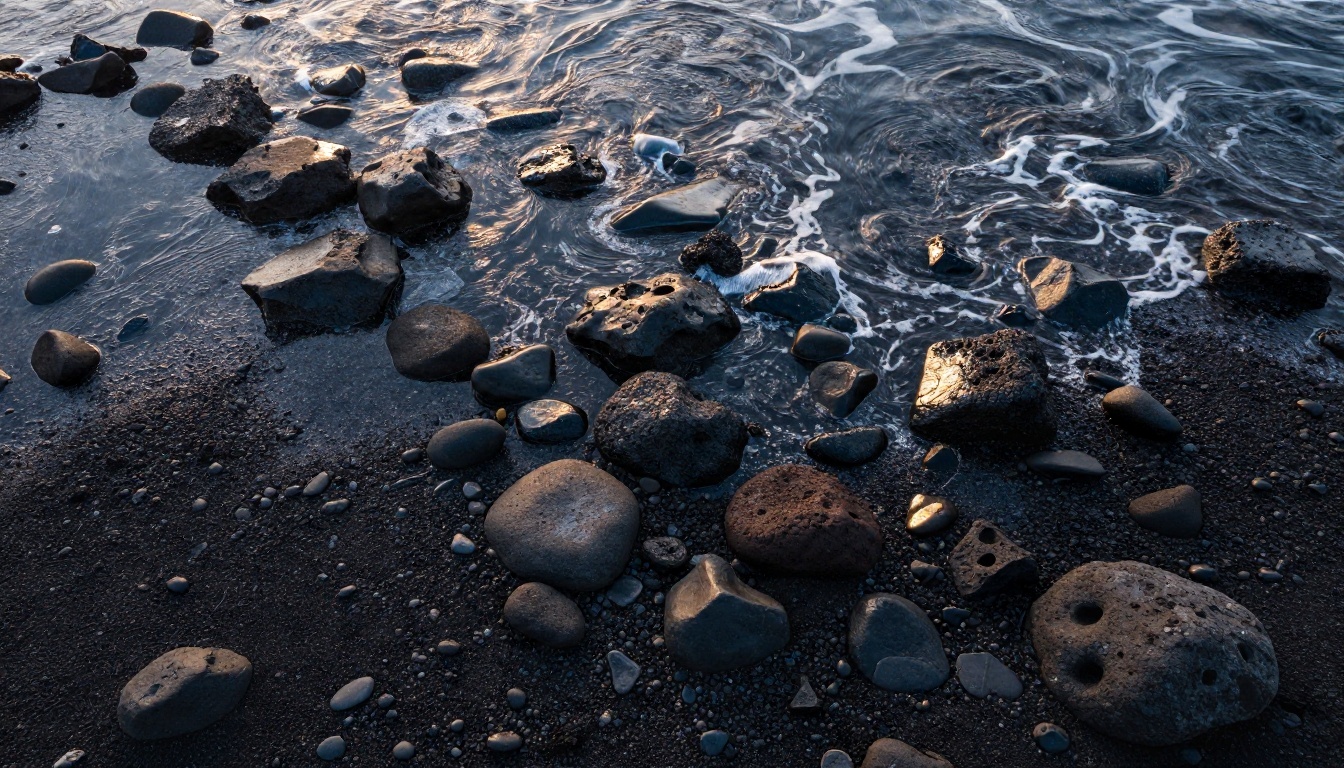
Volcanic stone: Dark volcanic rock and small pebbles, matte surface, fine grit, top-down, flat light, tileable texture
For stone, ask for variation in tone between pieces and avoid naming one hero stone. If the model draws one large boulder, the repeat will announce itself.
Wood and Concrete Examples
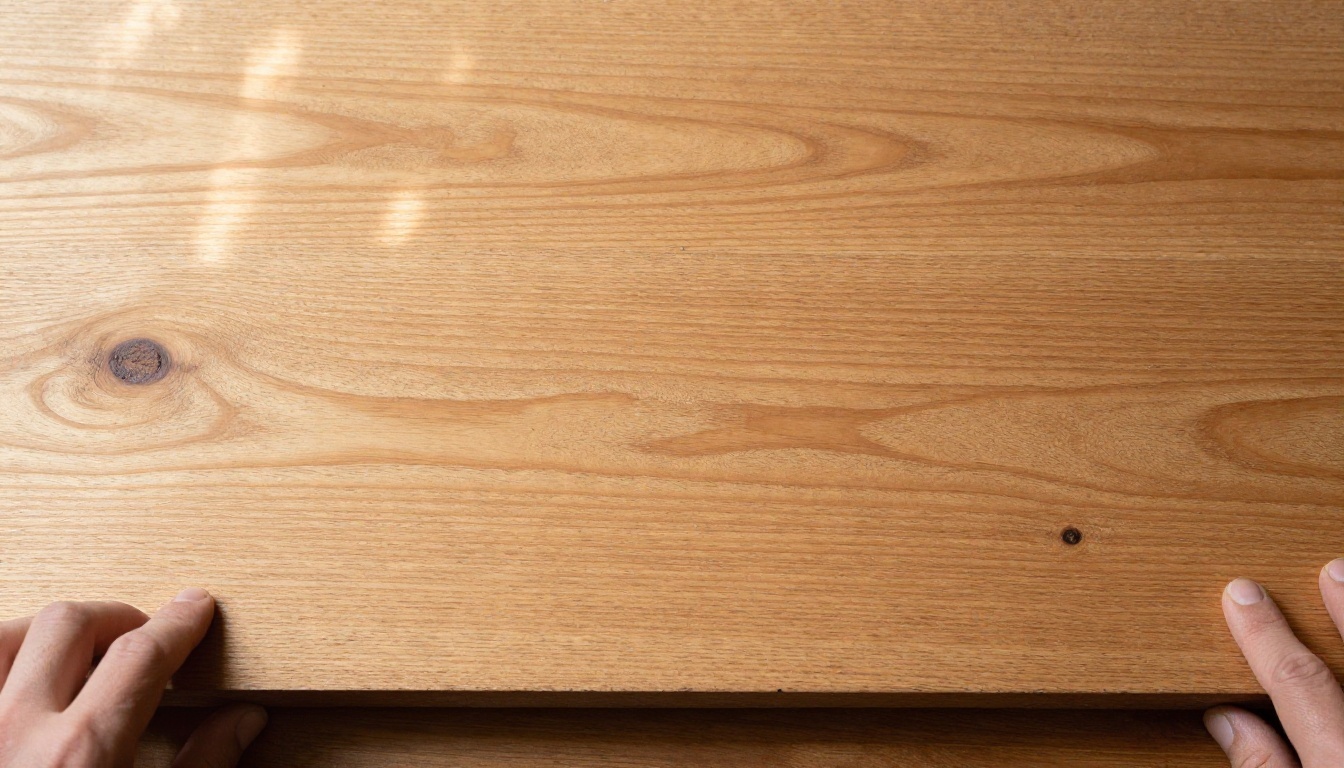
Oak planks: Rough oak floor planks, honey brown, visible grain and small knots, worn edges, top-down view, even diffuse light, seamless tileable wood texture
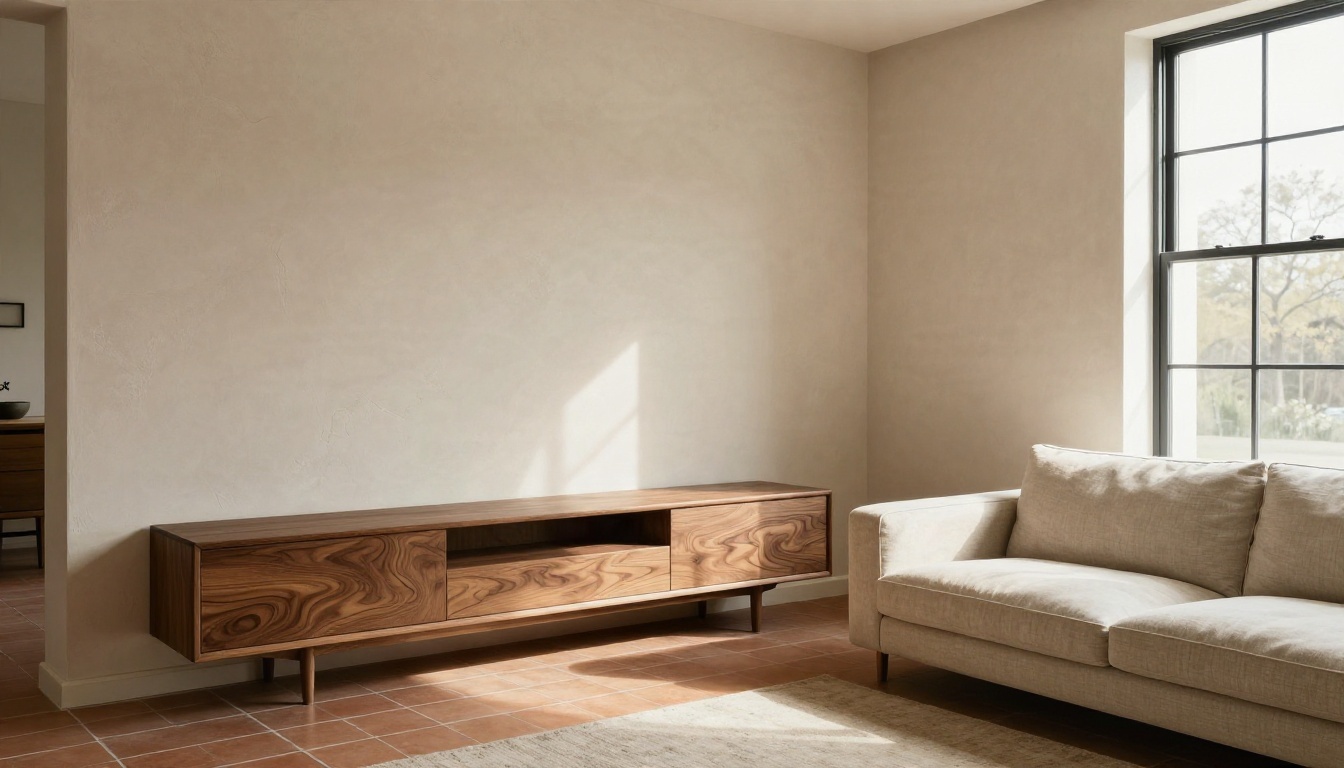
Walnut veneer: Dark walnut veneer, straight tight grain, satin finish, flat view, uniform lighting, seamless texture
Concrete: Poured concrete surface, light grey, fine pores, subtle hairline cracks, tiny aggregate specks, flat light, no stains, seamless tileable texture
Concrete is a place where the word "no stains" matters. A single oil patch becomes a repeated oil patch. Add the stains later as a separate overlay layer so you control where they appear.
Fabric and Metal Examples
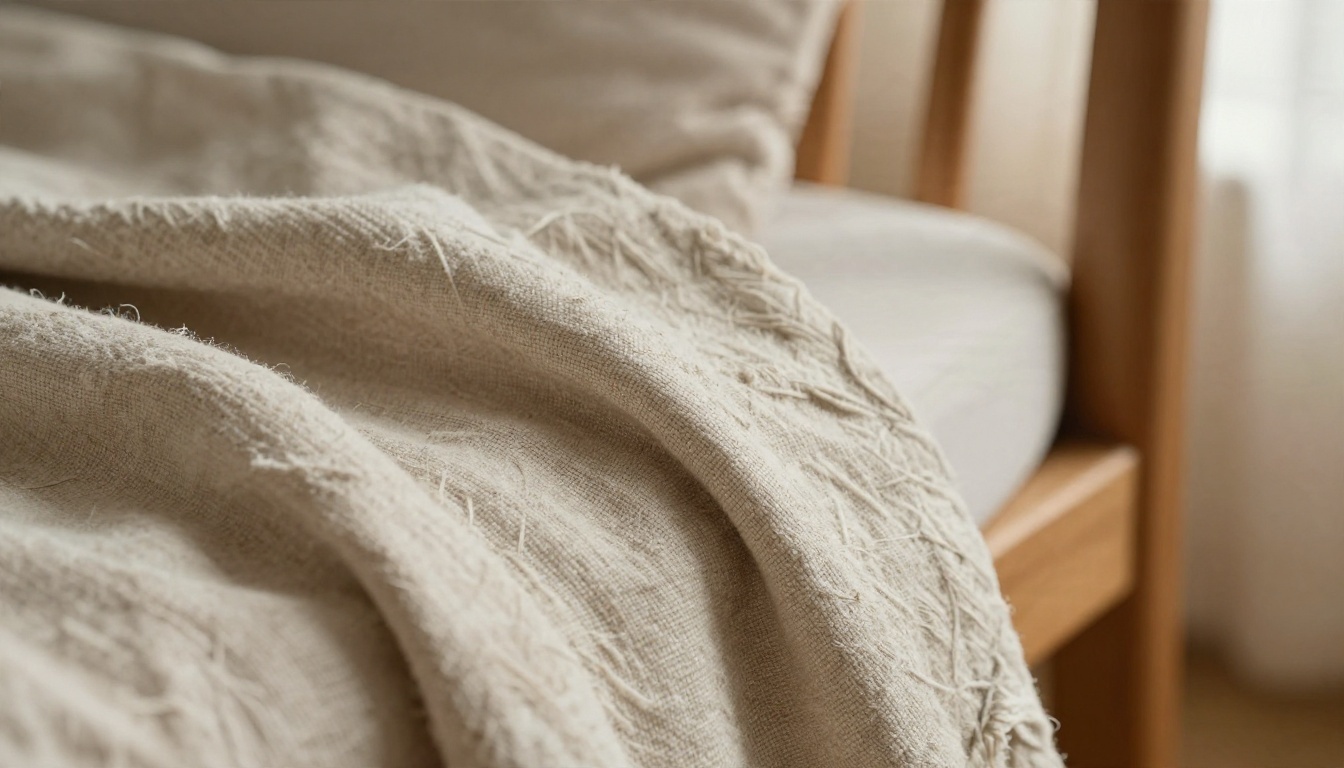
Linen: Beige woven linen fabric, visible threads and slubs, flat lay, even soft light, seamless textile texture
Corduroy: Olive green corduroy fabric, parallel ridges, soft pile, flat top-down view, uniform light, tileable texture
Copper with patina: Hammered copper sheet with green patina, scratches, small rivets in a regular grid, flat light, seamless metal texture
Brushed steel: Brushed stainless steel, fine horizontal streaks, light scratches, flat even light, tileable texture
For metal, you are fighting reflections. Ask for "matte" or "diffuse" if the model keeps adding bright glints, because a glint copies as a repeating sparkle.
How to Use Material Diffusion on PicassoIA
Material Diffusion has a short form, which makes it easy to try. Here is a reliable first run.
- Open the model page and find the prompt field.
- Paste a surface prompt such as the brick or oak examples above.
- Set width and height. Start at 512 by 512 for speed. Square tiles are the easiest to work with because they repeat equally in both directions.
- Leave guidance scale at 7.5 for the first run.
- Keep inference steps at 50, the default.
- Set the number of outputs to 4 so you can pick the cleanest tile.
- Run it, then review each result for a dominant feature that would repeat noticeably.
- Pick a winner, run the offset test, and upscale if needed.
Settings Worth Changing
| Setting | Default | What changing it does |
|---|
| Guidance scale | 7.5 | Higher follows your words more literally, but can look harsher. Lower gives softer, more natural variation. |
| Inference steps | 50 | More steps can add refinement, with diminishing returns. Fewer steps are faster for rough testing. |
| Scheduler | K-LMS | DDIM, K-LMS and PNDM give slightly different looks and speeds. Try each on a favorite prompt. |
| Seed | Random | Fix the seed to reproduce a tile, change only one word and compare. |
| Width and height | 512 | Larger sizes up to 1024 hold more detail but take longer. |
Change one setting at a time. If you change the prompt, the seed and the scheduler together, you will not know which one made the difference.
Variations From a Reference
The init image input is the most useful feature for production work. Feed in a tile you already like, set the prompt strength around 0.5 to 0.7, and you get siblings of that tile: same material family, new arrangement. A strength of 1.0 wipes out the input, so stay below it if you want the result to resemble your reference.
This is how you build a set. Generate one good brick tile, then produce six variations. Alternate between them across a wall and the repetition becomes much harder to spot.
The inpainting option helps when a tile has one good surface and one flaw. Mask the flaw, describe what should replace it ("plain mortar line"), and rerun. Masks tend to work better with a prompt strength of 0.5 to 0.7.
Checking Tiles for Seams
Never judge a tile by looking at the single image. Judge it by looking at four of them touching.
The Offset Test
This takes under a minute in any image editor that has an offset or "wrap around" filter.
- Open the tile.
- Offset it by half its width and half its height, with wrap-around turned on.
- The original edges are now a cross shape in the middle of the image.
- Look at that cross. If you can see a line, a color jump or a clipped feature, the tile has a seam.
For a quick check without special software, drop the tile into a 2 by 2 grid in any layout app and look at the center.
Tiles from Material Diffusion should pass. Tiles from general models often fail slightly, which is normal. Fix them with a small inpaint over the cross, then run the test again.
Fixing Visible Repetition
Even a perfect seamless tile reveals its pattern if one feature stands out. Three habits help:
- Use a larger tile. A 1024 tile repeats less often over the same wall than a 256 tile.
- Alternate variations. Rotate between three or four related tiles using a mask or a blend map in your 3D software.
- Add a low-frequency overlay. A large soft dirt or color variation layer, applied at a different scale, breaks up the grid your eye is trying to find.
💡 Tip: Rotate a tile by 90 degrees and place it next to the original. If the pattern has no obvious direction, you just doubled your variety for free.
From Tile to 3D Scene
A color tile is only the base layer. Real materials respond to light through height, roughness and reflection. A brick texture on a flat plane still looks flat unless the renderer knows the mortar lines sit lower than the brick faces.
Flat Tile to 3D Object
The usual path looks like this:
- Generate the base color tile with a tool above.
- Derive the extra maps (normal, roughness, height) in your 3D software or a map generator from the base image.
- Apply the material to a plane, a wall, a floor or a prop.
- Test it under several lights because a surface that looks good under one light often falls apart under another.
If you need an object rather than a surface, such as a stone, a vase or a prop, Hunyuan 3D 3.1 converts images into 3D models. Generate a clean image of the object with Seedream 4.5 or Nano Banana Pro, then feed it in. The image you start from shapes the surface detail you get back, so a sharp, evenly lit source gives the cleanest result.
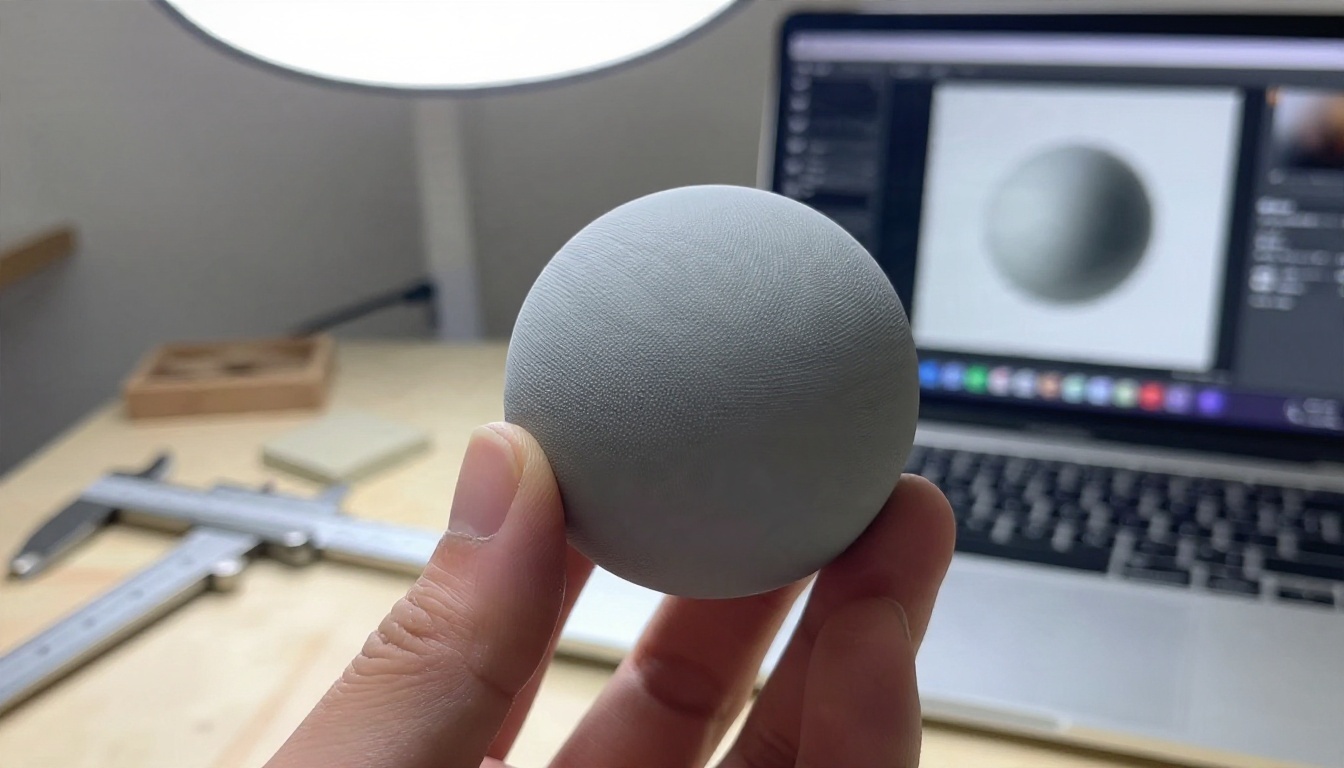
For physical prototypes, the same surface logic applies. A fine ridged texture on a printed part has to be designed at the right scale for the printer's resolution, which is why designers often preview a pattern as a 3D model before committing material.
Where Each Material Fits
| Material | Common use | Watch out for |
|---|
| Brick and stone | Walls, paths, facades | One dominant stone repeating |
| Wood | Floors, furniture, cabinets | Grain direction after rotation |
| Concrete | Floors, industrial interiors | Stains and cracks repeating |
| Fabric | Sofas, curtains, clothing | Scale of the weave versus the object |
| Metal | Panels, props, machinery | Baked-in reflections |
Mistakes to Avoid
Asking for a scene. "A rustic brick wall in an old Italian village" gives you a village. Ask for the bricks only.
Leaving lighting in. Strong shadows are painted into the image. Your 3D engine adds its own light, and the two will fight. Always say "even diffuse light" or "flat lighting".
Ignoring scale. A tile that shows five huge bricks looks wrong on a building. Specify "small bricks, many per frame" or "close-up, fine grain" to control how large details appear in the final scene.
Skipping the seam test. A tile that looked fine alone can show a clear line at the join. Test every tile before it goes into a project.
Upscaling before choosing. Pick the best tile first. Upscaling six weak candidates wastes time.
Using a single tile everywhere. Three related variations beat one perfect tile in almost every large scene.
💡 Checklist before export: even light, no focal point, passes the offset test, correct scale, upscaled if needed, three variations ready.
Start Making Your Own Tiles
The fastest way to get comfortable with texture prompts is to run a few. Open Material Diffusion on PicassoIA, paste one of the prompts above and make four tiles. Change one word, such as "mossy" to "dry", and compare. Then try the same prompt in Seedream 4.5 to see how a higher resolution model handles the same surface, and run the best result through Real ESRGAN for the final pixels.
Within an hour you can have a small library: a brick, an oak, a concrete, a linen and a metal, each with a few variations. Browse the rest of the catalog at picassoia.com/en/all-models and build the surfaces your next scene needs.


