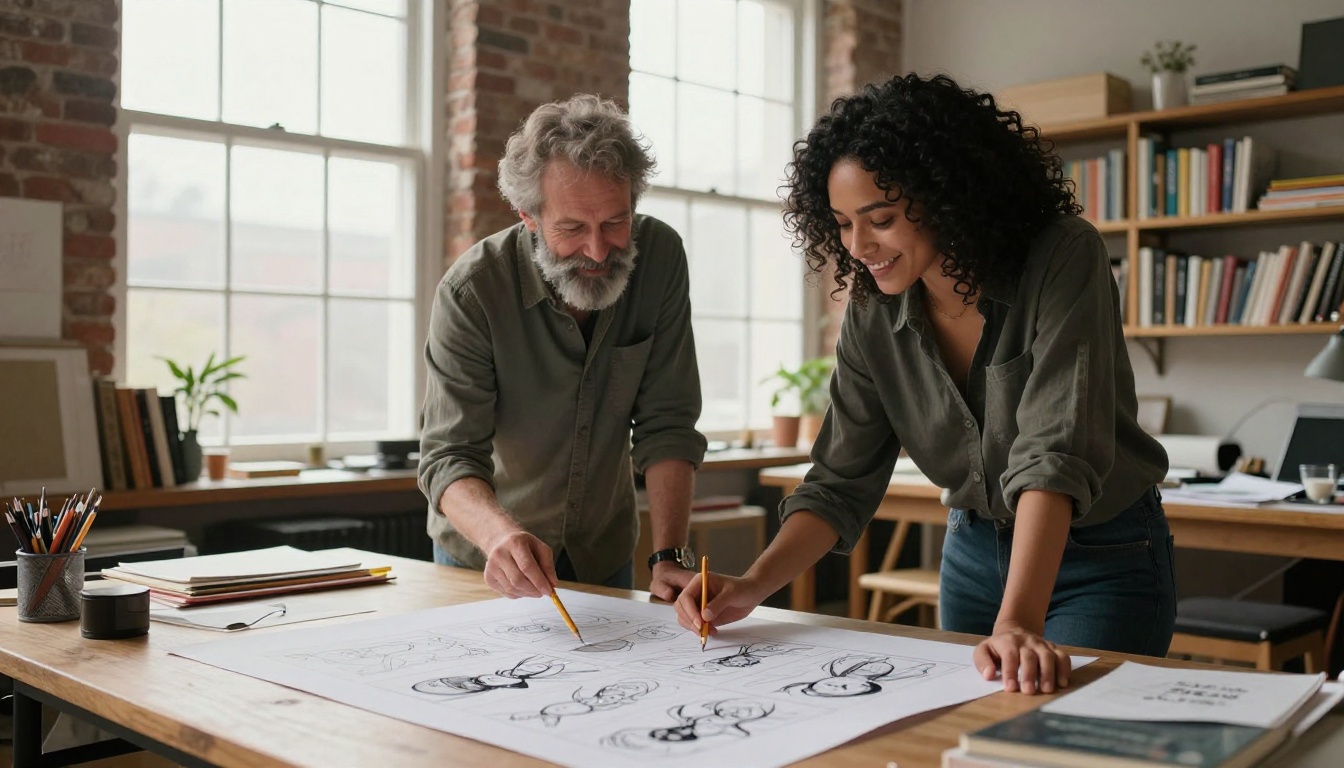
AI Character Sheet Generator: Prompts From an Image
A step-by-step workflow for building an AI character sheet from a single reference photo. Get the exact prompts for front, three-quarter, side and back views, an expression row and a props panel, then fix drift panel by panel with Nano Banana Pro and Image Editor Pro.
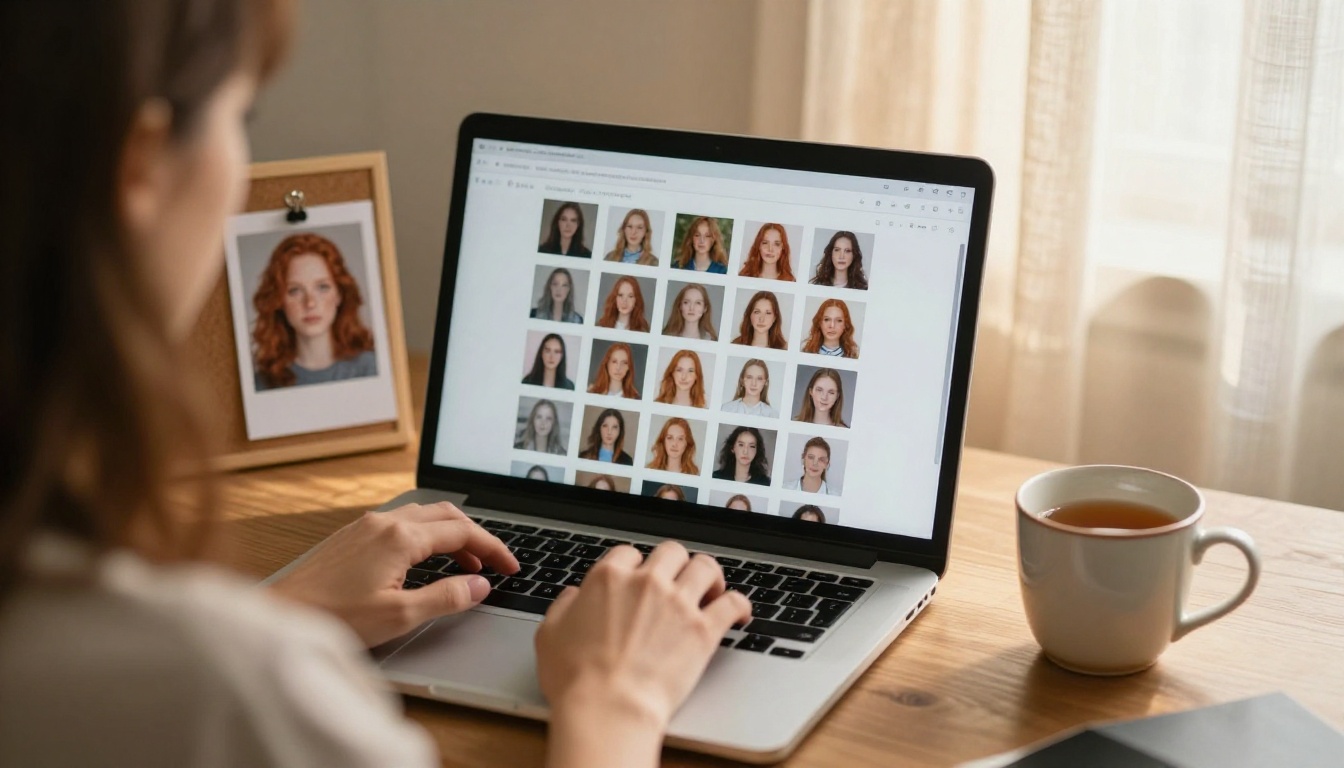
You have one good picture of a character: a face you like, an outfit that works, a mood worth keeping. Then the second image comes out with different eyes, a new jacket and a hairline that moved two centimeters. That drift is the reason an AI character sheet generator workflow exists. It pins the character down before you build scenes around it. This article shows how to go from a single reference photo to a full sheet, with the exact prompts for front, three-quarter, side and back views, an expression row and a props panel. Everything below runs on Nano Banana Pro and PicassoIA Image Editor Pro, with one vision model to write the descriptions for you.
What a Character Sheet Actually Is
A character sheet is a reference page. Animators, game artists and comic illustrators have used them for decades so that ten people can draw the same person without arguing about the nose. In a photographic workflow the idea is identical: one subject, shot or generated in a controlled set of views, with the details written down beside it.
You need one whenever the same person has to appear more than once:
Brand mascots that show up on a website, a packaging mockup and a social feed
Comic and storyboard panels where a single hero walks through forty scenes
Game characters and NPCs that a small team has to describe the same way
Short video series where viewers notice instantly if the lead changes face
Product stories with a recurring customer persona
The Views Every Sheet Needs
A useful sheet is not a pile of pretty portraits. It has a fixed list of panels, and each panel answers a different question about the character.
Panel
What it records
Why it matters
Front view
Face, hair, outfit layout
The anchor for every later image
Three-quarter view
Nose, jaw, cheek depth
Most scenes show this angle
Side profile
Nose bridge, ear, hair volume
Exposes silhouette errors
Back view
Hair length, collar, bag straps
Needed for walking-away shots
Expression row
Smile, anger, surprise
Keeps the face stable when emotion changes
Props and palette
Objects, fabric, colors
Stops items from changing between shots
Why One Image Is Not Enough
A single image only shows what the model decided to draw. Anything not visible stays open for reinterpretation, so the back of the jacket, the shape of the ear and the scar on the eyebrow get invented fresh every time. A sheet closes those gaps. When you attach it later as a reference, the generator has a fact to follow instead of a guess to make.
The cost of skipping this step grows with the size of the project. Two images with a slightly different nose pass as a style choice. Forty images with a slightly different nose read as forty different people, and fixing them one by one takes far longer than building the sheet would have.
💡 Tip: Treat the sheet as a contract. Anything you want to survive across fifty images must appear on it at least once.
Turning One Photo Into Prompts
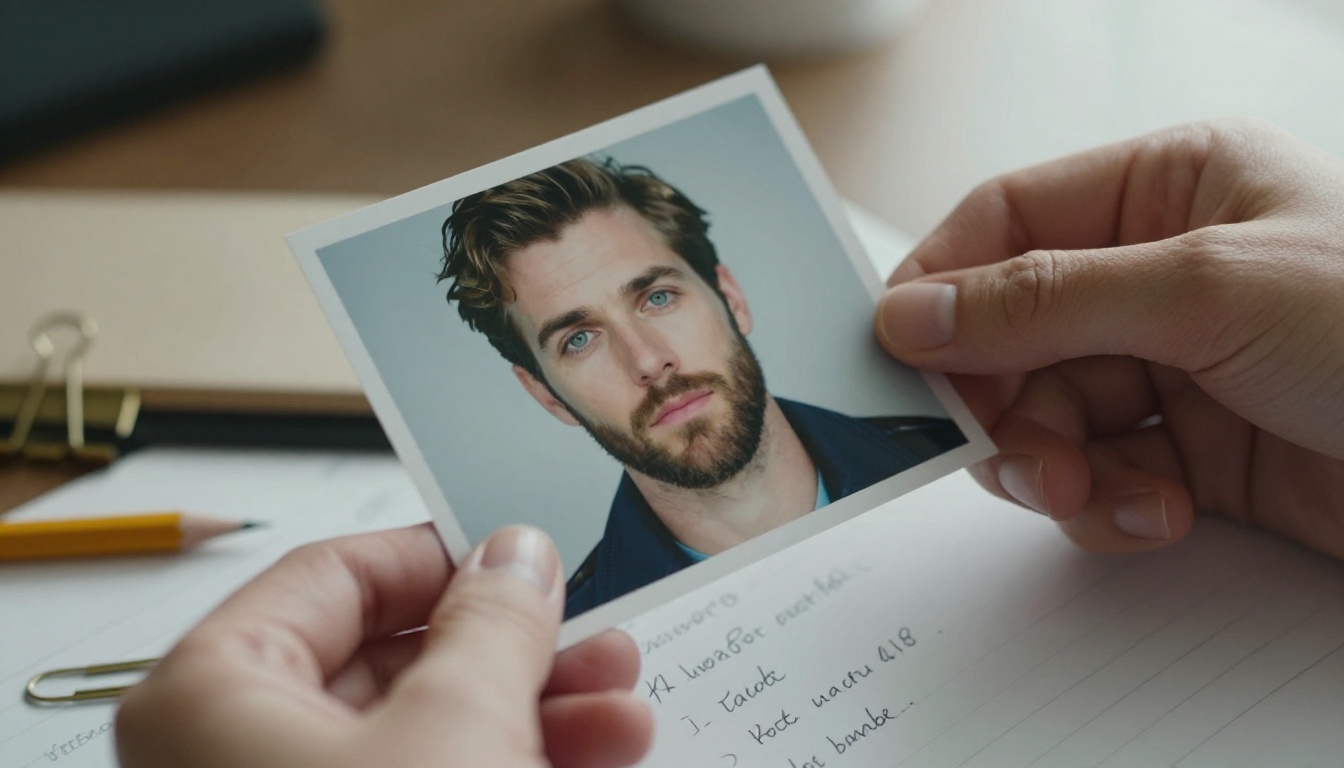
The trick behind this whole workflow is reading the image first and writing the prompt second. Do not describe the character from memory. Let a vision model describe the photo, then edit that text into a block you can reuse.
Step 1: Describe What You See
Open Gemini 3.5 Flash, attach the photo (it accepts up to 10 images per prompt) and ask for a plain inventory. A request like this works well:
Describe the person in this image for a character reference sheet.
List on separate lines: age range, face shape, eye color and shape,
eyebrows, nose, lips, skin tone and marks, hair color, length and texture,
clothing item by item with colors and materials, accessories.
No interpretation. No mood words. Only what is visible.
The "no mood words" line matters. Words like "mysterious" or "confident" push the generator toward a style instead of a face, and the style is the first thing to drift. If you have several photos of the same person, attach them all and ask the model to list only the traits that appear in every one. Those shared traits are the safest ones to freeze.
Step 2: Lock the Fixed Traits
Take the answer and cut it down to the traits that must never change. Aim for 40 to 60 words. This is your character block:
CHARACTER: woman in her late twenties, oval face, light freckles across nose and cheeks,
copper-red wavy hair to the shoulders, green eyes, straight eyebrows, mustard waxed-cotton
field jacket with brass buttons, cream knit sweater, brown leather strap across one shoulder
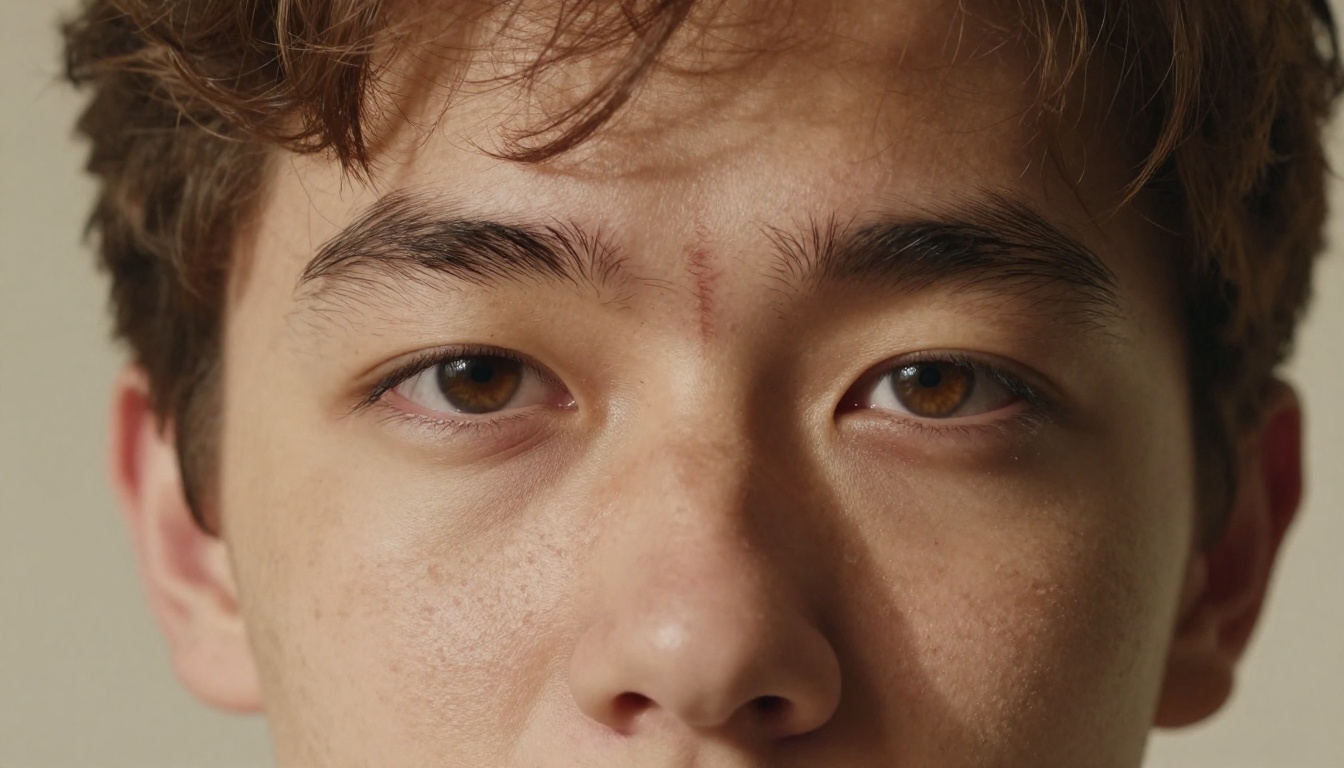
Paste this block word for word at the start of every prompt. Changing one adjective between runs, say "copper" to "ginger", is enough to shift the face. Small marks such as freckles and scars deserve their own words, because they are exactly what a model smooths away first. Say which side of the face a mark sits on, and say it from the viewer's point of view, so the left eyebrow scar does not flip in a mirrored panel.
Prompt Templates That Work
Each panel gets one template. The character block stays fixed and only the view line changes. Camera words matter here: name the lens, the height of the camera and the light, because those are the three things that change a face the most without touching the character itself.
Front View Prompt
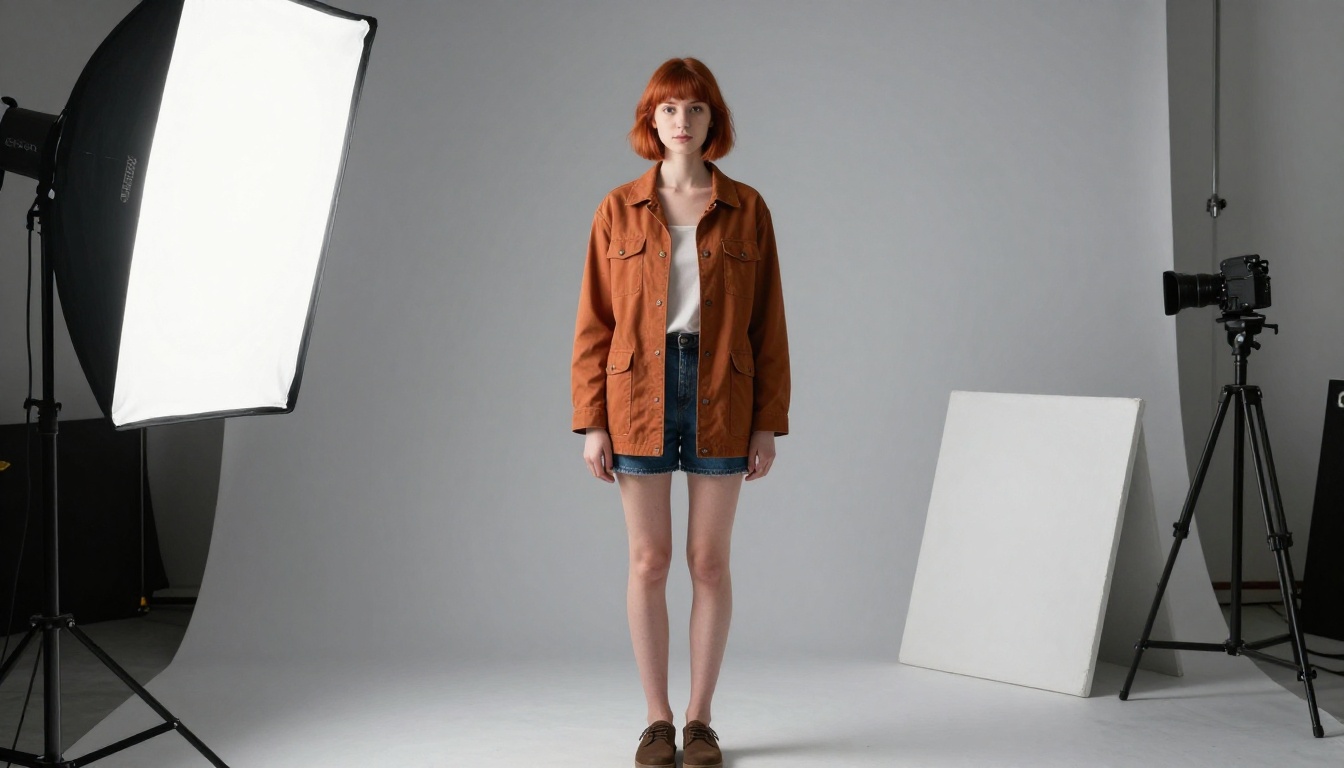
[CHARACTER BLOCK]. Full-body photograph, standing straight, arms relaxed,
facing the camera, neutral expression, plain mid-grey seamless backdrop,
soft even studio light, 85mm lens, eye level, raw photo, natural skin texture.
Choose a neutral expression and flat light on purpose. Dramatic lighting hides the details the sheet exists to record, and a grey backdrop keeps the outfit colors honest. Generate four or five versions and pick the one that matches your reference photo best. That winner becomes the anchor for the rest of the sheet.
Side and Back Views
Attach the approved front view as a reference image and change only the view line. Start with the three-quarter angle, because it is the one you will use most:
Same person as the reference image. [CHARACTER BLOCK]. Three-quarter view
turned 45 degrees to the left, full body, same outfit, same grey backdrop,
same lighting.
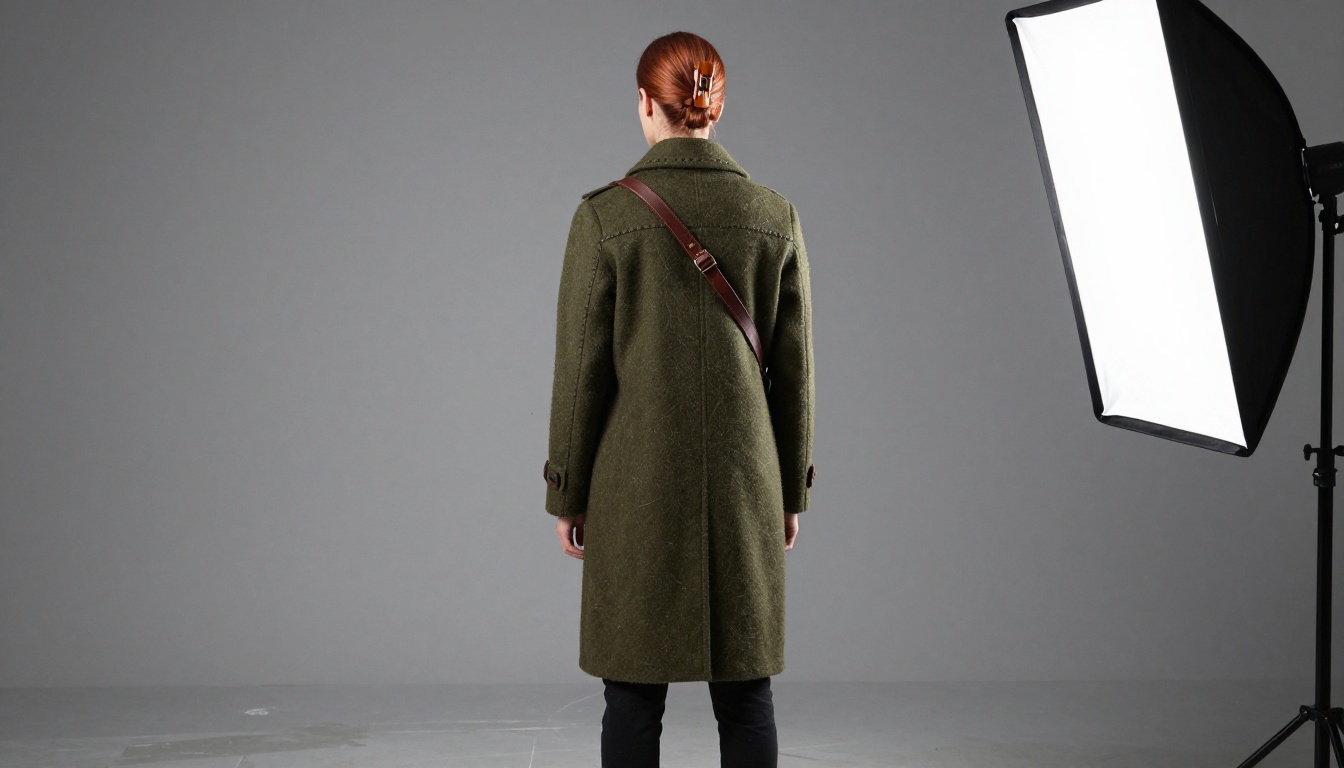
For the side profile, swap the view line for "left side profile, looking straight ahead". For the back view, write "seen from directly behind, hair and jacket back visible". Back views are where drift shows up first, because the front reference says nothing about the rear of the jacket. Add one line describing it, for example "plain back, no logo, stitched seam across the shoulders", so the model has nothing to invent.
Expression Row
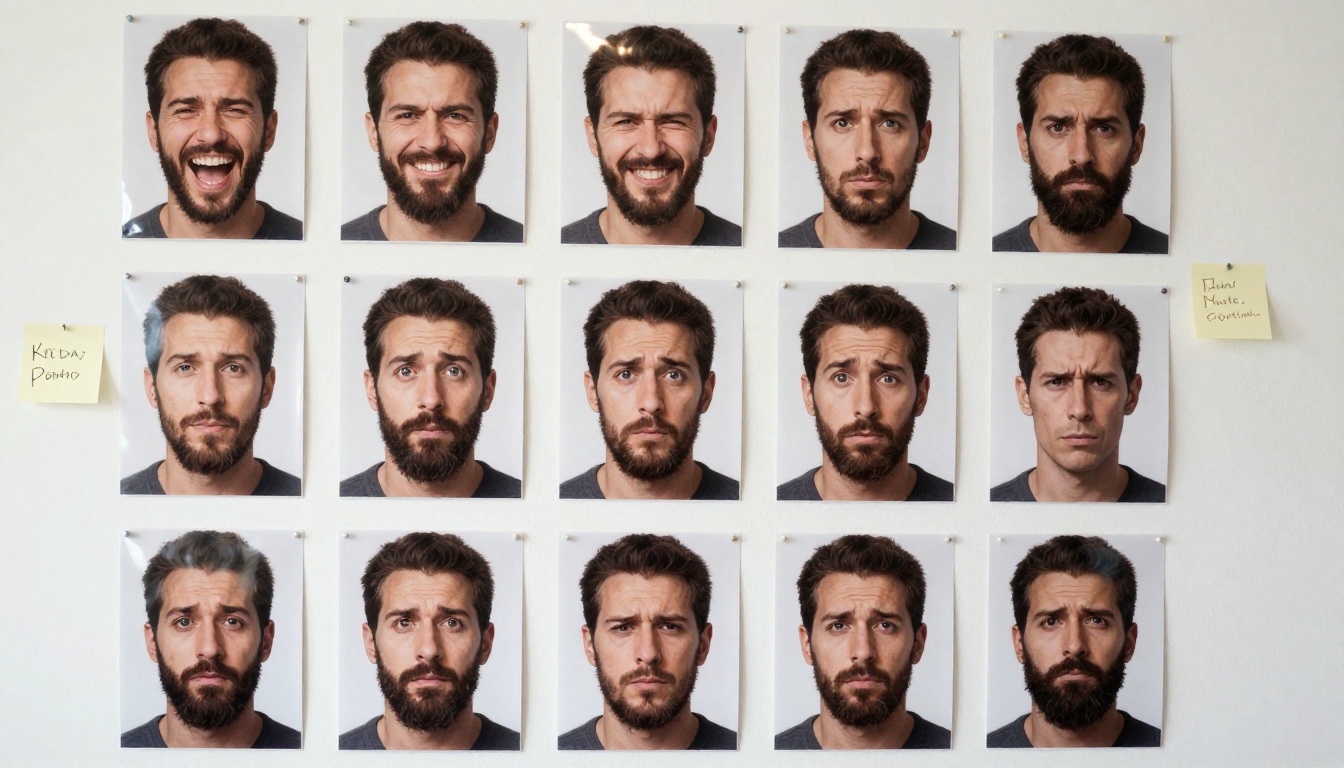
Generate six expressions as separate images: neutral, smile, laugh, anger, surprise and worry. Keep the same backdrop and crop, head and shoulders only.
Same person as the reference image. Head and shoulders, [expression] expression,
mouth and eyebrows clearly showing the emotion, same grey backdrop, same light.
Six small portraits side by side let you spot a slipped face in one second. If the freckles vanish on the angry one, you see it right there on the grid. Name the expression with a physical description when the plain word fails: "eyebrows pulled together, jaw tight, lips pressed" gives you anger without handing the model a mood to reinterpret.
Use Nano Banana Pro on PicassoIA
Nano Banana Pro fits this job because it accepts up to 14 reference images in one prompt and renders up to 4K. The original photo, the front view and the side view can all travel with every new request.
Paste your character block plus the view line into the prompt field.
Add the original photo to image_input. Once a front view is approved, add it as a second reference.
State in the prompt what each reference is for: "the first image shows the face, the second shows the outfit."
Press generate, then save the result and compare it against the panels you already have.
A filled-in prompt for the side profile looks like this:
Use the first image for the face and hair, the second image for the outfit and pose.
CHARACTER: woman in her late twenties, oval face, light freckles, copper-red wavy hair
to the shoulders, green eyes, mustard waxed-cotton field jacket, cream knit sweater.
Left side profile, full body, plain mid-grey seamless backdrop, soft even studio light,
85mm lens, eye level, raw photo.
Settings That Matter
Setting
Recommended value
Reason
prompt
Character block + view line
Same words every run
image_input
Up to 14 images
Original photo plus approved panels
aspect_ratio
16:9 for full-body rows, 1:1 for expression crops
Default is match_input_image
resolution
2K while drafting, 4K for final panels
Saves time during iteration
output_format
jpg for drafts, png for final files
PNG avoids extra compression
safety_filter_level
Leave at the default
Portraits rarely trigger it
💡 Tip: Change one thing per run. If you alter the view, the lighting and the outfit at once, you cannot tell which change broke the face.
Fixing Drift With Image Editor Pro
Even a good run produces one panel that is wrong. Do not regenerate the whole set. Edit that single panel.
A simple rule decides which tool to reach for. If the face itself is wrong, go back to the generator and run that view again with the approved front view attached. If the face is right but one detail is off, such as a missing button, a different collar or a wrong sleeve color, edit the panel instead. Editing keeps everything you already approved and changes only what you name.
Targeted Edits, Not Rerolls
PicassoIA Image Editor Pro takes up to three reference images and lets you address each one by number inside the prompt. It is unlimited, with no per-edit cap, so you can iterate on one panel as many times as you need. A typical correction looks like this:
Keep the face, hair and pose from image 1. Replace the jacket with the
mustard waxed-cotton jacket from image 2, same brass buttons, same fit.
Keep the background and lighting unchanged.
Set aspect_ratio to match_input_image so the panel keeps its size, lock the seed when you find a result you like, and set num_outputs to 2 when you want to compare two versions of the fix in one run. Export as PNG for panels that go on the final sheet.
Run through this short checklist after every batch:
Eyes: same color and shape in every panel?
Hair: same length, parting and texture?
Marks: freckles, scars and moles on the same side of the face?
Outfit: same button count, collar shape and fabric?
Accessories: strap on the same shoulder, watch on the same wrist?
Name each approved panel with the character and the view, for example mara_front.png and mara_back.png, and keep them in one folder. When a new project starts, that folder is the only thing you attach.
Props, Palette, and Motion
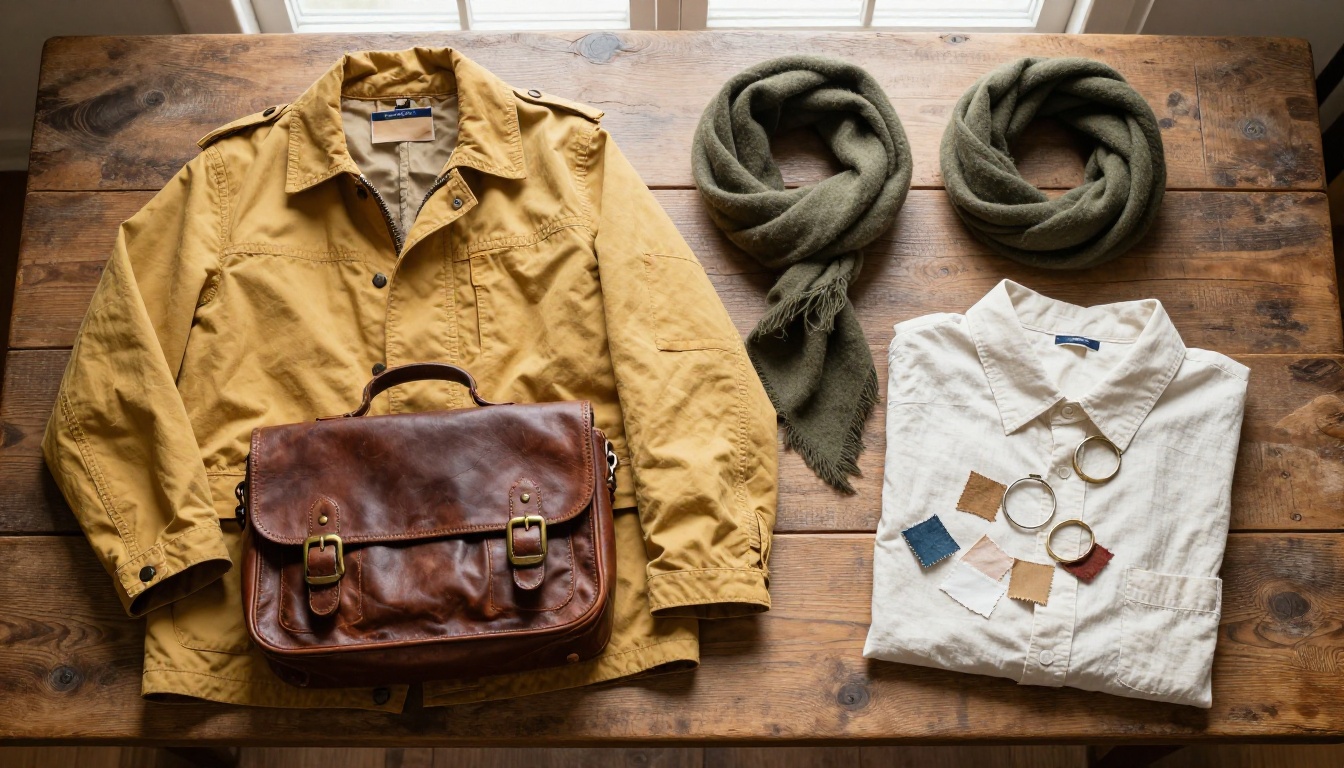
A sheet that shows only the body leaves the objects to chance. Add a props panel: a flat-lay photograph of every item, prompted on a neutral surface with the materials spelled out.
Overhead flat-lay on a weathered oak table: folded mustard waxed-cotton jacket,
worn brown leather satchel with brass buckles, olive wool scarf, cream linen shirt,
generous spacing, soft window light, 35mm lens, raw photo.
Then write a palette of three to five colors using plain names such as mustard, olive and cream. Image models usually respond more reliably to color words than to hex codes. If you want clean cutouts of the props for the final sheet, Bria Remove Background does it in one pass, and Clarity Pro Upscaler sharpens the panels you plan to print.
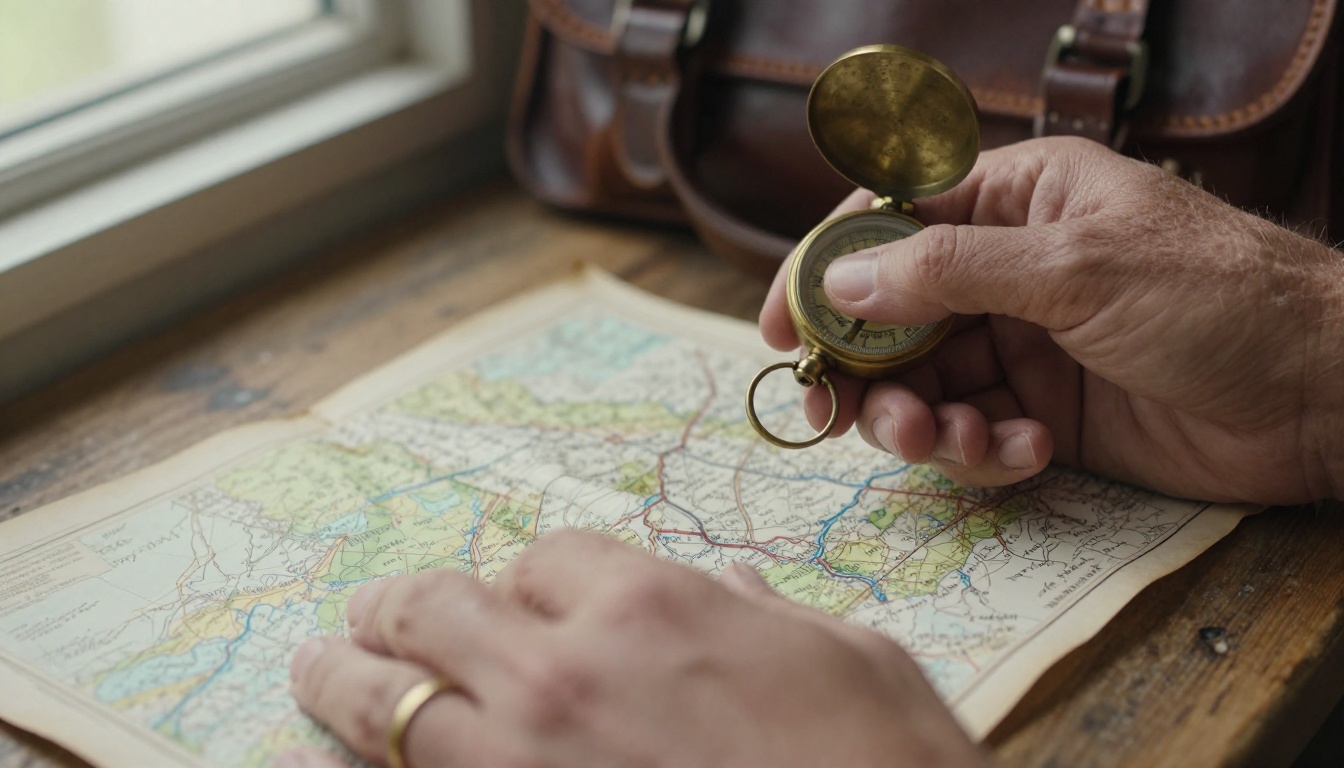
Give each prop a single defining detail, such as a scuffed brass compass or a satchel with one broken buckle. A character with one worn object feels lived in, and that object is easy for a model to repeat.
A Turn-Around Clip From Three Views
A finished sheet also feeds video. Seedance 2.0 accepts up to nine reference images for character consistency, so the front, side and back panels can go in together. Prompt a slow quarter turn on a grey backdrop and the clip keeps the same face and outfit across the movement. It renders up to 720p with synchronized audio, which is plenty for a turnaround reel or a pitch deck.
Mistakes That Break Consistency
Rewriting the Block Each Time
Paraphrasing feels harmless and it is the most common cause of drift. Keep the character block in a notes file and paste it. Never retype it.
Changing Lighting and Pose Together
A face lit from the left looks like a different face lit from above. Keep the studio setup identical across the view panels and save dramatic light for the scenes you build later.
Skipping the Back View
Most people stop after the front and the profile. Then the first walking-away shot shows a coat with a hood the character never had. Generate the back, even if you think you will never use it.
Build Your First Sheet Today
Pick one photo you already like and run the three steps: describe it with Gemini 3.5 Flash, freeze the character block, then generate the front, side and back views in Nano Banana Pro. Fix any wrong panel in PicassoIA Image Editor Pro, and your character will look the same in image fifty as it did in image one.
Open Picasso IA, upload your reference photo and try the front view prompt first. Do not aim for perfect on the first pass. Aim for six panels that agree with each other: front, three-quarter, side, back, one expression row and one props flat-lay. Once those match, you can lay them out on a single board, share it with a teammate or a client, and ask them to circle anything that looks off before a single scene is built. One hour of work on the sheet saves days of regenerating faces later. Browse every available model at picassoia.com/en/all-models and start with the sheet.