Most AI couple photos fail in the same three places: the skin looks waxy, the hands melt, and the two people look like they were pasted into the same frame from different planets. A realistic AI couple photo maker solves all three, but only if you feed it the right words and pick the right settings. This article walks through exactly that: what to type, which numbers to change, what good results look like, and where you can try it without paying.
I tested the same scenes across several image models, and the pattern was clear. Realism is rarely about the model alone. It comes from lighting that matches on both faces, a believable lens, honest skin texture, and a pose that real couples actually strike. Get those four right and even a free tool will surprise you.
Why Most AI Couple Photos Look Fake
Open any gallery of generated couples and you will spot the tells within a second. Both faces have identical glossy skin. Light hits her from the left and him from the right. Fingers appear in numbers that should worry a doctor. The background looks like a stage set.
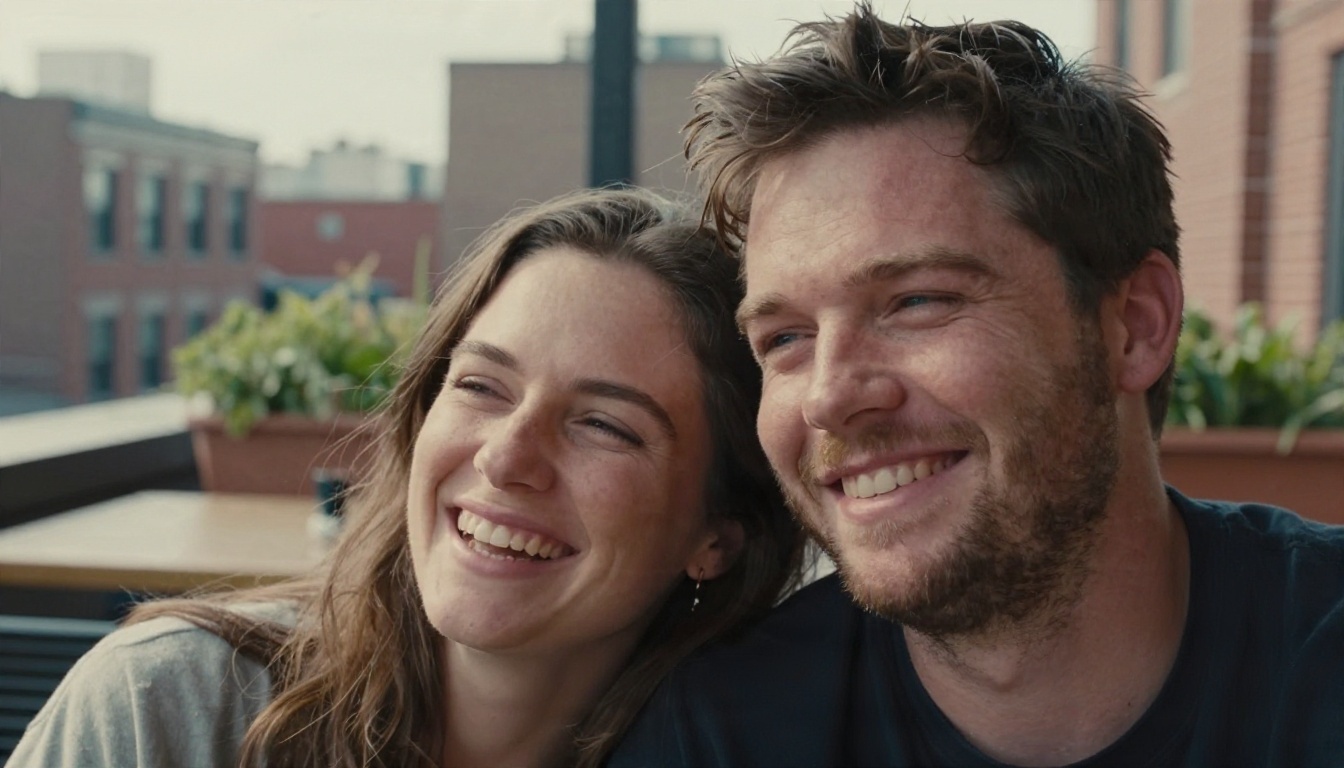
The photo above works because nothing is hiding. You can see stubble, freckles and tiny pores. Both faces share one soft morning light source from the left. Her head rests on his shoulder, which gives the image physical contact, the single strongest signal of a real relationship in a photo.
The Four Giveaways
- Over-smoothed skin. Models trained to please default to beauty-filter faces. You must ask for pores, freckles and fine lines.
- Split lighting. Two subjects, two different light directions. It breaks the illusion instantly.
- Stiff contact. Hands hovering near a shoulder instead of gripping it. Real people lean, press and tuck.
- Identical faces. Many generators blend two people into twins. Distinct hair, age, build and clothing prevent that.
💡 Quick test: Zoom to 200% on the hands and the area where two bodies touch. If the contact point looks smeared, regenerate before editing anything else.
What an AI Couple Photo Maker Actually Does
A couple photo maker is a text-to-image or image-editing model pointed at a specific job: two people, one frame, believable interaction. There are two main workflows.
| Workflow | Input | Best for | Weak spot |
|---|
| Text to image | Written prompt only | Invented couples, mood boards, wedding concepts | Faces are not your faces |
| Image editing | Your photos plus an instruction | Putting two real people in a new scene | Needs clear, well lit source photos |
| Hybrid | Generate a scene, then edit faces or outfits | Highest control | Takes more steps |
If you want invented couples for a story, a mood board or a save the date concept, text to image is enough. If you want yourself and your partner on a beach you have never visited, you need an editing model that preserves identity. Models such as Nano Banana and Flux Kontext Fast are built around that edit-from-reference idea.
The Prompt Structure That Works
Vague prompts like "romantic couple, beautiful, 4k" produce stock-photo mush. A reliable prompt has five parts, always in this order.
Step 1: Subject and Action
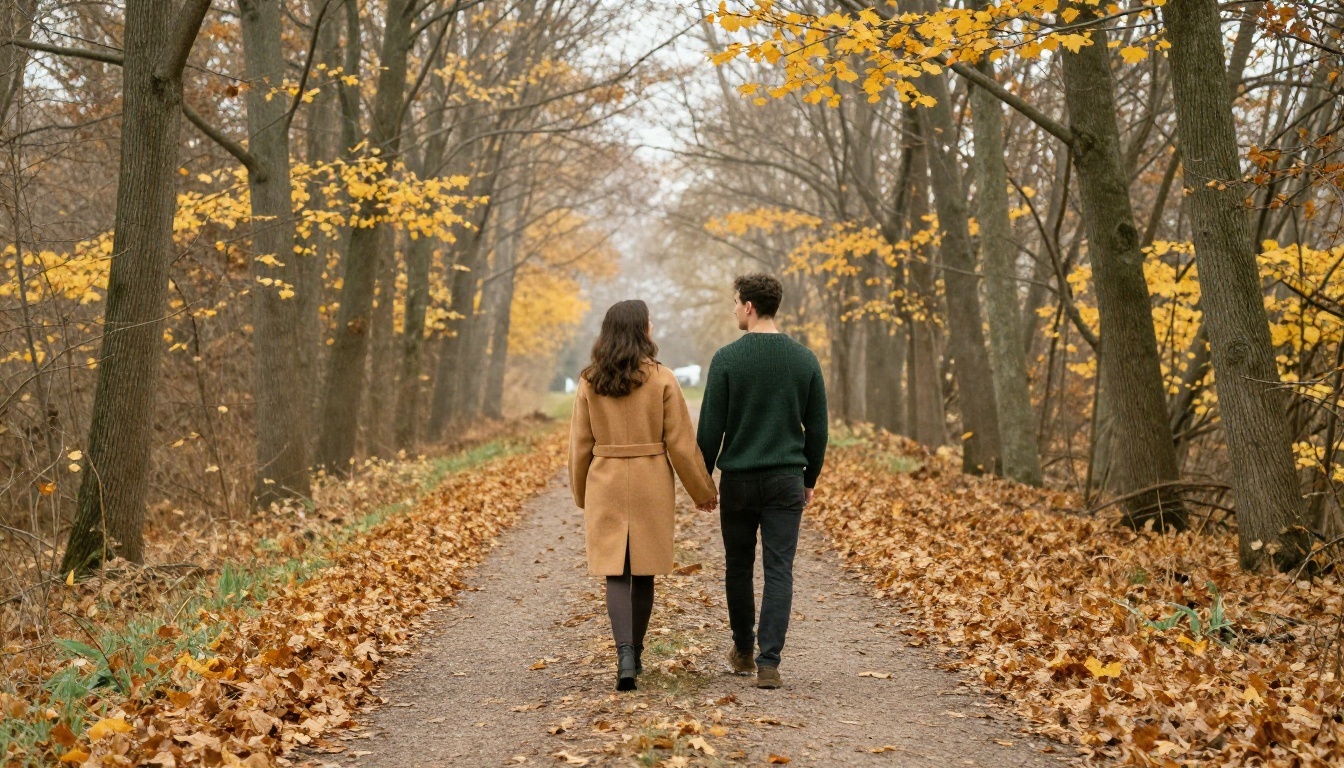
Describe what the two people are doing, not just how they look. "A couple walking hand in hand" beats "a couple". Add clothing with materials: camel wool coat, green knit sweater, linen dress. Materials give the model texture to render.
Step 2: Environment
Name the place and two or three physical details. "Empty autumn forest path, golden leaves on the ground, mist between tall trunks" is far stronger than "forest".
Step 3: Light
State direction, quality and time. "Soft overcast light filtering through trees" or "low golden sun from the left". One light source for both faces. Always.
Step 4: Camera and Lens
This is the cheat code for realism. Write a focal length and aperture: 85mm f/1.8 for portraits with creamy blur, 35mm f/2 for walking shots with context, 24mm for wide or overhead scenes. Models have seen millions of photos tagged with these numbers and respond to them.
Step 5: Texture and Finish
Close with film and skin words: "fine film grain, Kodak Portra 400 palette, natural skin pores, visible fabric weave, no retouching". Then add a short negative list: no neon, no glow, no illustration.
💡 Template you can copy: [subject doing action, outfit materials], [place with 3 details], [light direction and quality], [focal length and aperture], [skin and fabric texture, film grain], candid photograph.
Settings That Make Skin and Hands Believable
Prompts do half the work. The other half sits in the settings panel of whichever tool you use.
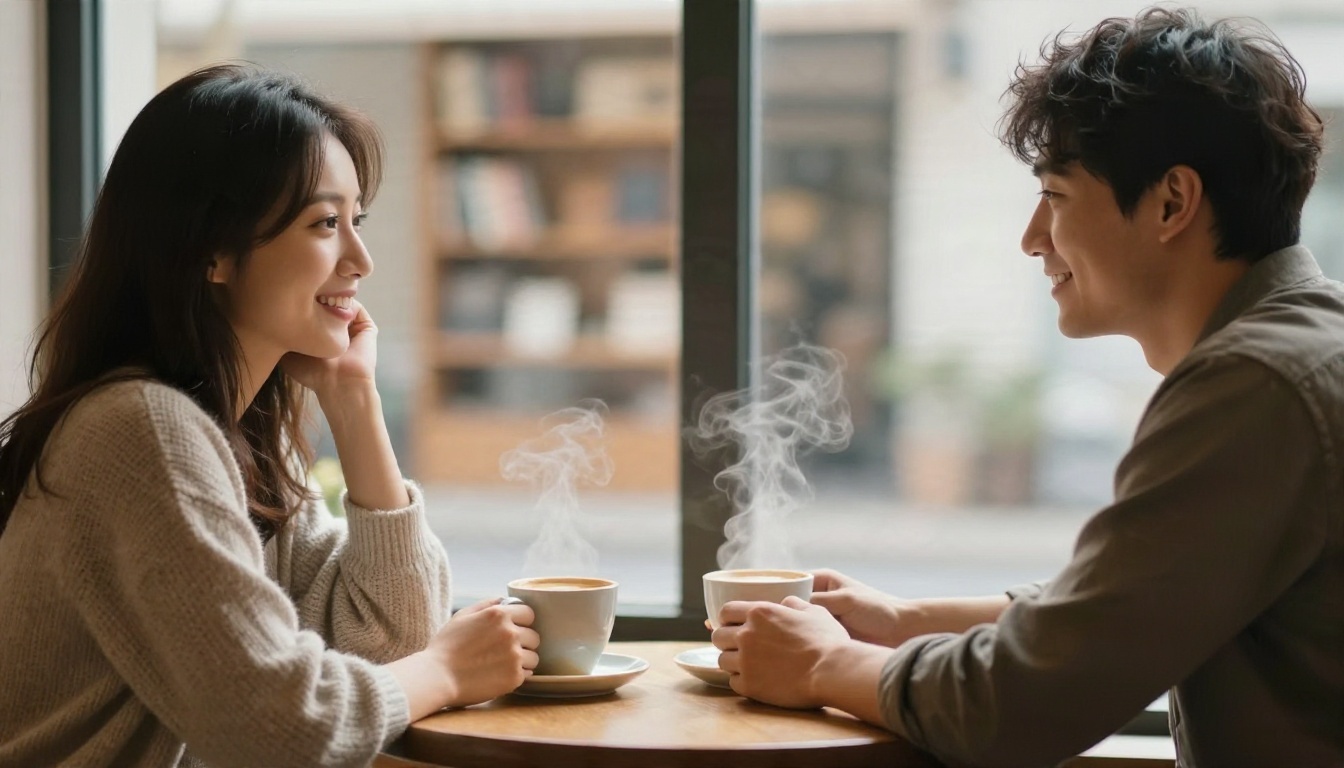
This café frame is a good model for settings. The window light comes from one side, the depth of field is shallow, and the hands are doing something specific, holding across a table. Specific hand actions give the model a known shape to draw.
Recommended Starting Values
| Setting | Try this | Why it matters |
|---|
| Aspect ratio | 16:9 for scenery, 3:2 or 4:5 for portraits | Matches real camera sensors and social crops |
| Resolution | Highest available, then upscale | More pixels mean finer pores and hair |
| Guidance or prompt strength | Medium, not maximum | Too high produces crunchy, over-sharpened faces |
| Steps | Default or slightly above | Past a point, extra steps add nothing |
| Seed | Fix it once you like a result | Lets you change one word at a time |
| Batch size | 4 images | Cheap way to find one clean pair of hands |
Hands and Contact Points
Avoid complicated finger poses. Interlaced fingers, a hand on a waist, a palm on a cheek, and arms around a neck all render well. Piano playing, rings being slid on, and tangled five-finger grips often fail. If you need a ring shot, generate the couple first, then fix the hand in a second editing pass.
Skin Realism
Add phrases like "visible pores, faint freckles, subtle flyaway hairs, no skin smoothing". Models tend to ignore a single mention, so repeat the idea in two different ways: once in the subject description and once in the finish line.
Lighting Recipes for Every Mood
Light is where couple photos either feel like a memory or a render. Here are the setups I reach for most often.
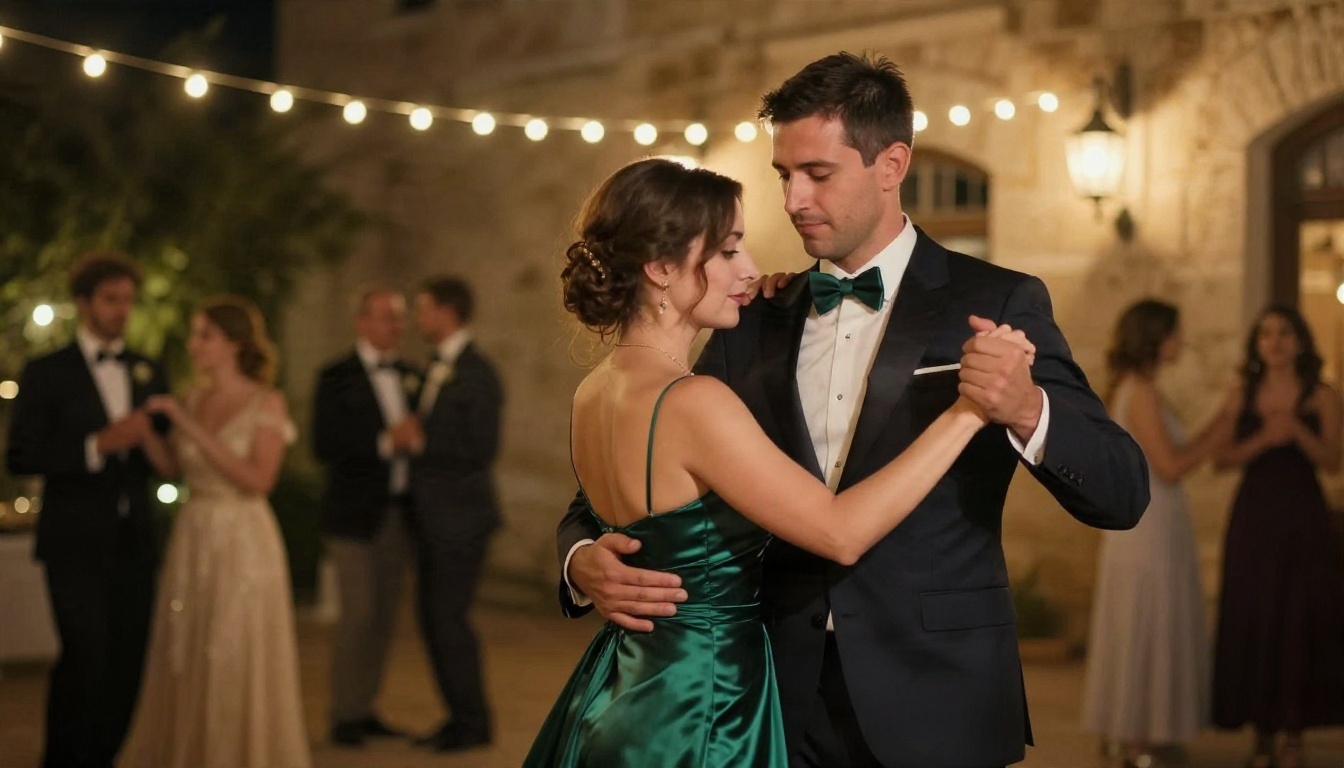
The courtyard dance uses warm tungsten light from above and behind, which gives the satin dress a believable sheen and keeps both faces inside the same color temperature. That consistency is what sells it.
- Golden hour: "low sun from the left, warm rim light on hair and shoulders". Flattering for every skin tone and forgiving on mistakes.
- Overcast day: "soft diffused light, no hard shadows". The easiest light for two faces because nothing can clash.
- Window light: "soft daylight from a large window on the right". Ideal for indoor, quiet, intimate scenes.
- Evening warm bulbs: "warm tungsten glow from above, soft bokeh". Great for dancing, dinners and celebrations.
- Blue hour: "cool blue ambient light with a warm glow on the horizon". Works for travel and silhouettes.
💡 Rule of one: Name one primary light source per prompt. If you add a second, make it clearly weaker, like "faint lamp glow in the background".
Real Examples You Can Recreate
Seeing finished frames helps more than any list of rules. These scenes are built from the structure above, and each one shows a different angle and distance.
Beach Sunrise
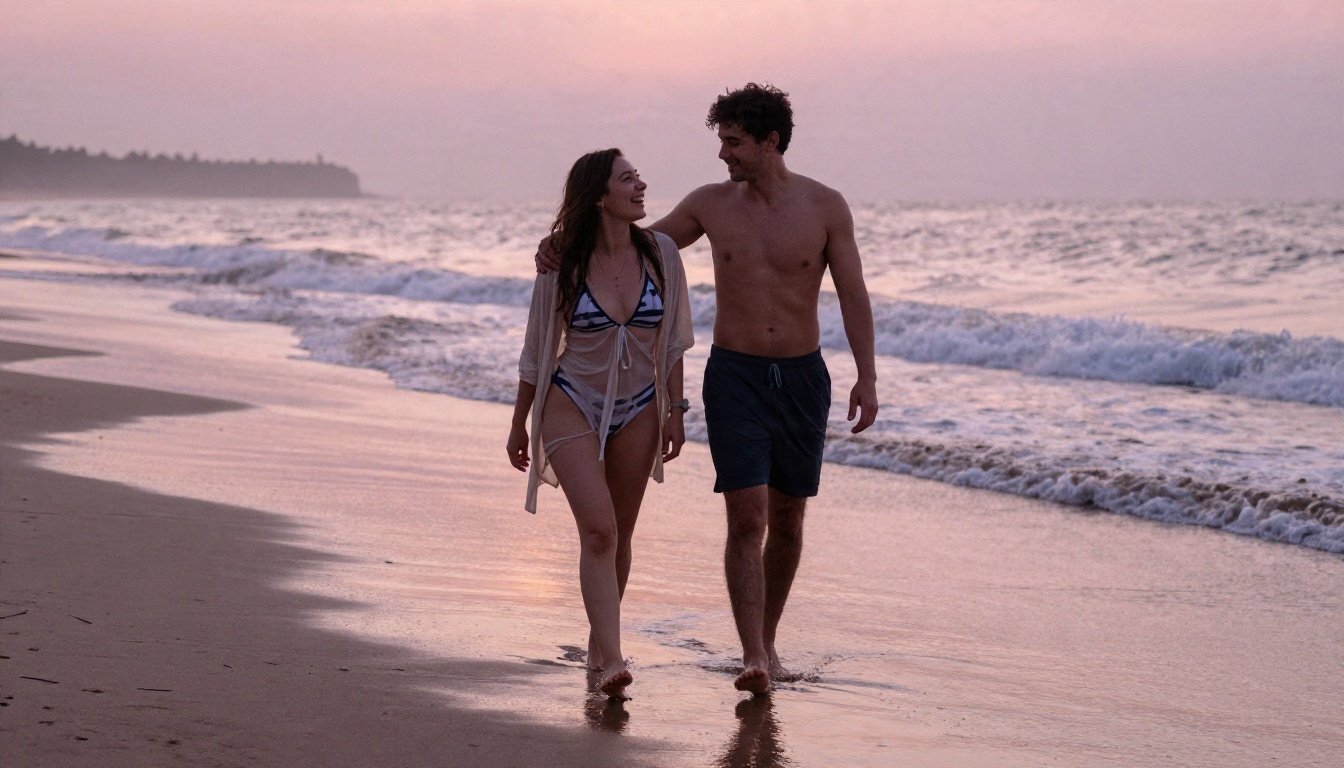
A knee-height 35mm view with backlight from the rising sun. The wet sand doubles the glow, and tasteful swimwear keeps it vacation-friendly. Ask for "sea spray droplets on skin" to add tactile realism.
Prompt skeleton: couple in swimwear and light cover-ups walking barefoot along wet sand at sunrise, small waves at ankles, pink and gold light from behind, 35mm f/2.8 at knee height, natural skin texture, fine film grain.
Picnic From Above
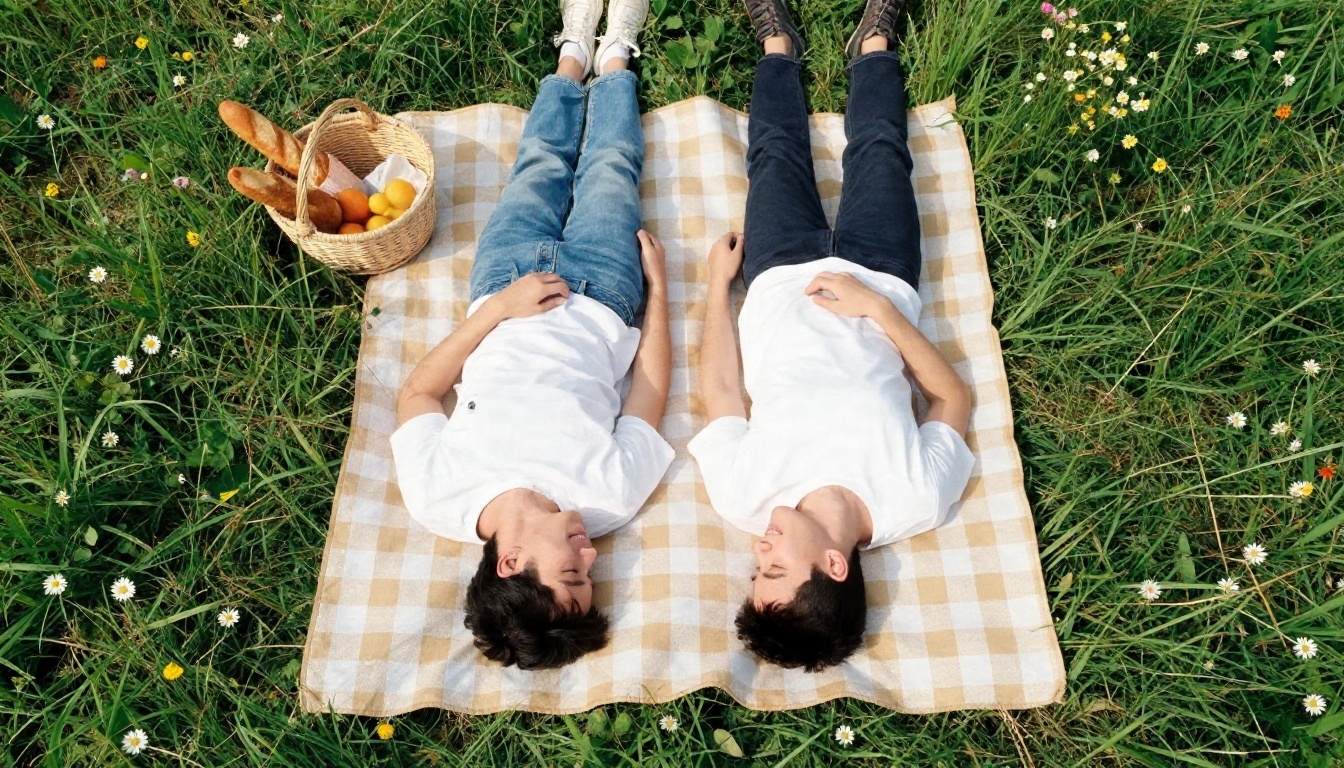
Overhead framing is underused. It hides awkward leg positions, shows off the props, and makes the picture look like a thoughtful photographer climbed a ladder. Use a 24mm lens, direct top-down, and bright natural sun with soft shadows.
Rainy Street Under One Umbrella
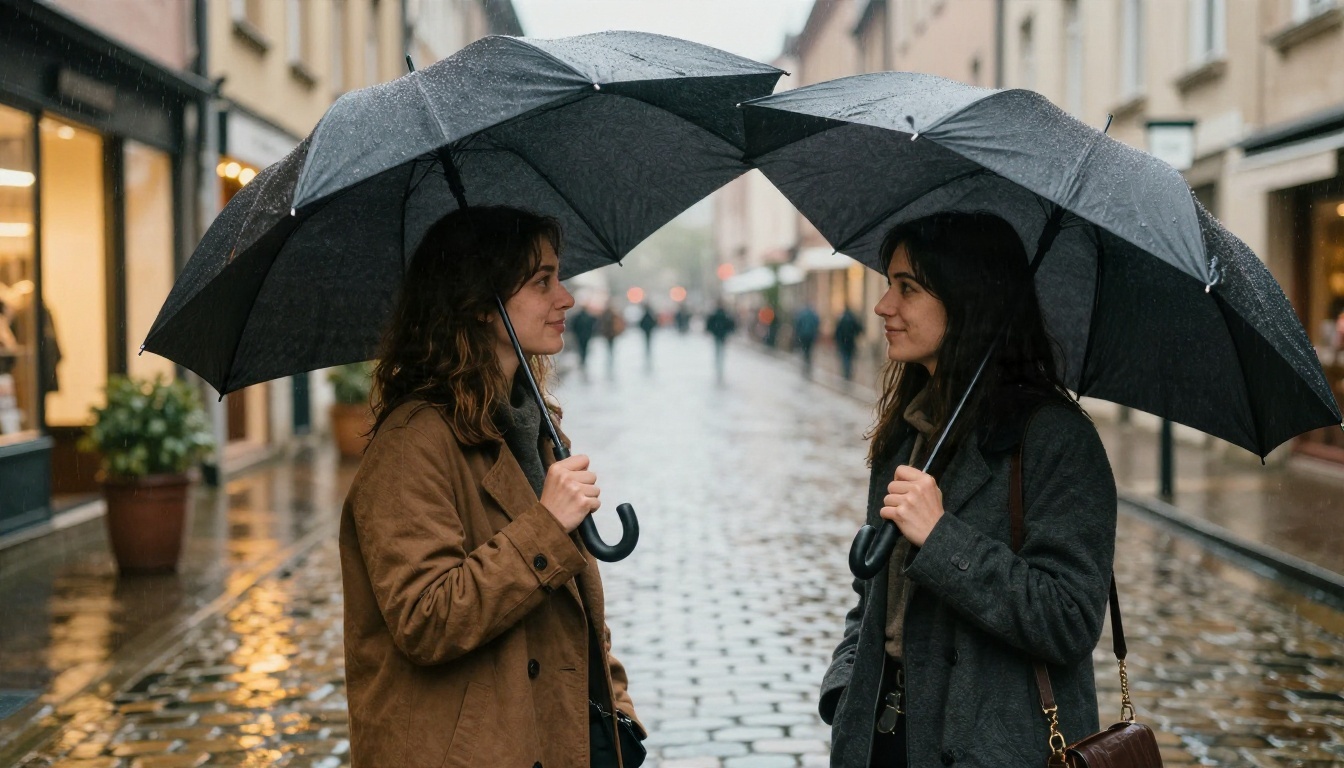
Rain adds reflections and texture without effort. A shared umbrella forces the pair to stand close, which solves the body-spacing problem automatically. Light from shop windows gives warm highlights on wet cobbles.
Mountain Viewpoint at Dusk
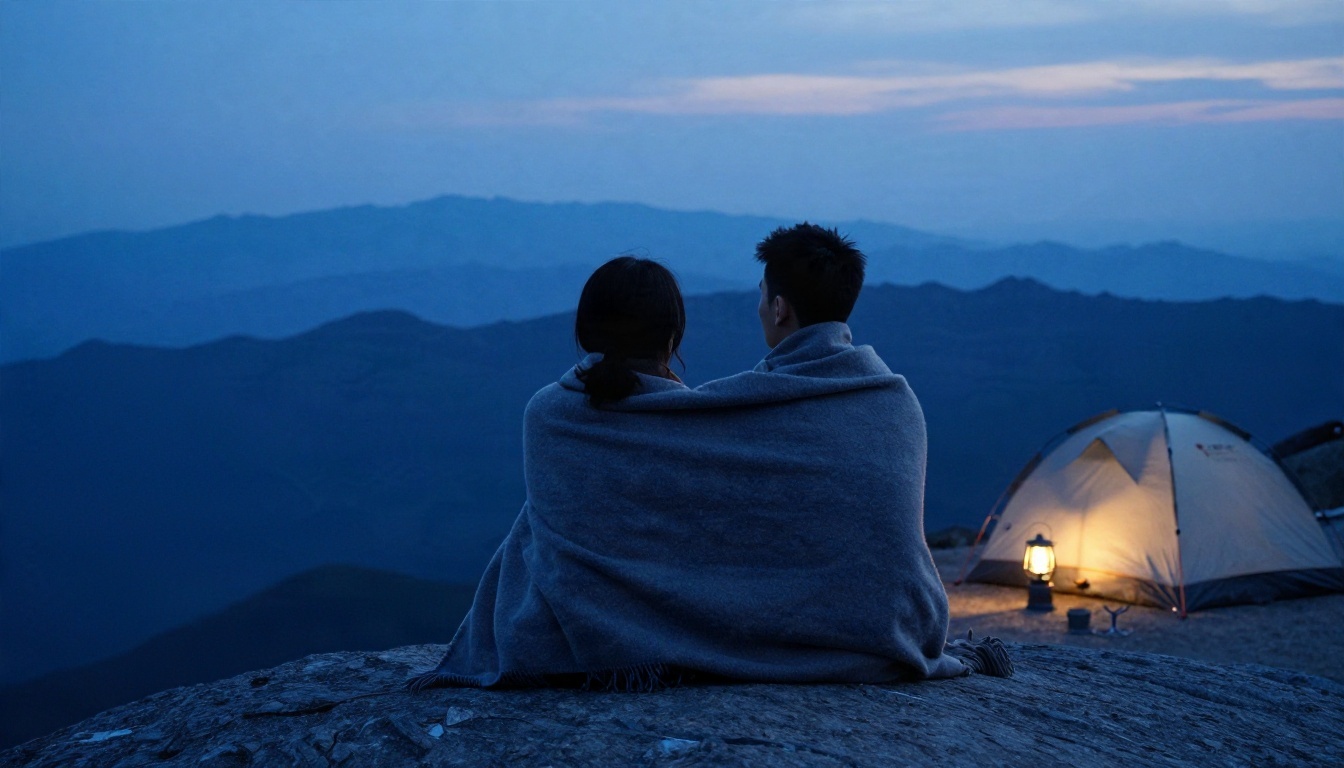
Shooting from behind is a smart realism shortcut. When faces are not the focus, the model spends its effort on atmosphere, and viewers fill in the emotion themselves. Perfect for travel albums and anniversary posts.
Free Options That Still Look Good
You do not need a subscription to get started with realistic couple scenes. What you need is the right tool for each job and a habit of generating in batches.
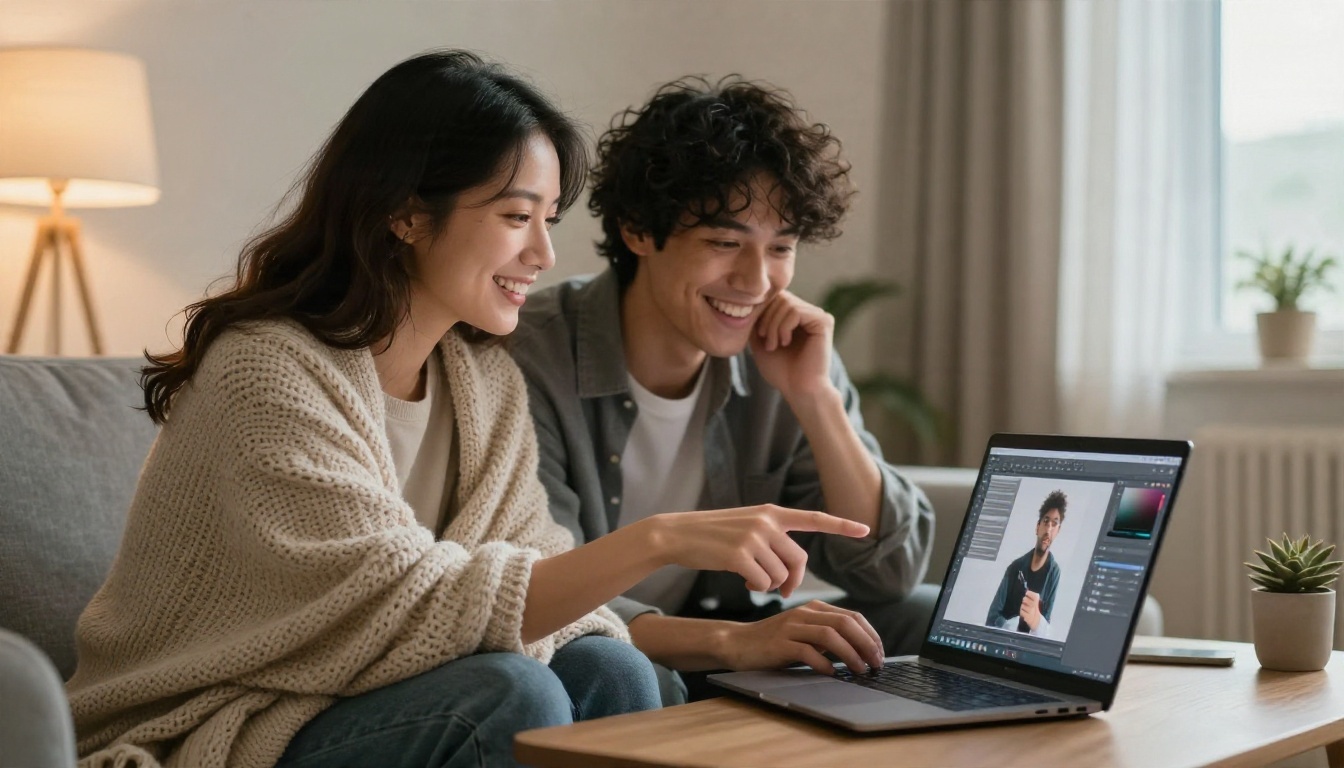
On PicassoIA, several models can be tried at no cost, and the platform bundles generation, editing and upscaling in one place. Here is how I would match models to tasks.
| Task | Model to try | Why |
|---|
| Photoreal scenes from text | Seedream 4.5 | Strong skin and light rendering, 4K output |
| Fast drafts and edits | Nano Banana Pro | Handy for edit-style instructions and quick iterations |
| Prompt following in busy scenes | GPT Image 2 | Good at reading long, detailed instructions |
| Natural, photographic look | Qwen Image 3 | Leans toward realistic photographic output |
| Changing a hairstyle | Change Haircut | Fixes a single detail without a full redo |
| New background behind the pair | Generate Background | Keeps the people, swaps the place |
| Softer background blur | Depth of Field | Adds portrait-style separation after the fact |
| Sharper final file | Real ESRGAN | Upscales 4x for print or large screens |
A Budget Workflow
- Draft four variations in a fast model with the same prompt.
- Pick the one with the cleanest hands and lighting.
- Lock the seed, then adjust one detail at a time.
- Fix stray problems with an editing model.
- Upscale the winner at the end, not the start.
This order saves credits because you only upscale the single frame you are keeping.
How to Use Seedream 4.5 on PicassoIA
Seedream 4.5 is my first choice for realistic couple scenes from text because it handles light and skin convincingly. Here is the process from blank prompt to final file.
Step-by-Step
- Open the model page. Go to the Seedream 4.5 page on PicassoIA and sign in.
- Write your prompt. Use the five-part structure: subject and action, environment, light, lens, texture. Keep it to a single paragraph.
- Choose the aspect ratio. Pick 16:9 for landscapes and travel scenes, or a portrait ratio for close-ups.
- Set the resolution. Choose the highest option offered so pores and fabric weave have room to appear.
- Add a short negative list. No neon, no illustration, no glow, no extra fingers, no text.
- Generate a batch. Run several variations and check hands, eyes and contact points.
- Refine one thing at a time. Change only the light or only the outfit between runs so you can see what worked.
- Upscale and save. Send the winner through Real ESRGAN for a crisp final copy.
Parameter Tips
- Keep prompts under roughly 150 words. Longer prompts dilute the important parts.
- Put the most important element first: the couple and what they are doing.
- When faces drift into twins, add contrasting details such as "she has dark wavy hair, he has short light brown hair and a beard".
- If the background overpowers the pair, add "shallow depth of field, background softly blurred".
💡 Using your own faces? Start from clear, front-facing, evenly lit photos of each person, then use an editing model like Nano Banana to place both into a new scene with a sentence describing the setting.
Common Mistakes and Fast Fixes
Even good prompts misfire. These are the problems I see most often and how to repair them in one step.
| Problem | Likely cause | Fix |
|---|
| Plastic skin | No texture words | Add "visible pores, freckles, no skin smoothing" |
| Faces look like siblings | Same description for both | Give each person different hair, age cues and clothing |
| One face lit, one in shadow | Two light sources | State one direction for the whole scene |
| Extra or missing fingers | Complex hand pose | Simplify to a waist, shoulder or cheek touch, then batch |
| Background looks fake | Generic place name | Add three concrete props or textures |
| Overcooked sharpness | Guidance set too high | Drop to medium and upscale afterward |
| Smiles look rigid | "Smiling" repeated | Ask for "laughing mid-sentence" or "eyes half closed, soft smile" |
Keep the Story Honest
The best couple images suggest a moment, not a pose. Give them something to do: share an umbrella, hold a cup, walk, dance, lean on a railing. A prompt with a verb beats a prompt with an adjective every time.
Respect the People in the Frame
Only use faces you have permission to use. Pictures of a partner, a friend or yourself are fine. Do not place a real person you do not know into romantic scenes, and label AI images clearly when you share them where it matters, such as in profiles or announcements.
Pick a Scene and Make It Yours
You now have the structure, the settings and the free tools to build couple photos that read as real. Start with one scene you actually care about: an anniversary spot, a trip you are planning, a save the date idea. Write the five-part prompt, generate a batch of four, and tweak one thing per round.
Open PicassoIA, choose Seedream 4.5 or Nano Banana Pro, and run your first couple scene today. When you want to compare other options, browse everything at picassoia.com/en/all-models and try a different model on the same prompt. The side-by-side difference is the fastest way to find the look that feels like you.


