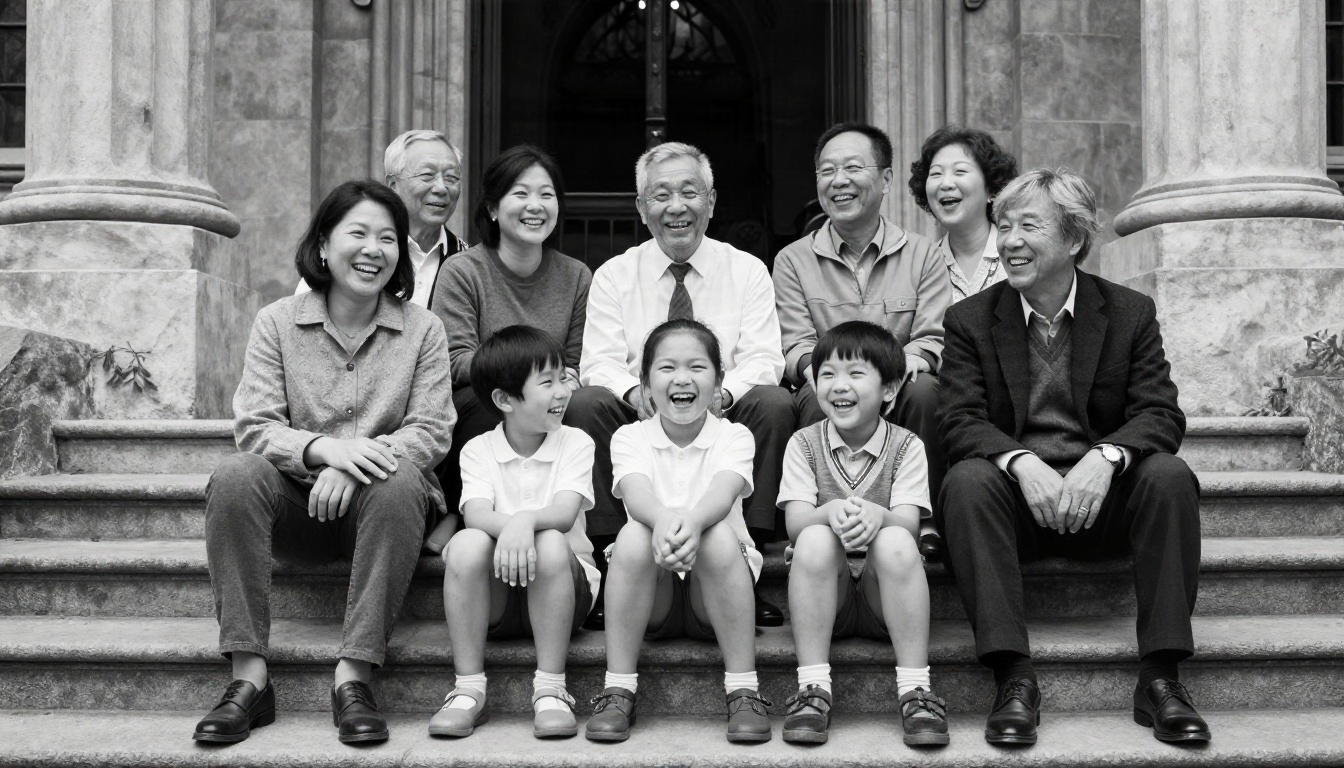
A black and white family photo does something color rarely manages: it strips away the distractions and leaves faces, hands, and the small gestures that make a family feel like your family. The problem is that a real monochrome portrait used to demand a photographer, a good light setup, and a lot of patience with a squirming toddler. Today you can get the same timeless look from a text prompt, from a photo you already own, or from a faded print you found in a shoebox.
This article walks through how AI family photo black and white creation actually works, which prompts produce believable results, how an AI editor handles conversion and restoration, and where the free options are. Every example image below was generated with AI, so you can judge the quality yourself.
💡 Quick answer: Describe the light, the lens, and the mood in your prompt, add "black and white" plus a film stock such as Tri-X, and keep the scene candid. That combination beats any one-click filter.
Why Black and White Still Wins
Color photos date quickly. Phone saturation, trending filters, and clashing outfits all age a picture within a few years. Monochrome sidesteps that. A grandmother's laugh lines look the same in 1962 and in 2026.
There is also a practical benefit. Mixed lighting, a patterned sofa, or one cousin in a neon shirt can ruin a color shot, while black and white absorbs those problems and turns them into tone and texture.
What Monochrome Does to Emotion
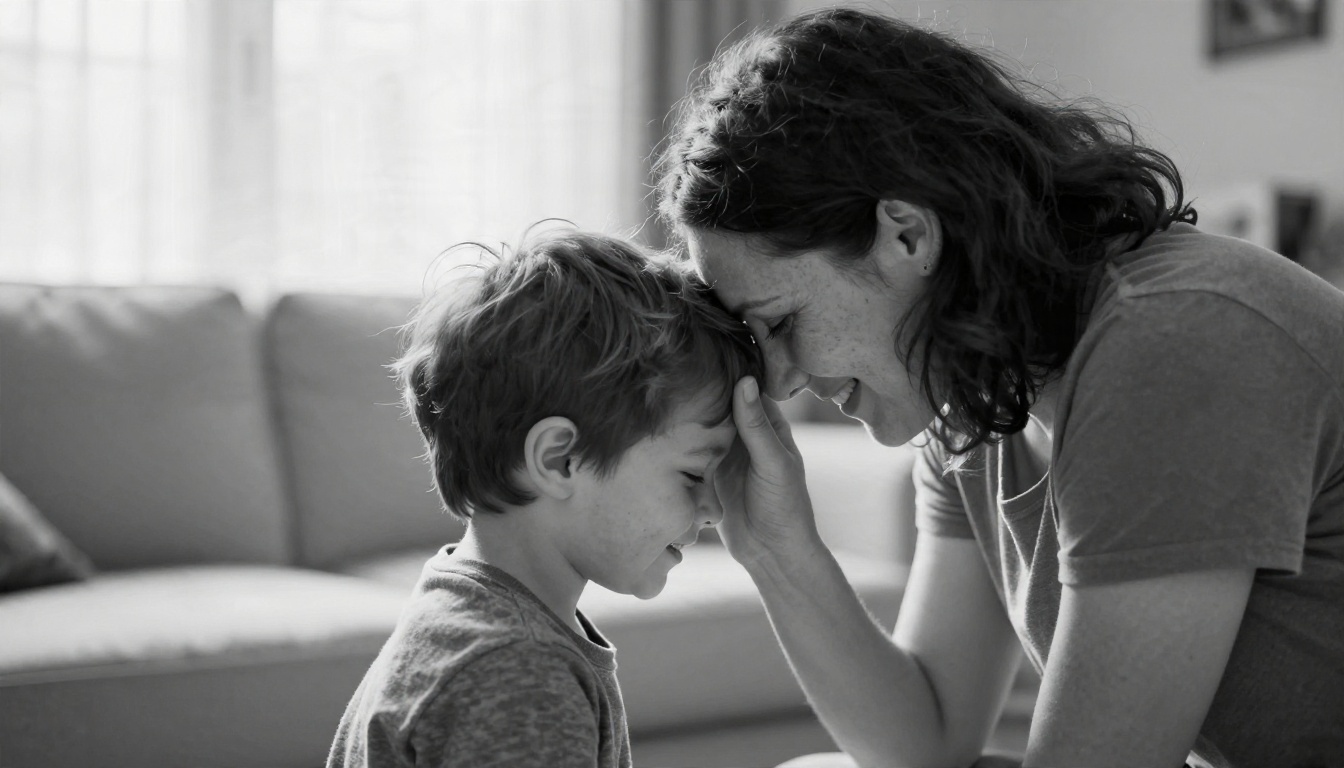
Without color, your eye goes straight to expression. Eyes, smiles, and the way a child leans against a parent carry the whole image. That is why wedding photographers, documentary shooters, and portrait studios keep a monochrome option in every package.
What AI Adds to the Process
AI removes the logistics. You do not need everyone in the same place at the same time. You can build a scene, convert an existing photo, or restore a damaged one. If you want a deeper look at the generation side, models like Seedream 4.5 are strong with skin and fabric detail, which matters a lot in grayscale.
Three Ways to Make One
Not every project starts from the same place. Pick the route that matches what you have.
| Route | You start with | Best for | Effort |
|---|
| Text to image | A written prompt | Imagined scenes, gifts, cards, wall art | Low |
| Photo conversion | A color family photo | Turning existing snapshots into monochrome portraits | Low |
| Restoration | An old, damaged print | Heirloom photos with cracks, fading, or stains | Medium |
Text to Image From Scratch
You write the scene and the model builds it. This is the most flexible route, and it is where prompt quality matters most. Models such as Nano Banana Pro and Qwen Image 3 handle natural light and realistic faces well.
Converting an Existing Photo
Upload a color snapshot and ask the editor to change it to black and white with real contrast, not a flat gray filter. A good edit rebalances tones, deepens shadows, and preserves skin detail. Flux Kontext Fast is built for exactly this kind of instruction based editing.
Restoring an Old Print
Scan the photo, fix the damage, then upscale it. We cover the full flow in its own section below.
Prompts That Actually Work
A weak prompt gives you a gray, plastic looking family. A strong one reads like a photographer's shot list. Here is the structure that works consistently:
Subject and action + setting + light direction + lens + texture + film stock
The Base Formula
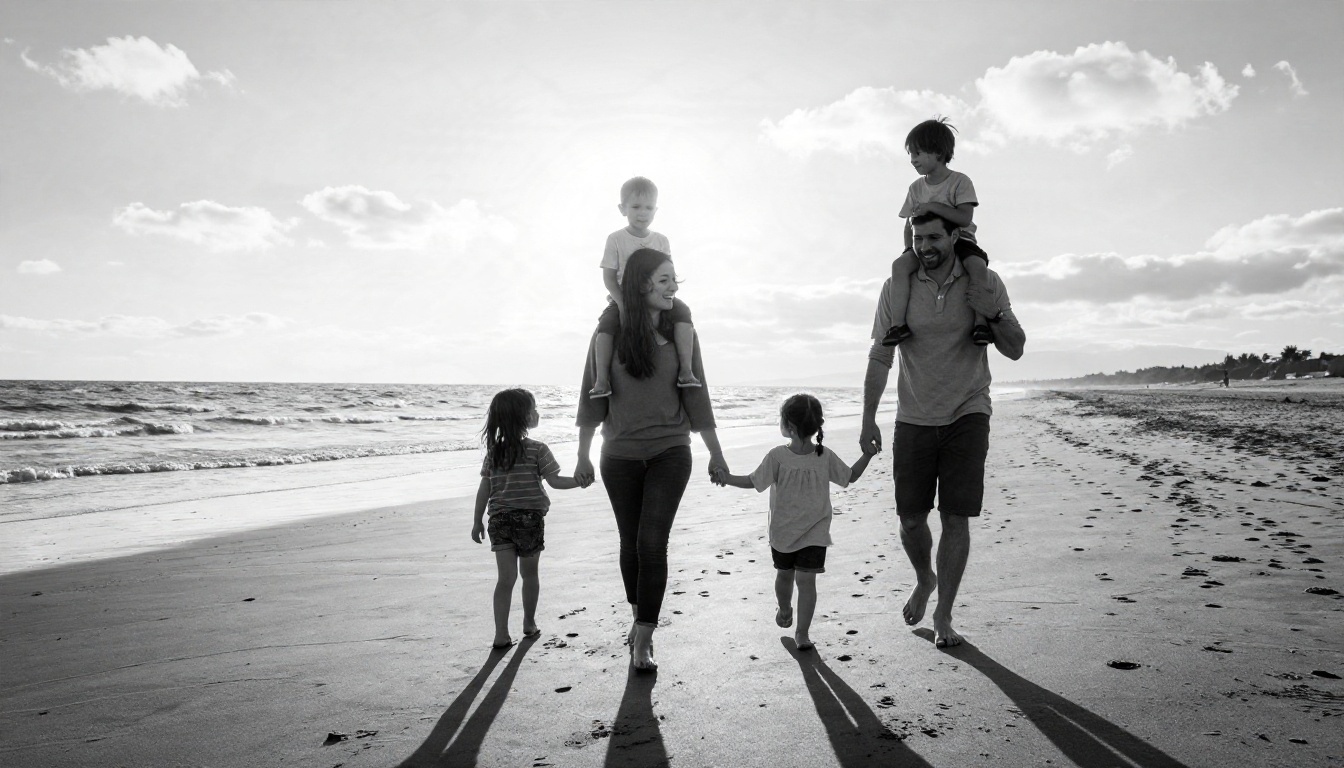
📋 Black and white photograph of a family of five walking along a windswept beach at low tide, father carrying a toddler on his shoulders, low sun backlighting them with a rim glow on hair, 35mm lens at a low angle, fine film grain, deep blacks and bright highlights, candid joyful mood.
Notice what is in there: a specific action, a light source with a direction, a lens, and a mood word. There is nothing about "beautiful" or "high quality." Those words do very little.
Ten Prompt Starters to Copy
Swap the details for your own family and keep the structure.
- Porch portrait: three generations on weathered porch steps, golden hour light from the left, 50mm lens, Tri-X grain.
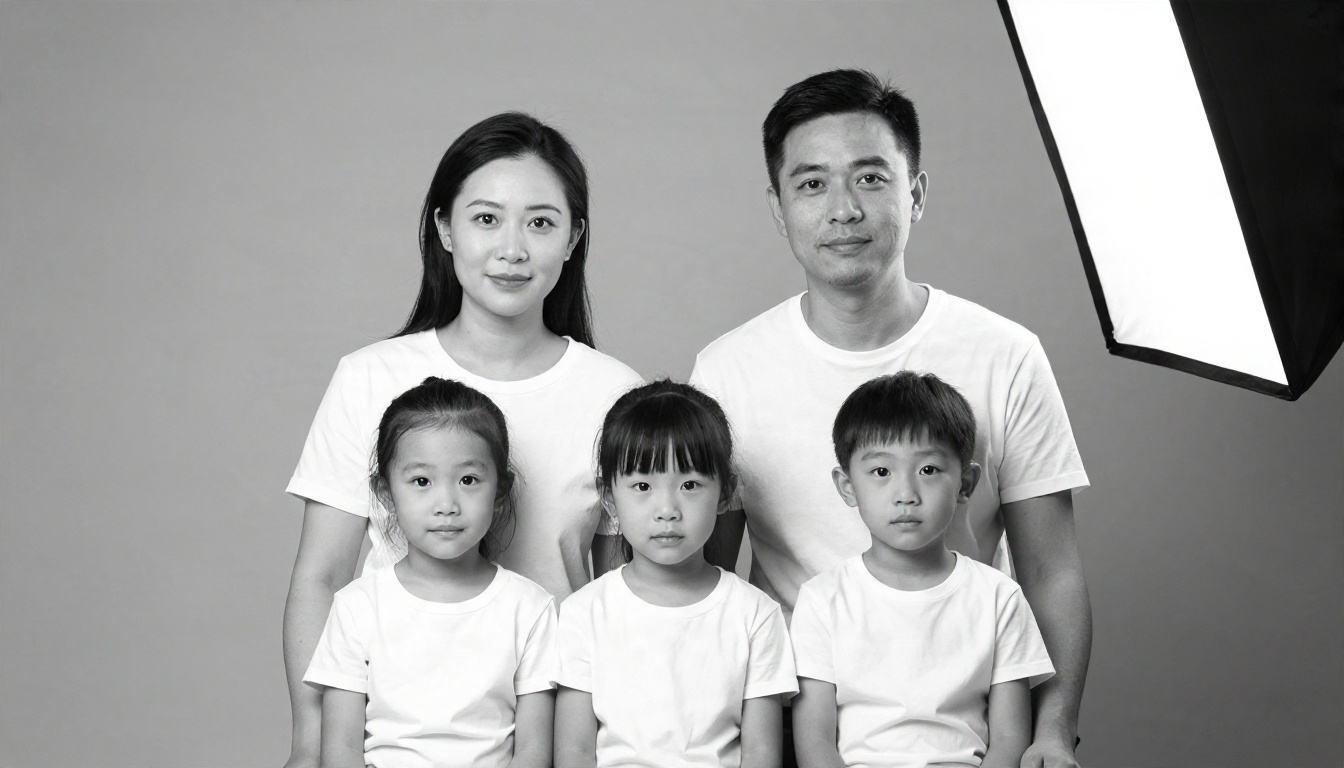
- Studio classic: two parents and three children in plain white shirts, soft Rembrandt light, gray backdrop, 85mm lens.
- Kitchen candid: flour on a child's nose, mother laughing, window light, 35mm lens.
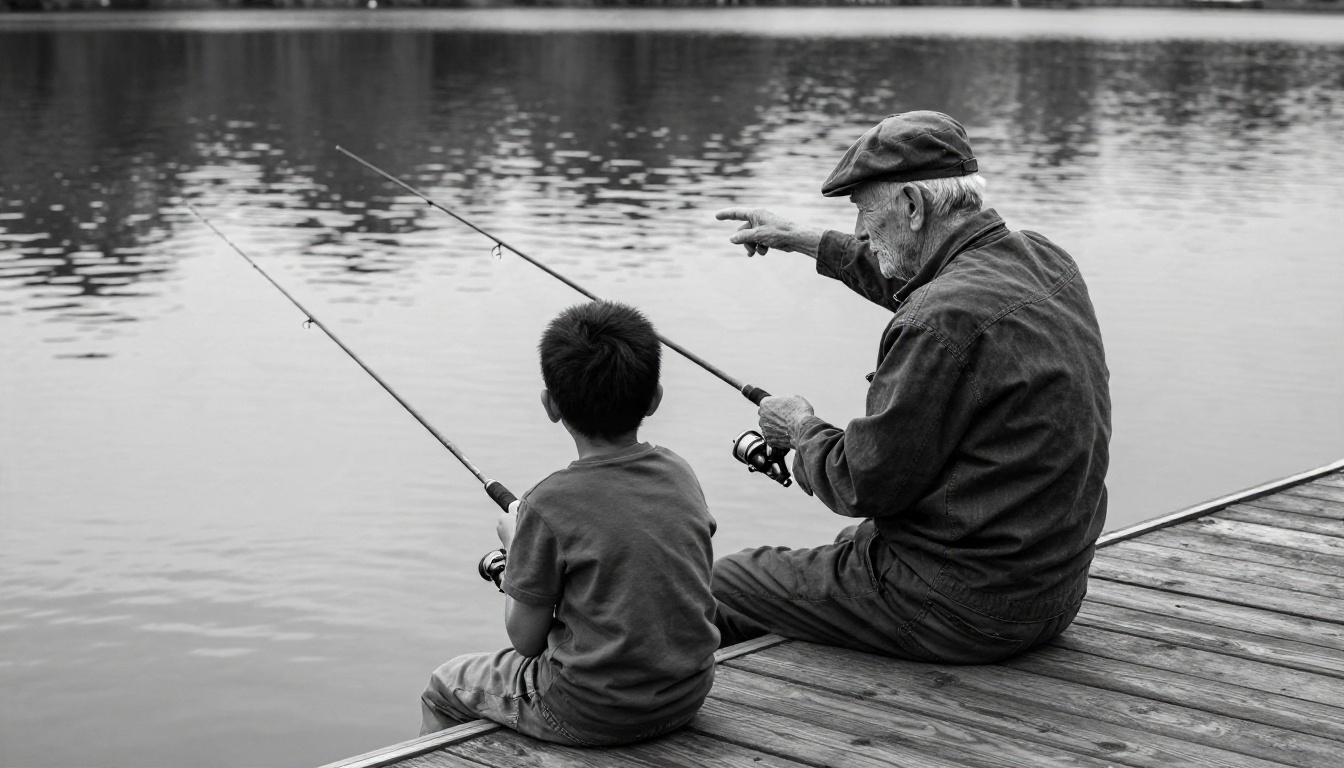
- Dock at dawn: grandfather and grandson fishing, overcast light, still water reflections.
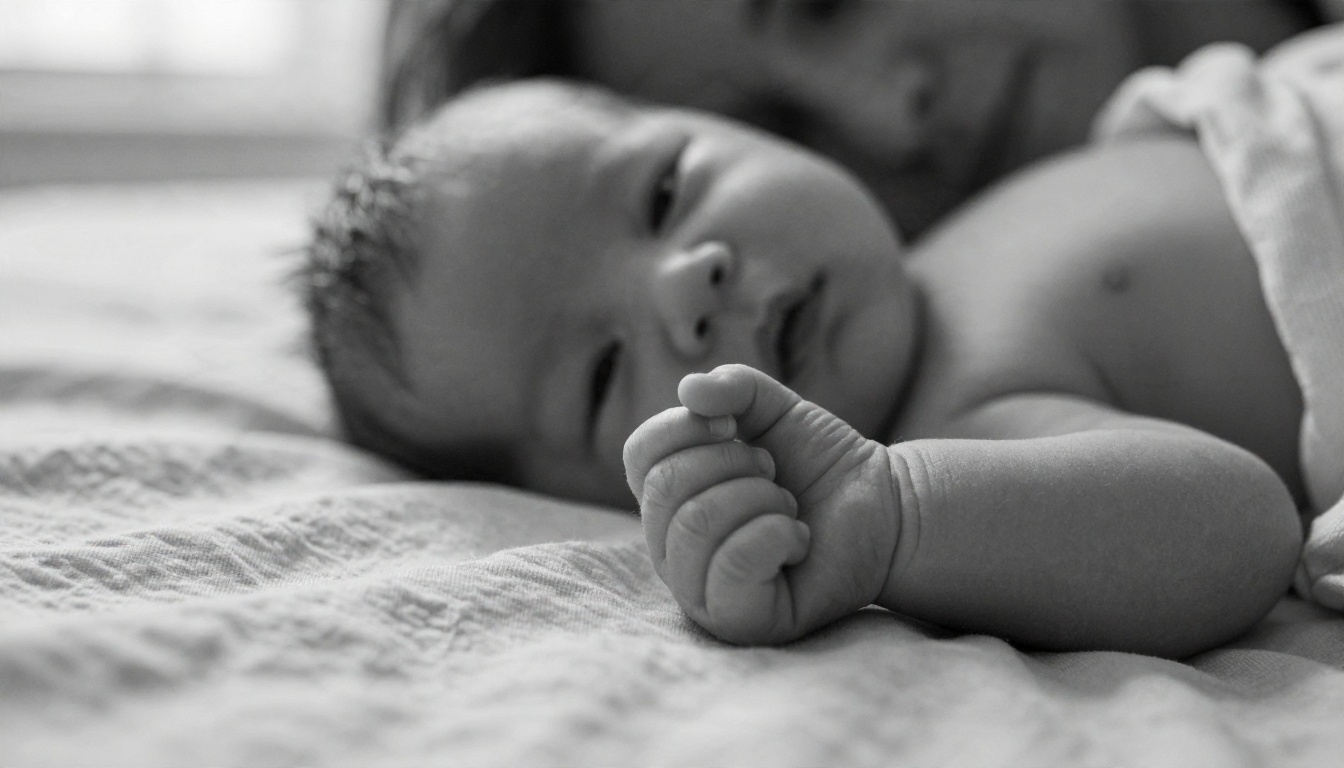
- Newborn detail: tiny hand wrapped around a parent's finger, 100mm macro, soft morning light.
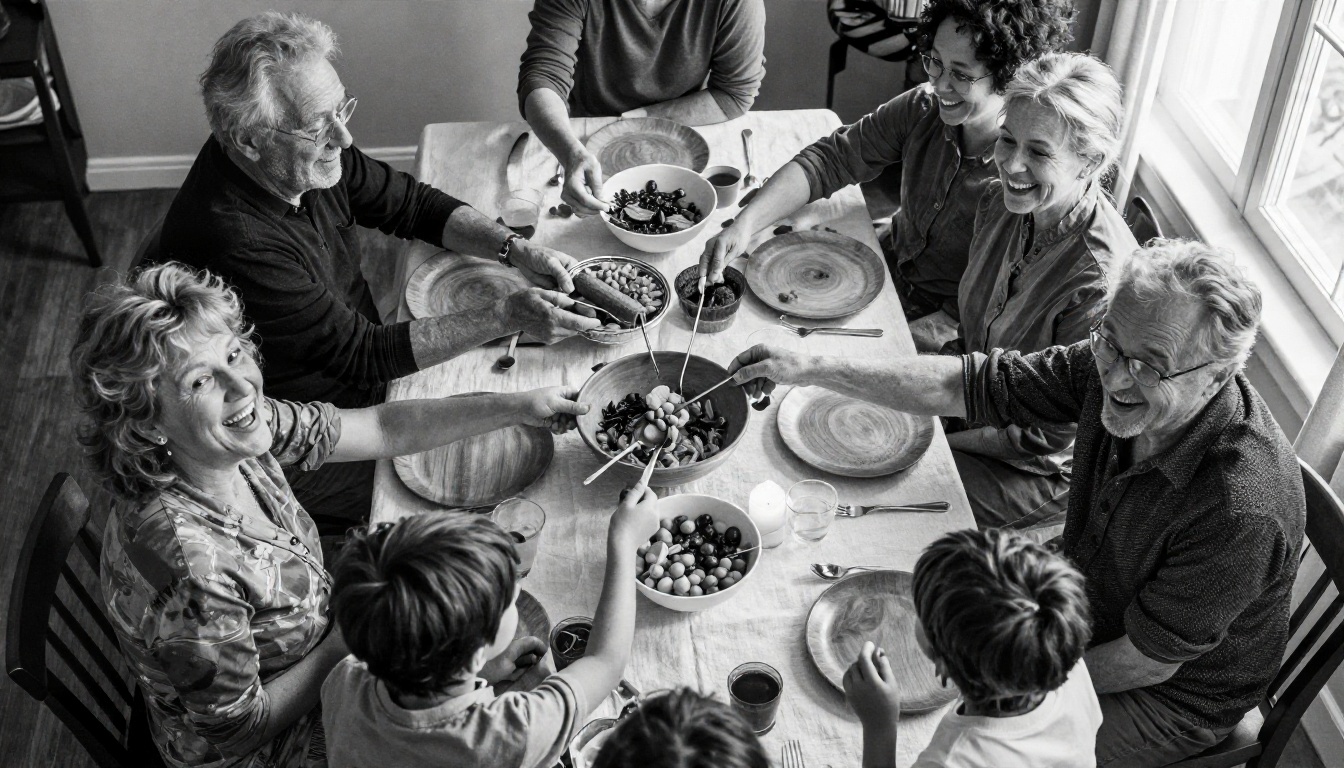
- Dinner table: overhead view of a busy meal, hands reaching, candles, linen texture.
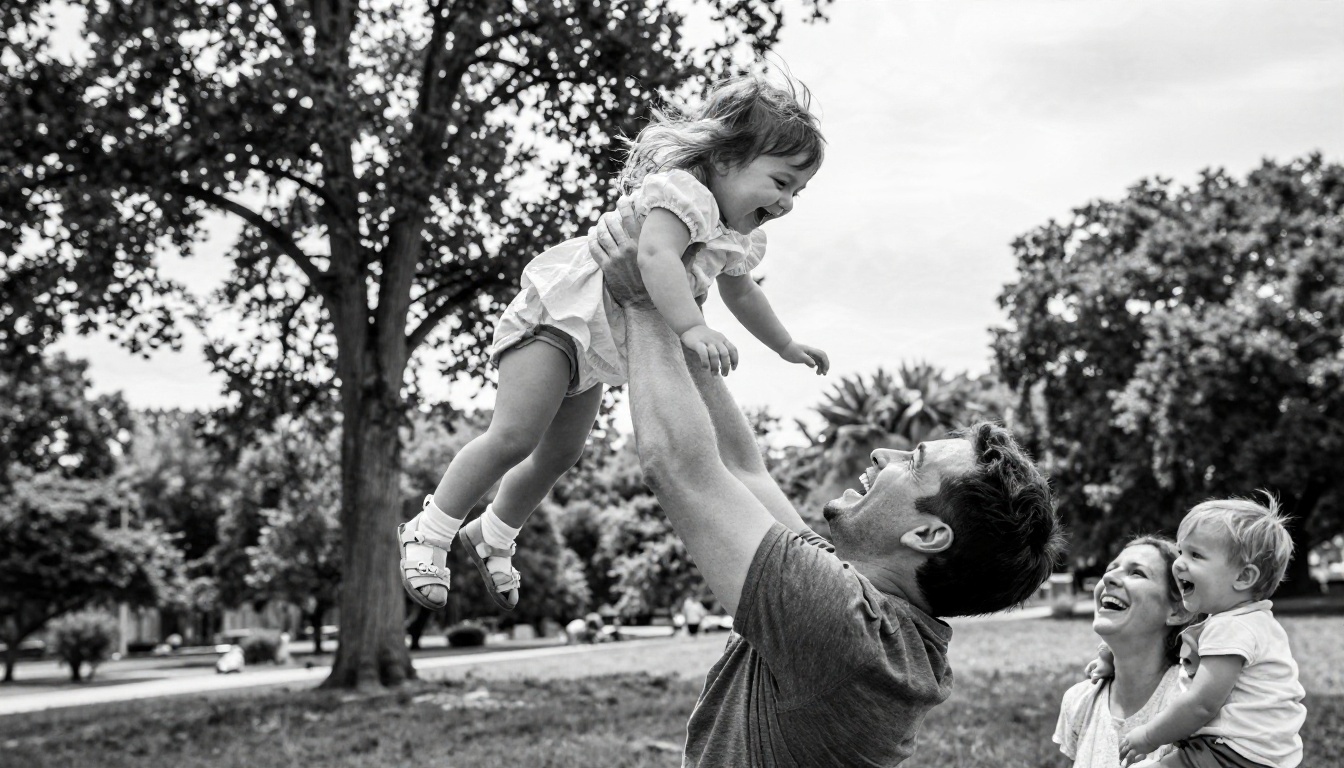
- Park play: father lifting a daughter overhead, low angle, dappled sun.
- Church steps: extended family of twelve after a wedding, overcast light, stone texture.
- Bedtime story: parent reading to two children under a blanket, lamp light, shallow depth of field.
- Road trip: family leaning on a vintage car at a roadside stop, hard midday sun, strong shadows.
Words That Improve Results
| Add this | What it does |
|---|
| Kodak Tri-X 400, fine grain | Gives authentic film texture and punchy contrast |
| Rembrandt lighting, softbox camera right | Creates sculpted faces with a soft triangle on the cheek |
| 85mm f/1.8, shallow depth of field | Separates the family from the background |
| visible skin texture, flyaway hair strands | Stops the waxy, overly smooth look |
| candid, unposed, mid laugh | Avoids stiff mannequin poses |
💡 Tip: Say "black and white" early in the prompt and describe light in terms of brightness and shadow, not color. Mentioning a red dress or blue eyes can confuse the tonal result.
Using an AI Editor on Real Photos
Most people searching this topic already have photos. They want an editor that respects the faces in them.
Convert Without the Flat Look
A basic grayscale filter only drops saturation, so reds and greens end up as the same muddy gray. A smarter edit remaps tones the way a black filter on a film camera would. Ask for the result in plain language: "Convert to black and white with rich contrast, deep blacks, bright highlights, keep skin texture and film grain."
Fix the Small Stuff
An editor can also handle the things that bother you in the original:
- Remove a stray object or bag from behind your sister's head.
- Even out harsh midday shadows on faces.
- Straighten a tilted horizon on a beach shot.
- Blur a busy background so the family stands out. The Depth of Field tool does this well.
- Clean distracting signs or writing with Text Removal.
Keep Faces Recognizable
The biggest risk with any edit is drift: the face slowly becomes someone else. Three habits help:
- Change one thing per edit, not five.
- Use a high quality, well lit source photo.
- Compare the result against the original at 100 percent zoom, looking at the eyes and mouth.
If a face does drift, go back one step and rephrase the instruction instead of stacking more edits on top.
How to Use Nano Banana on PicassoIA
For the edit-and-generate workflow, Nano Banana is a practical pick because it accepts both text and an input photo. Here is a simple routine.
Step by Step
- Open the model page and choose the image input if you want to convert an existing photo, or leave it empty to start from text.
- Upload your source photo if you are editing. A sharp, front lit image works best.
- Write the instruction. For conversion: "Convert this family photo to black and white, rich contrast, deep blacks, soft film grain, keep every face unchanged." For a new scene, paste one of the starter prompts above.
- Pick a 16:9 or 3:2 ratio for landscape group shots, or 4:5 for a framed print.
- Generate, then compare. Create two or three versions and pick the one where the eyes look the most natural.
- Upscale if needed. Run the final through Real ESRGAN for a sharper print size.
💡 If the first result looks too smooth, add "visible skin pores, fabric weave, fine grain" and run it again.
Other Models Worth a Try
Restoring Old Family Photos
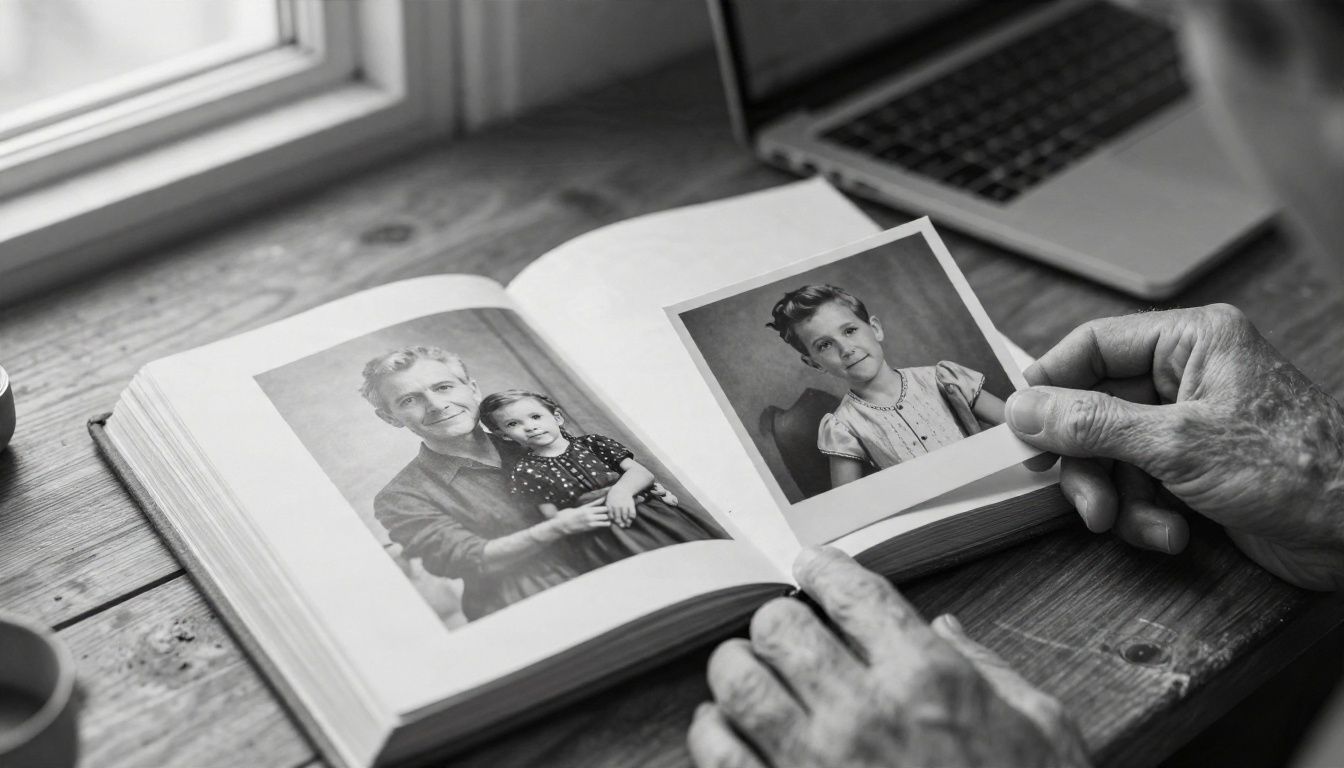
This is the part that makes people emotional. A cracked print of a great grandmother becomes sharp enough to frame.
The Four Step Workflow
- Scan at high resolution. Use at least 600 dpi for small prints. Avoid phone shots with glare.
- Repair the damage. Ask an editor to fix scratches, stains, and fold lines while preserving the original faces.
- Rebalance the tones. Faded prints are usually missing deep blacks. Request more contrast and clean highlights.
- Upscale. Real ESRGAN or a similar super resolution model adds usable pixels for printing.
Keep the Original Safe
Always keep the untouched scan. AI restoration can guess at missing details, and you may want to compare later. Save the restored version as a separate file.
Know the Limits
If half a face is missing, the model will invent the rest. That can be fine for a keepsake, but it is no longer a record of what that person looked like. Note it in the file name so nobody mistakes it for the original.
Free Ways to Try It Today
You do not need to spend money to test the idea. Here is an honest breakdown.
| Option | What you get | Watch out for |
|---|
| Free model tiers on PicassoIA | Several image models list free usage on their pages, including Nano Banana Pro and Flux 2 Klein | Daily limits can apply |
| Free upscaling | Real ESRGAN for 4x upscaling of finished images | Very damaged photos need repair first |
| Phone photo apps | Basic grayscale and contrast sliders | No real tonal remapping, no repair |
| Free trials of paid editors | Full tools for a short period | Watermarks and export limits |
Make Free Credits Last
- Test your prompt at a low resolution first, then upscale only the winner.
- Write a detailed prompt once and reuse it, changing only the subject.
- Generate in batches of two or three, not ten.
- Keep a note of prompts that worked so you do not repeat the experiments.
When Paying Makes Sense
If you are printing wall art, making a photo book, or restoring dozens of prints, a paid plan with more generations saves time. For a single holiday card, free is enough.
Common Mistakes to Avoid
Most disappointing results trace back to the same handful of errors.
Over Smooth Skin
When the output looks like porcelain, the prompt lacked texture words. Add pores, wrinkles, freckles, and fabric weave. Grain also helps, because it gives the eye something to hold on to.
Stiff Poses
"Family smiling at camera" produces a row of mannequins. Describe an action instead: laughing at a joke, reaching for a plate, chasing a toddler. Candid scenes read as more real.
Too Many People
Large groups raise the risk of merged hands and extra fingers. If you need twelve people, keep the pose simple, put them on steps or in rows, and generate several versions.
Wrong Contrast
Crushed blacks hide faces. Washed out grays feel lifeless. Ask for "wide tonal range, detailed shadows, bright but not blown highlights."
Ignoring the Edges
Check hands, jewelry, glasses, and the background text. These are the usual places where an AI image gives itself away.
Real Uses for Your Results
Once you have a set of strong images, there is plenty to do with them.
- Wall art: a large monochrome group portrait goes with nearly any decor.
- Holiday cards: a simple black and white family scene looks more refined than a color snapshot.
- Photo books: matching tones across years of mixed photos make a book feel cohesive.
- Memorial tributes: restored portraits for a service or a family tree.
- Gifts: a framed heirloom print for grandparents lands better than most store bought presents.
Be Honest About Origin
If you generate a scene that never happened, say so when you share it, especially with older relatives. A fictional porch portrait is a lovely piece of art, but it should not end up in the family archive labeled as a real event.
A Note on Privacy
Be thoughtful about uploading photos of children and relatives. Use tools you trust, and check what each service says about stored images before you upload anything personal.
Try Your Own Family Portrait
The fastest way to see what this can do is to make one. Pick a single moment from your family: the Sunday table, the beach trip, the way your dad holds the baby. Write it as a photographer would, with light, lens, and a candid action, and add "black and white, Tri-X grain" at the end.
Then open Picasso IA and run it through two or three models side by side. Try Seedream 4.5 for skin and fabric, Nano Banana for editing a photo you already own, and Real ESRGAN to sharpen the winner for print. Keep the prompts that work, adjust the ones that do not, and build a small set of monochrome portraits your family will actually want on the wall.