It is the first week of November, and the same thing happens every year: you want a Christmas card photo, but nobody is free to stand in front of a tree, the living room looks nothing like a magazine spread, and the photographer wants a deposit. An AI Christmas photo generator fixes most of that in a few minutes. You describe a scene, or upload a picture you already have, and you get back a festive image that looks like it was shot on a real camera.
The catch is that "free" means very different things depending on the tool. Some give you a handful of credits and a watermark. Some cap your resolution so your card looks soft in print. Others lock the editor behind a paid tier the moment you try to fix a hand or swap a background. This article breaks down what you can realistically get from an AI Christmas photo generator online free of charge, which editor tools matter, and where the limits hit.
💡 Quick answer: For fresh scenes, use a text to image model. For existing family photos, use an editor that can remove backgrounds, repaint small areas and upscale. Check export size and watermark rules before you invest an hour in a design.
What a Christmas Photo Generator Does
A Christmas photo generator is not one tool. It is a bundle of three jobs that people lump together:
- Scene creation: you type a prompt and the model paints a whole new photo, such as a fireplace, a tree, a snowy street.
- Background swap: you keep your real subject and replace what is behind them.
- Touch up and finish: you remove clutter, fix details, upscale for print.
Most free sites advertise the first job and quietly limit the other two. Knowing which job you actually need saves a lot of wasted credits.
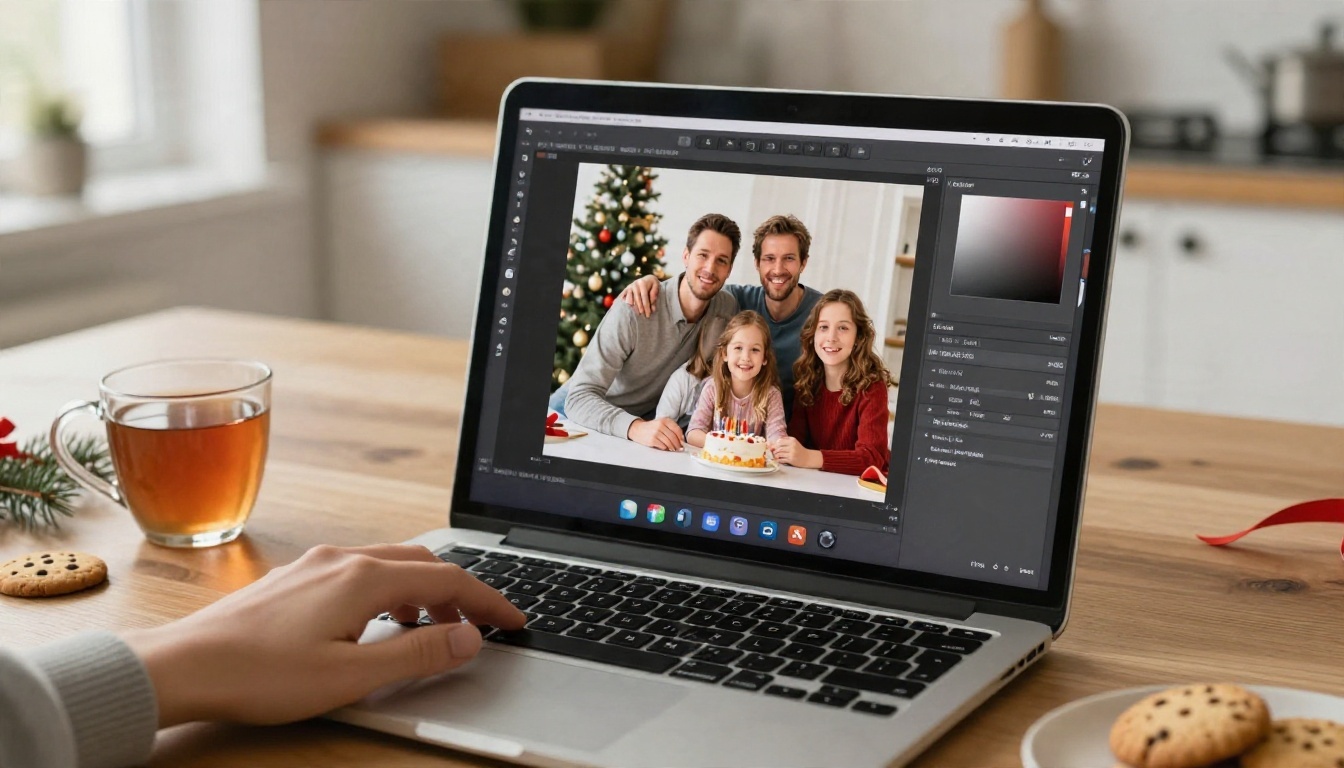
Text to image versus photo editing
Text to image starts from nothing. It is perfect for a card background, a social post, a shop banner or a mood board. Models such as Seedream 4.5 and Nano Banana Pro handle lighting, fabric and skin well, so a prompt that names the lens, the light direction and the materials usually produces something believable.
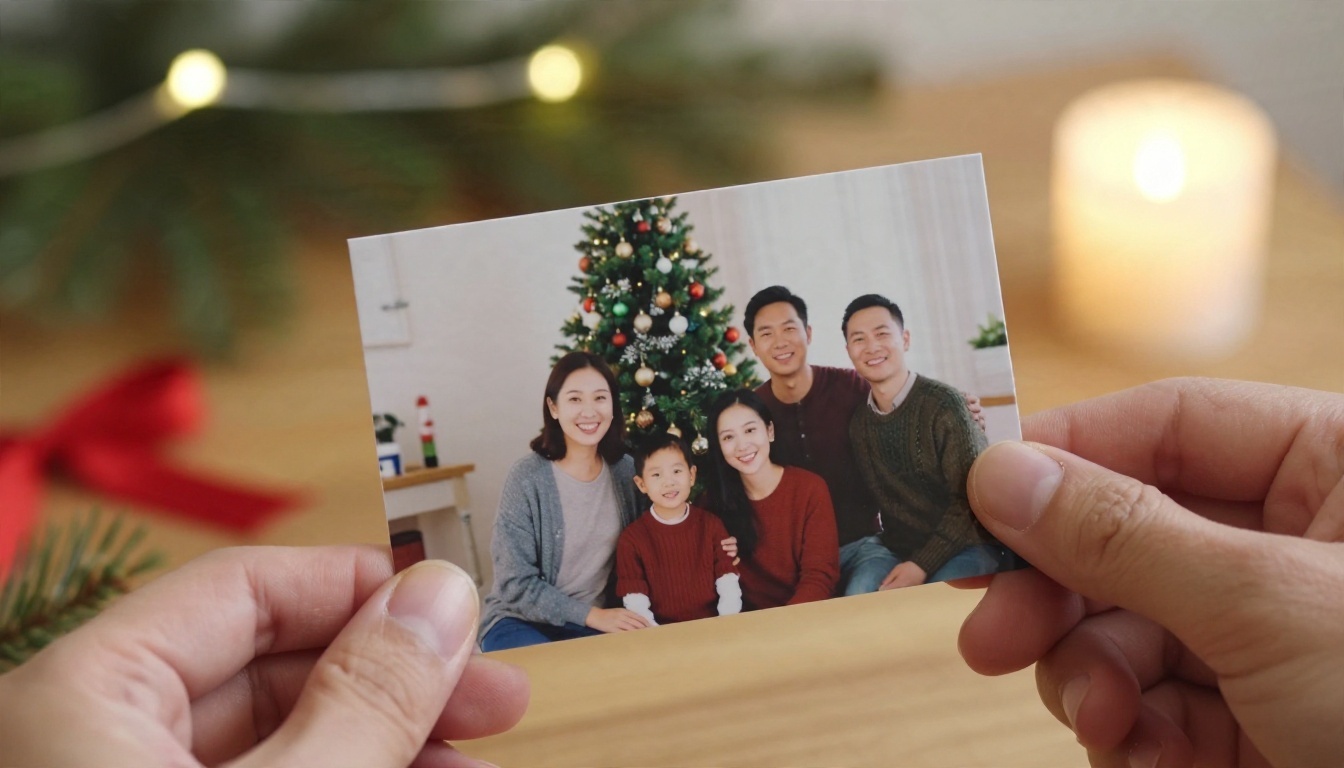
Photo editing starts from your picture. The goal is to keep the real faces and change the surroundings. It is the better choice for a family card, because nobody wants a stranger's face on their holiday greeting.
Who actually uses these tools
The audience is wider than you might think:
| Who | What they make | What matters most |
|---|
| Parents | Family cards, pajama photo scenes | Faces that stay recognizable |
| Small shops | Window displays, sale banners | Clean space for text overlay |
| Social creators | Holiday posts, profile pictures | Fast turnaround, vertical crops |
| Remote teams | Greeting images for colleagues | No watermark |
| Pet owners | Dog and cat Christmas portraits | Fur detail, natural pose |
Free Christmas Backgrounds That Look Real
Backgrounds are where AI shines, and also where it gives itself away. A fake background looks fake for three reasons: the light direction is wrong, the depth of field is wrong, or everything is too clean.
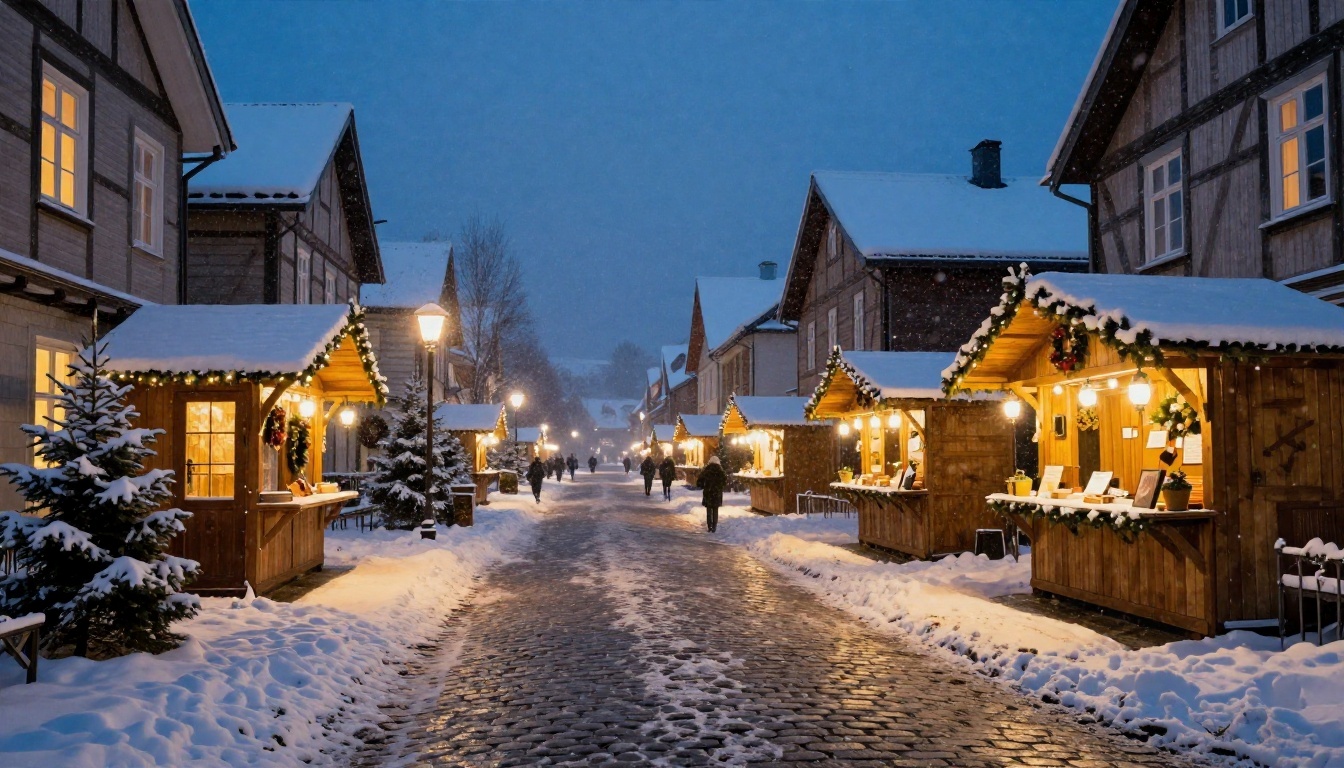
Pick a scene that fits the light
Before you write a prompt, look at the photo you plan to place in it. If your subject is lit from the left by a window, a background with a sun low on the right will look wrong. Match these three things:
- Light direction: warm firelight from one side, cool window light from the other.
- Time of day: golden hour, blue hour or a cloudy afternoon.
- Lens feel: a portrait taken at 85mm has a blurry background, so your scene should be blurry too.
Backgrounds that work reliably include a fireplace with stockings, a decorated tree with amber string lights, a snowy street, a pine forest at dusk and a cozy kitchen with baking on the counter.
Prompts that work for backgrounds
Short prompts give generic results. Longer prompts with physical detail give photos. Compare these two:
- Weak: "Christmas background with tree."
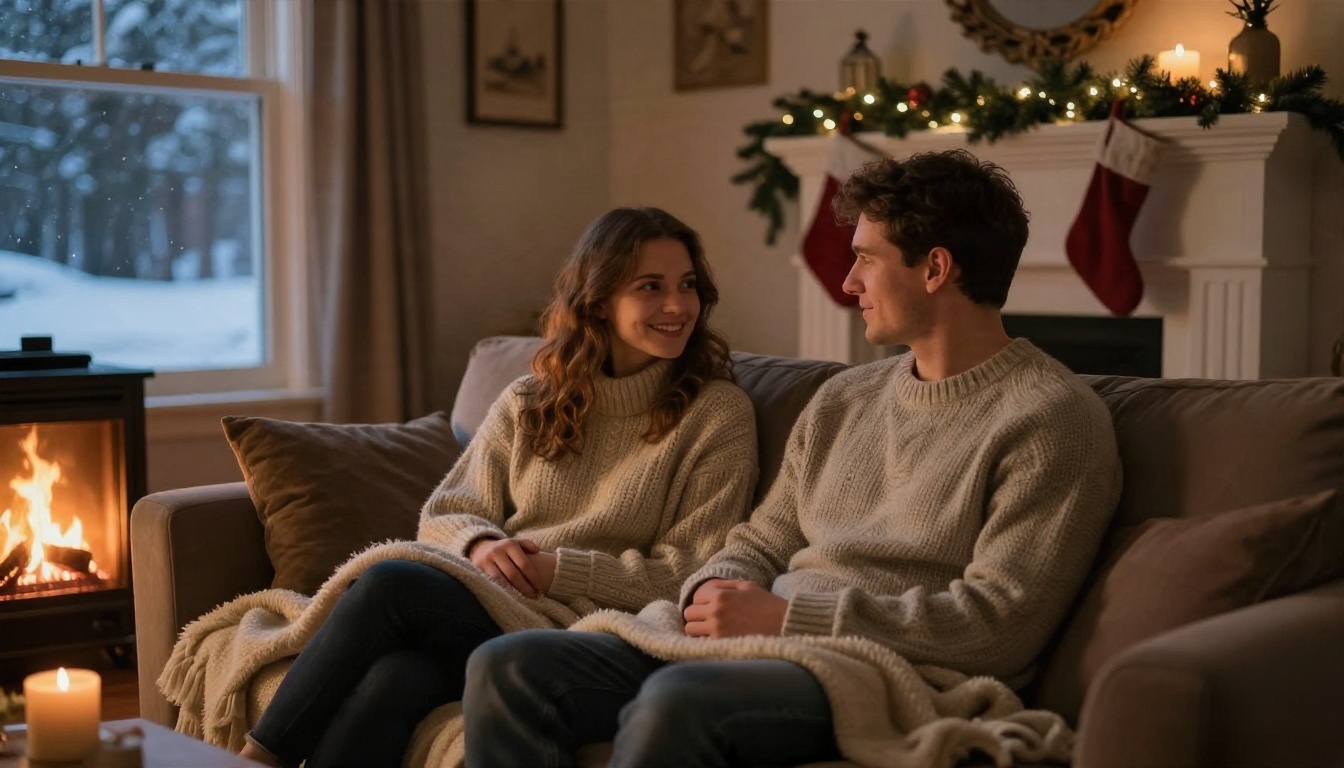
- Strong: "Empty living room on Christmas Eve, real fir tree with amber string lights and matte red baubles, stone fireplace with a lit log fire on the left, soft snow outside the window, 50mm lens, shallow depth of field, film grain, Kodak Portra 400 look."
Notice that the strong version mentions materials (stone, fir, glass), a light source and a camera. That is what pushes a model toward photography instead of illustration.
💡 Tip: Add the words "empty space on the right" when you plan to put a name or greeting on the card. It keeps the model from filling the area you want clear.
Keep the subject, swap the setting
When you swap a background behind a real person, the edges are what betray you. Hair, scarves and knitwear need a clean cutout. That is where a dedicated tool like Remove Background earns its place, and Recraft Remove Background is a solid second option if the first cutout leaves a halo around fine hair.
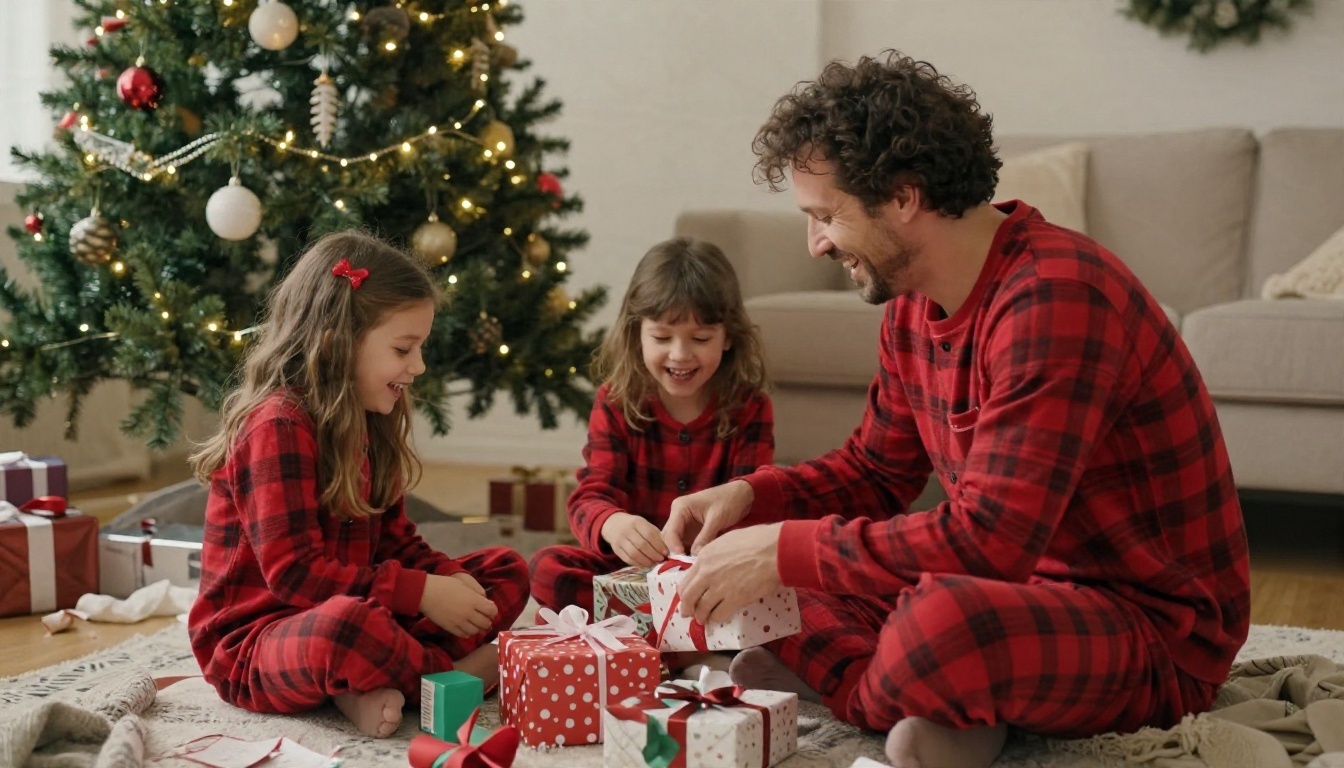
A generator that only outputs a single image is a toy. The useful ones let you fix things after the first result, because the first result is rarely perfect.
Background removal for clean cutouts
Cutting out a subject lets you drop them on any scene, build a collage or make a transparent sticker. Check these before trusting the result:
- Zoom in to 200 percent on hair and glasses.
- Look for leftover color fringes from the old background.
- Test the cutout on both a dark and a light scene.
For products, Product Cutout works well for gift items and shop goods that need a crisp edge.
Inpainting to fix small problems
Inpainting means repainting only a selected area. It is the tool you reach for when the tree has a strange branch, a baby has an extra finger, or a stray cable sits in the corner of the room. Instead of regenerating the entire picture and losing what you liked, you fix the single problem. Nano Banana is handy here because you can describe the edit in plain language, such as "remove the lamp on the left" or "make the sweater dark green."
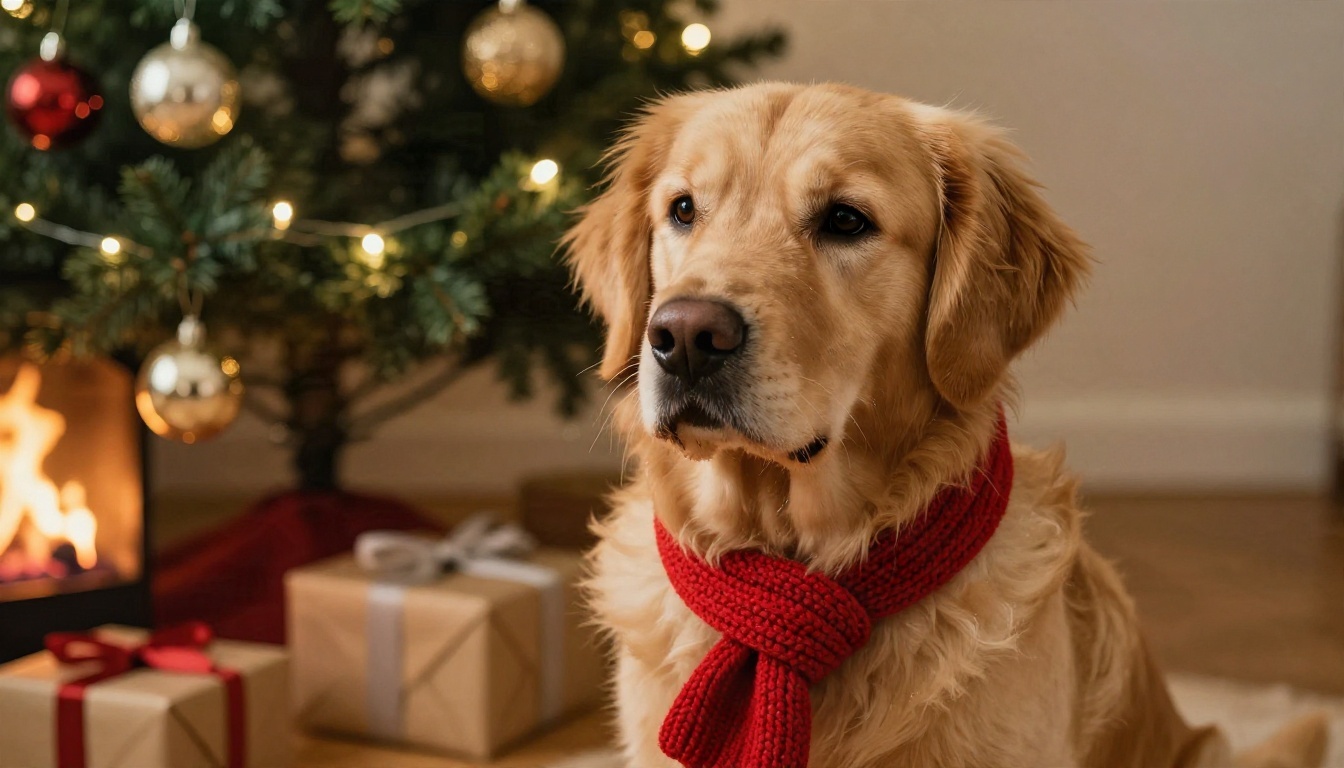
Upscaling for print
Most free generators export around 1024 pixels on the long side, and a few cap you at about 2000. That is fine for a phone screen. It is not fine for a 5x7 inch card, which needs roughly 1500 by 2100 pixels at a decent print density, or a poster. Real ESRGAN upscales images up to 4x and sharpens fabric and snow texture without making the picture look plastic. Run it last, after every edit is finished, so you only pay the cost once.
| Print size | Minimum pixels (approx.) | Upscale needed from 1024 px |
|---|
| Phone wallpaper | 1080 x 2400 | Usually none |
| 5x7 card | 1500 x 2100 | About 2x |
| 8x10 print | 2400 x 3000 | About 3x |
| 16x20 poster | 4800 x 6000 | 4x or more |
Marketing pages for free Christmas generators tend to share the same pattern: a big "free" button, then a small print section. From what I found checking a range of popular options, the published limits are inconsistent, and several tools do not state them clearly at all.
Credits, watermarks, resolution caps
Here is what you tend to run into, and how to spot it fast:
- Daily or monthly credits. Some tools give a small free allowance, such as a limited number of credits for a free account, while others list a single free photo per day. Policies change often, so read the pricing page the same day you plan to use the tool.
- Watermarks. A few services say clean downloads are only available in the mobile app, or only on a paid plan.
- Resolution caps. One well-known creative suite limits downloads to 2000 by 2000 pixels. That is enough for social media and a small print.
- Locked editors. Generating is free, but background swap, object removal or upscaling sits behind a subscription.
- Account walls. You must sign up and sometimes verify an email before the first download.
💡 Rule of thumb: If a site does not tell you its free limits before you sign up, assume they are tight and test with one image before building a whole project.
Face and likeness problems
Free tools are also weaker at keeping a person recognizable. Faces drift, teeth look too even, and children can end up looking a few years older. Two habits help:
- Edit your real photo instead of regenerating a person from a description.
- Keep the face area untouched and only change the surroundings and clothes.
Rather than rank brands, it is more useful to compare the kinds of tool you will meet.
| Tool type | Typical free offer | Strength | Weak spot |
|---|
| One click holiday filter | A few photos per day | Fast, zero prompting | Same look every time |
| Template card maker | Free export with watermark | Layout and text built in | Generic, little control |
| Prompt based generator | Small credit pack | Unique scenes | Credits vanish on retries |
| Full image editor with models | Free tier or unlimited plan | Edit, cut out, upscale in one place | Takes a little practice |
If you only need one quick profile picture, a filter will do. If you want a card that does not look like everyone else's, you need a prompt based model plus an editor.
How to Use Image Editor Pro on PicassoIA
If you want generation and editing in the same place, PicassoIA Image Editor Pro is built for that. It runs online in your browser and is positioned around unlimited generations, which matters during the holidays when you will retry the same scene many times to get a good one.
Step by step
- Open the model page and choose Image Editor Pro from the text to image collection.
- Upload your photo if you are editing, or leave the image field empty if you are creating a scene from scratch.
- Write a physical prompt. Name the room, the tree, the light direction and the lens. Example: "Cozy living room on Christmas Eve, real fir tree with amber lights, firelight from the left, blue window light from the right, 85mm lens, film grain."
- State what must stay the same. If you uploaded a family photo, write "keep faces and pose unchanged, only replace the background."
- Generate, then compare. Make three or four versions and pick the one where shadows land on the same side as your subject's light.
- Fix details with a second pass. Ask for one change at a time: "remove the cable on the floor," then "make the stockings red."
- Upscale last. Send the final pick to Real ESRGAN if you plan to print.
Which model for which job
💡 Tip: If text on the card comes out garbled, remove it from the prompt and add your greeting in a design app afterwards. Short English words work best when you do keep text inside the image.
Mistakes That Make Photos Look Fake
Even good models produce an obviously artificial result when the prompt or the workflow goes wrong. These are the patterns that show up most.
Too much glow and sparkle
Prompts such as "magical glowing Christmas" push the model toward fantasy. Real holiday photos have small warm points of light and soft bokeh, not beams and halos. Ask for "warm string lights, soft bokeh" instead.
Mismatched shadows and color
If your subject stands under cool daylight and the background is orange firelight, the picture will feel cut and pasted. Pick one dominant light source and let the second one be a faint accent.
Skipping texture
Smooth skin and flawless wool are a giveaway. Mention pores, knit fibers, pine needles, frost on a window, or a scuffed wooden floor. Little imperfections are what make a viewer believe the photo.
Ignoring the print test
Zoom to 100 percent before you send anything to a printer. Check hands, ornaments and edges. If the tree looks soft, upscale before printing, not after.
Small Business and Shop Uses
Holiday visuals are not only for families. A small shop can create a window display mockup, a banner or a product scene without hiring a stylist, and then test which version feels warmer before dressing the real window.
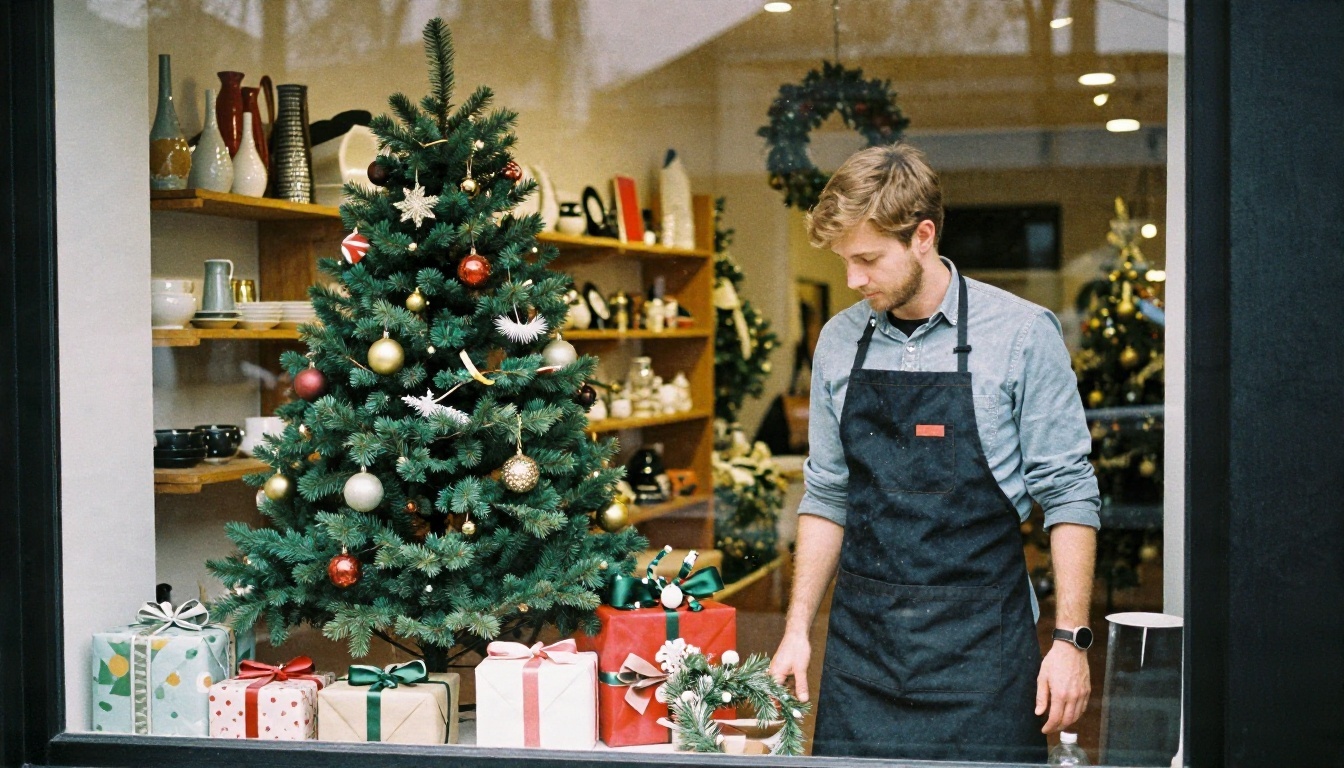
For gift photography, cut out the product, place it on a festive scene and keep the shadow soft and short so it sits believably on the surface. For banners, leave a calm area of the image empty so text stays legible on a phone.
Make Your Own Holiday Photos Today
You do not need to hire anyone or wait for a perfect afternoon. Pick one scene, write a prompt with real light and real materials, then refine it with a cutout, a quick fix and a final upscale. Start with PicassoIA Image Editor Pro if you want generation and editing in one place, try Seedream 4.5 for a sharp tree and fireplace scene, and keep Real ESRGAN ready for print day.
Try three different rooms, two different lighting moods and one dog photo, and see which feels like your family. When you want to try more options, browse every model at picassoia.com/en/all-models and build the Christmas card you actually wanted this year.


