You upload a single photo, wait a few seconds, and a new face appears that looks like it was shot by a real photographer. No studio, no retouching software, no invoice. That is what a modern AI face generator from photo promises, and in 2027 the best tools actually deliver it. The catch is that most free tools still produce waxy skin, dead eyes and strange teeth, and the difference between a believable result and an obvious fake comes down to a handful of choices you make before you click generate.
This article walks through those choices. You will see what these tools really do, how to prepare a source photo, which free models give the most realistic faces, and how to fix the usual problems. Everything here can be done online, in a browser, in a few minutes.
What an AI Face Generator Really Does
The phrase "face generator from photo" covers several different jobs, and picking the wrong one is the number one reason people get disappointing results.
Photo to face: three different jobs
Some tools recreate a face from your photo in a new setting. Others edit the face you already have. A third group invents a new person who only shares the mood or structure of your reference. Each one needs a different workflow.
| Job | What you upload | What you get | Best for |
|---|
| Recreate | One clear portrait | The same person in a new outfit, place or light | Headshots, profile photos |
| Edit | A photo you already like | Same shot with a changed hairstyle, age, background or expression | Quick fixes |
| Invent | A reference image plus a text prompt | A brand new, believable person | Characters, mockups, stock-style faces |
If you only want a polished version of yourself, you need the first or second job. If you need a face that belongs to nobody, you need the third.
Why "free" and "realistic" rarely arrive together
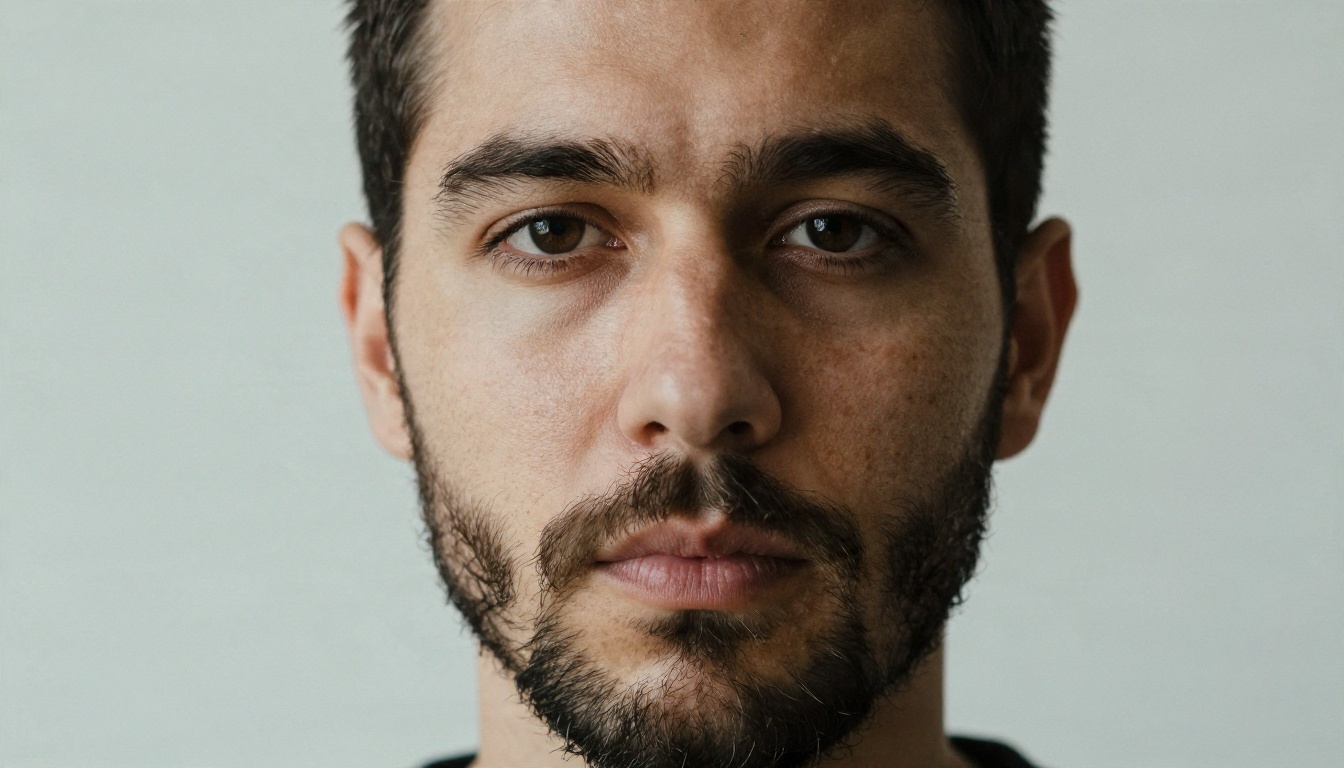
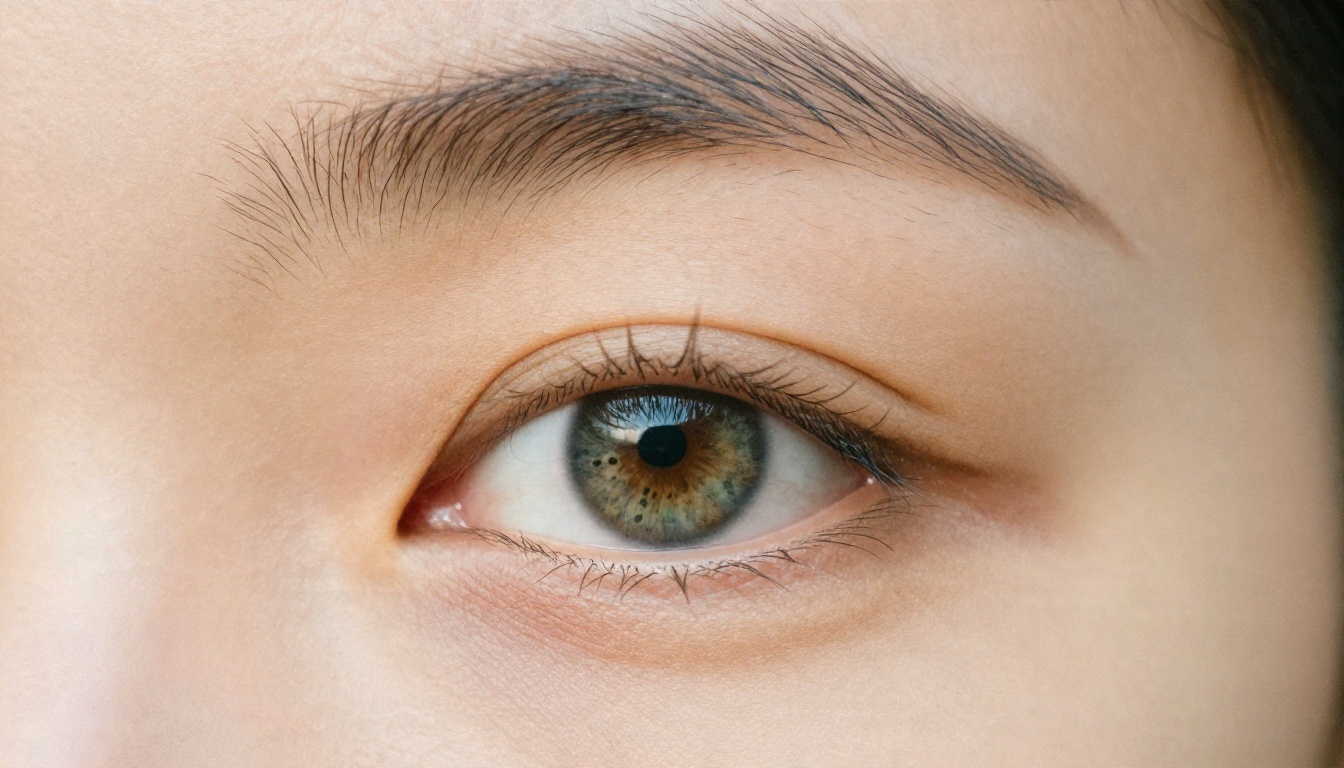
Many free web tools run small, fast models to keep their servers cheap. Small models smooth the skin to hide errors, which is exactly what makes a face look fake. Real skin has pores, tiny hairs, uneven color and small asymmetries. A model that cannot render those details will always look like a filter.
The good news is that several strong, photoreal models are now available at no cost on PicassoIA, so you do not have to trade quality for price.
💡 Quick test for realism: zoom into the cheek and the area under the eyes. If you see pores, faint color variation and a few stray hairs, the model is doing real work. If the skin looks like plastic, change the model before changing the prompt.
Pick the Right Source Photo
The input photo decides about 70 percent of the result. A model can only rebuild what it can see.
What makes a good input
A strong source photo is simple. Look for these qualities:
- Face fills a third of the frame or more, with both eyes visible.
- Even, soft light, such as a window on a cloudy day. Hard noon sun creates deep shadows that the model may copy as dirt or bruises.
- Neutral or slight smile. Extreme expressions are hard to carry into a new scene.
- Sharp focus on the eyes. Blur in the input becomes blur in every output.
- No heavy filters. Beauty modes already erase skin texture, and the model will treat that smoothness as the real face.
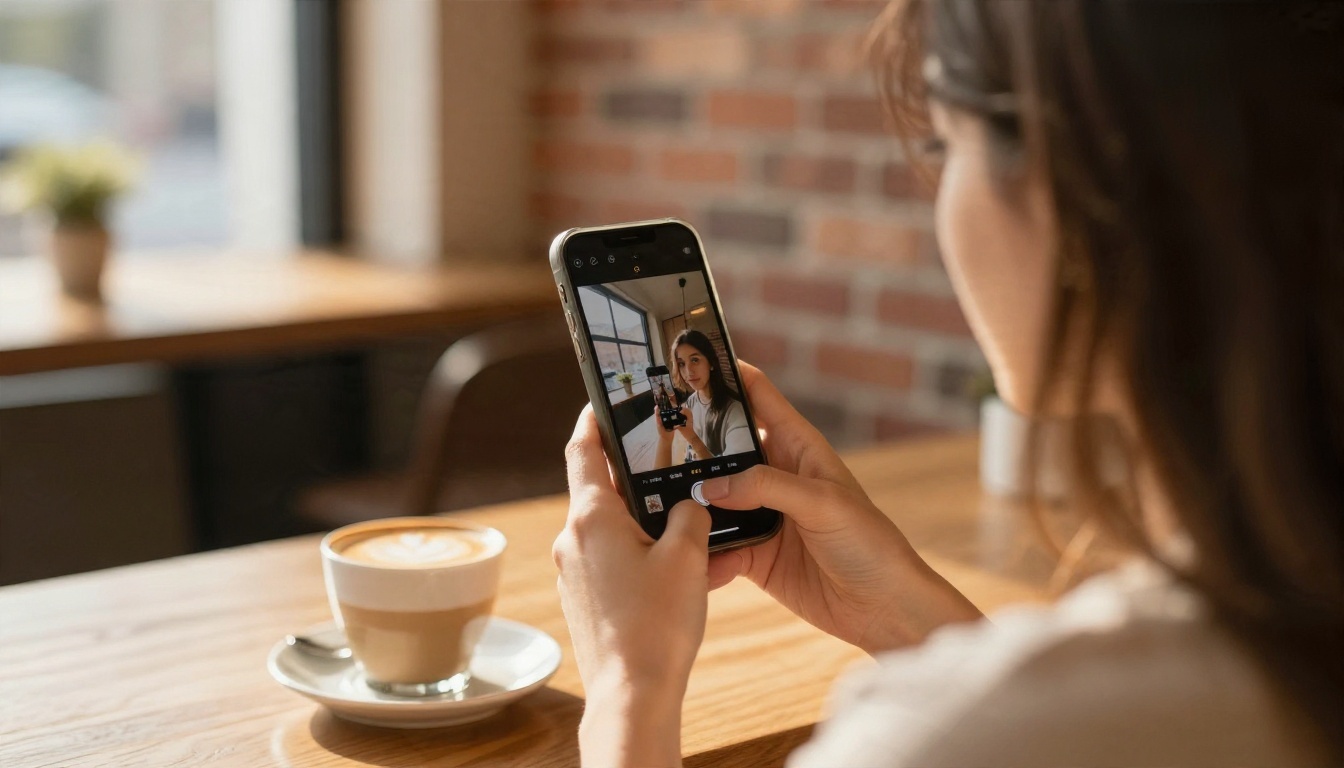
A phone selfie taken near a window is usually good enough. You do not need a professional camera.
Mistakes that wreck results
| Mistake | What happens | Fix |
|---|
| Sunglasses or a hat covering the brow | The model guesses the eyes and gets them wrong | Use a photo with the full upper face visible |
| Group photo cropped to one person | Low resolution, odd edges | Use a single-person original |
| Strong wide-angle selfie | Nose looks large, face looks stretched | Hold the phone at arm's length or use the rear camera |
| Heavy makeup or a filter | Skin detail disappears | Use a natural photo |
| Tiny, compressed image | Mushy details | Upload at least 1000 pixels on the short side |
💡 If your only good photo is small, run it through Real ESRGAN first. Upscaling the input 2x or 4x gives the generator more facial detail to work from.
You do not need ten tools. A short list covers nearly every case. Here is what each one does best.
Seedream 4.5 for photoreal faces
Seedream 4.5 is the first model to try when realism is the goal. It handles skin pores, hair strands and natural lighting well, and it can use a reference photo to keep the identity close to your original. It also outputs high resolution images, so you can crop in without losing detail.
PicassoIA Image Editor Pro for edits
PicassoIA Image Editor Pro is built for the "edit" job. Upload your photo and describe the change: a different outfit, a new background, a softer expression. It offers unlimited generations, which matters because the first result is rarely the best one. You can keep iterating until the face looks right without watching a credit counter.
Nano Banana and Nano Banana Pro
Nano Banana is excellent at keeping a face consistent across edits. If you want the same person in five different settings, this is a strong pick. Nano Banana Pro pushes the resolution to 4K and gives sharper eyes and hair. For quick tests, Nano Banana 2 Lite is faster.
Flux 2 Klein and Qwen Image 2512
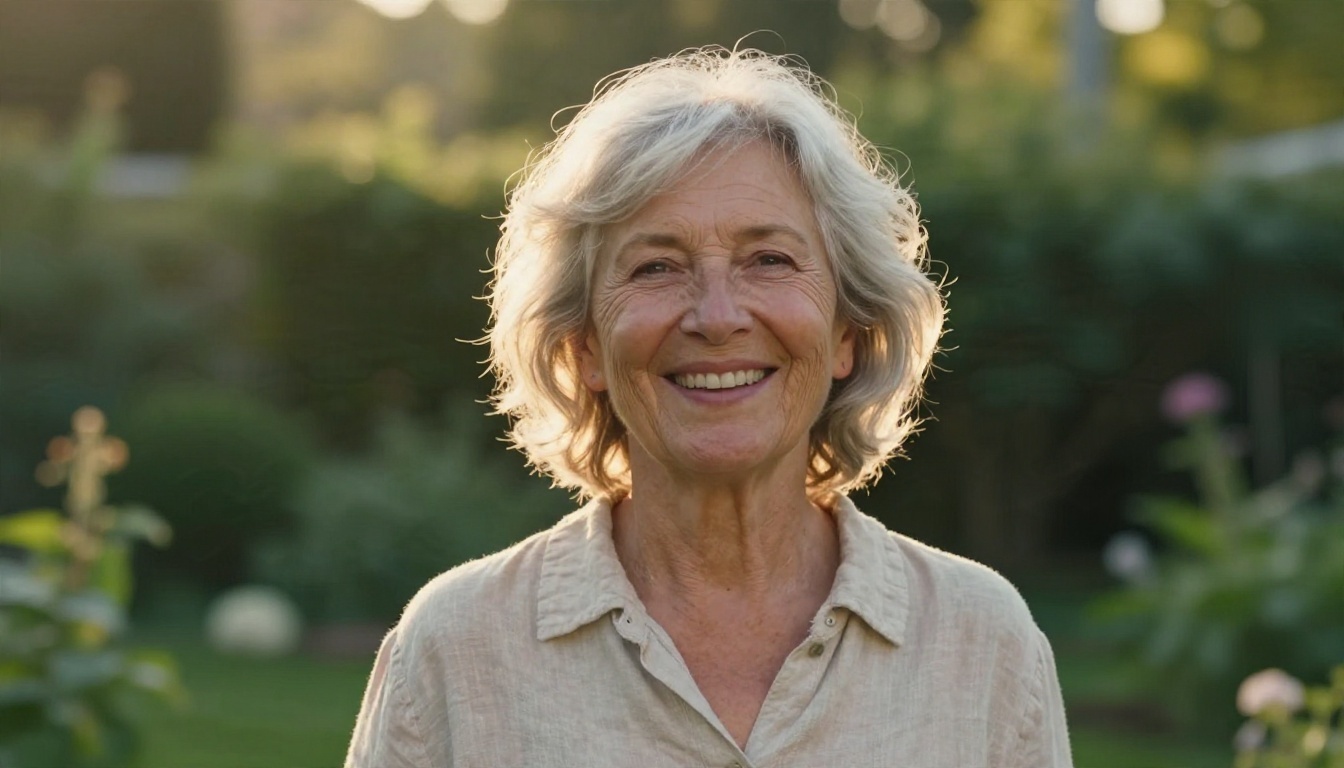
If you prefer a prompt-first approach, Flux 2 Klein 4B Base and Flux 2 Klein 9B Base LoRA generate clean, natural portraits from a text description. Qwen Image 2512 is known for realistic faces and readable text, which helps if your scene includes a sign or a badge.
Face To Many Kontext and AI Avatars
Face To Many Kontext takes one portrait and produces multiple stylized variations, useful for creative profile pictures. AI Avatars builds a set of avatars directly from your face photo. If you only need a hairstyle test, Change Haircut swaps styles on any photo without touching the rest of the face.
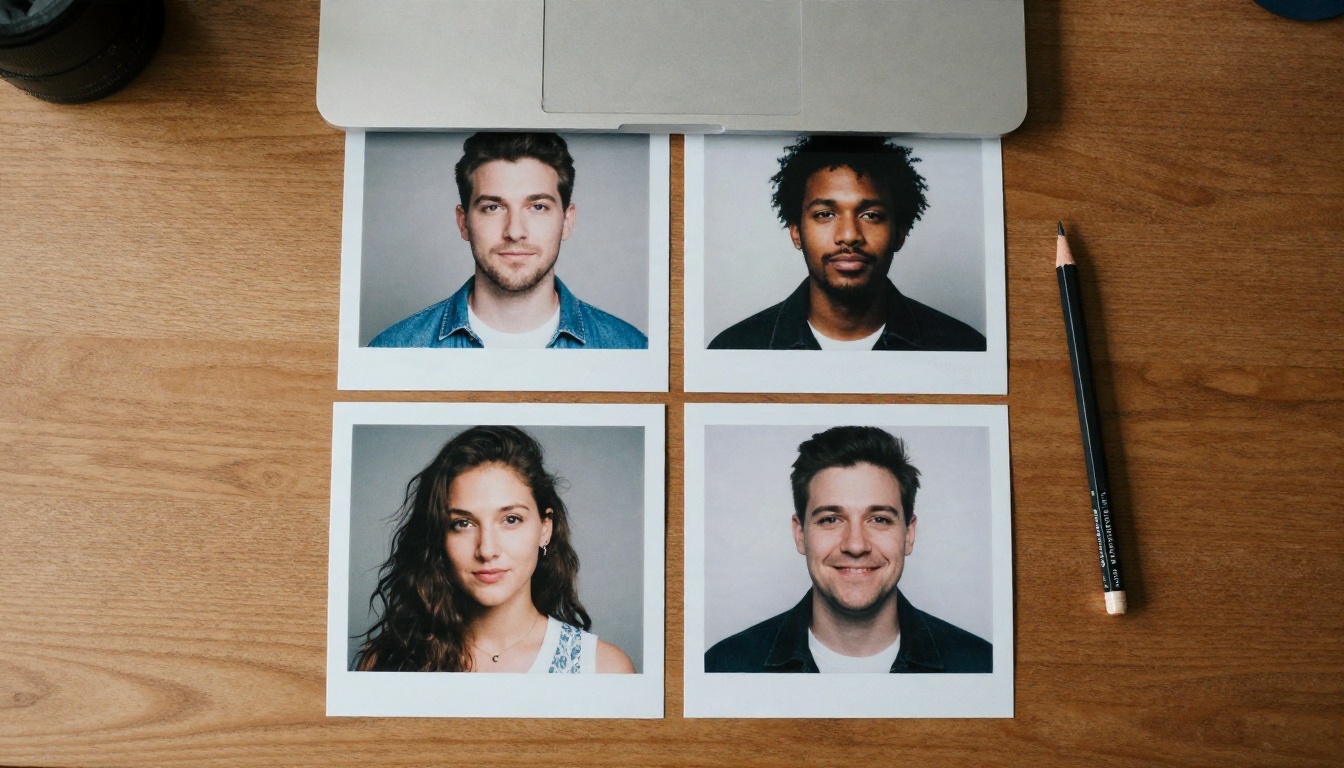
Here is a quick comparison:
How to Use Seedream 4.5 on PicassoIA
Seedream 4.5 is the best starting point for most people, so here is the exact workflow. The interface may show slightly different labels over time, but the logic stays the same.
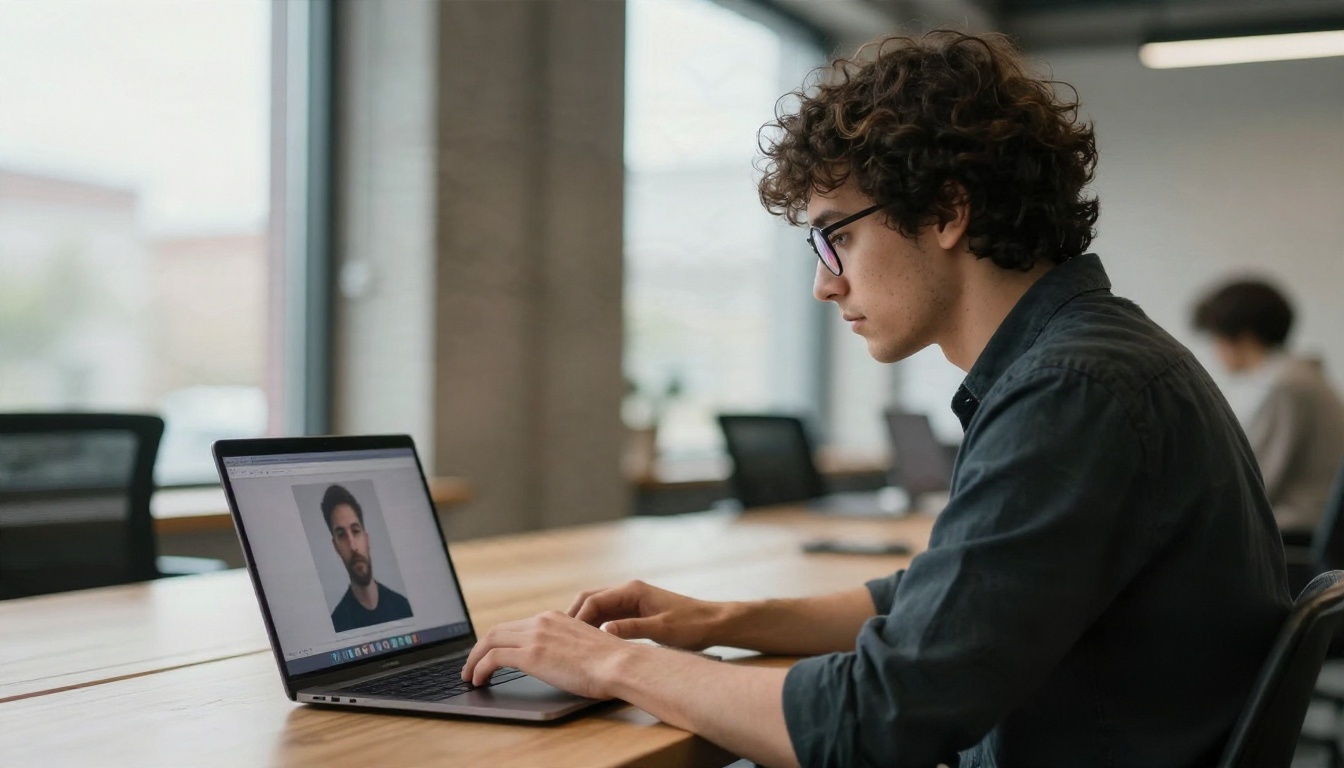
Step by step
- Open the model page. Go to Seedream 4.5 on PicassoIA and sign in. Everything runs in the browser, so there is nothing to install.
- Upload your reference photo. Use the image input and choose the portrait you prepared in the previous section.
- Write a short, concrete prompt. Describe the person, the place and the light. Example: "Same woman, wearing a navy blazer, standing in a bright office, soft window light from the left, 85mm lens, natural skin texture."
- Choose an aspect ratio. Use 16:9 for banners, 4:5 for social posts, 1:1 for avatars.
- Generate and compare. Run at least four variations. Pick the one where the eyes and mouth look most natural, not the one with the nicest background.
- Refine. Send your favorite to PicassoIA Image Editor Pro for small fixes such as a stray hair, a crooked collar or a different expression.
- Upscale if needed. For print or large screens, use Real ESRGAN.
Parameter tips
- Keep prompts under 60 words. Long prompts make the model drift away from your face.
- Name the lens. Words like "85mm f/1.8" push the model toward natural portrait proportions.
- Describe light, not mood. "Soft window light from the left" works better than "beautiful lighting."
- Change one thing at a time. If you change outfit, place and lighting together, you will not know which change caused a problem.
💡 Save the prompt and seed of any result you like. Reusing them with a small edit is the fastest way to build a consistent set of images.
Make Faces Look Real, Not Plastic
Even good models can slide into the plastic look. These habits keep your results believable.
Ask for imperfections
Real faces are not symmetrical or flawless. Add phrases such as "visible skin pores, light freckles, fine peach fuzz, slight asymmetry" to your prompt. They push the model away from airbrushed skin. Avoid words like "perfect," "flawless" and "beauty retouch," which have the opposite effect.
Use photographer language
Models trained on photographs respond to camera vocabulary. Compare these two prompts:
| Weak prompt | Strong prompt |
|---|
| "Pretty woman, nice light" | "Woman in her thirties, soft window light from the left, 85mm f/1.8, shallow depth of field, Kodak Portra 400 grain, natural skin texture" |
| "Handsome man outside" | "Man with short beard, overcast daylight, 50mm lens at eye level, fine film grain, visible stubble" |
The second version gives the model a physical setup to imitate, so the output feels photographed instead of drawn.
Check eyes, teeth and hands
These three areas reveal a fake first. Zoom to 200 percent and check:
- Eyes: both irises the same size, with a small catchlight in the same position in each.
- Teeth: individual, slightly uneven teeth, not one white strip.
- Ears and hairline: no melted edges where hair meets skin.
- Hands: if they appear, count the fingers.
If anything looks off, regenerate or use PicassoIA Image Editor Pro to fix just that area.
Where Generated Faces Get Used
Realistic generated faces are not only a novelty. People use them every day for practical work.
Professional headshots
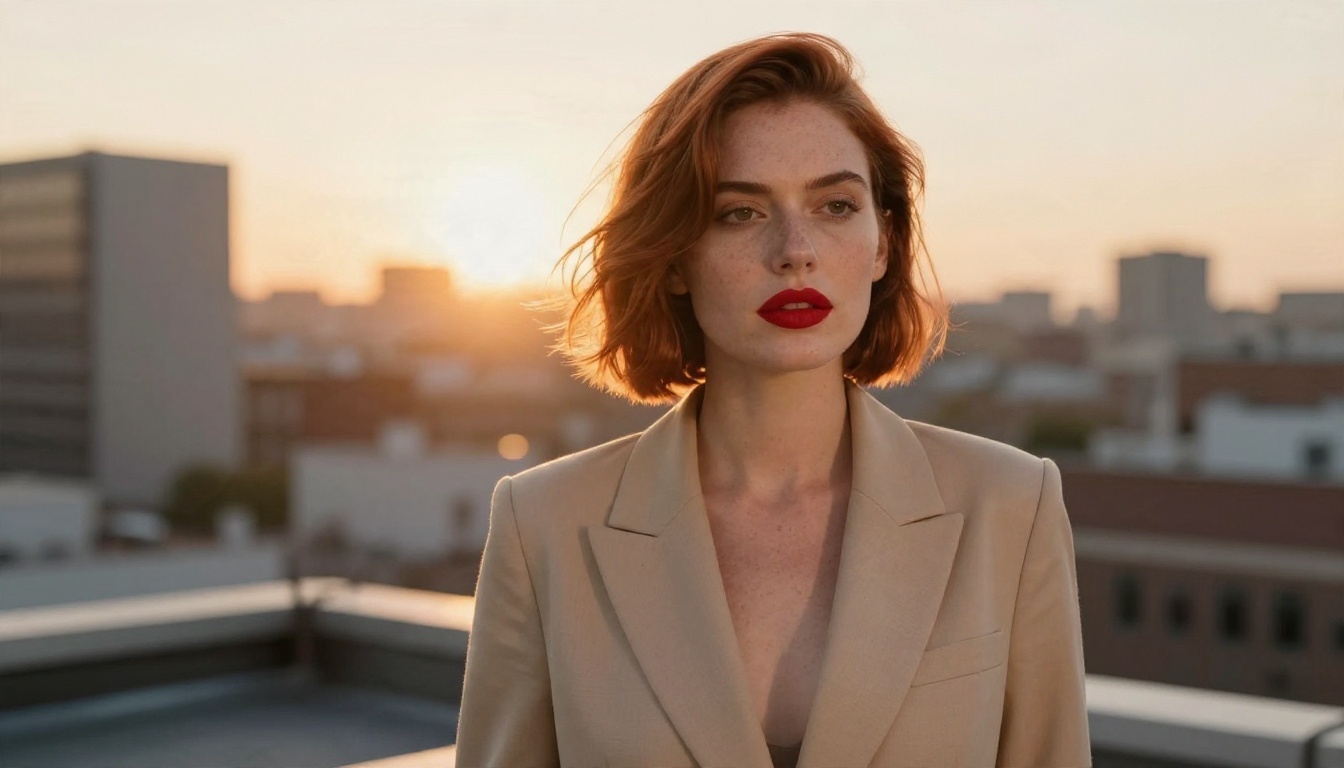
A clean headshot used to mean booking a photographer. Now you can upload a casual photo, ask for a blazer and a neutral office background, and get several options in minutes. Check the result against your real face. If a friend would not recognize you, tune the prompt or choose a different source photo.
Social profiles and lifestyle images
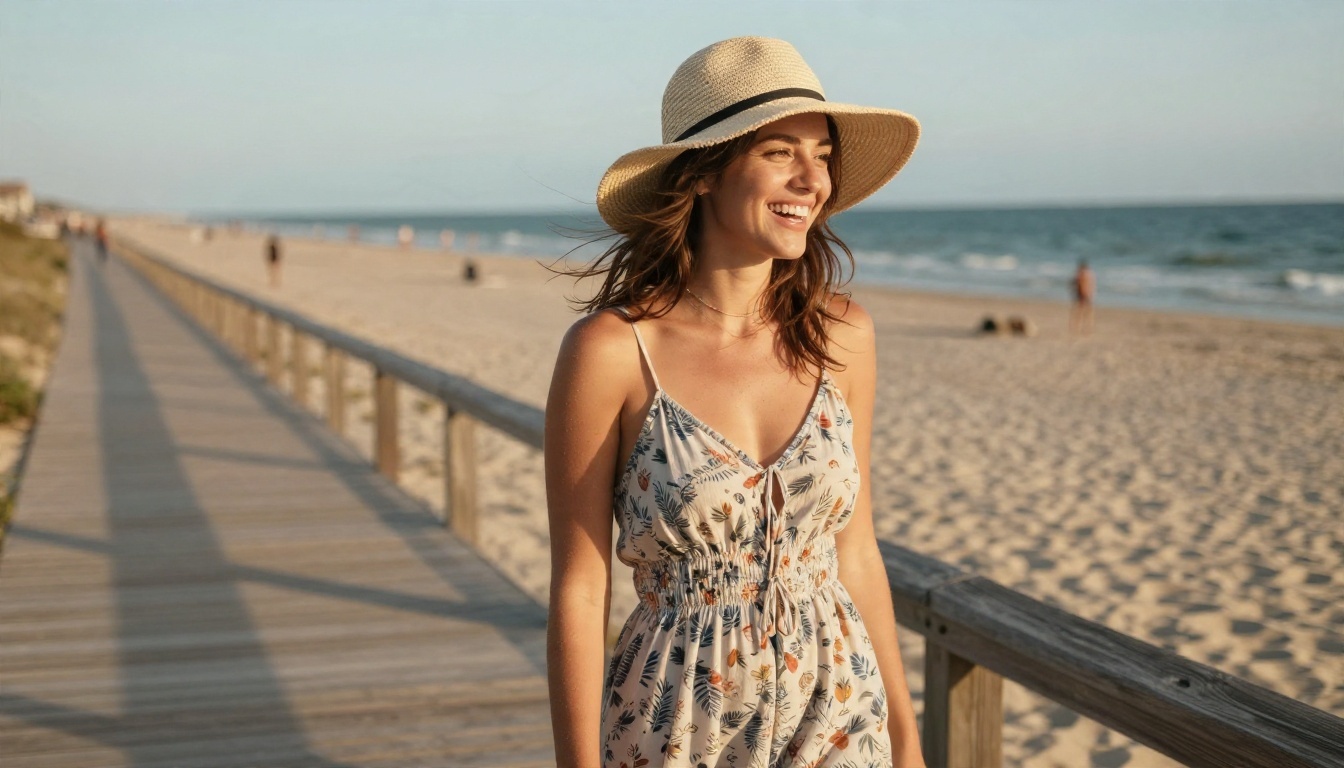
Travel, beach, cafe, gym: you can place yourself in a setting without leaving home. Keep the lighting in your prompt consistent with the original photo. A face lit from the left in the source and from the right in the output is a common giveaway.
Characters, mockups and creative projects
Designers, writers and game developers need faces that belong to no real person. Use a reference photo for pose and structure, then describe a different age, hair and style. The result is a believable face for a book cover mockup, a pitch deck or a character sheet, without licensing a stock photo.
Bring the face to life
Once you have a face you like, you can animate it. Kling Avatar v2 turns a still face into a talking video, which is useful for explainer clips and personal intros.
Consent and Honest Use
A realistic face tool is powerful, and that comes with a few simple rules.
- Only upload photos of yourself or of people who agreed. Never use a stranger's or an acquaintance's face without permission.
- Do not impersonate. Do not present a generated face as a real, specific person to deceive others.
- Label when it matters. For news, ads with testimonials, dating profiles or anything where trust is involved, say that the image is AI generated.
- Respect platform rules. Many networks now ask for a disclosure on synthetic images.
Following these rules protects the people in your photos and protects you if your images are ever questioned.
Fixing Common Problems
| Problem | Likely cause | Quick fix |
|---|
| Face does not look like me | Source photo too small or angled | Use a front-facing, sharp photo, and try Nano Banana Pro for identity |
| Skin looks waxy | Prompt has words like "perfect" or "flawless" | Replace with "visible pores, natural texture" |
| Eyes look dead | No light direction in prompt | Add "soft window light from the left, catchlights in the eyes" |
| Background feels fake | Prompt describes too many objects | Simplify to one or two elements |
| Output is blurry | Low-resolution source | Upscale with Real ESRGAN |
| Hair looks like a helmet | Generic hair description | Name the exact cut and texture: "wavy shoulder-length hair with flyaways" |
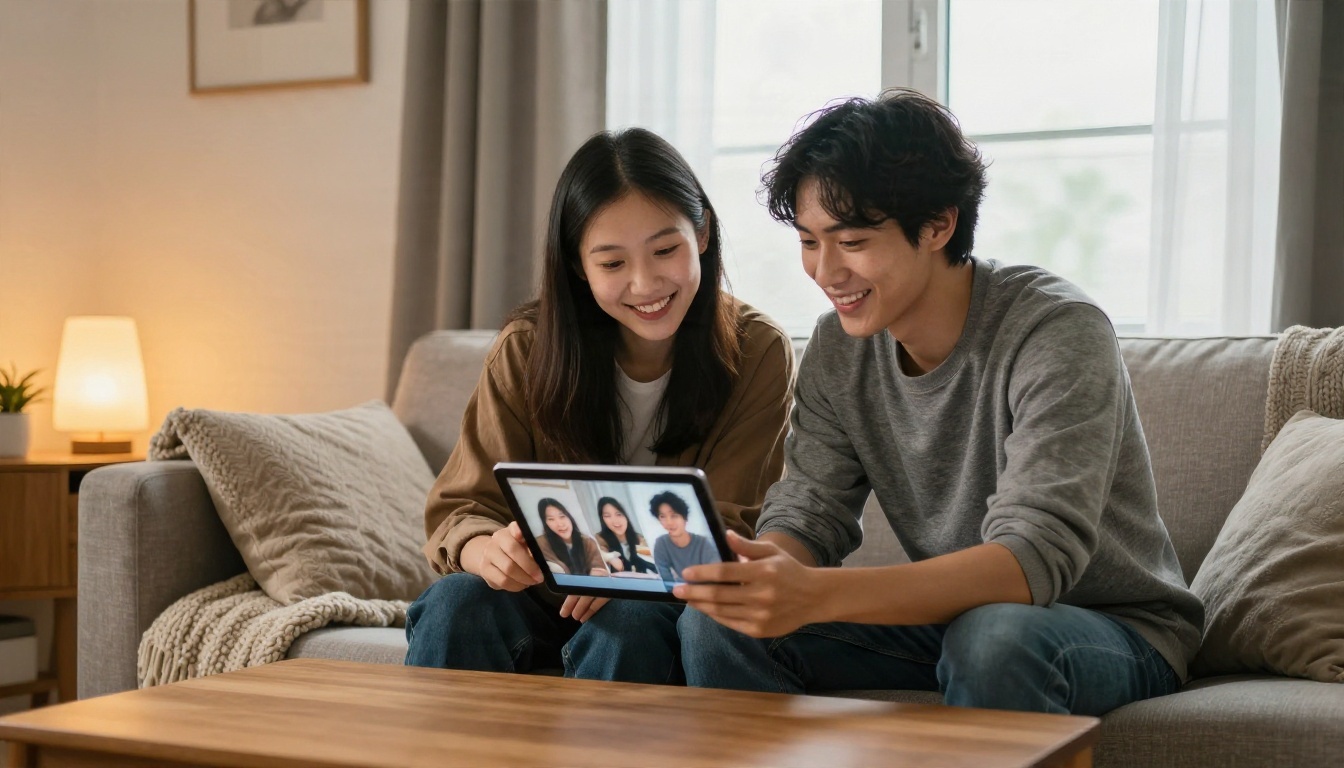
A final habit worth building: show your results to someone who has not seen the original. If they react to the person and not to the technology, the result works.
Try It With Your Own Photo
You now have everything you need: a clean source photo, a short list of strong free models, a prompt formula based on real camera language, and a checklist for spotting fakes. The only thing left is to run the experiment.
Pick one good portrait from your phone, open Seedream 4.5 on PicassoIA, and generate four variations. Then take your favorite into PicassoIA Image Editor Pro and adjust the details until it feels right. Try a second round with Nano Banana to see how consistent the same face can stay across different scenes. It takes about ten minutes, and you will quickly see which settings suit your face best.
Open PicassoIA, upload a photo, and make your first realistic face today.


