You have a photo you love. A selfie from a trip, a portrait of your partner, a picture of your dog mid-jump. Now imagine that same face drawn in crisp black ink, with screentone shading, sharp eyes and a speech bubble waiting to be filled. That is what an AI manga generator from photo does, and it takes less time than brewing a cup of tea.
The tools have also become much better at keeping a face recognizable. Early photo-to-comic filters just slapped an outline on your picture. Current image editing models read the structure of your face, your hairstyle and your pose, then redraw everything in a manga visual language. This article shows you which options are free and online, which settings change the result the most, and which prompts produce usable manga panels.
💡 Quick answer: upload a clear, front-facing photo, pick a photo-to-anime model such as Qwen Image Edit Plus LoRA Photo To Anime, then add a short prompt asking for black and white manga, screentone and clean line art. Adjust, regenerate, and keep the best frame.
What Photo to Manga Really Means
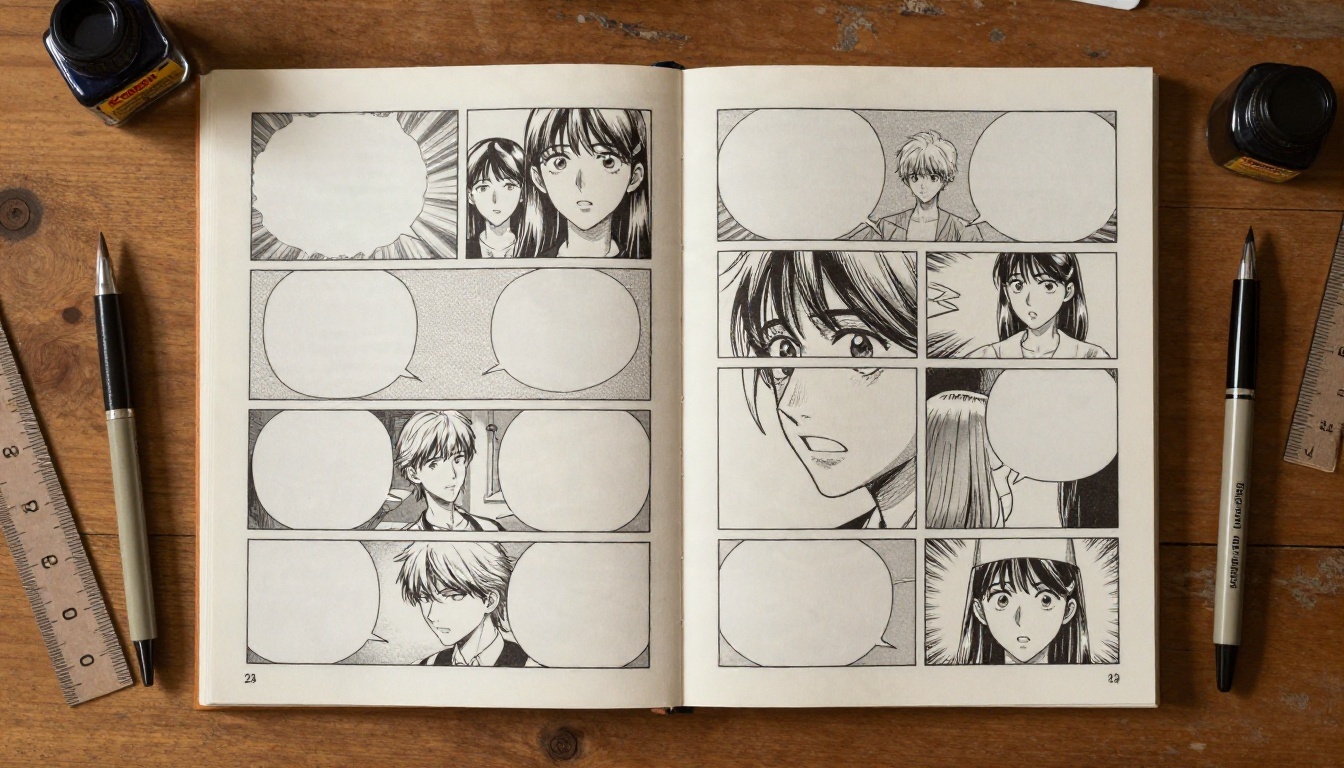
Manga is not simply "anime with no color." It has its own grammar: heavy ink outlines, dot patterns called screentone, dramatic speed lines, exaggerated eyes, and panels that are read from right to left in the traditional Japanese format. A good generator respects those rules instead of just desaturating a cartoon.
The Difference Between Anime and Manga
Anime is the animated, usually colored version. Manga is the printed, usually monochrome page. When you ask an AI to convert a photo, the wording of your prompt decides which one you get. Words like "black and white ink," "screentone," "halftone shading" and "manga panel" push the model toward print. Words like "cel shaded," "vibrant" and "studio lighting" push it toward anime.
Why Photos Make Good Source Material
A photo already gives the model three things that are hard to describe in words: facial proportions, lighting direction and pose. The model keeps those and replaces the rendering style. That is why photo-to-manga often looks more convincing than a text-only prompt asking for "a woman with curly hair in manga style."
Where the Result Can Go Wrong
Three problems show up again and again: the face drifts away from your original, the hands come out odd, and the model adds color you did not ask for. Every one of those can be reduced with the right source photo and a handful of settings, which are covered below.
Free and Online: What You Can Use
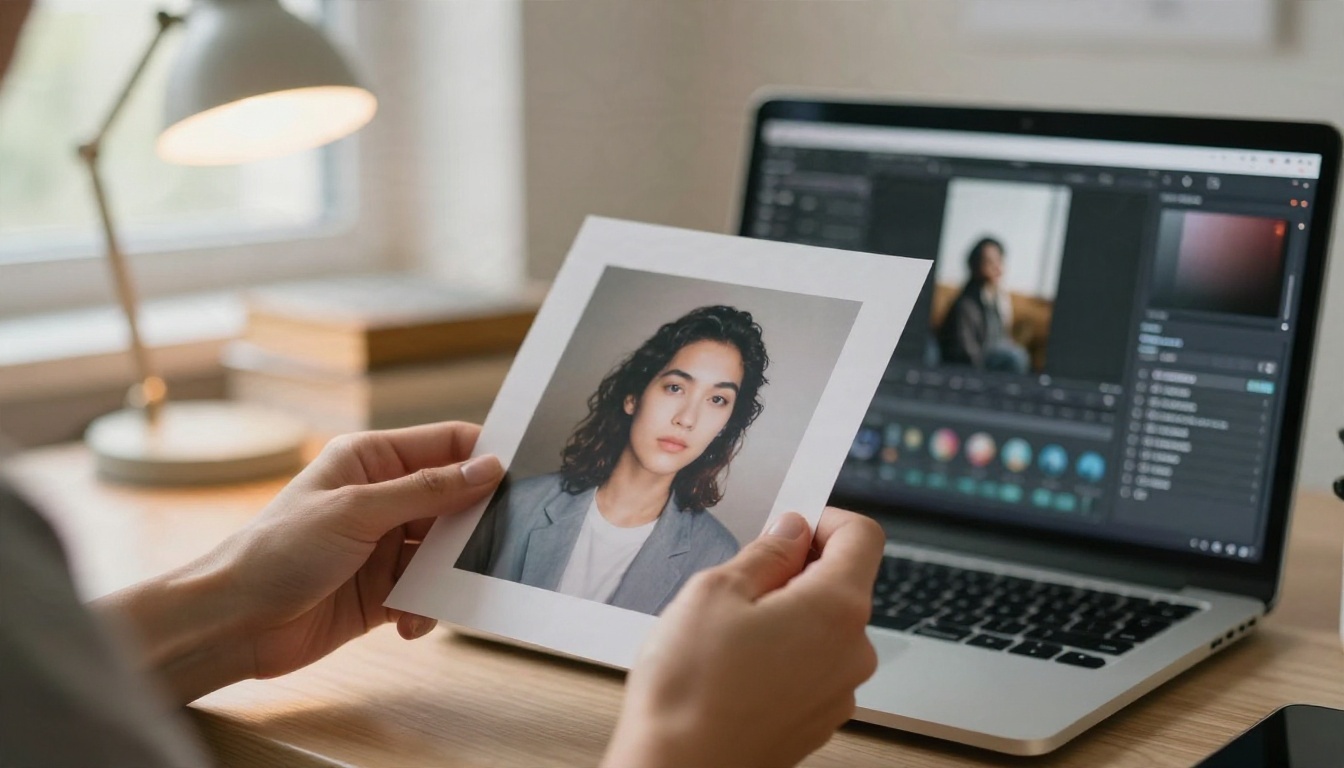
You do not need to install anything. Most of the strongest photo-editing models run in a browser, and several can be tried without paying for a subscription. The main difference between them is how strongly they keep your identity and how well they follow style instructions.
Models Worth Trying First
Free Does Not Mean Low Quality
A free tool can give you a result that looks identical to a paid one. What you give up is usually speed, queue priority or the number of generations per day. If you plan to produce many panels for a webcomic, a model with unlimited generations like PicassoIA Image Editor Pro removes the stress of counting retries.
Watch Out for Watermarks and Data Rules
Some "free manga filters" on random sites keep your uploads or stamp their logo across the corner. Before you upload a face, check how the site treats your picture. Only upload photos of people who agreed to it, and avoid pictures of children that you would not want stored on a server.
Step by Step: Photo to Manga Panel
The process is short. What separates a flat result from a good one is the care you put into each of the first three steps.
Step 1: Choose the Right Photo
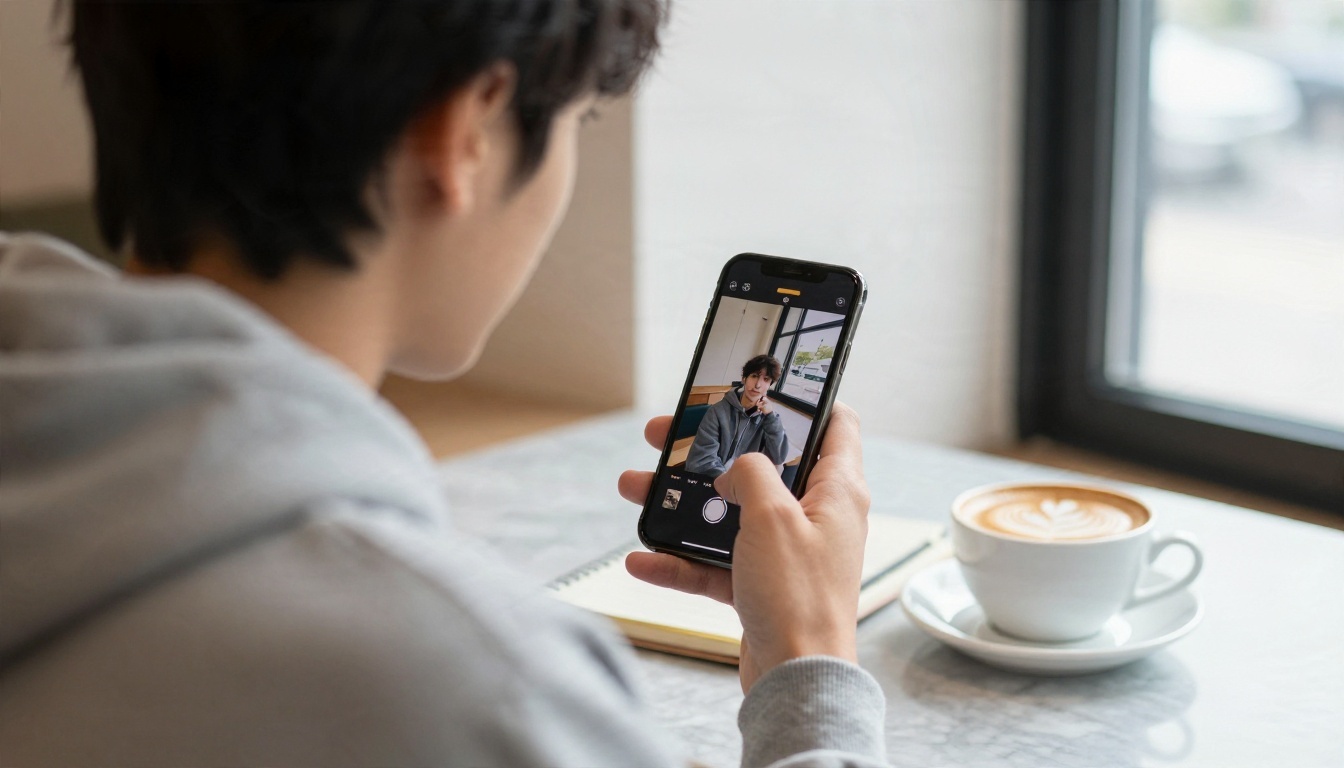
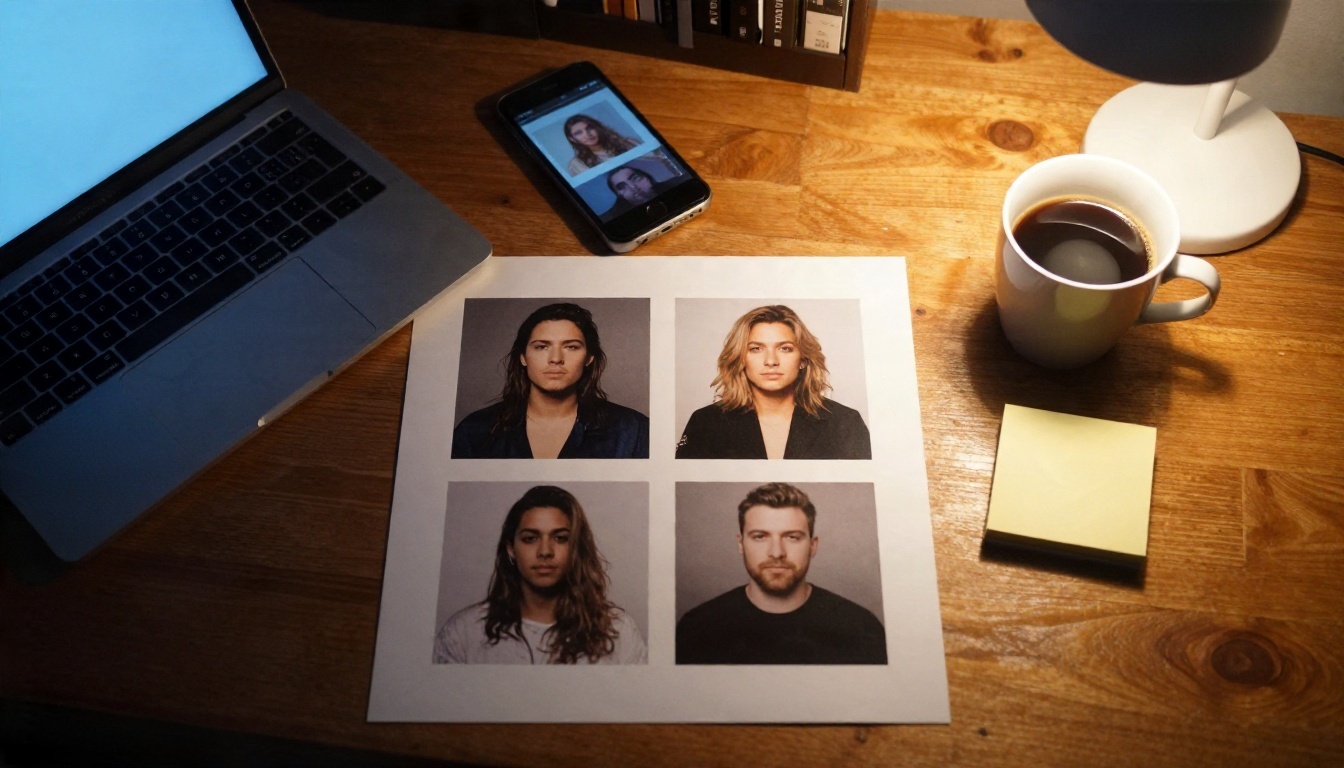
Pick a picture where the face takes up a good share of the frame, the eyes are open, and the light is even. Avoid heavy filters, sunglasses and strong shadows across half the face. Group photos work, but each person will get less detail.
Step 2: Upload and Write a Short Prompt
Upload the picture to your editing model. Then write a prompt of one or two sentences. Do not paste a paragraph. Models that edit photos respond best to direct instructions such as the ones below.
💡 Starter prompt: "Turn this photo into a black and white manga illustration, clean ink line art, screentone shading, large expressive eyes, keep the same face, hairstyle and pose."
Step 3: Generate Several Versions
Run at least four generations. Each one will vary slightly in line weight, eye size and shading. Pick the one that still looks like the person, then use it as the base for further edits.
Step 4: Refine and Upscale
If the result is nearly right, run a second pass with a small correction: "make the line art thicker," "remove the background," "add speed lines behind the character." Finish with an upscaler such as P Image Upscale so the ink lines stay sharp when you print or post the panel.
Settings That Change the Result
Different tools label things differently, but the same few controls matter in almost every manga generator. Treat these as the dials you actually need.
Style Strength
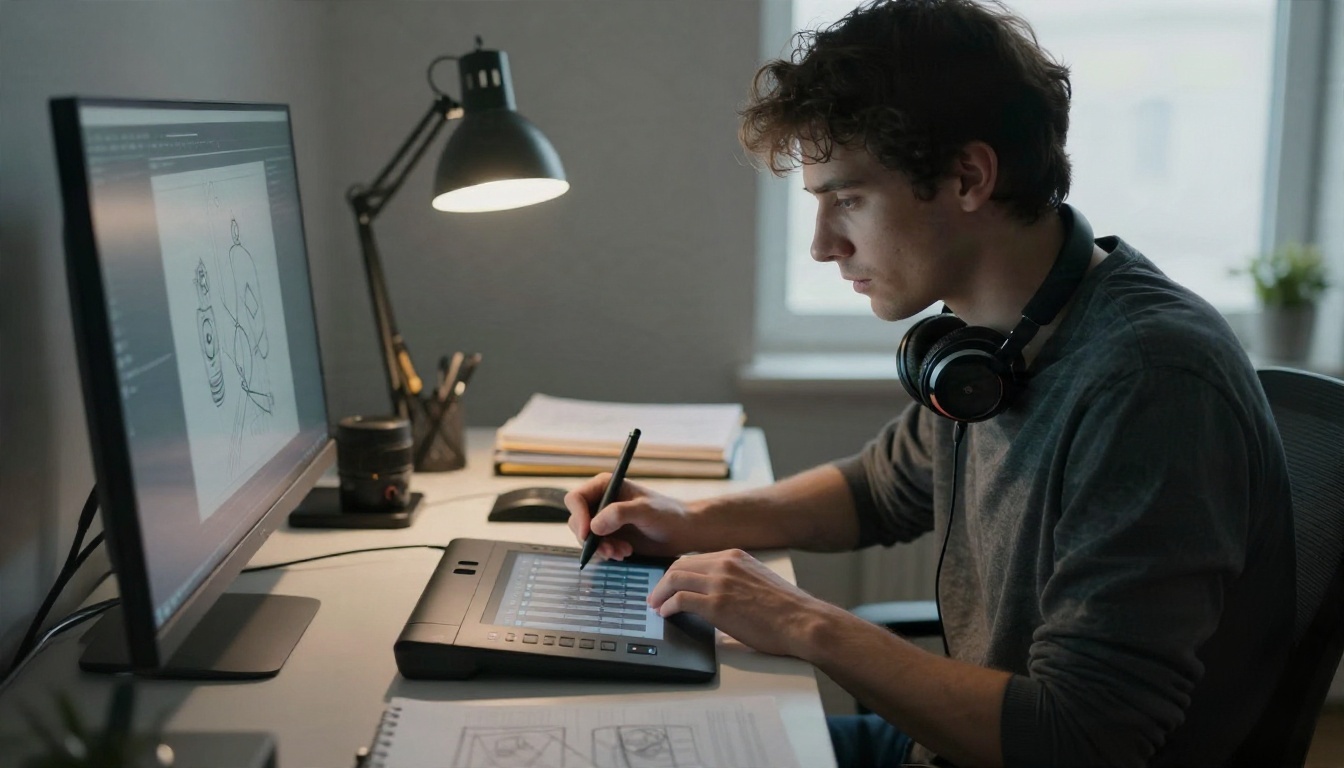
This controls how far the model moves away from your photo. Low values keep realistic proportions and look like a lightly inked portrait. High values give you big eyes, small noses and dramatic hair, but the face may stop looking like you. For a recognizable result, start in the middle and move up only if the output still feels too photographic.
Prompt Weight and Guidance
Guidance tells the model how strictly to follow your wording. A moderate value usually works best. If it is too low, the model ignores your request for black and white. If it is too high, you get stiff, over-sharpened lines and sometimes odd artifacts around the eyes.
Color Mode
Say it in the prompt, because many models do not have a dedicated switch. Write "monochrome" or "black and white ink on white paper" for classic manga. Write "limited color palette, flat colors" if you want a webtoon feel. Never leave color unspecified if you need print-ready black and white.
Seed and Reproducibility
If the tool exposes a seed, save the number when you like a result. Using the same seed with a small prompt change gives you the same character in a new expression, which is the foundation for consistent comics.
Aspect Ratio and Resolution
Manga pages are tall, so a 2:3 or 3:4 ratio suits a full page, while 16:9 or 1:1 suits a banner or avatar. Generate at the highest resolution available if you plan to print. Seedream 4.5 is a good pick when resolution matters.
💡 Settings cheat sheet: medium style strength, moderate guidance, "black and white ink" in the prompt, same seed for variants, tall ratio for pages.
Prompt Examples You Can Copy
Prompts below are written for photo-editing models, meaning you upload an image first and the prompt tells the model how to redraw it.
Classic Black and White Portrait
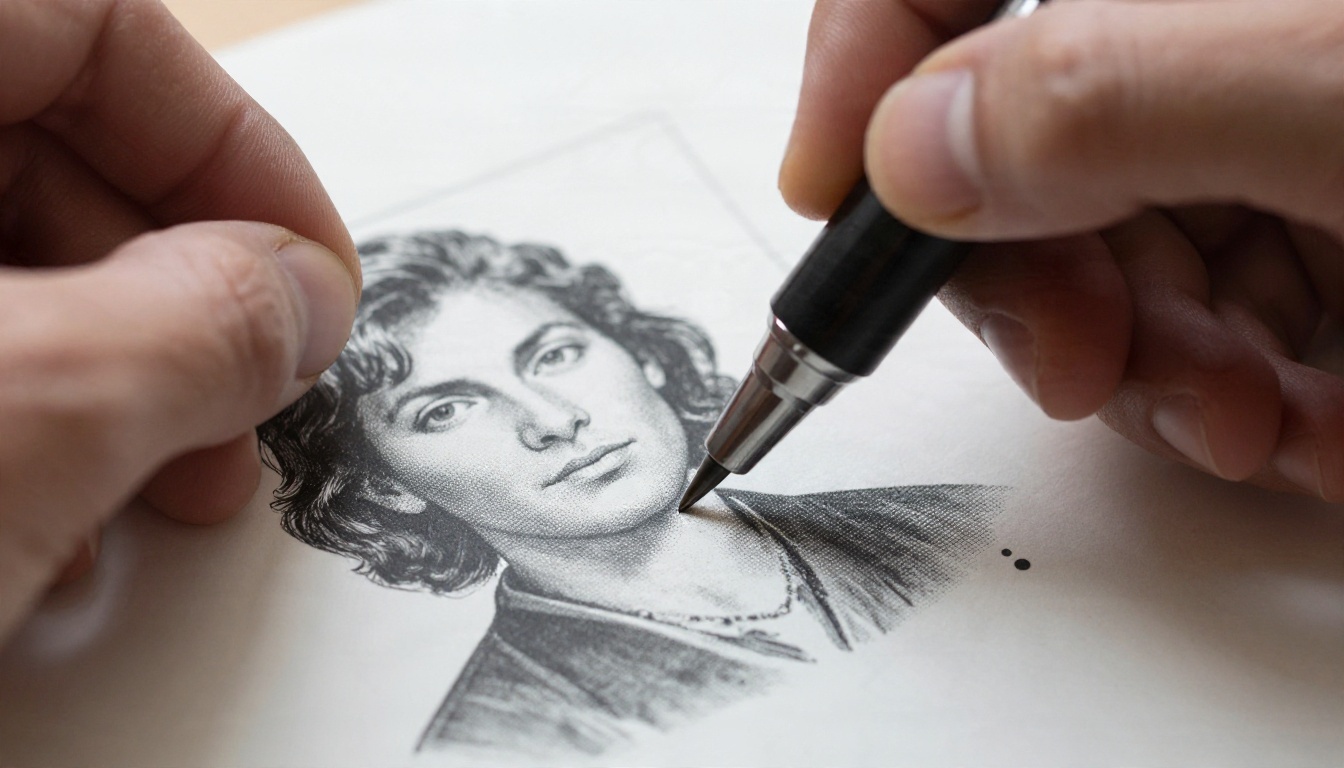
"Redraw this photo as a classic shonen manga portrait, black ink on white paper, bold outlines, screentone shadows, sharp eyes with highlights, keep the same face and hairstyle."
This gives a clean, print-like result. It suits profile pictures and character sheets.
Dramatic Action Panel
"Turn this photo into a dynamic manga action panel, strong speed lines, low camera angle, dramatic ink shadows, hair and clothes moving in the wind, black and white."
Works best when the original pose already has some movement, like a jump, a turn or a raised arm.
Soft Slice of Life
"Convert this photo into a soft shojo manga illustration, delicate thin lines, light screentone, sparkling eyes, gentle expression, floral background, monochrome."
A softer line weight and lighter tone make this the right choice for romance and everyday scenes.
Pet to Manga Mascot
"Draw my dog as a cute manga mascot, simple bold lines, big round eyes, small screentone patches, white background, keep the fur markings."
Pets usually work better with simpler lines, since the model has fewer details to keep consistent.
Prompt Mistakes to Avoid
| Mistake | What happens | Fix |
|---|
| Long prompts with 10 styles | Muddy, mixed look | Pick one style and one mood |
| No mention of color | Random color appears | Add "black and white ink" |
| Asking for a different person | Face drifts | Add "keep the same face" |
| Low resolution source | Blurry lines | Use a sharper original |
Picking the Best Source Photo
The picture you upload sets the ceiling for the final panel. A great prompt cannot fix a blurry, badly lit original.
What a Good Reference Looks Like
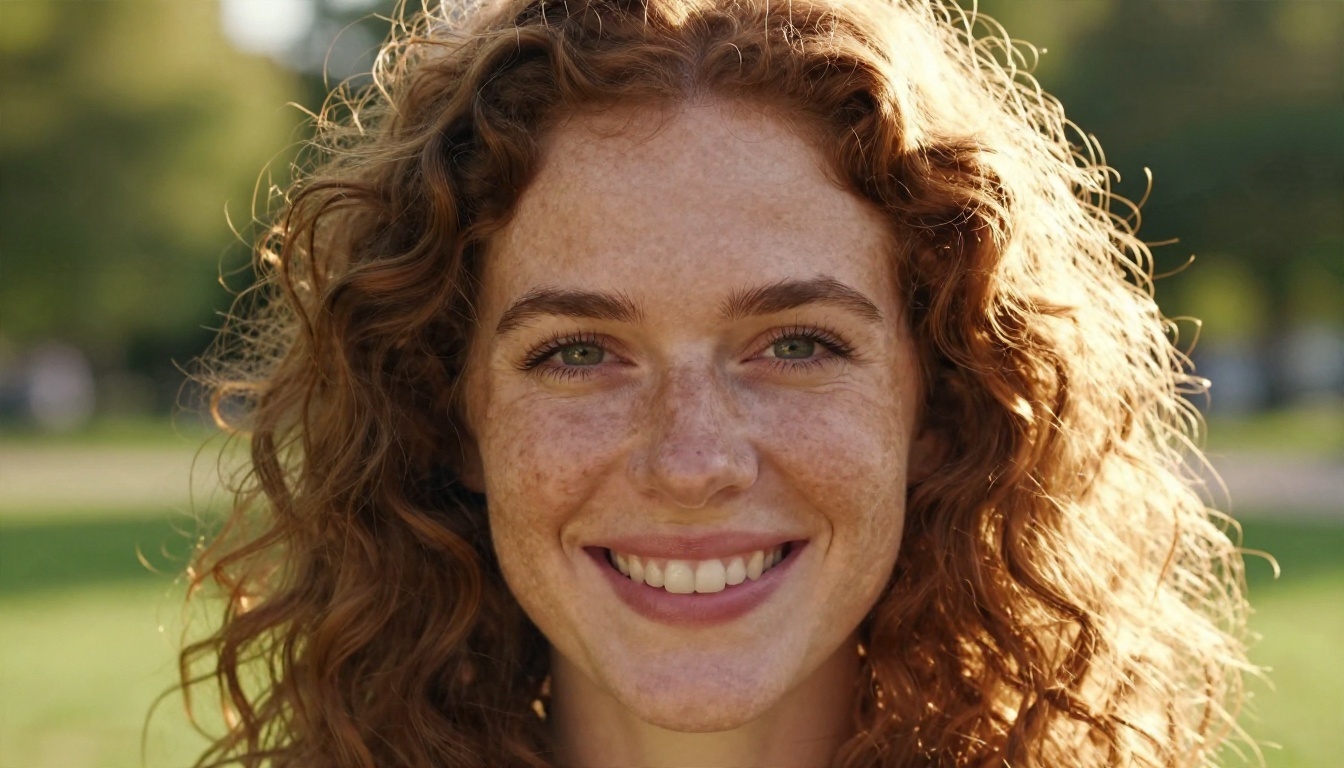
Even, soft light on the face, a neutral or slightly smiling expression, hair pulled away from the eyes, and a plain or softly blurred background. Natural daylight from a window works wonderfully because it shows the shape of the face without harsh shadows.
What to Avoid
Heavy beauty filters change your proportions before the model even starts. Strong backlight hides the face. Extreme wide-angle selfies stretch the nose and chin, and the AI will often keep that distortion in the drawing.
Fix the Photo First
If your picture is soft or noisy, clean it up before converting. Use a restoration or upscaling model first, then pass the improved picture to the manga generator. This extra minute of preparation often makes the biggest visible difference.
Styles and Models by Look
Different models have different tastes. Choosing the right one for the look you want saves many retries.
For Faithful Faces
Qwen Image Edit 2511 and Qwen Image Edit Plus LoRA Photo To Anime are the safest choices when the result must look like a specific person. They keep structure well and rarely redesign the face.
For Painterly or Stylized Art
Krea 2 Medium leans toward anime and painterly art, which is handy for covers and posters. Proteus v0.3 is a good option for anime character art when you describe a character from scratch instead of uploading a photo.
For Quick Cartoon Filters
If you only want a light cartoon effect and not a full manga page, Cartoonify and Filters are fast and simple.
For Conversational Edits
Nano Banana lets you describe edits like a chat. Upload your photo, ask for manga style, then follow up with small changes such as "make the hair darker" or "add a speech bubble shape without text."
Real Uses for Manga Portraits
People use photo-to-manga for more than fun. A few of the most common uses show up below.
Profile Pictures and Avatars
A manga avatar looks distinctive on social media and gaming profiles while keeping your face recognizable. Square crops and a plain background work best.
Gifts and Prints
A manga portrait of a couple, a family or a pet makes a personal gift. Upscale the final image and print it on matte paper for the closest look to a real manga page.
Webcomics and Storyboards
Creators use their own photos as character references, generate the same character in different poses, and assemble panels in a layout tool. Keep the same seed and the same descriptive prompt for the face, then change only the action.
Writing Practice and Visual Notes
Some writers turn scenes from their own lives into small manga strips to practice visual storytelling. It is a quick way to test whether a scene works before spending hours drawing.
A Workflow That Saves Time
Here is a routine that keeps results consistent from the first panel to the last.
Build a Character Sheet
Generate one front view, one three-quarter view and one close-up of the face. Save the best prompt and seed. These become your reference for every later panel.
Lock the Style Words
Write your style phrase once, for example "black and white ink, bold outlines, light screentone, expressive eyes," and paste it into every prompt. Changing even two words can shift the whole look.
Edit in Small Steps
Instead of rewriting the entire prompt, ask for one change at a time. Models that edit images respond better to "make the line art thicker" than to a new long description.
Finish and Export
Upscale, check the edges of the hair and the eyes, and export at full resolution. If you want text, add the speech bubble words in a layout tool rather than asking the model to draw them, because generated lettering is often unreliable.
Make Your Own Manga Panel Today
Pick your favorite portrait, open PicassoIA Image Editor Pro or Qwen Image Edit Plus LoRA Photo To Anime, and paste the starter prompt from this article. Generate four versions, keep the one that looks most like you, and push it further with a second pass for line weight and screentone.
Then try the other prompts: an action panel, a soft slice of life scene, a pet mascot. Each takes a minute, and every attempt teaches you what your favorite model likes. When you are ready to compare more options, browse every model at picassoia.com/en/all-models and build a full character sheet. Your next manga page starts with a single photo.


