You finished the song. The mix sounds right, the master is bounced, and the MP3 is sitting in a folder. Now comes the part that stops most independent artists: a music video costs real money, and most of the quick tools online either cap you at 30 seconds, stamp a watermark over everything, or drift away from your beat after the first chorus. An AI music video generator from audio promises to fix that. Upload the track, add the lyrics, pick a look, and get footage that moves with the music. Some of it delivers. Some of it does not. This article separates the two, so you know what to expect from MP3 upload, lyrics sync, and the free options before you spend an afternoon on it.
What an Audio-Driven Generator Does
A music video generator that starts from audio does three jobs at once. It listens to your track, it plans scenes around what it hears, and it renders video clips that match the timing. The quality of each job varies a lot between tools.
How the audio gets analyzed
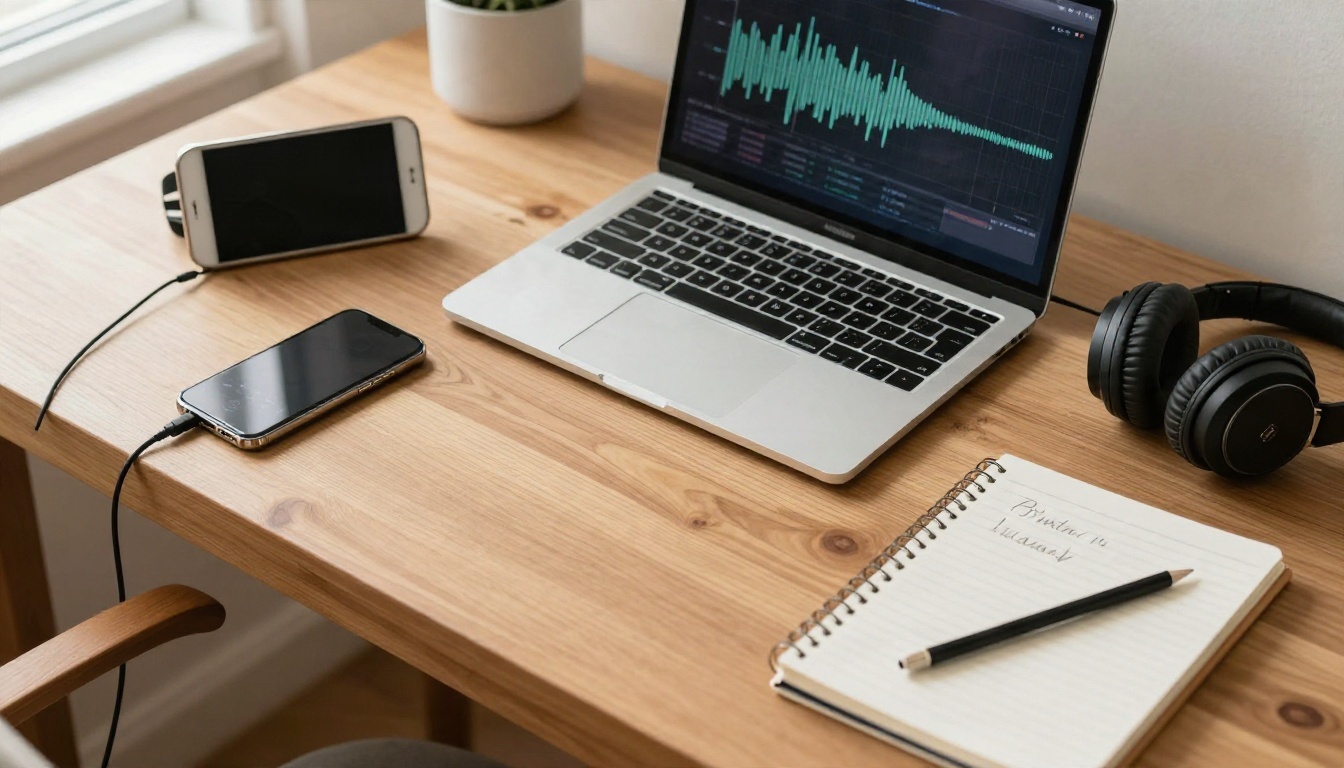
When you upload an MP3, the tool typically detects tempo, beat positions, loud and quiet sections, and sometimes the vocal line. That map decides where cuts land. A drop gets a hard cut. A quiet verse gets a slower shot. If the tool also transcribes vocals, it can place each lyric line at the right second.
Where the visuals come from
There are two main approaches. Template tools stitch stock footage or looping animation to your beat. Generative tools build new clips from a text prompt or a reference image, so the scenes are made for your song. The second approach gives you more originality, but it also asks more of you: you have to describe what you want to see.
Three common output styles
| Style | What you get | Best for |
|---|
| Lyric video | Text appears in time with the vocal over a background | Fast releases, streaming visualizers |
| Performance video | A singer or avatar mouths your vocal | Pop, rap, spoken word |
| Story video | Scenes that follow a narrative or mood | Cinematic singles, ambient tracks |
💡 Decide your style before you upload anything. A lyric video needs clean transcription. A performance video needs a strong face photo. A story video needs a scene plan. Mixing all three in one pass is how projects stall.
MP3 Upload: What Actually Matters
Most tools accept MP3, WAV, M4A, or AAC. As of November 2026, vendor pages such as PixVerse's roundup of music video generators list accepted lengths from roughly 10 seconds up to about 6 minutes, which tells you that full-length songs are possible on paid tiers while free tiers trim the output.
File preparation checklist
Spend five minutes here and you save an hour later.
- Export at 44.1 kHz or 48 kHz. Odd sample rates occasionally confuse beat detection.
- Trim silence at the head. Two seconds of empty lead-in shifts every cut.
- Keep a clean vocal version if you can. Transcription is far more accurate on a vocal-forward mix than on a wall of guitars.
- Name the file clearly. Version 7 final final is how you animate the wrong mix.
Length limits are the hidden catch
Many free plans cap output at one minute. Some tools generate the full video but export only a preview. A few limit you to a number of renders per day. Before you build a project, check the length cap, the resolution cap, and whether exports carry a watermark.
💡 If your song runs three and a half minutes, plan for a sectioned workflow: render verse, chorus, and bridge as separate clips, then join them in any editor. This sidesteps nearly every length limit.
Lyrics Sync Without the Headache
Lyrics sync is the feature that sounds simple and eats the most time. The idea: the tool transcribes your vocal, assigns a timestamp to every word, and displays the text in rhythm. In practice, accents, fast rap verses, background vocals, and reverb tails all cause misreads.
Paste your lyrics, do not rely on transcription
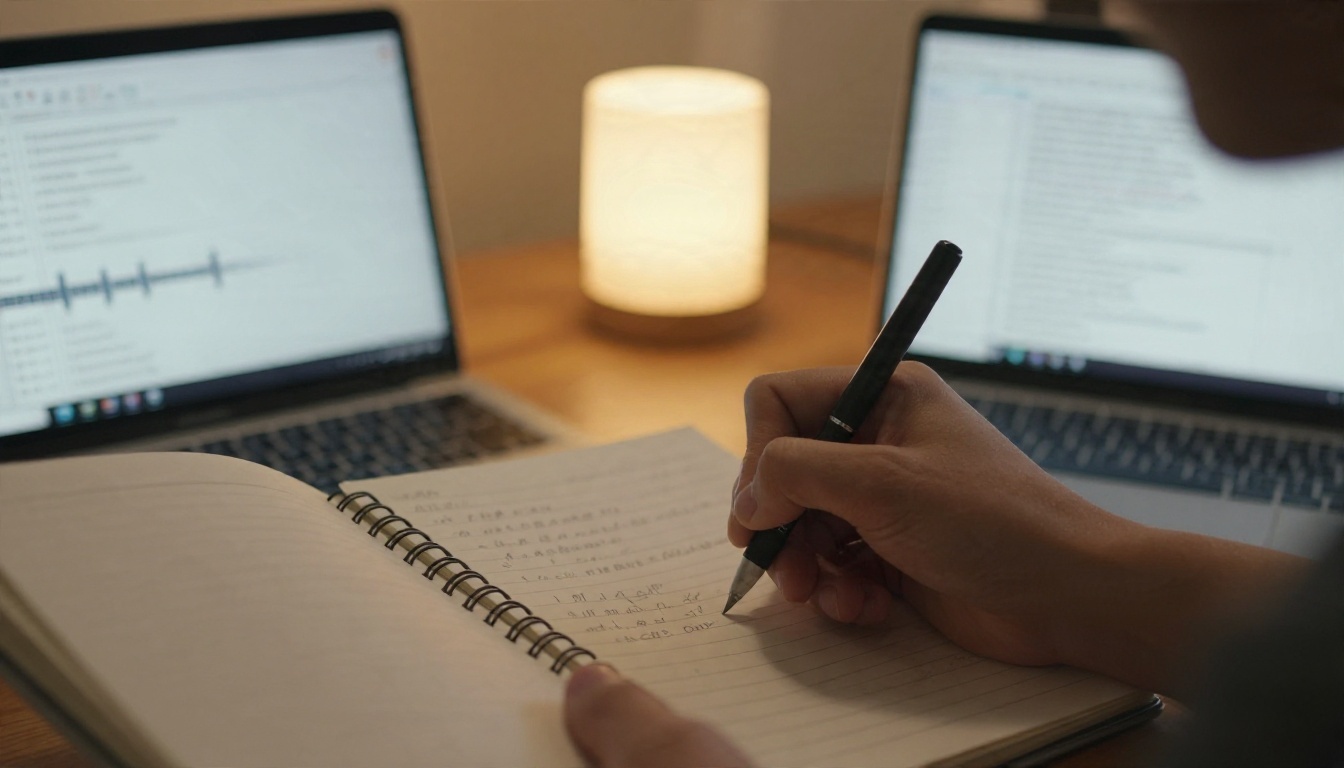
If a tool lets you paste the real lyrics and then aligns them to the audio, use that option. Alignment is far more reliable than blind transcription because the tool already knows the words and only has to find where they happen. Reviews on sites like Crepal's lyric video walkthrough report that even with automatic sync you should plan on roughly 10 to 20 minutes of manual timing fixes. That matches what most creators see.
Typical sync problems and fixes
| Problem | Why it happens | Fix |
|---|
| Lines appear late | Long intro or silent lead-in | Trim the intro or offset all lines |
| Words missed in fast verses | Dense syllables, low clarity | Paste lyrics, split long lines in two |
| Harmonies appear as text | Backing vocals picked up | Use a lead-vocal stem if available |
| Wrong words | Accent or slang misread | Correct the text by hand before rendering |
Keep on-screen text short
Four to six words per line reads cleanly. Longer lines force a smaller font, and small text on a phone screen is unreadable. Break lines where you would breathe when singing them.
Lip Sync: The Weak Spot
Having a person appear to sing your song is the most requested feature and the most uneven. Reviewers testing audio-to-video tools commonly report that beat sync is usually reliable while lip sync varies, and that busy mixes or accented vocals need extra re-editing. That is consistent with what you see across the category.
What makes lip sync look real
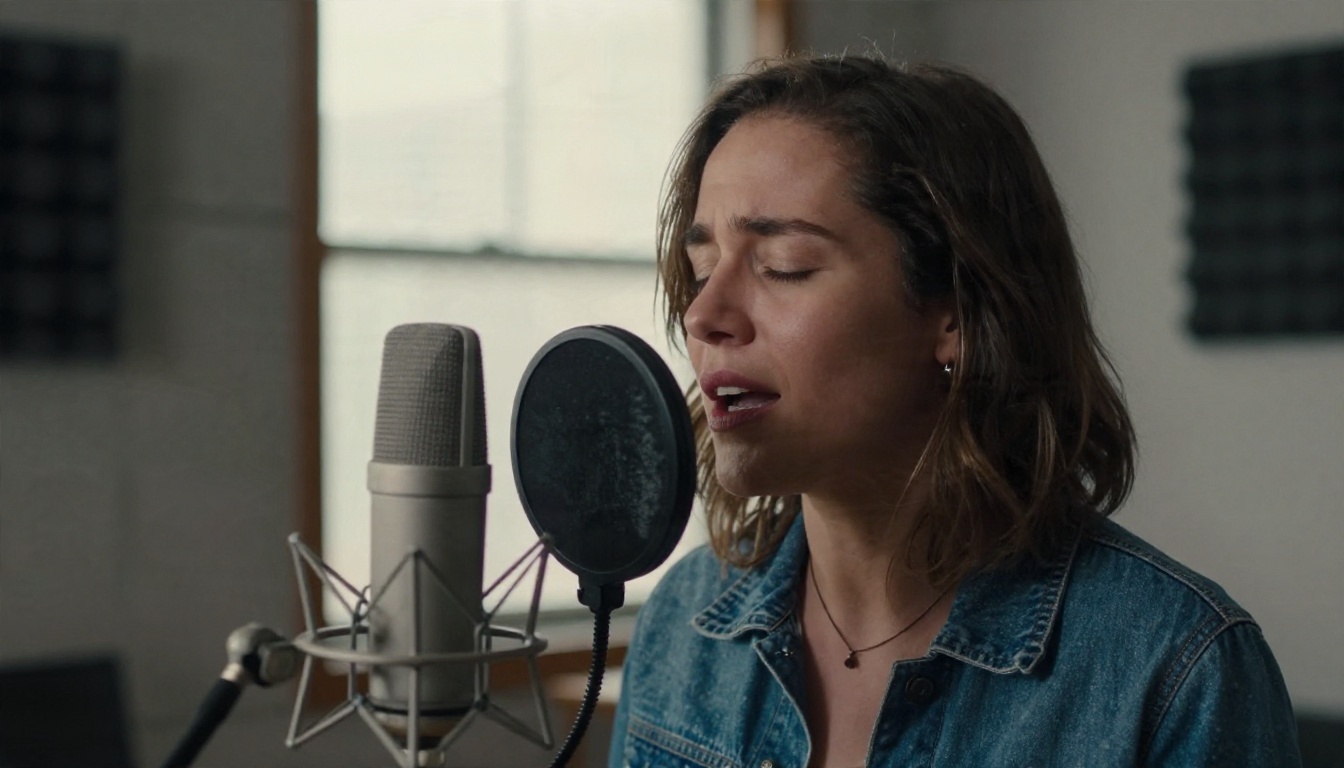
Three things decide the result: the clarity of the reference face, the cleanliness of the audio, and the length of the clip. A sharp, front-facing photo with even lighting beats a moody side profile. A dry vocal beats a washed-out one. A 20-second chorus beats a 3-minute single take.
Photo-driven versus video-driven lip sync
Photo-driven models start from a single portrait and animate the whole face to your audio. Video-driven models take existing footage of a person and rewrite the mouth movement. Photo-driven is easier if you have no footage. Video-driven keeps the original body language and background, which looks more natural when you have a real shoot.
PicassoIA has both families. For photo-driven work, Omni Human 1.5, Omni Human, and Fabric 1.0 turn a still image plus an audio clip into a talking or singing video. For footage you already shot, Lipsync 2 Pro, Kling Lip Sync, and React 1 rewrite mouth movement to match a new track.
Free Options: What You Really Get
Everyone wants free. Here is the honest picture of what free plans give you in late 2026, based on what the vendors and reviewers publish. Plans change often, so confirm the current limits on each site.
Common free tier limits
- Watermarks. Freebeat, for example, is described as offering a free tier with 500 credits and watermarked low-resolution previews.
- Clip caps. Vidnoz is reported to accept MP3 and WAV on its free tier while capping clips at one minute.
- Daily limits. Some lyric video makers allow only a handful of exports per day, and the full music video mode with lip sync often starts at around $19 per month.
- Marketing claims. A few sites advertise a watermark-free start. Treat that as a claim to test, not a fact to rely on.
A free workflow that avoids the traps
You can often build a better result by splitting the job instead of looking for one tool that does everything. On PicassoIA, Seedance 2.5 Lite is listed as a free and unlimited video generator for clips up to 10 seconds, and Music 2.6 is listed for generating full songs free. If you do not have a track yet, you can create one there and use it as the audio source. Lipsync Precision is also listed as free to use online for dubbing video.
Short clips cost less than long ones, so the method is: render many short scenes, then assemble them yourself.
| Approach | Cost | Control | Time |
|---|
| All-in-one paid generator | Monthly fee | Medium | Fast |
| All-in-one free tier | Free, with limits | Low | Fast, but capped |
| Split workflow with short clips | Free to low | High | Slower, more flexible |
💡 A free tool that exports only a preview is still useful for testing your concept. Run the idea cheaply, then spend credits only on the version you plan to publish.
A Step-by-Step Music Video Workflow
Here is a repeatable process that works whether your song is 40 seconds or four minutes. It uses short renders and a basic editor, so you stay in control.
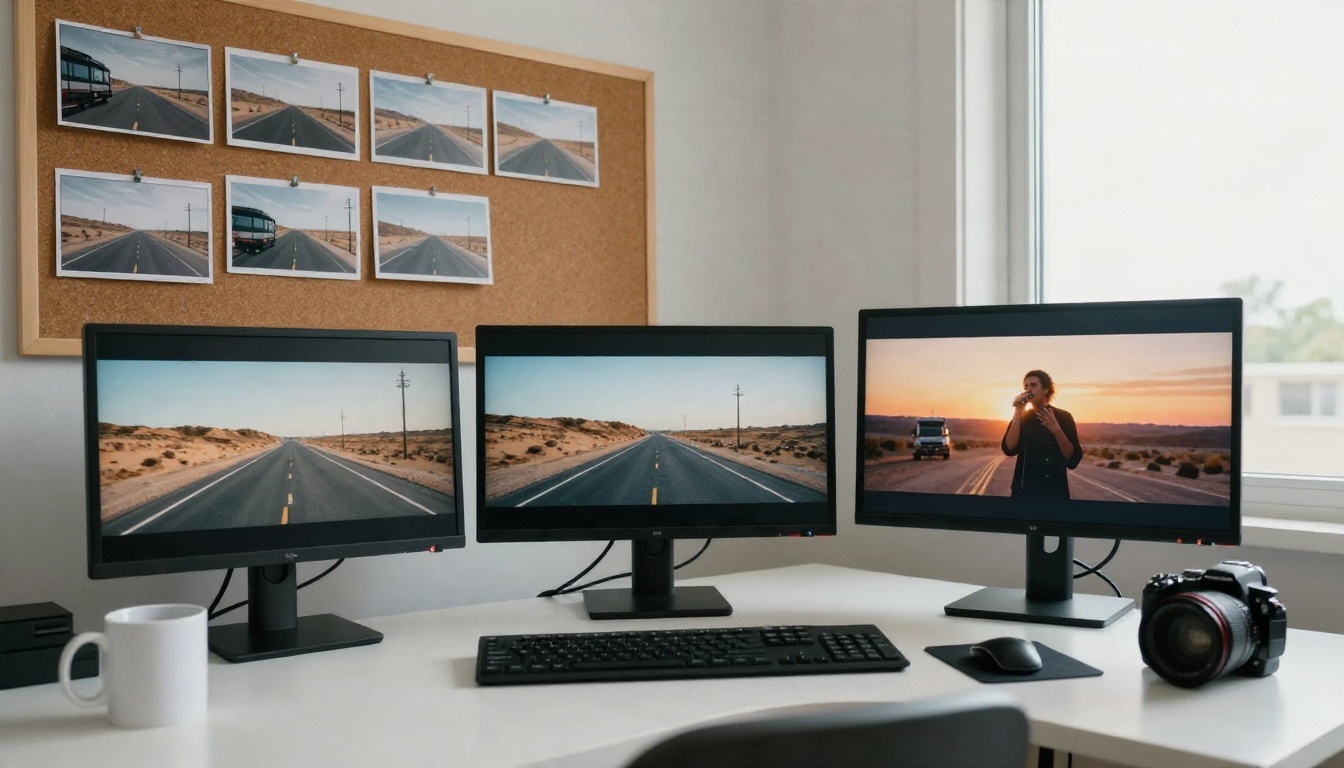
Step 1: Break the song into sections
Open your track and mark the intro, verses, choruses, bridge, and outro with timestamps. A typical pop song gives you 8 to 12 sections. Each section becomes one scene or a short run of scenes.
Step 2: Write a one-line scene for each section
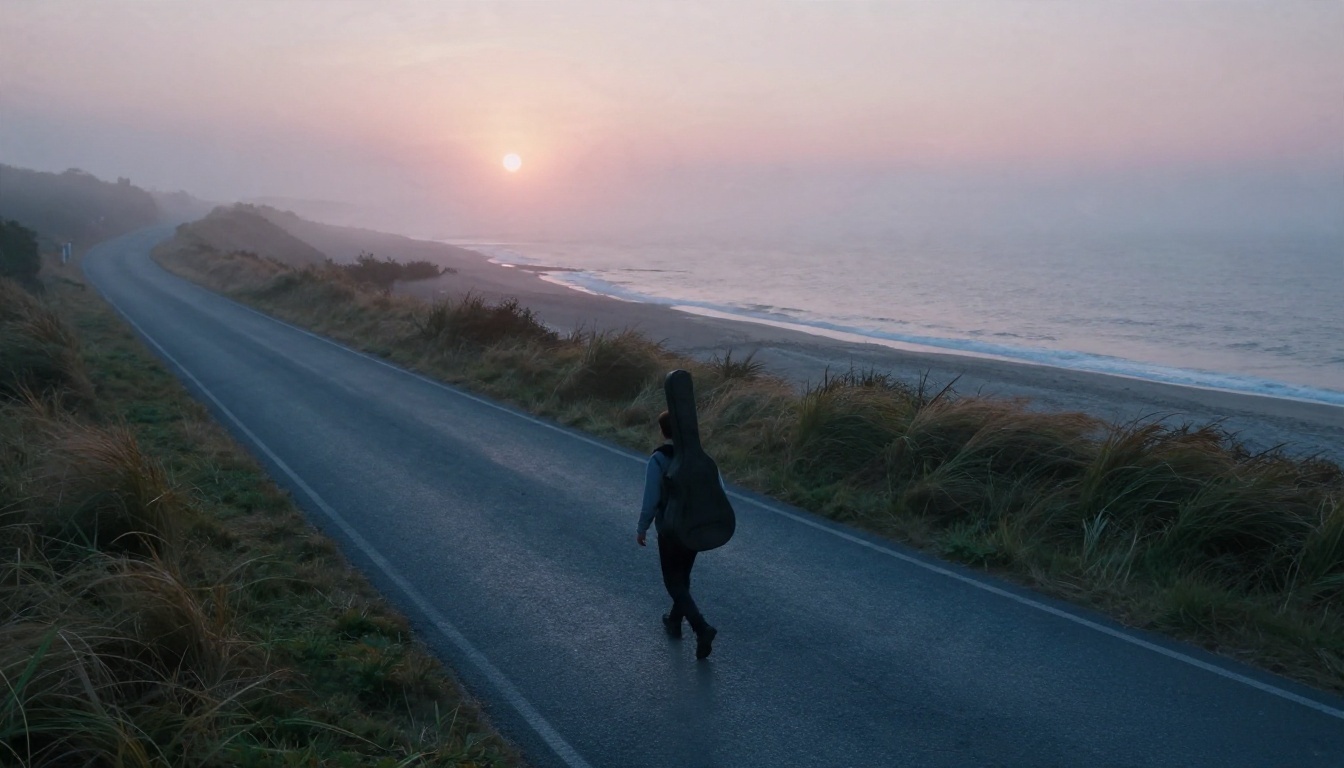
Keep it concrete. "Singer walks a coastal road at dawn, guitar case on her back" gives a model something to render. "Emotional journey of the soul" does not. Match intensity to the music: calm shots for verses, wider and faster shots for choruses.
Step 3: Create a visual anchor
Generate one still of your lead character or location and reuse it as the starting frame for every clip. This is what keeps the face, clothes, and setting consistent across scenes. Image-to-video models such as Wan 2.5 I2V Fast animate a still you supply, and Kling v3 Video and Veo 3.1 Lite are options when you want more cinematic motion or native audio.
Step 4: Render short clips per section
Aim for 5 to 10 seconds per clip. Generate two or three takes for the chorus, since that is where viewers pay the most attention.
Step 5: Add lip sync only where it matters
Lip sync is expensive in credits and the most likely to look off. Use it on two or three close-up moments, usually the first chorus and the final line, and use b-roll for the rest. Cutting away from a mouth hides small errors and looks more professional anyway.
Step 6: Assemble and cut to the beat
Drop clips onto a timeline against your MP3. Cut on the downbeat. If a clip runs short, slow it by 10 to 20 percent or loop the last second. Add your lyric text last.
How to Use Omni Human 1.5 on PicassoIA
For a performance shot where a face sings your vocal, Omni Human 1.5 is a strong starting point. It builds a lip-synced video from one portrait and an audio file, and it works on faces, full-body shots, and illustrated characters.
Step-by-step
- Open the model page. Go to the Omni Human 1.5 page on PicassoIA.
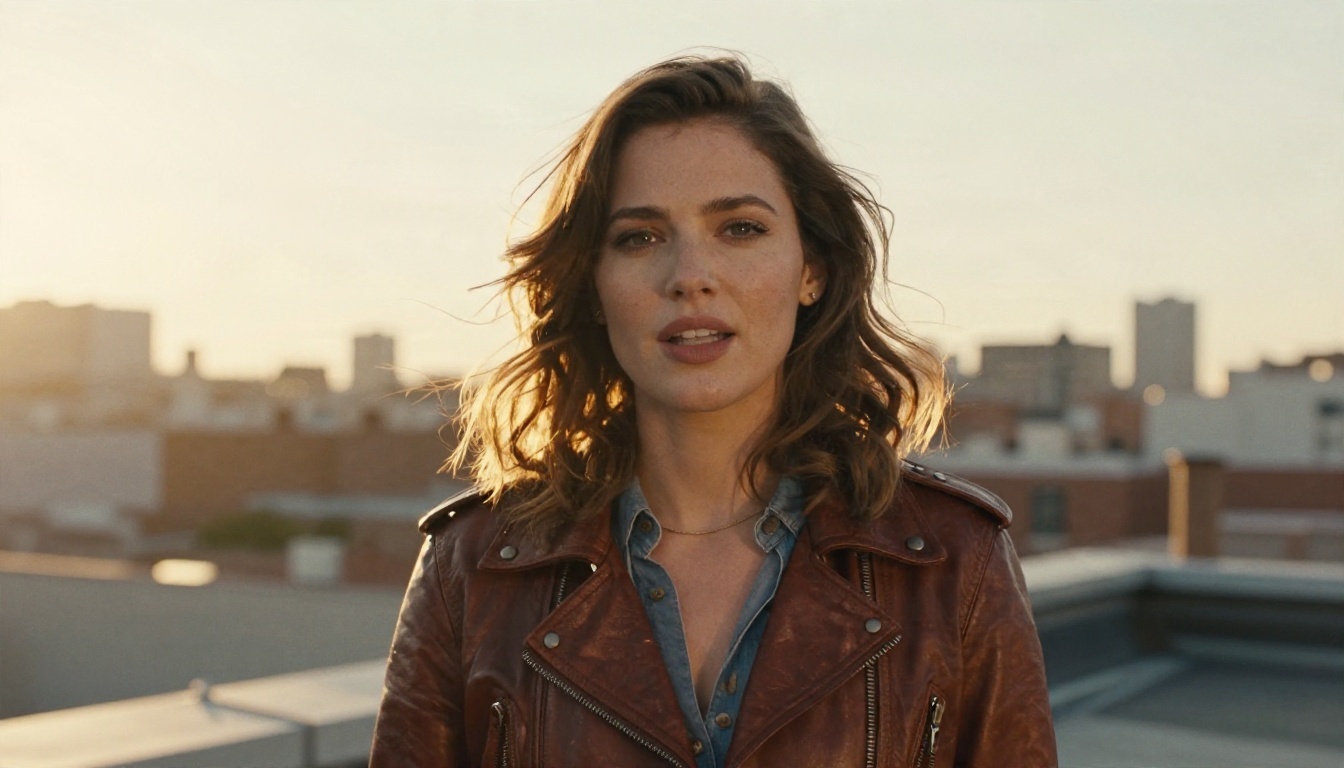
- Upload your image. Choose a clear portrait with the face unobstructed. Front-facing, evenly lit, and sharp works best. You can generate one first with any text-to-image model if you do not have a photo you want to use.
- Upload your audio. MP3 and WAV both work. The audio must be shorter than 35 seconds, or generation fails. Cut your chorus or a verse segment instead of the full track.
- Add an optional prompt. Describe camera movement or scene feel, for example "slow push-in, soft window light, subtle head movement while singing."
- Decide on fast mode. Switch it on for quick tests. Leave it off for the final render, since fast mode trades some fine detail for speed.
- Set a seed if you want repeatability. A fixed seed lets you rerun the same setup with small prompt changes.
- Generate and review. Watch for mouth shapes on plosive sounds like b and p, since those reveal sync errors fastest.
Parameter tips
| Setting | Recommendation |
|---|
| Audio length | Under 35 seconds, cut at a natural phrase end |
| Image | Single subject, face fully visible, no sunglasses |
| Prompt | One sentence on camera and mood, avoid long stories |
| Fast mode | On for drafts, off for the final clip |
| Seed | Fix it when comparing prompt changes |
💡 Cut your audio at a breath, not mid-word. The final frame of one clip should line up with the first frame of the next in your editor.
Making the song first
If you only have lyrics, you can generate the audio on the same platform. Music 2.6 and Lyria 3 Pro both create full-length songs, and Music 2.5 is another option when you want vocals in the output. Export the track as an MP3 and slice it into the sections from your plan.
Mistakes That Waste Credits
I see the same errors repeat across projects. Avoid these and you cut your costs in half.
Rendering the full song first
Test with the chorus. If the chorus looks right, the verses will too. If it does not, you found out after 10 seconds, not after 3 minutes.
Changing the character every scene
If you describe your singer differently in each prompt, you get a different person each time. Reuse the same anchor image and the same short description. Write "woman, shoulder-length dark hair, leather jacket" once and paste it everywhere.
Ignoring the audio mix
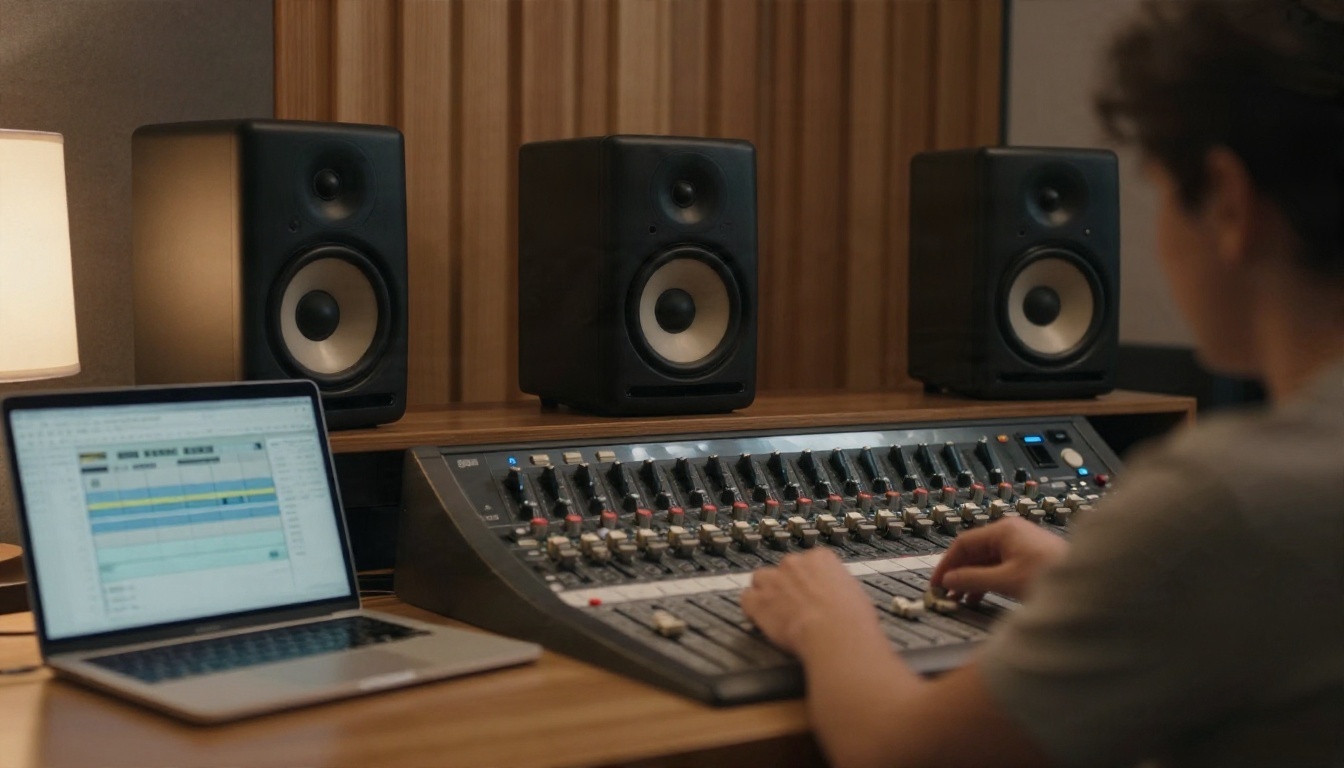
A muddy low-end makes beat detection wobble. Reduce the bass slightly in a copy of the file you upload for analysis, then use the full mix in your final edit.
Skipping the rough cut review
Before final renders, sit with a friend and watch the draft. Fresh eyes catch the lyric that appears a half-second early or the cut that feels wrong.

Quick Picks by Goal
| Goal | Best route |
|---|
| Lyric video in an hour | Paste lyrics into a lyric-sync tool, use a simple background loop |
| Singer on screen | Photo plus audio clip in a model like Omni Human 1.5 or Fabric 1.0 |
| Cinematic story clips | Image-to-video with Kling v3 Video, Veo 3.1 Lite, or Wan 2.5 I2V Fast |
| Dub existing footage | Video lip sync with Lipsync 2 Pro or Kling Lip Sync |
| No song yet | Generate one with Music 2.6 or Lyria 3 Pro |
| Zero budget | Free clips with Seedance 2.5 Lite, assemble in a free editor |
Make Your Own Video Today
You do not need a crew, a camera, or a big budget to put visuals behind your song. You need a clean MP3, a short list of scenes, and a willingness to render in small pieces. Pick one 20-second chorus, create a portrait of your singer, and run it through a lip sync model on PicassoIA. If the result looks right, build the rest of the song around it. If not, change one thing, the photo or the audio cut, and run it again. Every iteration costs you minutes, not weeks.
Open PicassoIA, try the models above on your own track, and see how far one afternoon can take your next release.


