Generate imagesLarge Language ModelsVisual Effects
AI Tattoo Generator Prompts for ChatGPT and Gemini That Give Clean Linework
Most tattoo prompts fail because they describe a pretty picture instead of a tattoo. This article gives you a six-slot prompt formula and 12 copy-and-paste prompts for ChatGPT and Gemini across fine line, traditional, micro realism, minimalist and blackwork styles, plus tips for placement mockups and stencil-ready results.
Typing "cool wolf tattoo" into a chatbot gets you a nice poster, not a tattoo. The picture looks great on a bright screen, then your artist tells you the lines are too thin, the shading will blur in a couple of years, and half the detail cannot be stenciled. AI tattoo generator prompts for ChatGPT and Gemini only work when they describe the design the way a tattooer thinks: line weight, shading method, empty space and the body part it will live on.
Below you will find a six-slot prompt formula, a dozen copy-and-paste prompts split between ChatGPT and Gemini, and a short routine for turning the result into something your artist can actually use. Every prompt is plain English. Paste it as is, then swap two or three words to make the design yours.
Why Most Tattoo Prompts Fail
Most people type a subject and a mood: "dragon tattoo, cool, very detailed." The model fills every gap with its own taste, and its taste is illustration. You get glowing gradients, soft shadows and a hundred tiny details that no needle can hold on skin.
Flat Designs Look Fake
A tattoo is pigment under skin, not ink on paper. Lines spread a little as they heal, so very thin strokes in a small design tend to blur, and tiny gaps between shapes tend to close up. Many artists will tell you the same thing: bold, even lines and clear empty space age better than dense detail. If your prompt never mentions line weight or spacing, the model has no reason to respect either one.
No Skin Context
A prompt without a body part produces a square picture on a white background. A forearm piece is long and narrow. A shoulder cap is round. A rib piece follows a curve. Naming the placement and the rough size in inches changes the proportions of the whole composition, and it saves your artist from redrawing everything.
💡 Quick fix: add "flat design on a plain white background, no skin, no mockup" to every design prompt. Do the body mockup as a separate step, which comes later in this article.
The Prompt Formula That Works
Good tattoo prompts have six slots, always in the same order. Fill in each one and the model has very little room to improvise:
Subject: one main idea, such as "a peony branch" or "a raven in flight".
Style: fine line, traditional, micro realism, minimalist, blackwork or dotwork.
Line weight: "thin even single-needle lines" or "bold consistent outlines".
Shading: none, stippling, whip shading, or smooth black and grey.
Composition and size: orientation, inches and the body part.
Background and output: plain white, flat, no text, no skin.
Put together, the skeleton looks like this:
[Subject] tattoo design, [style], [line weight], [shading], [composition and size for the body part], [plain background, no text, no skin].
Use this cheat sheet to fill the style and shading slots quickly:
Style
Line language
Shading words
Common placement
Fine line
Thin, even, single needle
None or light stippling
Forearm, ribs, spine
Traditional
Bold black outlines, limited palette
Solid fills, whip shading
Upper arm, calf
Micro realism
No outlines, soft edges
Smooth black and grey gradients
Forearm, calf
Minimalist
One continuous thin line
None
Wrist, ankle, behind the ear
Blackwork and dotwork
Solid black masses or dots
Dot density, negative space
Shoulder, back, thigh
Subject and Style
Pick one subject and one style per prompt. "A wolf and a rose and a clock in fine line and traditional" confuses the model, and the output usually averages the styles into something neither tattooers nor clients want. If you want a combination, generate separate designs and compare them side by side.
Line Weight and Shading
These two slots decide whether the design survives healing. Say "thin even lines" or "bold consistent outlines" right in the prompt, and name the shading method rather than the vibe. "Soft black and grey gradients" works. "Moody and dramatic" does not.
Background and Output
Always ask for a plain white or cream background and no text. If you need a banner or a short word, put it in quotes and keep it to one or two words. Long phrases are where image models misspell, and a misspelled tattoo is a story you do not want to tell.
ChatGPT Prompts to Copy
ChatGPT builds its pictures with OpenAI's image models, and it tends to follow long, multi-part instructions closely. That makes it a solid pick for the design sheet itself. If you prefer a browser tool with visible settings, GPT Image 2 on PicassoIA takes the same style of prompt and lets you set quality, aspect ratio and the number of variations.
Fine Line Florals
Fine line suits botanicals because the subject is already made of thin curves. The risk is drawing lines so delicate they vanish, so these prompts set a minimum weight.
Prompt 1: peony branch
Create a fine-line tattoo design of a single peony branch with two open blooms and three leaves, drawn with thin, even single-needle lines, no shading, no color. Vertical composition about 4 by 10 inches so it fits a forearm. Pure white background, flat black ink only, no skin, no mockup, no border, no text.
Prompt 2: wildflower bouquet
Design a delicate wildflower bouquet tattoo, six stems of different heights tied with a thin ribbon, fine-line style with light stippling only at the petal centers. Keep every line as thick as a ballpoint pen line so it will not blur when it heals. Black ink on a clean white background, centered, generous empty space around the design.
Traditional Flash
Traditional is the most forgiving style for AI, because the rules are simple: heavy outlines, flat color and very few shades. Models that struggle with delicate detail often do well here.
Prompt 3: swallow flash
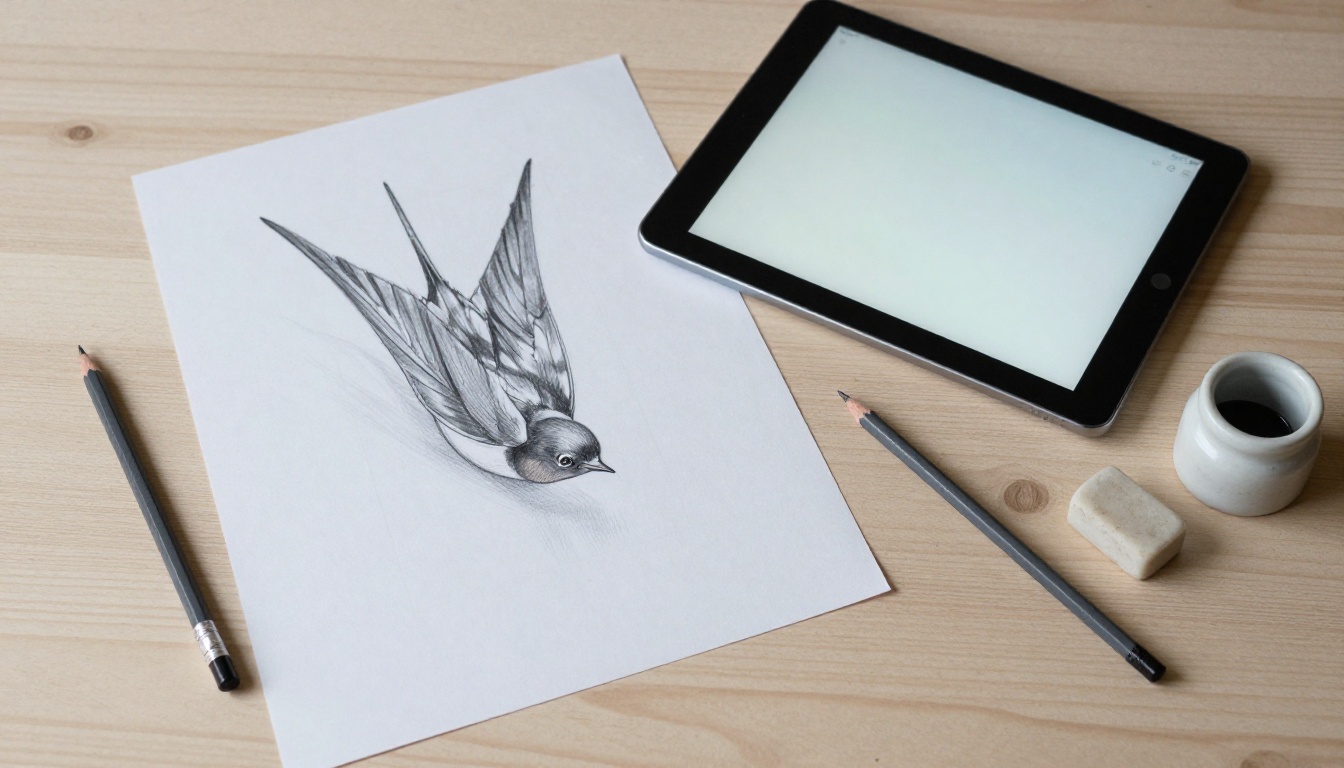
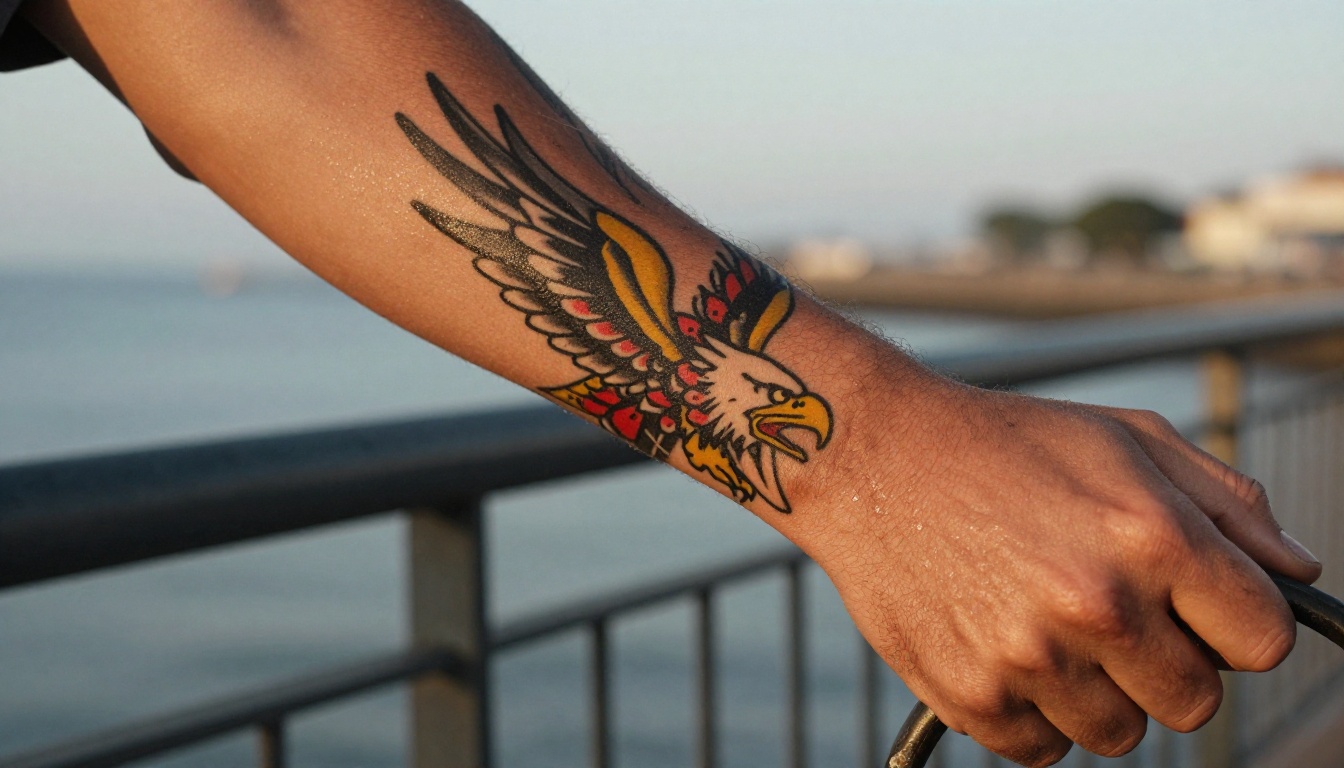
Draw an old-school American traditional tattoo flash design of one swallow in flight holding an empty banner shape, bold black outlines, a limited palette of red, mustard yellow and green, solid color fills, minimal shading. Looks like a hand-painted flash print on cream paper, flat front view, centered, no skin, no words.
Prompt 4: dagger and rose
Create a traditional tattoo design of a dagger through a rose, thick consistent outlines, flat red and dark green fills, black whip shading on the blade, small white highlights on the petals. Portrait orientation sized for an upper arm, cream paper background, no text, no mockup.
Micro Realism
Micro realism is the hardest style to get right. Tiny soft detail looks beautiful on a screen and disappears on skin when the contrast is low. Ask for strong contrast and a moderate size.
Prompt 5: monarch butterfly
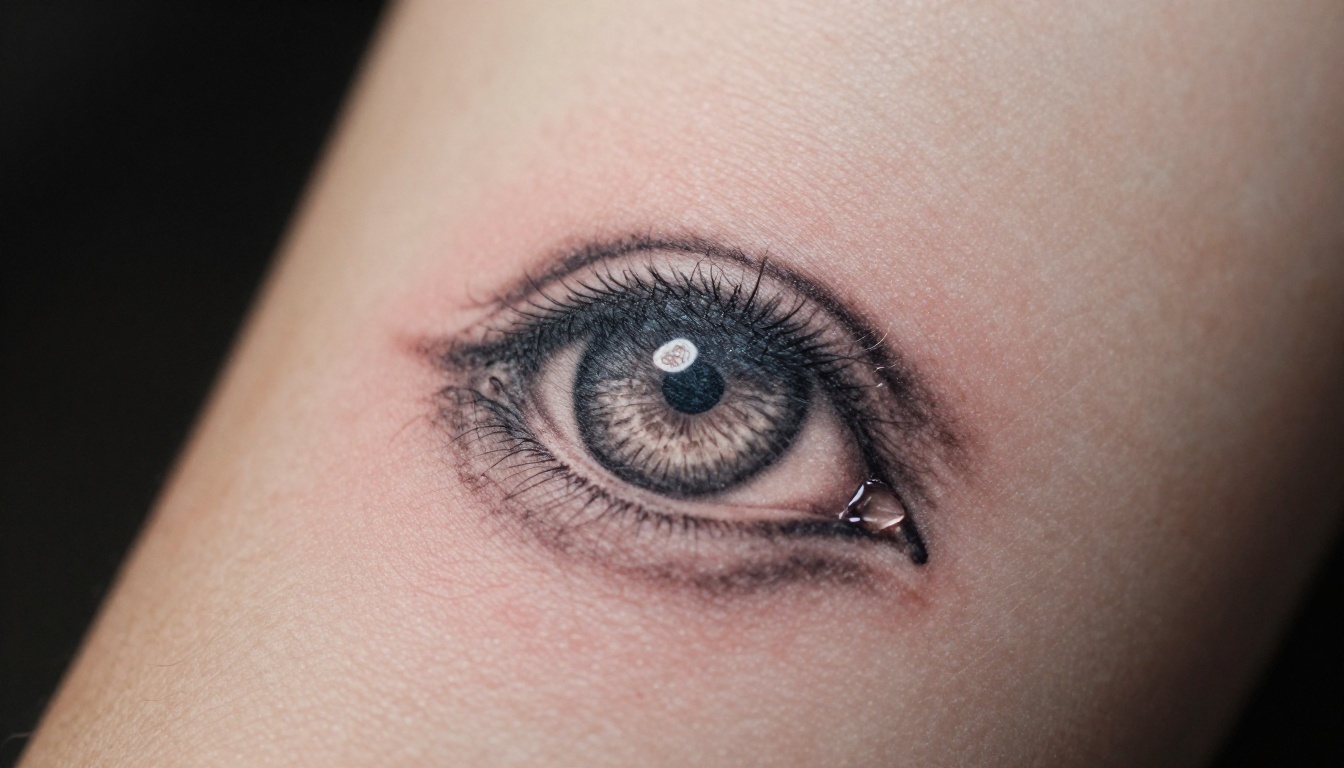
Make a micro-realism tattoo design of a monarch butterfly with open wings, soft black and grey shading, no outlines, smooth tonal gradients, natural wing vein detail. Sized as a 3 inch design for the inner forearm. Show it flat on a white background with high contrast so the tones are easy to read.
Prompt 6: pocket watch and rose
Create a black and grey realism design of a half-open pocket watch with a single rose resting on top, soft graphite-like gradients, no outline, strong contrast between deep blacks and bright highlights, simplified watch face with no numerals. Square composition, white background, no skin, no text.
💡 Contrast check: ask for "deep blacks and clean highlights." Low contrast designs are the first to fade as a tattoo ages.
Gemini Prompts to Copy
Gemini generates images with Google's Nano Banana models, and it feels most at home when you upload a photo and ask for an edit. For browser-based control, Nano Banana 2 and Nano Banana Pro are both on PicassoIA. Gemini does well with shorter, cleaner instructions, so the prompts below are more compact.
Minimalist Symbols
Minimalist designs are simple enough that the prompt is almost the whole job. The only real danger is the model adding decoration you did not ask for, so end with a short list of things to leave out.
Prompt 7: moon phases
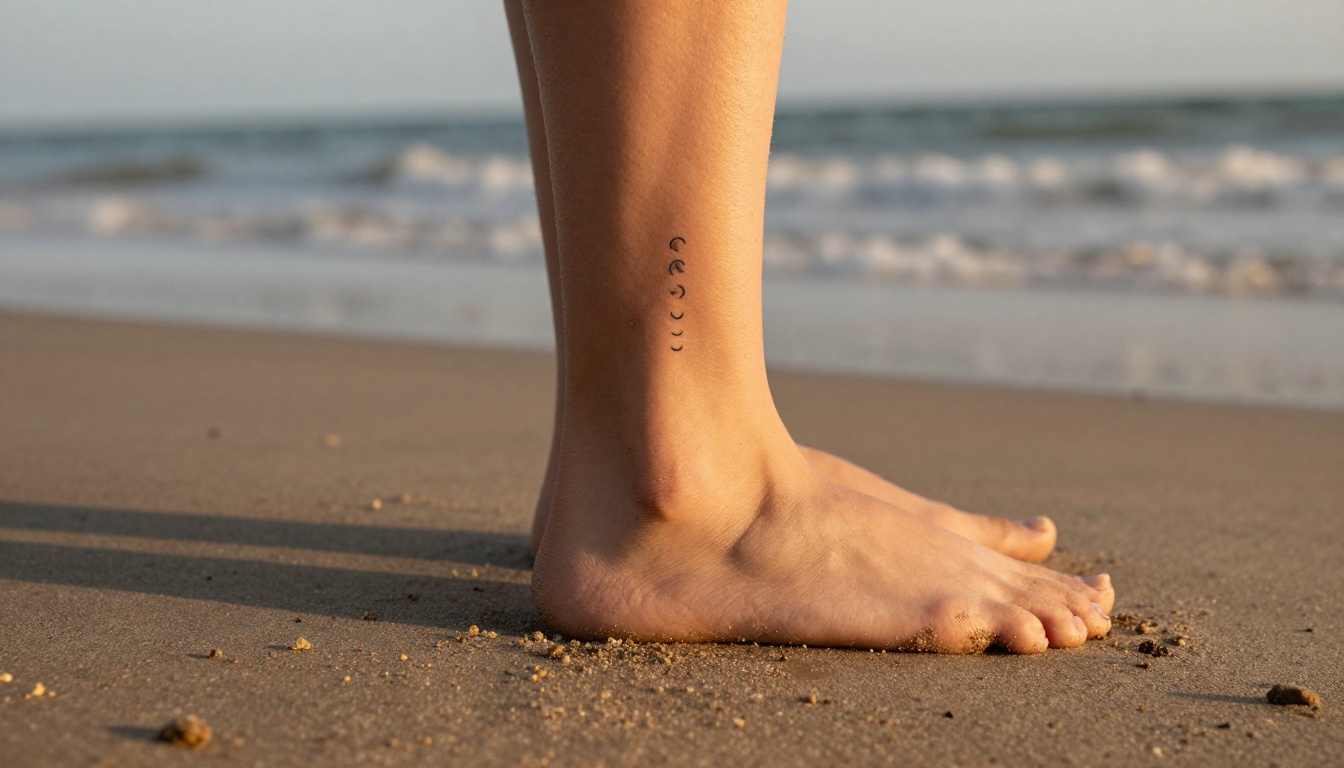
Design a minimalist tattoo of three crescent moon phases in a vertical line, drawn in a single thin black line of perfectly even weight, no shading, no fill. Tall narrow composition for the ankle, lots of white space, plain white background, no skin, no extra decoration.
Prompt 8: mountain and sunrise
Draw a continuous one-line tattoo design of a mountain range and a rising sun, one unbroken thin black line, no fills, small enough for the inner wrist. Centered on a pure white background, clean flat look, no text.
Blackwork and Dotwork
These styles reward symmetry and high contrast, which image models handle well. Describe the structure first (rings, petals, negative space) and the texture second.
Prompt 9: dotwork mandala
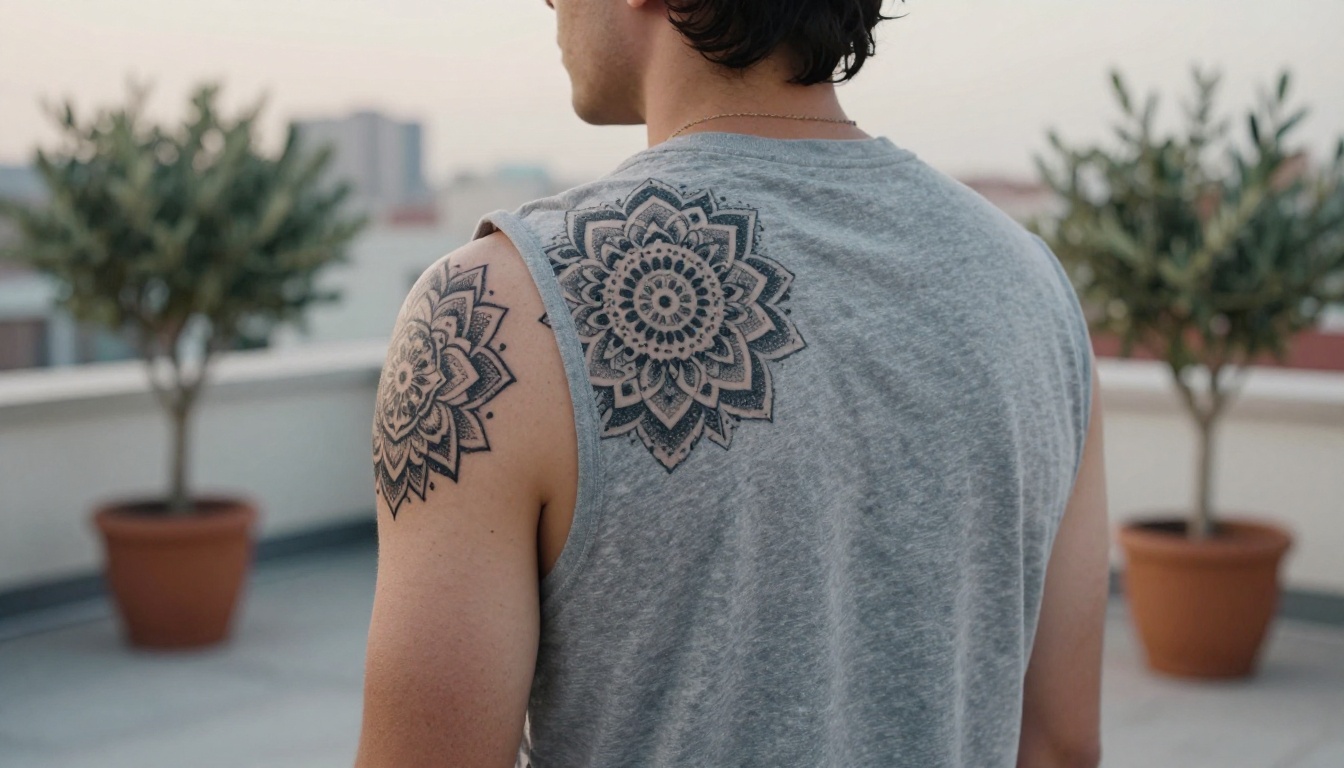
Create a dotwork mandala tattoo design, perfectly symmetrical, built entirely from black dots of varying density to create gradient rings, with a sharp geometric center of eight petals. Circular composition about 6 inches wide for a shoulder cap, pure white background, no color, no text.
Prompt 10: blackwork raven
Design a blackwork tattoo of a raven in flight, solid black masses with crisp negative-space feathers, bold clean edges, no gradients, no grey. Horizontal composition suited to a calf, plain white background, no mockup, no text.
Placement Mockups
This is where Gemini earns its spot in the workflow. Upload the finished design as a reference image, then ask for a realistic placement. Tell it to keep the design exactly as uploaded, otherwise it may redraw your lines.
Prompt 11: spine placement
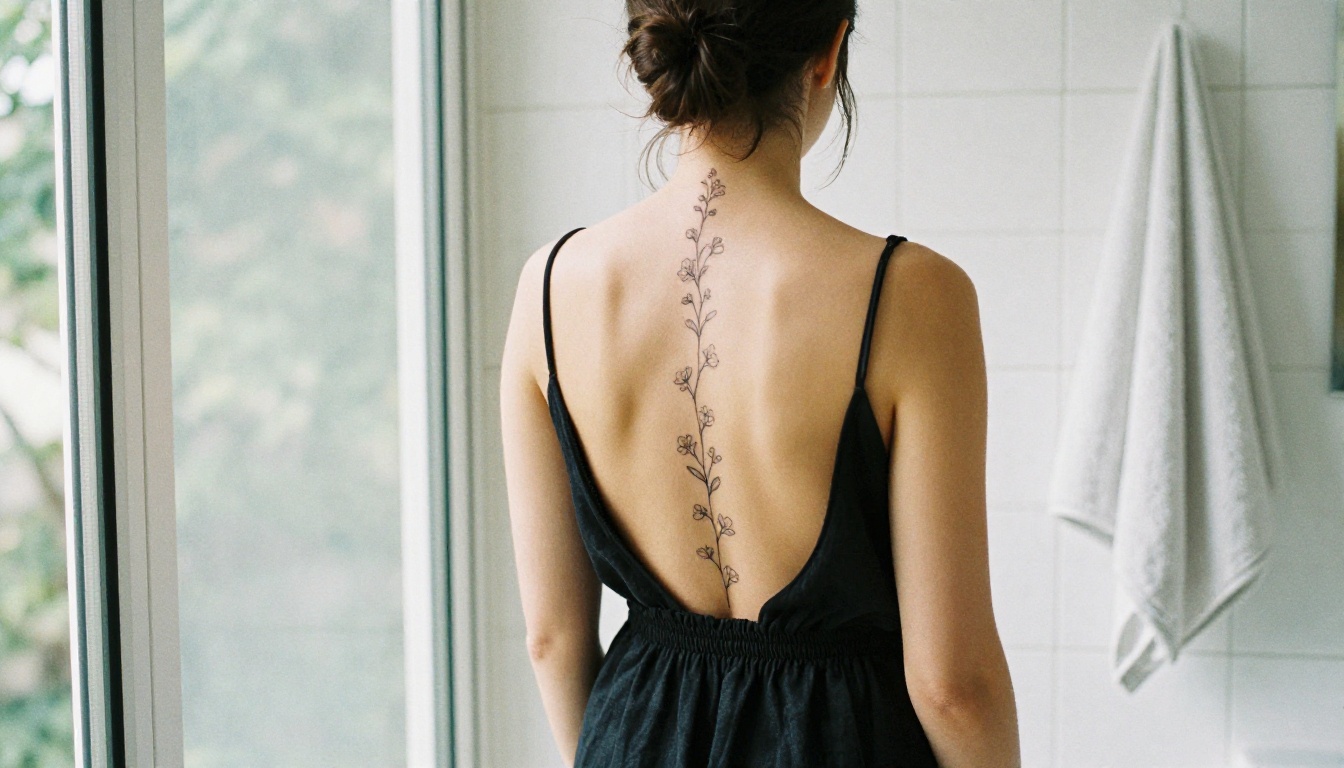
Using the attached design, place it as a realistic tattoo along a woman's spine, seen from behind. Ink sits in the skin with slight natural softness and follows the curve of the muscles. Soft window light, visible skin texture, tiny hairs and pores. Keep the design shape exactly as uploaded.
Prompt 12: healed forearm
Show the attached tattoo design on the outer forearm of a man, photographed in daylight. The ink looks slightly muted, as in a healed tattoo, and skin creases bend the lines naturally. Do not add details or change the proportions of the design.
ChatGPT vs Gemini Side by Side
Both tools change from release to release, so treat this table as tendencies rather than guarantees:
Task
ChatGPT
Gemini
Long, multi-part design briefs
Follows detailed instructions closely
Prefers shorter, cleaner prompts
Short words inside a design
Usually renders them cleanly
Usually fine, but check the spelling
Editing your own photo
Accepts uploads and edits them
Comfortable editing uploaded photos
Realistic skin mockups
Good with explicit "healed" wording
Good with a reference design attached
Fast iteration
Conversational tweaks
Conversational tweaks
A practical split: design in the tool that follows long briefs best, then mockup in the tool that keeps your uploaded design intact. Run the same prompt in both and keep whichever result has cleaner, more even lines.
You can also let a language model write the prompt for you. Paste your rough idea into GPT 5.4 or Gemini 3.1 Pro with this instruction:
Rewrite my rough idea as an image prompt for a tattoo design. Use these slots in order: subject, style, line weight, shading, composition and size for the body part, background and output. Keep it under 80 words and do not add any text to the design. My idea: a fox curled around a crescent moon, for my upper arm.
Using GPT Image 2 on PicassoIA
Running your prompts on GPT Image 2 through PicassoIA has one clear advantage: quality, ratio and batch size are visible settings instead of guesses.
Paste one of the prompts above into the Prompt field.
Swap the subject for your own idea and keep the other slots untouched.
Set the Options
Aspect ratio: 2:3 for forearm and rib pieces, 3:2 for calf and thigh pieces, 1:1 for mandalas and shoulder caps.
Quality: start with medium while you test ideas, then switch to high for the version you plan to print.
Background: keep it opaque for design sheets. Choose transparent when you want a cutout to drop onto a mockup.
Number of images: ask for 4 variations at once. Tattoo prompts have a lot of randomness, and the best line work is rarely in the first result.
Output format: PNG is the safest for printing a stencil reference.
Input images: upload a photo of your arm or back to build a placement mockup.
Check and Save
Zoom in before you save anything. Look for broken lines, fuzzy edges and details that merge together. If one small area is wrong, PicassoIA Image Editor Pro or Flux Kontext Pro can fix it with a short edit instruction, so you do not have to regenerate the whole design and lose the parts you liked.
From AI Image to Real Stencil
An AI design is a reference, not a blueprint. A good artist will redraw it for your body, your skin tone and the placement you chose. The cleaner your reference, the less guessing happens in that conversation.
Run this checklist before you book:
Zoom to 200%. Lines should be continuous, with no fuzzy halos or broken strokes.
Look for tiny gaps. Narrow spaces between shapes can close up as the tattoo heals.
Print at real size. Hold it against your arm or tape it on, then judge the proportions in a mirror.
Cut details you cannot see at arm's length. If you have to squint, the needle will struggle too.
Check for stray marks. Random text-like squiggles and extra lines are common in AI output.
Bring two or three variations instead of one. Ask your artist what they would change, and let them adjust it. Tattoos are permanent, so a licensed professional's judgment on placement, size and healing matters more than any prompt.
Try Your Own Tattoo Prompts
Pick one style from the cheat sheet, fill in the six slots, and generate four variations. Run the same prompt on GPT Image 2 and Nano Banana 2 on Picasso IA, and compare which one gives you the cleaner lines. Then change one slot at a time, such as the shading or the body part, and see how the design shifts.
The best tattoo ideas rarely arrive on the first try. They show up on the fifth or sixth variation, once the prompt says exactly what you picture. Start with one of the twelve prompts above, make it yours, and browse all PicassoIA models when you want to try a different look.