You have a photo that looks a bit flat, a deadline in ten minutes, and zero desire to create yet another account. That is exactly the moment the automatic photo editor online, free, without login earns its place. Drop the file in, tap one button, and the exposure, color and contrast get fixed before your coffee cools.
It sounds almost too easy, and in some ways it is. One-click editors are great at a narrow set of jobs and quietly bad at everything else. This article walks through what these tools actually do, what "free" and "no login" tend to cost you, the limits you will hit within the first few uploads, and which alternatives on PicassoIA take over when the auto button is not enough.
💡 Quick answer: Use a no-login auto editor for fast exposure and color fixes on a single photo. Switch to a prompt-based editor when you need to change content, remove objects, cut out a subject, or deliver a high-resolution file.
What "Automatic" Really Means
The word automatic gets stretched. Some tools run a fixed set of filters. Others run a small model that looks at your picture and picks adjustments for you. Both are sold as "one click," but the results differ a lot.
Presets Dressed as Intelligence
The simplest auto buttons apply a fixed recipe: raise brightness a little, add contrast, push saturation. The recipe is the same for a sunset and for a dim office selfie. You will see this in tools that give you instant results but very similar looking output every time.
Scene-Aware Auto Fixes
Smarter editors detect what is in the frame (a face, a sky, a plate of food) and adjust accordingly. Skin gets protected from oversaturation, skies get deeper, shadows get lifted. This is closer to what a human editor does in the first minute of a retouch.
Generative Editing
The newest group does not just adjust pixels. It rewrites parts of the image based on a short instruction, like "remove the person on the left" or "make the light warmer and softer." These are the AI image editors, and they behave very differently from a classic auto button.
How One-Click Edits Work
Behind the single button there are usually four or five small operations running in sequence. Knowing them helps you judge whether an auto edit improved the image or just changed it.
Auto Fix for Light and Color
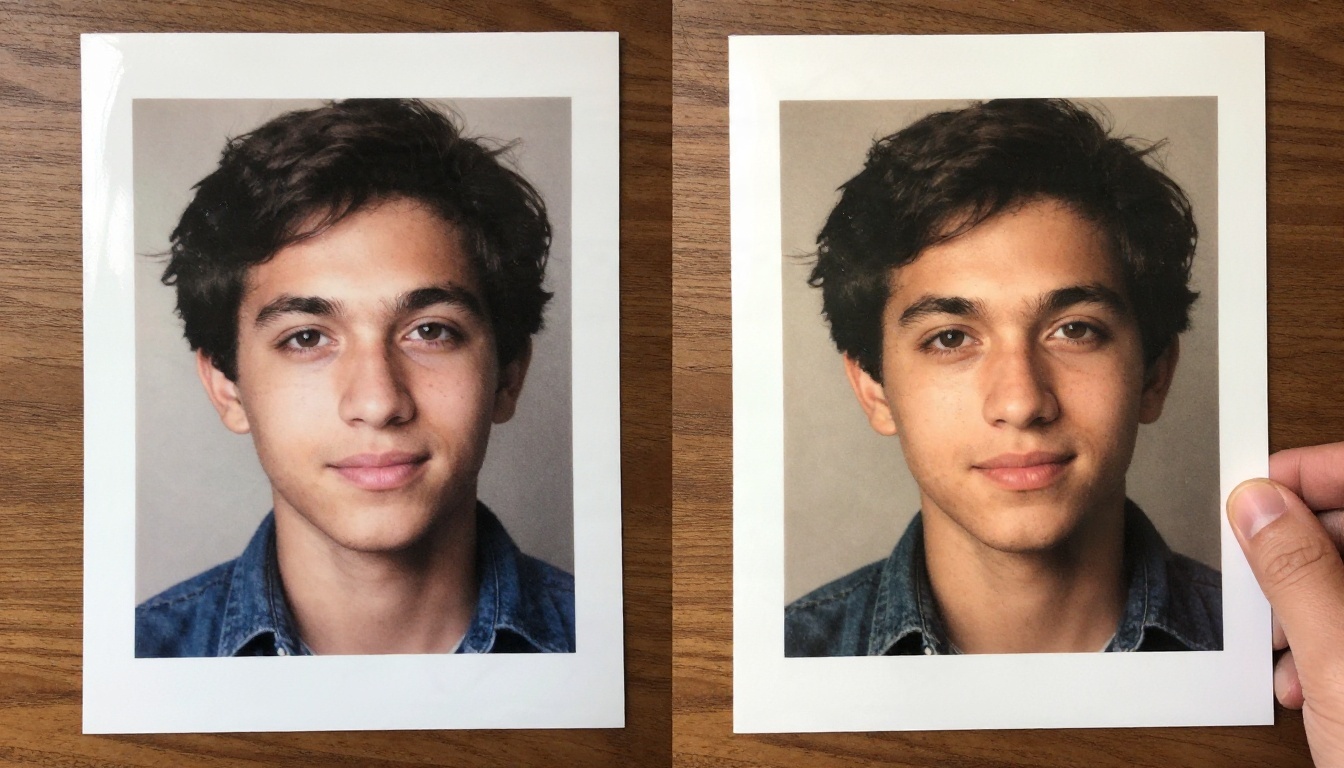
This is the core of every automatic photo editor. The tool reads the histogram (the spread of dark and bright pixels), stretches it so shadows are not muddy and highlights are not clipped, then nudges white balance toward neutral. On a typical underexposed phone photo, this alone is a visible win.
Auto Crop and Straighten
Many editors detect the horizon or strong vertical lines and rotate the image a degree or two. Some also suggest a crop based on the rule of thirds. It is a small change that makes a photo feel intentional.
Noise and Sharpness Cleanup
Low light photos pick up grain. Auto tools apply gentle noise reduction and a touch of sharpening. Push this too far and skin turns waxy, so check faces at 100% zoom after the edit.
Background Removal in One Tap
Cutout buttons have become standard. They work best on clear subjects with good edge contrast. Hair, glass and semi-transparent fabric are still where they slip.
| One-click action | Best for | Weak spot |
|---|
| Auto light and color | Underexposed or flat photos | Photos with intentional moody tones |
| Auto straighten | Landscapes, architecture | Scenes with no clear horizon |
| Noise cleanup | Night and indoor shots | Faces, fine textures |
| Background cutout | Products, portraits | Hair, glass, busy backgrounds |
| Generative fix | Removing objects, changing content | Consistency and fine detail |
Free Without Login: What You Get
Skipping the sign-up is a real convenience. It also shapes what the tool can offer, because the provider has no account to attach limits, history or billing to.
Where the Catch Usually Hides
Free, no-login editors often make money in one of three ways: watermarks on export, ads around the canvas, or a paywall on the download button. Some let you edit freely and only ask for payment at the last step. Check the terms before you spend ten minutes on a retouch.
💡 Test before you commit: Upload a throwaway image first and run the export. If the output has a mark, a size cap, or a login prompt, you will know in thirty seconds instead of ten minutes.
Watermarks and Export Limits
A watermark is the obvious one. Less obvious is a quiet resolution cap, where your 4000 pixel photo comes back at 1080 pixels. That is fine for a social post and a problem for a print or a product listing.
Privacy Before You Upload
No login does not mean no storage. Your photo is still sent to a server, processed, and sometimes kept for a short period. Do not upload documents, IDs, private family photos or client work unless the tool states clearly how long files are retained and whether they are used for training.
A simple rule: if you would not email it to a stranger, do not run it through a tool whose privacy page you have not read.
Limits You Will Hit Fast
Every one-click editor has a ceiling. Here are the walls people run into most.
Resolution Caps
Free tiers commonly reduce output size or compress heavily. If you need a sharp file after the edit, run it through an upscaler such as Real ESRGAN or Clarity Pro Upscaler. Both are built for adding detail rather than just stretching pixels.
When Auto Edits Look Wrong
Auto correction assumes a "normal" photo. A candlelit dinner, a neon street at night, a deliberately dark portrait: these all get pushed toward a bland middle. If the result looks flat or oddly bright, undo it and make a manual adjustment on exposure only.
No Control Over Content
A classic auto editor cannot remove a trash can from your vacation photo, swap a gray sky for a blue one, or fix a closed eye. For those, you need an editor that understands instructions.
Batch and Consistency Problems
Editing one photo is easy. Editing forty product shots so they look consistent is not. Auto buttons make a fresh decision for every upload, so brightness and color drift from image to image.
Alternatives When One Click Falls Short
When the auto button disappoints, you have two sensible routes: a prompt-based AI editor for content changes, and specialist tools for cutouts and upscaling. PicassoIA hosts several, and each model has its own page where you can read the details and try it.
Prompt-Based Editing
Instead of sliders, you describe the change in plain English. These editors take your photo plus a short instruction and return a new version.
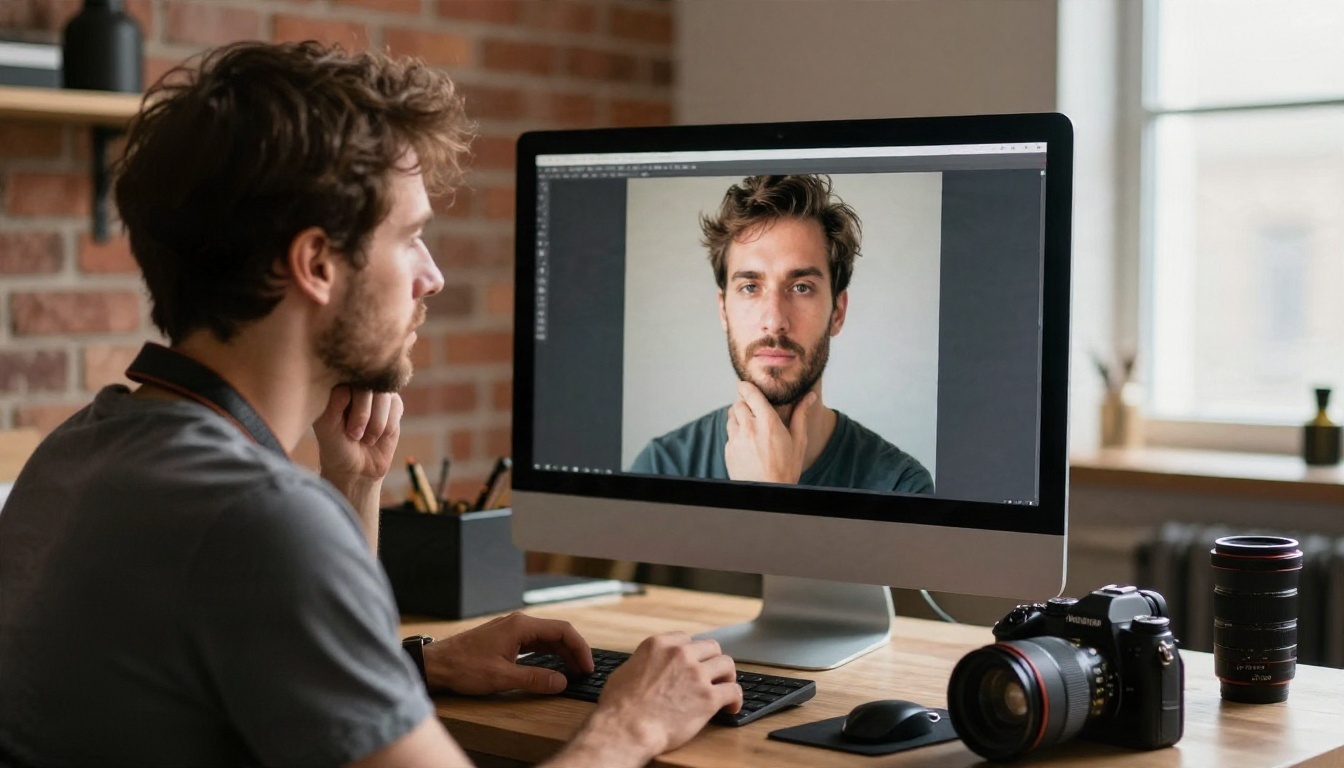
- PicassoIA Image Editor Pro is built as an unlimited AI photo editor online, which suits anyone who wants to iterate many times without watching a counter.
- Qwen Image Edit Plus handles everyday edits such as changing clothing color, adjusting lighting, or cleaning a background.
- Qwen Image Edit 2511 is a good pick when you want to change one thing and leave the rest of the photo alone.
- Nano Banana is popular for fast edits that keep a person's face recognizable across changes.
Cutouts and Upscaling
For product photos, a dedicated background tool beats a general editor. Remove Background gives clean subject edges and a transparent result you can drop onto any backdrop. Pair it with Upscaler when the final file needs to be larger than the original.

Restoring Old Photos
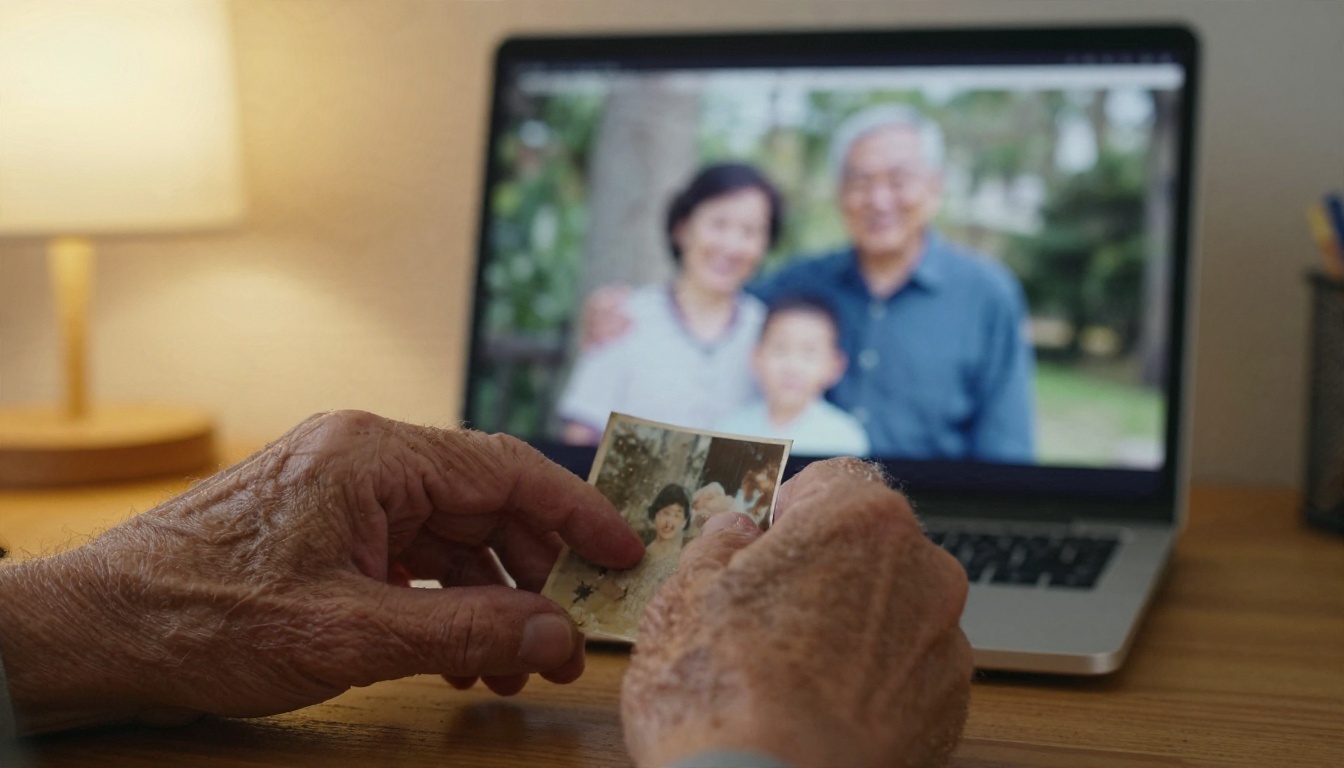
Scratches, fading and torn corners are beyond what an auto light fix can handle. A generative editor can reconstruct missing areas, and an upscaler can bring back fine detail afterward. Scan the print at a high resolution first, since the quality of the scan sets the limit for the result.
Generating a Fresh Base Image
Sometimes the better edit is a new picture. If your original is unusable, a text-to-image model like Seedream 4.5 can generate a high-resolution replacement from a written description, and you can then refine it with an editor.
A Five-Step Workflow That Works
This order saves time and avoids the classic mistake of upscaling a bad edit.
Step 1: Back Up the Original
Keep an untouched copy. Every automatic edit is a guess, and you want a way back.
Step 2: Run the Auto Fix First
Start with the one-click light and color correction. It handles the boring 80% in seconds. Look at the result at full size, not in a thumbnail.
Step 3: Fix Content With a Prompt
If something in the frame needs to change, move to a prompt-based editor. Keep instructions short and specific: "remove the bicycle on the right, keep everything else the same" works better than a long paragraph.
Step 4: Cut Out or Replace the Background
For product or profile photos, run the cutout step after your content edits, not before. Edits made on a cutout are harder to blend.
Step 5: Upscale Last
Upscaling goes at the end of the chain. If you enlarge first and then edit, you multiply any flaws.
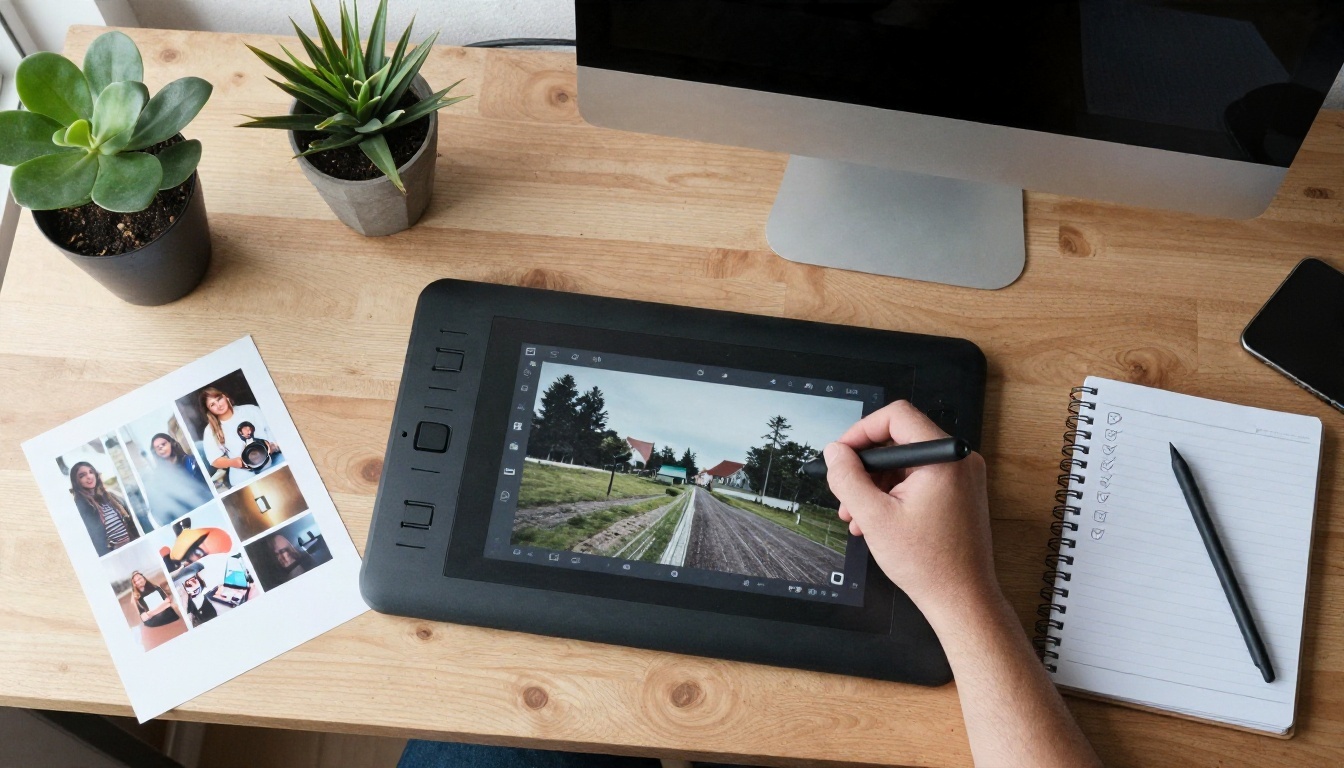
💡 Prompt tip: Name what must stay the same. "Brighten the room, keep her face, hair and clothing unchanged" gives the model a boundary and reduces surprise changes.
Use this table as a shortcut when you are deciding where to upload.
| Your goal | Start with | Why |
|---|
| Brighten a dull phone photo | Free no-login auto editor | Fast, no setup |
| Remove a stranger from a travel shot | Qwen Image Edit Plus | Understands instructions |
| Many edits without a counter | PicassoIA Image Editor Pro | Unlimited generations |
| Marketplace product photo | Remove Background | Clean transparent cutout |
| Small photo that must be printed | Real ESRGAN | Adds detail at 4x |
| Keep a face consistent across edits | Nano Banana | Strong identity retention |
A Short Checklist Before You Export
- Is the file size what you need for the final use?
- Do skin tones look natural at 100% zoom?
- Are there halos around the edges of any cutout?
- Did the auto fix flatten an intentional mood?
- Is there a watermark in a corner you missed?
Try It on Your Own Photos
A free automatic photo editor with no login is the right first stop for a quick brightness and color fix. It is not the right last stop when you need a clean cutout, a removed object, a restored print or a sharp high-resolution file.
Pick one photo that has bugged you for a while and run it through the chain above. Start with an auto fix, then try PicassoIA Image Editor Pro for the content changes, and finish with Real ESRGAN if you need more pixels. Check each model page for its current limits and sign-in requirements, since these can change.
Want to see everything available? Browse the full lineup at picassoia.com/en/all-models, pick a model, and experiment with your own pictures today.


