Changing what an anime character wears sounds simple until you're knee-deep in Photoshop layers at 2 AM, cursing at wrinkle physics and inconsistent lighting. AI changed all of that. The right model can swap a school uniform for battle armor, replace a kimono with a gothic lolita dress, or add intricate embroidery detail to fabric that was never there, and it does it in seconds.
This article covers every serious AI tool available right now for editing anime character outfits. Not the vague "use Stable Diffusion" advice you will find on Reddit. Actual models, actual workflows, and the specific reasons each one earns its spot on this list.
Why Outfit Editing Is Hard for AI
Before picking a tool, it helps to know what makes anime outfit editing uniquely difficult.
Character Identity vs. Wardrobe Change
The challenge is keeping who the character is intact while changing what they wear. AI models that work well for general image editing often ruin anime-specific features like exaggerated eyes, signature hair colors, or stylized body proportions when they start repainting clothing regions. You need a tool that knows where the character ends and the costume begins.
Fabric Physics and Layering
Real fabric drapes, folds, and catches light in predictable ways. Anime outfits often exaggerate these properties. The best AI tools have learned from millions of fashion images and can reproduce things like:
- Pleated skirt geometry under different poses
- Silk sheen vs. matte cotton reflection
- Layering logic (blouse under jacket, belt over skirt)
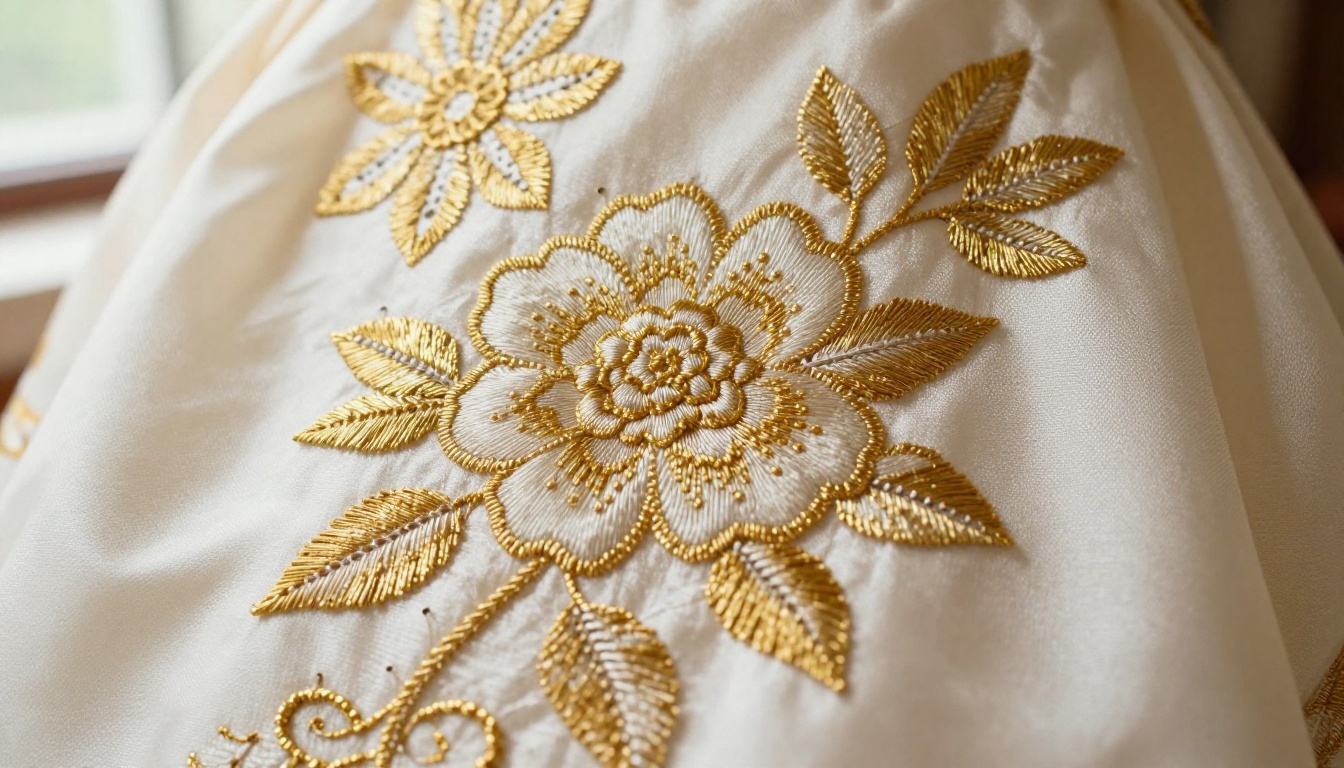
- Embroidery and trim detail at high resolution
Miss any of these and the edit looks immediately fake.
Prompt Sensitivity
Anime outfit editing requires surgical prompting. Too vague and you get a costume that clashes with the character's existing color palette. Too specific and some models choke on the complexity. The tools below handle this spectrum in very different ways.
1. P Image Try On: Virtual Outfit Fitting
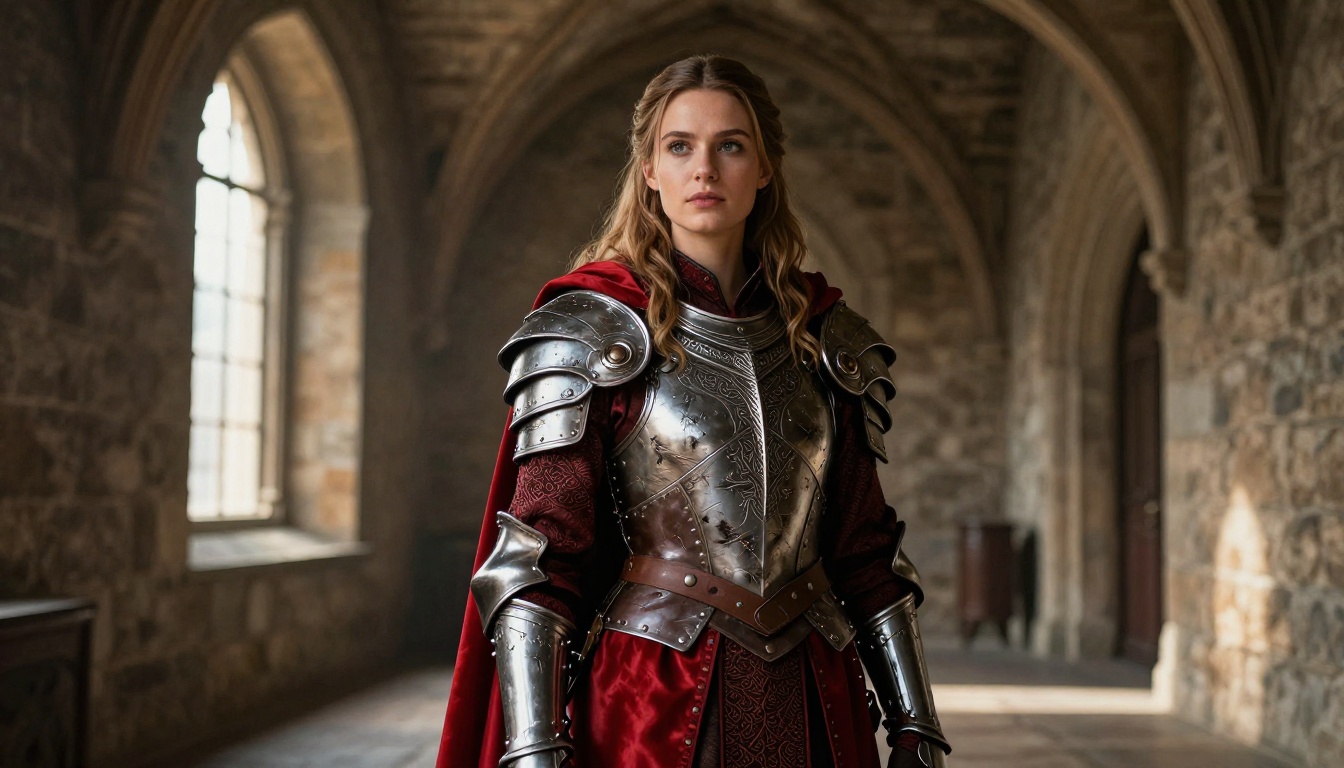
P Image Try On is built specifically for clothing placement on characters. You upload a character image, describe the outfit you want, and the model fits it to the existing body shape and pose. Unlike general inpainting, it understands garment geometry — a jacket has two sleeves, a collar, and a hem, not just "fabric in the upper area."
It performs especially well with:
- School uniforms and structured clothing with clear geometric rules
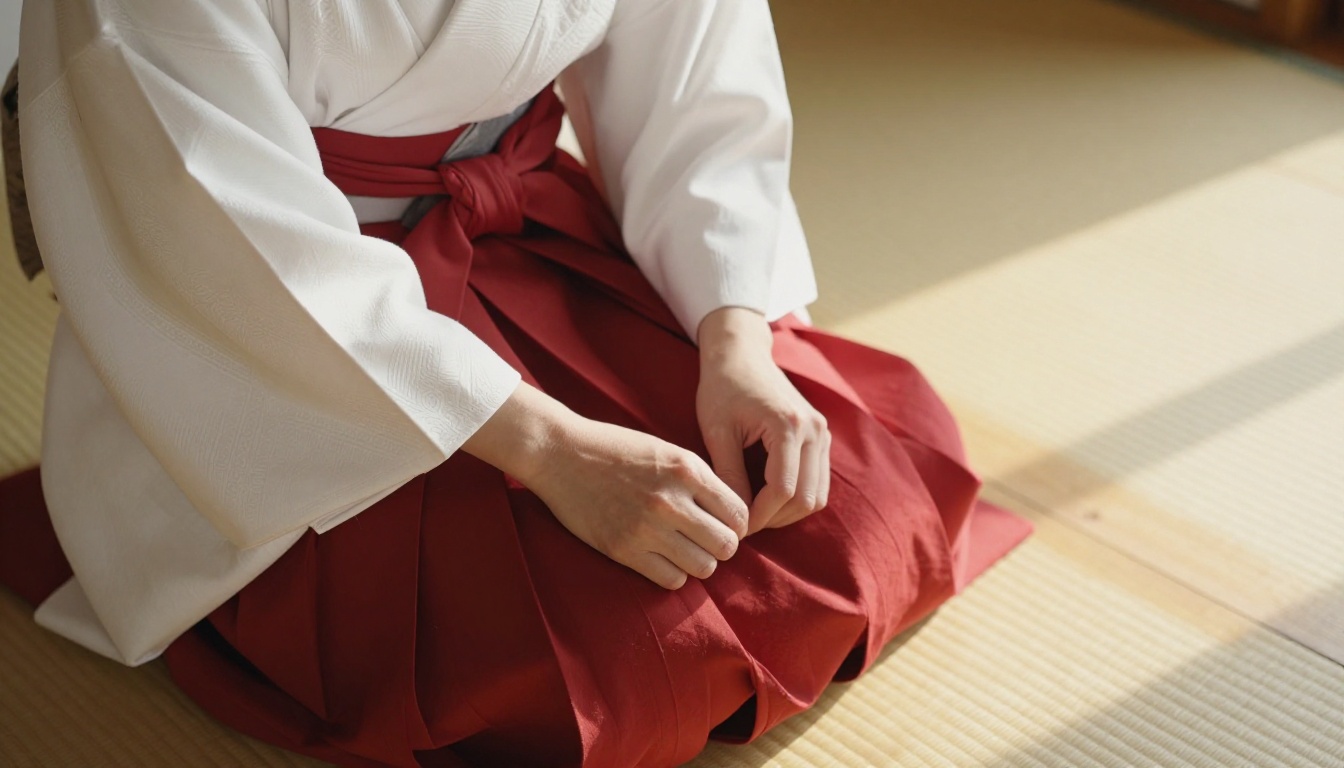
- Traditional Japanese garments (yukata, kimono, hakama)
- Modern casual wear that needs to match real-world fabric behavior
💡 Tip: Feed P Image Try On a front-facing character image for the cleanest results. Angled poses introduce more variation, useful for creativity but trickier for precision.
2. GPT Image 2.5 Sunburst: Instruction-Following Edits
GPT Image 2.5 Sunburst is not just a generator. It takes natural-language edit instructions and applies them with remarkable accuracy. Tell it "replace the school uniform with a red velvet evening gown keeping the same pose and lighting" and it does exactly that without demolishing the rest of the image.
What separates it from the pack:
| Feature | GPT Image 2.5 Sunburst | Standard Inpainting |
|---|
| Natural language edits | Yes | Requires complex masking |
| Pose preservation | Strong | Varies |
| Lighting consistency | Excellent | Often drifts |
| Resolution output | 2K | Typically 512-1024px |
| Multi-region edits | Yes | Usually single region |
This model shines when you have a specific vision and want to describe it conversationally rather than engineer a precise prompt.
3. Reve 2.1: Style Control at Scale
Reve 2.1 gives you fine-grained style control. You can specify not just the outfit but the aesthetic register it belongs to. That distinction matters enormously for anime outfits, which exist on a spectrum from shonen battle armor to soft shoujo fashion.
Reve 2.1 handles:
- Genre consistency — outputs that feel like they belong in the same visual world as the source character
- Color palette matching — the new outfit naturally harmonizes with existing character colors
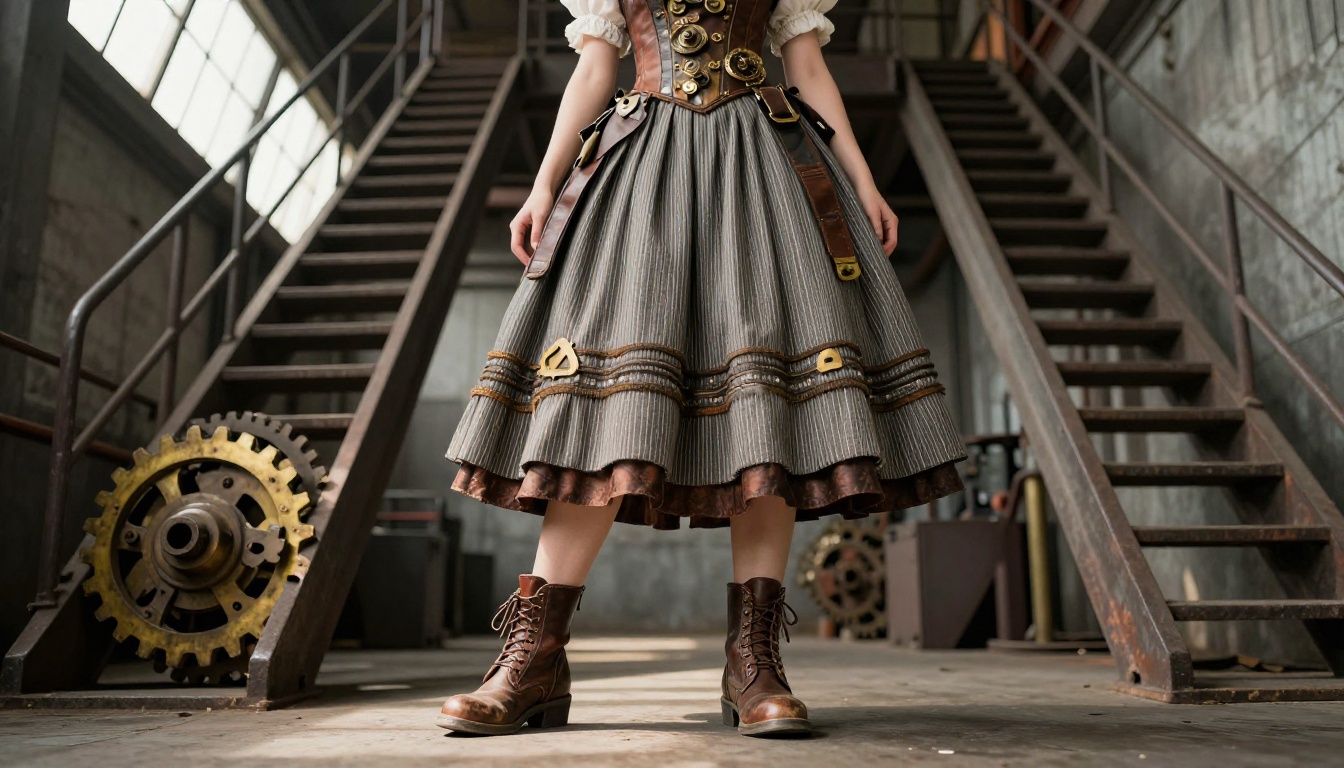
- Texture diversity — silk, velvet, leather, cotton, chainmail, all rendered with distinct material properties
If you are working on cosplay references or want to pitch outfit concepts to an illustrator, Reve 2.1 produces the clearest, most consistent results for iterating through variations.
4. Seedream 5 Pro: High-Fidelity Detail
Seedream 5 Pro by ByteDance generates at native 2K resolution, which means fabric texture, embroidery, and trim detail stay sharp even when you zoom in. For anime characters with intricate outfit designs, that level of fidelity matters.
💡 Detail trick: Include specific material descriptors in your prompt — "brushed linen", "heavyweight denim", "raw silk charmeuse" — and Seedream 5 Pro will render them with material accuracy that cheaper models simply cannot match.
Best for:
- Complex ceremonial or fantasy outfits with multiple material layers
- Hero character outfits that will be used as reference art
- Any workflow where you need print-ready or poster-quality output
5. Qwen Image 3 Pro: Fast Iteration
Qwen Image 3 Pro by Alibaba is the tool you reach for when you need to generate 20 outfit variations in 30 minutes. It is not the highest fidelity option, but it is remarkably consistent across iterations and fast enough that you can actually explore the design space.
The workflow: generate a base character once, then iterate on just the outfit prompt across Qwen Image 3 Pro. You get directionally accurate results fast, which lets you eliminate bad ideas and double down on the good ones before committing rendering time to a slower, higher-quality model.
6. Ideogram v4 Quality: When Text Labels Matter
Ideogram v4 Quality has one specific superpower that no other model matches right now: it renders text on clothing accurately. If your anime character needs a school emblem on a blazer, a clan symbol on a jacket, or a readable patch on a uniform, this is the only model that will do it without producing corrupted placeholder text.
Use case examples:
- Guild emblems on fantasy robes
- School crests on uniform breast pockets
- Sports jersey numbers or names
- Faction insignia on military-style outfits
7. Grok Imagine Image 2: Multi-Turn Refinement
Grok Imagine Image 2 by xAI supports multi-turn refinement natively. You generate an outfit, see what is off, describe the correction, and it applies it to the same image rather than generating from scratch. This conversation-based workflow eliminates the "good enough or restart?" dilemma that plagues single-shot generators.
For outfit editing specifically, this means you can iterate like this:
- Generate character with basic outfit
- "Add a fur-trimmed hood to the cloak"
- "Make the boots knee-high and add buckle straps"
- "Deepen the blue to navy and add silver piping along the seams"
Each correction builds on the last without losing ground.
How to Use P Image Try On on PicassoIA
P Image Try On is the most direct route to anime outfit editing on PicassoIA. Here is a step-by-step workflow that consistently produces clean results.
Step 1: Prepare Your Character Image
Upload a clear, well-lit image of the character. Front-facing or slight three-quarter angle works best. Make sure the full body is visible. Cropped images cause the model to make assumptions about lower clothing that are rarely accurate.
Step 2: Write the Outfit Prompt
Be specific about:
- Garment type: "pleated high-waist skirt", not "skirt"
- Material: "velvet with matte finish", not "fancy fabric"
- Color: "cobalt blue", not "blue"
- Trim and detail: "white lace collar with scalloped edge", not "fancy collar"
- Fit: "oversized cardigan with dropped shoulders", not "cardigan"
Step 3: Adjust the Influence Slider
PicassoIA's implementation includes an influence slider that controls how aggressively the model replaces vs. blends. For outfit swaps, start at 0.7. For texture additions to an existing outfit, go 0.4 to 0.5.
Step 4: Upscale the Result
Run the output through PicassoIA's super-resolution tools to bring the final image to print-ready quality. The difference at 4x upscale is significant. Fabric weave and trim detail that looks soft in the base output becomes sharp and convincing.
💡 Pro move: Generate three variations at slightly different influence values (0.6, 0.7, 0.8), then cherry-pick the best elements from each. This beats prompting from scratch every time.
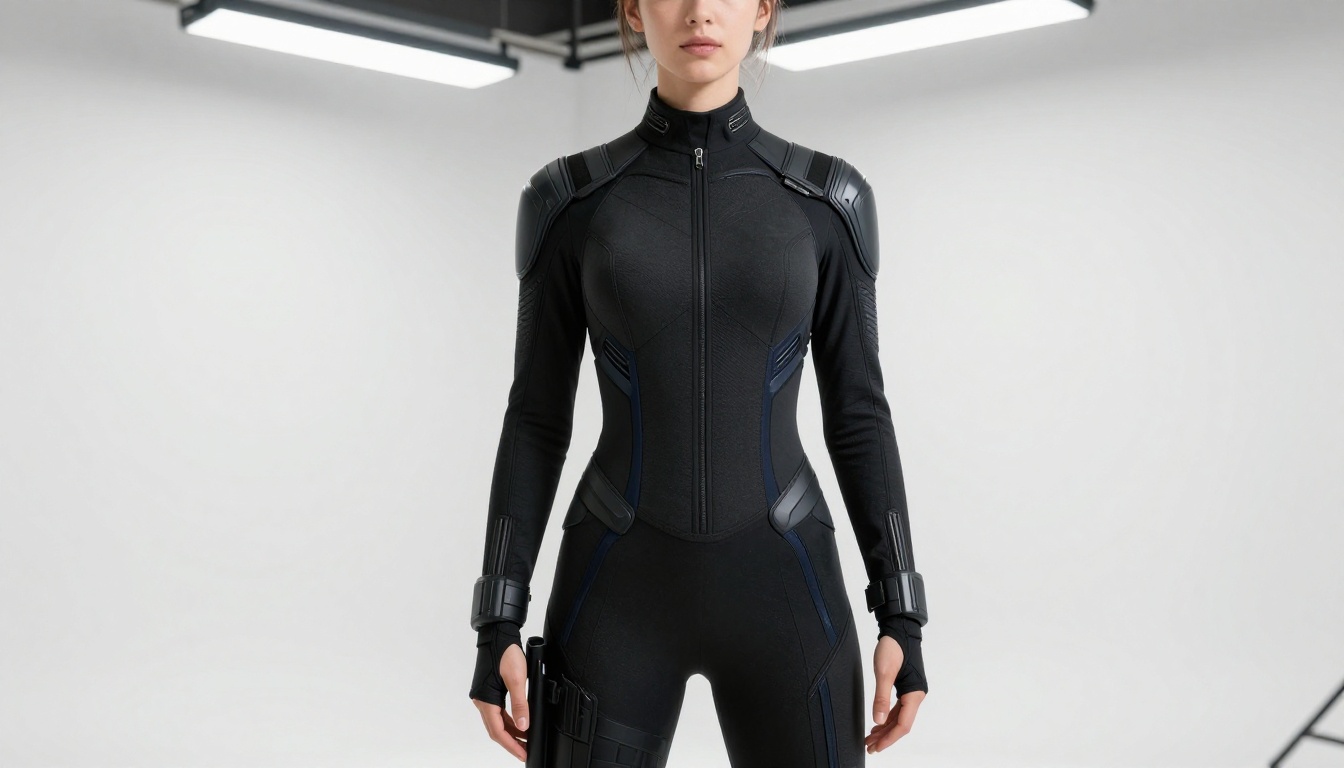
Outfit Types and the Models That Handle Them Best
Not all anime outfits are created equal. Here is a breakdown by outfit category with the tool that handles it best.
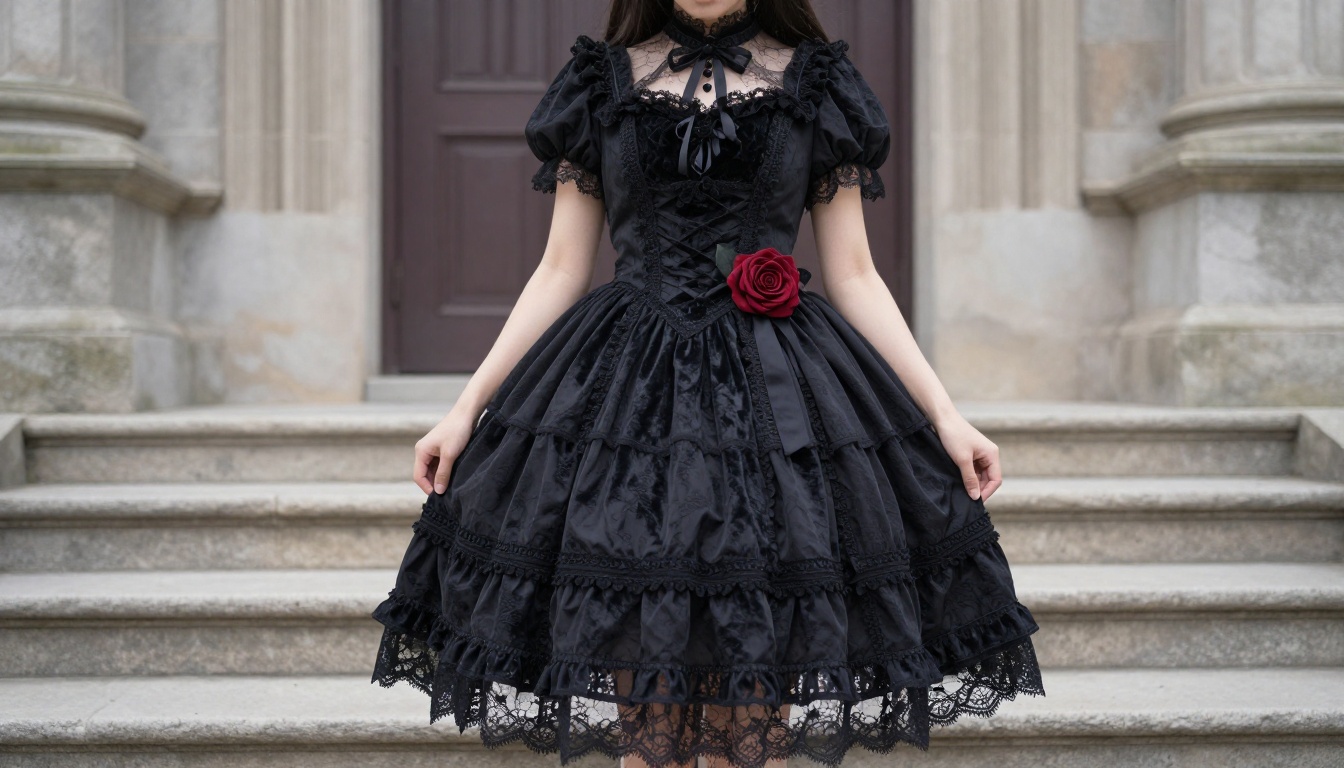
School Uniforms and Contemporary Fashion
School uniforms, blazers, sailor uniforms, gym clothes, casual streetwear, these are the most prompt-tested category in anime generation. The models have seen millions of training examples and perform at their best here.
Top pick: P Image Try On for direct swaps, Reve 2.1 for stylistic variation.
Battle Armor and Fantasy Gear
Intricate plate armor, leather armor sets, fantasy robes, capes with complex trim. These demand models that can handle material diversity without defaulting to generic "shiny" or "dark" outputs.
Top pick: Seedream 5 Pro for material fidelity, GPT Image 2.5 Sunburst for complex multi-part armor descriptions.
Traditional Japanese Garments
Kimono, yukata, miko outfits, samurai hakama, shinobi garb. These have strict visual rules about how fabric wraps and drapes that generic AI often gets wrong.
Top pick: Reve 2.1 for pattern accuracy, P Image Try On for silhouette fidelity.
Magical Girl and Fantasy Costumes
Layered skirts, star and heart motifs, wand accessories, pastel color palettes with sparkle accents. These outputs benefit from a model that can balance volume and delicacy simultaneously.
Top pick: Qwen Image 3 Pro for fast concept exploration, Seedream 5 Pro for final renders.
3 Prompting Mistakes That Ruin Outfit Edits
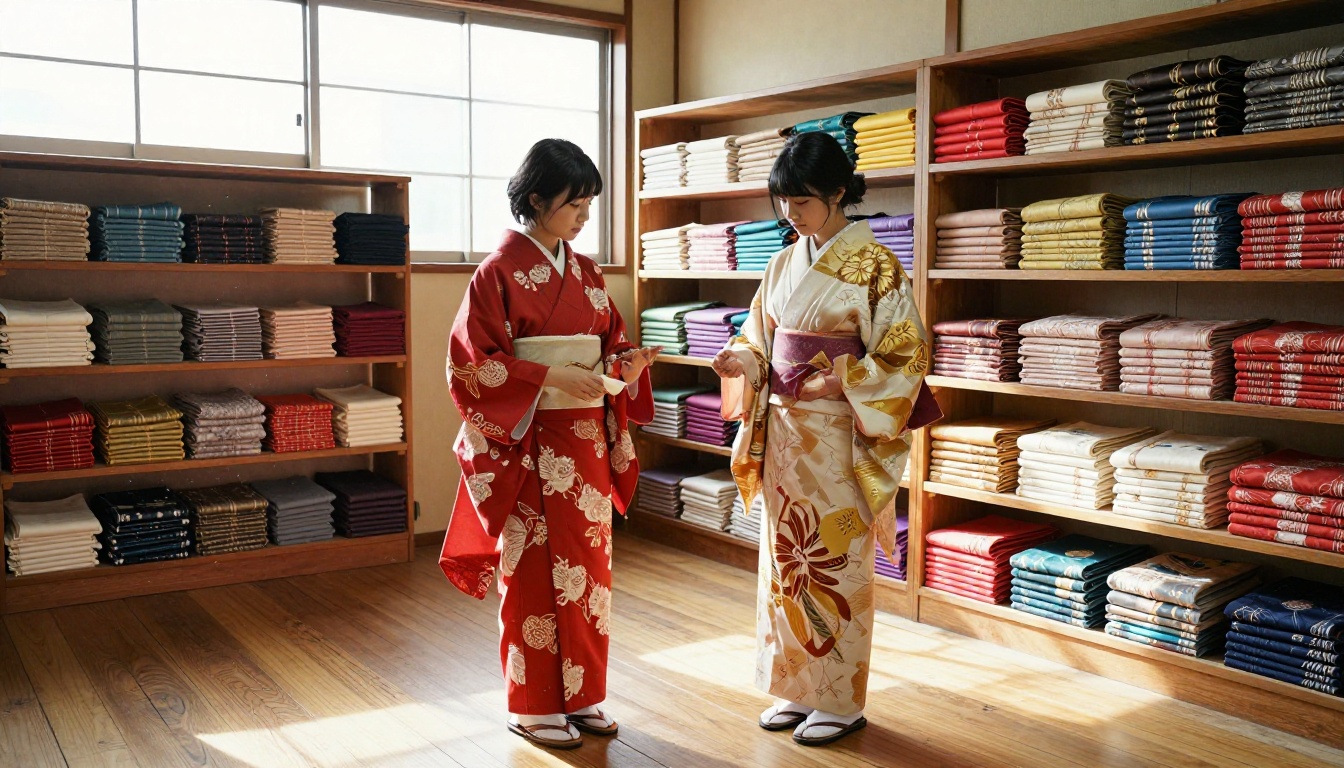
Mistake 1: Describing the whole character, not just the outfit. When you include hair color, eye color, and face description in an outfit edit prompt, the model treats it as a full-body regeneration. Keep outfit prompts focused on garment-specific language.
Mistake 2: Using vague material terms. "Shiny fabric" means nothing to an AI model. "Polished silk charmeuse with a cold metallic undertone" means a lot. Specificity in material description is the single biggest lever for output quality.
Mistake 3: Ignoring lighting consistency. If your source character image has soft overhead lighting and your outfit prompt references "dramatic side lighting," the garment will look pasted on. Match the lighting direction in your prompt to the existing scene.
Upscaling Your Finished Outfits
Generating at 1K to 2K and then upscaling is a better strategy than trying to generate at maximum resolution from the start. You can iterate faster on smaller outputs and only spend rendering time on the best results.
PicassoIA's super-resolution models give you 2x and 4x upscaling that preserves fabric texture and adds micro-detail rather than blurring it. After running a Seedream 5 Pro generation through super-resolution at 4x, you end up with poster-quality art that holds up at full size.
💡 Print quality benchmark: For most display contexts, 2K output upscaled 2x lands you at 4K. That is the practical ceiling for screen and web use. For print or merchandise, upscale 4x from the highest native resolution available.
Start Editing Anime Outfits on PicassoIA
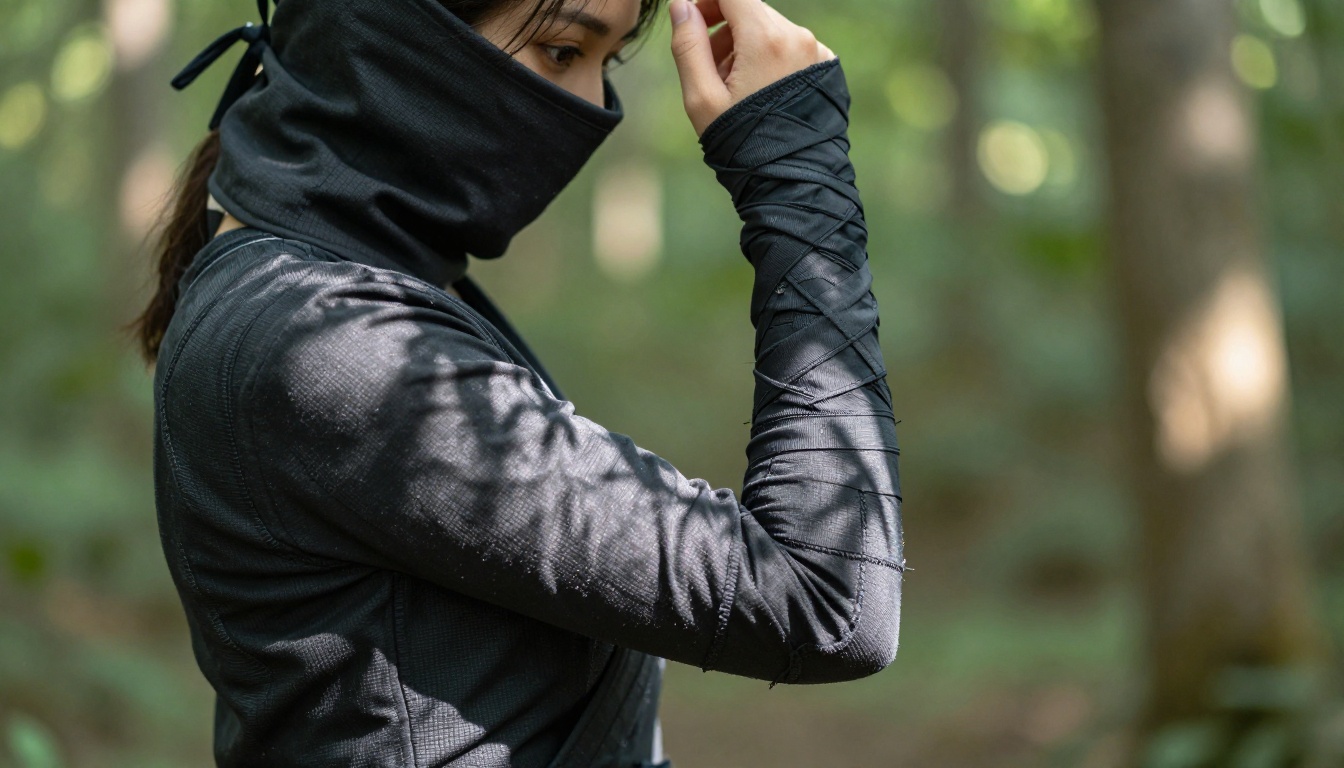
Every model covered in this article is available now at PicassoIA. You do not need to juggle multiple platforms or manage local installations. P Image Try On is a single click away from your first outfit swap, and the entire model library is waiting at picassoia.com/en/all-models.
Start with a character you know. Pick one outfit concept. See what Reve 2.1 does with it, then push the same concept through Seedream 5 Pro for the final version. The speed-to-quality ratio is difficult to match anywhere else.
The only thing left is to actually try it.


