If you have been putting off making AI videos because you assumed it would be complicated, the tools available right now make that hesitation look ridiculous. You type a sentence, you wait 20 to 60 seconds, and a fully rendered video clip appears. No timeline. No keyframes. No editing degree required.
The real challenge is picking the right generator from a list that keeps growing. Some tools produce blurry, slow-motion outputs that look nothing like the preview. Others are locked behind paywalls that only make sense if you already know what you are doing. This article cuts through all of that and shows you exactly which AI video generators are worth your time right now, whether you want to start free or jump straight to the best quality available.

What to Actually Look For
Before picking a tool, it helps to know what separates a beginner-friendly AI video generator from one that wastes your time.
Ease of use first, features second
The best generators for beginners have one input: a text box. You describe what you want to see, hit generate, and the model handles everything else. Aspect ratio, motion speed, camera angle, lighting. You do not need to configure those manually when you are starting out.
What makes a tool beginner-friendly:
- Single text prompt input with no required settings
- No account required, or a free tier that produces real downloadable output
- Results in under 60 seconds
- Output you can save immediately without watermarks
Some platforms bury these basics behind settings panels or force you to upload reference images before you can do anything. Skip those until you know what you want to make.
Free vs paid: what the gap actually looks like
Free models generate shorter clips, sometimes at lower resolution, and occasionally add watermarks. Paid models produce longer clips, sharper detail, and in some cases include synchronized audio generated alongside the video. The gap matters more for content you plan to publish than for experimenting.
💡 Start free. Generate 10 clips. Once you see what kind of content you make most often, then decide if the premium quality is worth it for your specific use case.
The Best Free AI Video Generators Right Now
Free does not mean low effort anymore. These models produce clips that would have cost serious money to generate just two years ago.
Seedance 2.5 Lite: unlimited with no watermark
Seedance 2.5 Lite is the standout free option right now. It generates clips up to 10 seconds, handles both text prompts and image inputs, and outputs without a watermark. The model is fast, with most clips returning in under 40 seconds.
What makes it feel premium despite being free is the motion quality. Camera movements look intentional. Subjects move fluidly rather than flickering or drifting. For someone making their first AI video, this is the best place to start.
What you get for free with Seedance 2.5 Lite:
- Up to 10-second clips
- Text-to-video and image-to-video input modes
- No watermark on output
- Unlimited generations
- Fast processing under 40 seconds
PicassoIA Video: the zero-limit option
PicassoIA Video is built for volume. No credit cap, no daily limit. It handles both text and image inputs and outputs cleanly formatted video clips you can use immediately.
For someone who wants to practice prompting without watching a credit counter tick down, this is the most stress-free option on the list. The quality is solid for short social content, reference clips, and rapid-iteration testing.
Ray Flash 2 720p: Luma's free tier
Ray Flash 2 720p is the accessible version of Luma's Ray series, and it punches above what most people expect from a free model. Output at 720p means you can actually use the clips in content without scaling artifacts showing up.
The model is particularly strong on environmental scenes: landscapes, interiors, natural movement like water and foliage. If your content involves scenic shots or atmospheric visuals, this earns its spot in the rotation.
Premium Models Worth Every Credit
Once you know what you want to make, these models are where the quality jump becomes obvious.
Veo 3: the one with real audio
Veo 3 from Google changed the expectation for AI video by generating synchronized audio natively alongside the visual output. Background sounds, ambient noise, and dialogue cues appear in the same generation step, not added in post-production.
For beginners, this matters because it removes one of the hardest parts of video production: making audio and visuals feel like they belong together. You describe a scene, and the audio that fits it appears automatically.
Veo 3 Fast offers the same native audio capability at faster processing speed, which is useful when you are iterating through prompt variations quickly.
💡 Prompt tip for Veo 3: describe the sound you expect in the scene. "A busy café with the sound of espresso machines and quiet conversation in the background" produces more coherent audio than a visual-only description.
Kling v3: cinematic quality on demand
Kling v3 Video and Kling v2.6 from Kwai represent the current benchmark for photorealistic motion. Camera moves look planned. Depth of field shifts naturally. The color grading that comes out of the model tends to feel warm and filmic without any post-processing.
This is the model to reach for when you need a clip that looks like it was shot on a real camera rather than generated. Brand content, portfolio work, and any video that will be seen by an audience that knows what good footage looks like.
For camera-controlled output, Kling v2.6 Motion Control lets you specify camera trajectory directly, giving you dolly-ins, pans, and orbit moves that most other models can only approximate through prompting.
Hailuo 02: 1080p without the wait
Hailuo 02 from MiniMax generates at 1080p and processes quickly for its resolution class. The output is sharp, handles motion well, and works reliably across a wide range of prompt styles and subject types.
For a beginner who wants full HD output without a long queue, this is one of the most reliable premium options right now. Hailuo 02 Fast gives you a 512p version when speed matters more than resolution, useful for quick iteration before committing to a full 1080p generation.
Pixverse v5.6: stylized clips with audio
Pixverse v5.6 and Pixverse v5 both handle stylized and dramatic content especially well. Cinematic AI audio is included, and the model responds clearly to lighting and mood instructions in the prompt.
If you are making short-form social content or creative clips that need visual punch, the Pixverse models are worth the credits. They are also more forgiving of vague prompts than some of the more technically demanding models.
Seedance 2.5: clips up to 30 seconds
Seedance 2.5 is the premium version of the free Lite model and extends clip length to 30 seconds, which puts it in a category few other models reach. For anything that needs to tell a story or carry a message over more than a few seconds, this is one of the only tools that handles it cleanly at full quality.
How to Use Seedance 2.5 Lite on PicassoIA
Since Seedance 2.5 Lite is the best free starting point right now, here is exactly how to use it from zero.
Step-by-step for your first video
Step 1. Open the Seedance 2.5 Lite model page on PicassoIA.
Step 2. In the prompt field, type a description of the scene you want to see. Be specific about the subject, the setting, and the mood. More detail produces better output than a short phrase.
Step 3. Choose whether you want to start from text only or upload an image as the first frame. For a first attempt, text only is simpler and removes one variable from the equation.
Step 4. Select the duration. Start with 5 seconds to keep generation fast. Increase to 10 seconds once you are confident in your prompt direction.
Step 5. Hit generate and wait. Seedance 2.5 Lite typically returns a result in 30 to 40 seconds.
Step 6. Download the clip directly from the result page. No watermark, no additional steps required.
Prompt tips that change your output quality
The difference between a flat clip and a visually striking one almost always comes down to the prompt. Here is what consistently works:
Include a camera direction. Instead of "a woman walking in a park," write "a woman walking slowly through a sun-dappled park, camera tracking alongside her at ground level." The model responds to movement instructions.
Specify the light source. "Late afternoon golden light from the left" is more useful than "nice lighting." Light direction shapes the mood of the entire clip.
Describe motion for everything in the frame. If there is a tree, say "leaves swaying gently in a light breeze." If there is water, say "gentle ripples moving from left to right." Static descriptions produce static-looking clips.
Keep it one scene. AI video generators work best with a single, clear scene rather than a sequence of events. One location, one mood, one moment.
💡 Try this prompt: "A young woman sitting at a café window on a rainy afternoon, steam rising from her coffee cup, raindrops sliding down the glass, camera slowly pushing in, warm interior light contrasting with the grey street outside." That single sentence gives the model everything it needs.

At a Glance: Model Comparison

Also Worth Knowing About
A few more models that deserve attention depending on your content type:
For animating a photo you already have: Wan 2.7 I2V takes any image you upload and adds realistic motion while preserving the original composition. If you have a reference image and want to bring it to life, this is one of the cleanest image-to-video options available.
For text-to-video that hits 1080p fast: Wan 2.7 T2V generates full 1080p from a text prompt and handles a wide range of subject types without struggling on edge cases.
For the highest resolution output available: LTX 2.3 Fast from Lightricks generates at up to 4K and handles prompt instructions with precision. LTX 2.3 Pro takes quality further for production-grade work.
For clips with synced audio from Black Forest Labs: Flux 3 generates video with synchronized audio and is strong for short-form content where sound needs to feel native to the footage.
For a flexible all-around text or image input: P Video handles both input modes and works across a broad range of visual styles, making it a solid second model to try after the free options.
For animated character content: Kling Avatar v2 and Kling v3 Motion Control both specialize in character animation with precise motion, useful for talking heads, character-driven clips, and controlled movement sequences.
3 Mistakes Beginners Make
These come up constantly in early attempts. Avoiding them will make your first clips look significantly better.
Writing one-sentence prompts
"A dog running in a field" generates a generic clip. "A golden retriever sprinting across a sun-drenched wheat field at golden hour, camera panning quickly to track its movement, ears flying back, late afternoon warm light from the right" generates something worth watching. The model has more to work with when you provide detail on the subject, environment, motion, and lighting all at once. Short prompts produce average output. Detailed prompts produce specific, intentional output.
Choosing the highest-rated model first
It feels logical to start with the most capable model. The problem is that when the output is not what you expected, you have no baseline to diagnose what went wrong. Start with Seedance 2.5 Lite or PicassoIA Video. See what your prompts actually produce. Then move up to Veo 3 or Kling v3 once you have built intuition for what works.
Skipping image-to-video entirely
Text-to-video is the obvious starting point, but image-to-video is where the results become more controlled. Generate an image with the exact composition you want, then use it as the first frame for a video. Models like Wan 2.7 I2V, Kling v2.1, and Seedance 2.5 Lite all support this workflow. The consistency you get from a locked first frame produces outputs that look intentional rather than randomly generated.

How Prompt Structure Affects the Result
A few patterns consistently produce better output across almost every model on this list:
Scene-first structure that works:
Subject + Action + Environment + Lighting + Camera Movement
Example that produces strong output:
"An elderly man feeding pigeons in a quiet European cobblestone square at midday, pigeons flying up around him in slow motion, warm sunlight filtering through surrounding trees creating dappled shadows, gentle rack focus from the birds to the man's weathered face, shallow depth of field, camera stationary."
What to avoid in your prompts:
- Stacking adjectives without physical anchors ("beautiful, cinematic, epic, dramatic")
- Vague mood words with no visual grounding ("peaceful," "emotional," "intense")
- Multiple locations or scene changes within a single prompt
- Telling the model how the video should feel instead of what it should show
The models interpret physical descriptions better than emotional ones. Tell them what to see, where the light is, and how the camera moves. That is the full recipe.
💡 If your first attempt produces a clip that looks off, do not switch models. Rewrite the prompt first. Add a camera direction. Specify the light. In most cases the prompt is the variable, not the model.
Pick One and Generate Something Today
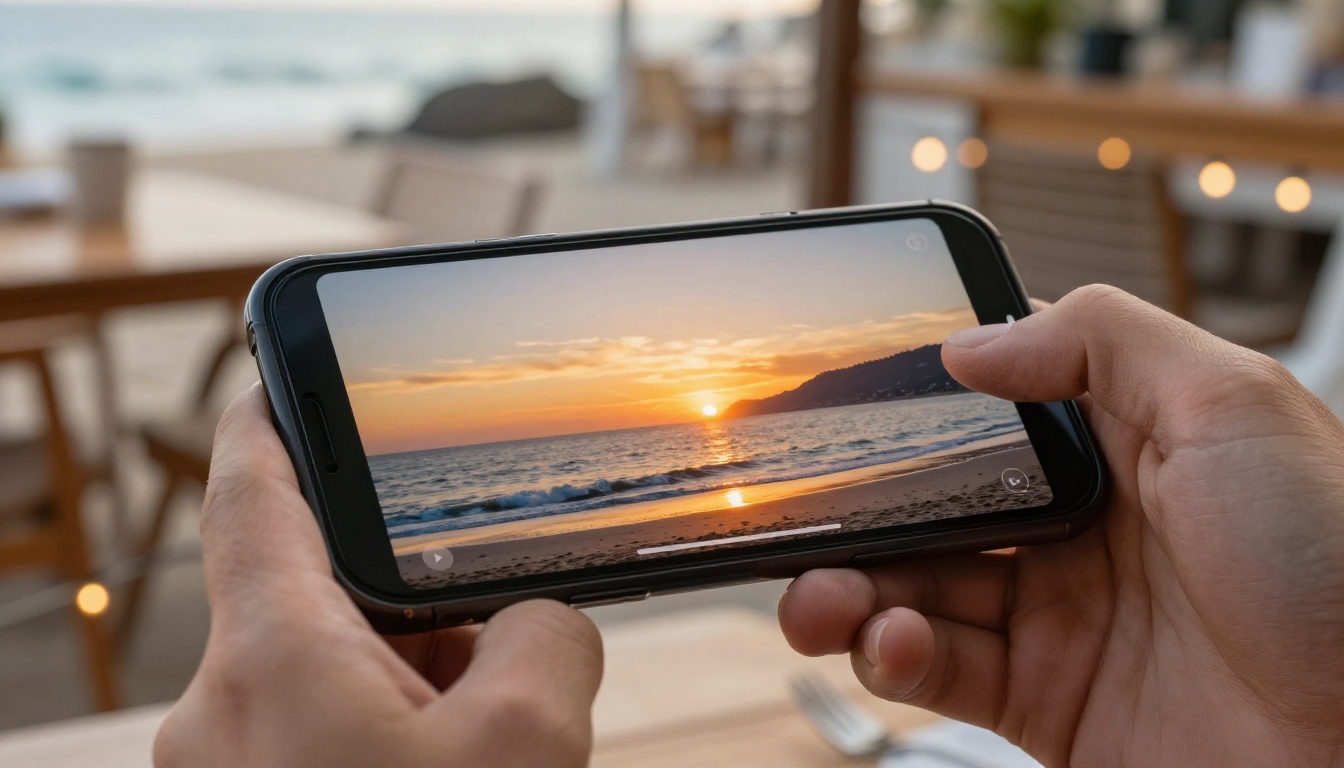
The best AI video generator right now for beginners is the one you actually use. Open Seedance 2.5 Lite or PicassoIA Video, write a 30-word description of a scene you want to see, and hit generate. You will have a video clip in under a minute.
Once you have 10 or 20 clips behind you, the model differences will start to matter in specific ways. You will know when you need audio, when 1080p is worth the credits, when image-to-video gives you tighter compositional control. None of that becomes clear without starting.
PicassoIA has over 117 text-to-video models available right now, including every model mentioned in this article. If you want to see the full list in one place and pick based on what your content actually needs, all models are listed here. Pick one. Make something today.


