The best free AI image generators don't give you a content warning when you prompt something human, intimate, or sensual. They generate the image. That distinction matters more than resolution specs or generation speed, because a generator that blocks 30% of your creative ideas is not actually free. It is a restricted tool with a free price tag.
This article covers the generators that actually remove those restrictions, why most platforms add them in the first place, and what you need to know to get photorealistic results from each one without rewriting your prompts around a filter.
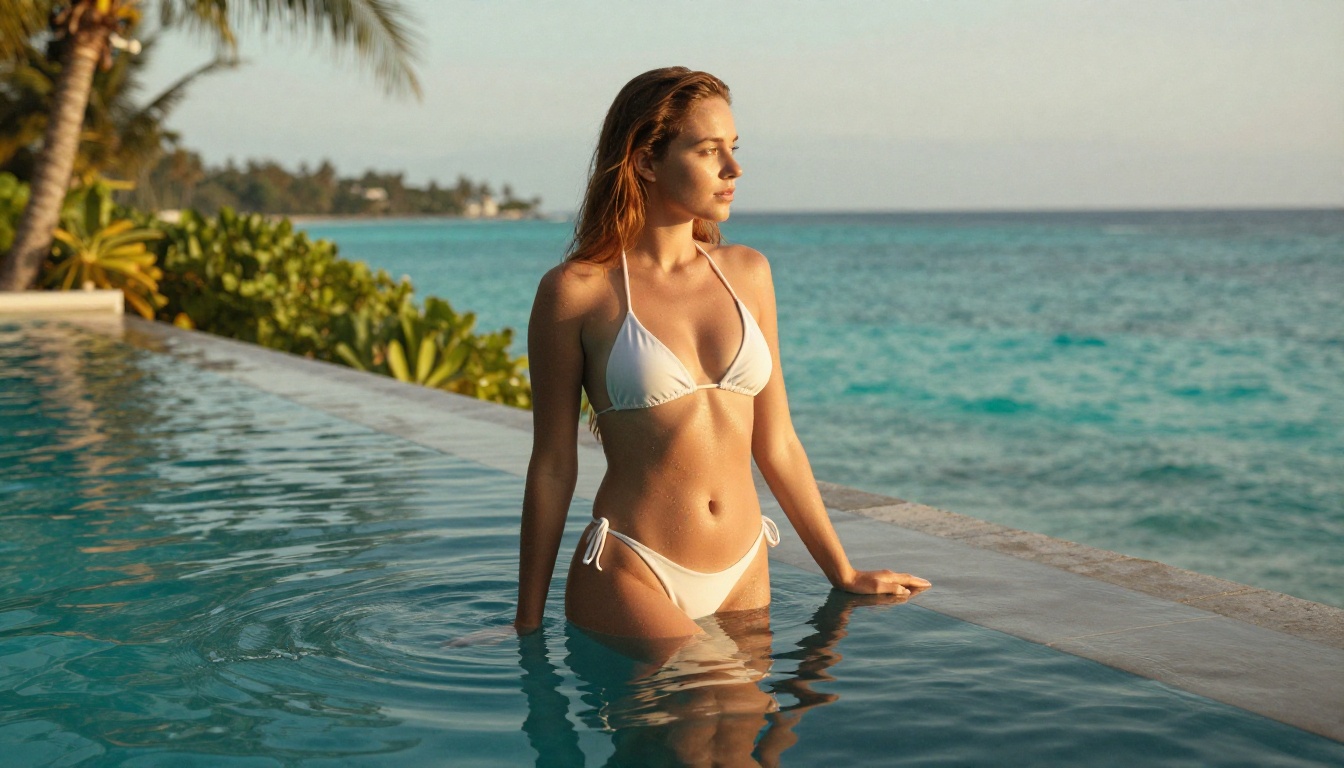
Most people searching for uncensored AI image generators have already been burned by the alternatives. You type a prompt, wait 20 seconds, and receive an error message instead of an image. Or worse, you get an image distorted at the output stage because a safety classifier decided some part of your prompt was problematic. After a few rounds of this, you start writing prompts designed to dodge the filter rather than describe what you actually want. That is not how creative tools should work.
Why Most Generators Block Your Best Prompts
Every AI image platform makes a decision about what it will and will not generate. The factors behind that decision are rarely about morality and almost always about business infrastructure, liability, and payment processing rules.
The Payment Processor Problem
The largest driver of content restrictions on free AI platforms is not the platform itself. It is the payment processor. Visa and Mastercard maintain acceptable use policies that prohibit processing transactions related to explicit content. When an AI platform accepts payments for premium tiers, it falls under those policies across all of its operations.
The practical result is that platforms with paid plans often apply their strictest filters to all users, including free ones, because they cannot afford to have their merchant accounts flagged. Platforms that operate outside that payment architecture have considerably more freedom to offer unrestricted output without putting their entire business at risk.
How Safety Checkers Actually Work
The technical implementation of content filtering in most generators follows a predictable pattern. A CLIP-based classifier runs after image generation and compares the output against a database of flagged content. When the similarity score exceeds a threshold, the output is discarded and you receive an error.
The problem with this approach is false positives. These classifiers are trained on relatively narrow datasets and tend to over-flag. Athletic wear, artistic figure drawing references, fashion photography styles, and historically significant artwork all regularly trigger safety checkers built to catch adult content. The classifier does not distinguish between a Renaissance figure painting and something actually problematic. It just measures similarity scores against a flagged training set.
What Uncensored Actually Means in Practice
A generator described as uncensored is not operating without any constraints at all. The underlying model still has a training distribution. If a style or subject type was absent from training data, the model cannot generate it regardless of safety settings.
What the uncensored label means specifically is that there is no output-stage classifier blocking the result after the model generates it. You receive what the model actually produced. For photorealistic figure photography, artistic portraits, glamour and boudoir styles, and any content that sits at the edge of platform policies, this distinction is the difference between a tool that works and one that does not.
Seedream 4 Is the Best Free Uncensored Option Right Now
Seedream 4 sits at the top of the stack for three reasons: native 4K output, no generation limits, and no content filter applied on PicassoIA. ByteDance built it for professional-grade visual work, and the output quality at 4K reflects that. Fine skin texture, realistic hair strands, subtle lighting gradients, and fabric weave all render clearly without post-processing or upscaling afterward.
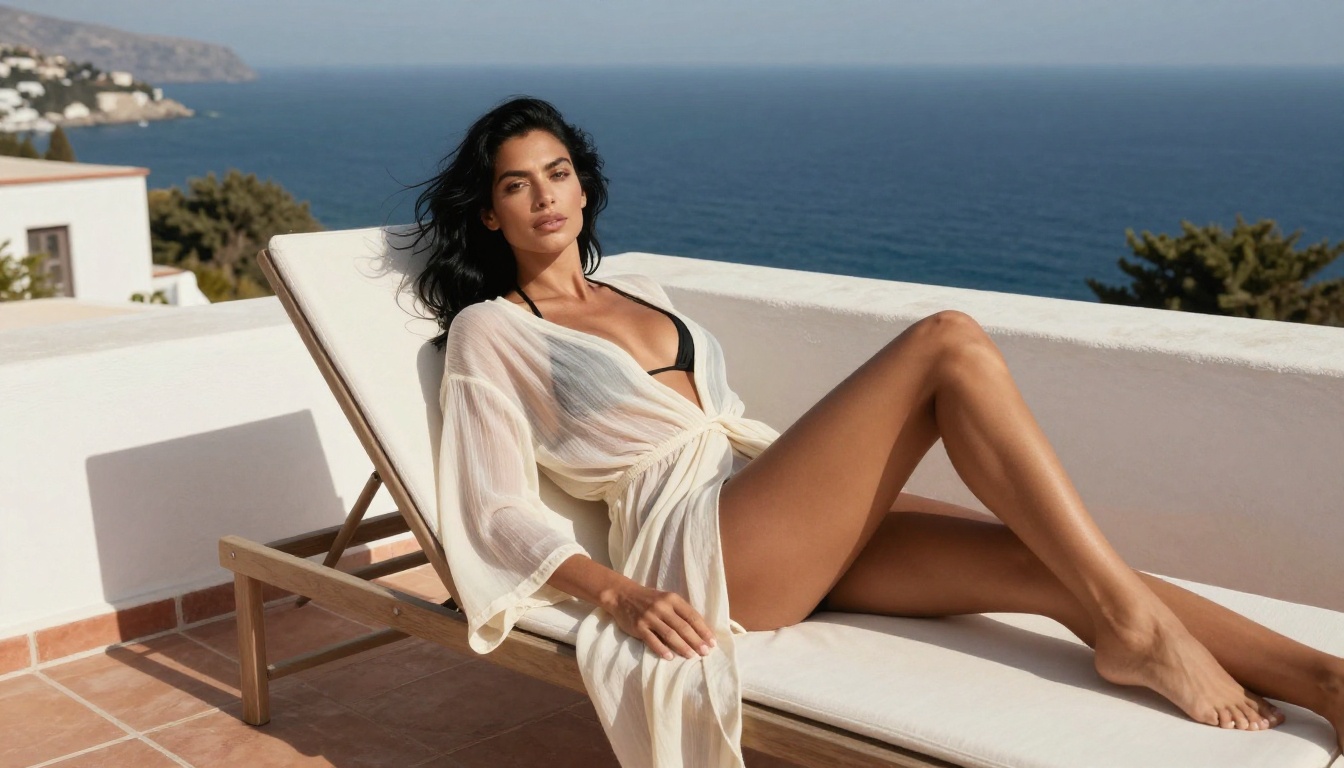
4K Output With No Restrictions
The resolution gap between Seedream 4 and typical free generators is not marginal. Standard free-tier generators produce images at 512 to 1024 pixels on the longest side. Seedream 4 generates at up to 4096 pixels. That is roughly 16 times the pixel count of a 1024px output.
At that resolution, the difference is visible in every detail: the catchlight in a subject's eye, the grain of a fabric, the gradation from shadow to highlight across skin. These are the details that separate a photorealistic result from an obviously AI-generated one. The jump from 1K to 4K is not cosmetic. It is the difference between a social media asset and a print-ready file.
Seedream 4 also accepts reference images as input. You can upload an existing photo and describe a modification in one sentence. The model carries over the composition, lighting, and subject characteristics from your reference while applying the described change. This makes it far more useful for iterative creative work than text-only generators.
| Feature | Seedream 4 | Typical Free Generator |
|---|
| Max Resolution | 4K (4096px) | 512-1024px |
| Content Filter | None on PicassoIA | Aggressive |
| Reference Image Input | Up to 10 images | Rarely available |
| Aspect Ratios | 9 presets plus custom | Usually 1:1 only |
| Watermarks | None | Common |
| Cost | Free | Free with hard limits |
How to Use Seedream 4 on PicassoIA
The setup takes under a minute from opening the page to downloading your first image:
- Open Seedream 4 on PicassoIA.
- Write your prompt in the text box. Be specific: subject, setting, lighting, camera angle, and film stock.
- Under Size, choose "4K" for maximum resolution or "2K" for faster output.
- Select an aspect ratio. Use "16:9" for landscape and cinematic shots, "9:16" for vertical portraits.
- Upload a reference image under Image Input if you want to anchor style or composition.
- Click Generate. Results appear in seconds at full resolution.
- Download directly. No watermarks, no credit deductions, no restrictions.
💡 Tip: For photorealistic skin and hair at 4K, end every prompt with: "shot on 85mm f/1.4, Kodak Portra 400, natural film grain, soft Rembrandt lighting from left." Those four parameters alone lift the realism of portrait output measurably, regardless of the subject you are generating.
Four More Generators Worth Your Time
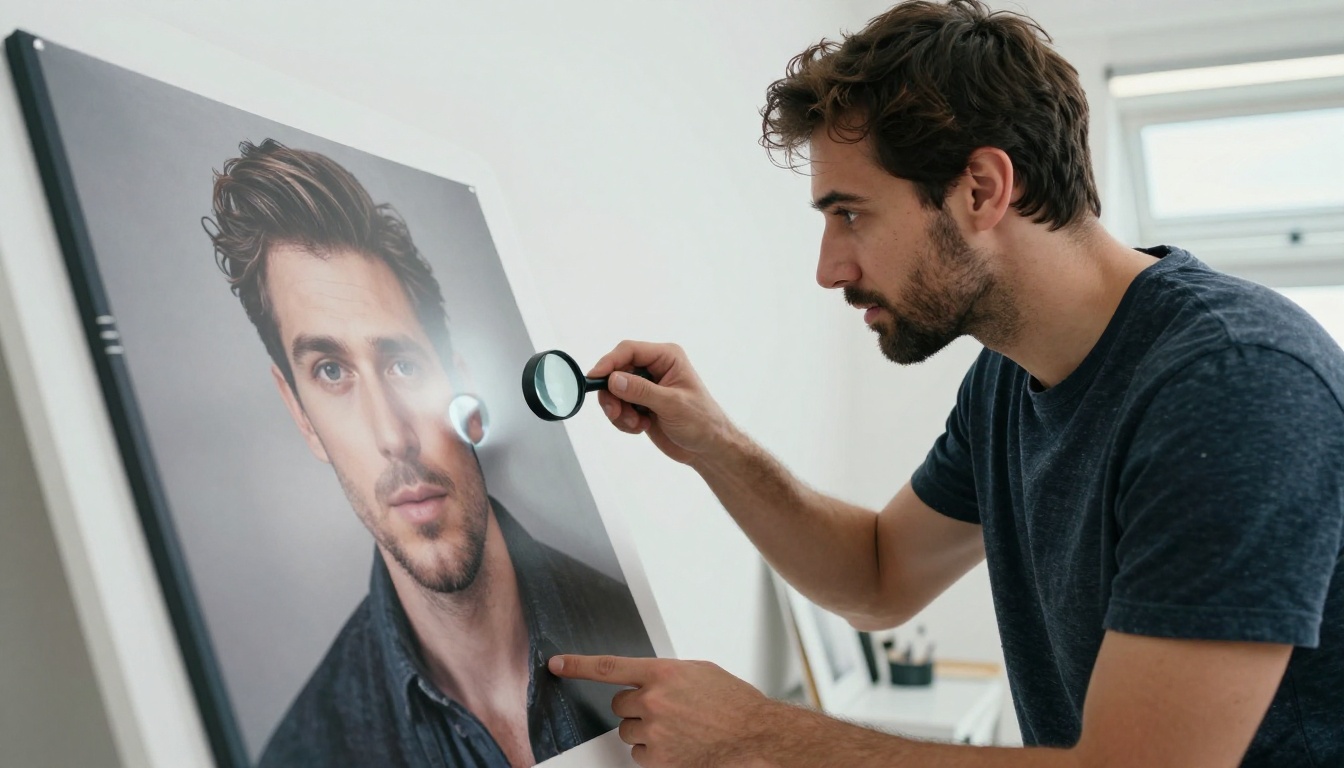
Seedream 4 leads for quality, but different generators fit different workflows. Here are four alternatives available on PicassoIA that remove content filters without sacrificing output quality.
Flux Dev: Detail and Img2Img Control
Flux Dev from Black Forest Labs uses a 12-billion parameter architecture that places it at the top end of openly available text-to-image models. It handles complex multi-subject scenes and detailed environment descriptions particularly well, and its img2img mode is one of the strongest available on any free platform.
To get unrestricted output from Flux Dev, set Disable Safety Checker to true before running the model. Without that step, the default classifier filters output in certain content categories. With it disabled, the model generates what the prompt describes without intervention.
The guidance parameter controls how literally the model interprets your prompt. A value of 3 to 4 produces precise, literal results for photorealistic portrait work. Going lower gives the model more creative latitude for stylized or abstract outputs. Running between 28 and 50 inference steps covers the full quality range, with higher steps producing more detail at the cost of slightly longer generation time.
Flux Schnell: When You Need 50 Variations Fast
Flux Schnell generates in under 5 seconds using just 4 denoising steps and imposes no usage caps on PicassoIA. You can run a hundred variations in a single session without hitting any wall.
The tradeoff is fine-detail density. Flux Schnell does not match the detail ceiling of Seedream 4 or Flux Dev at their best. For rapid prompt testing and concept iteration, it is the most efficient tool available. Generate 20 prompt directions in two minutes, find what works, then bring in Seedream 4 for the high-resolution final.
💡 Workflow: Use Flux Schnell for drafts. Use Seedream 4 for finals. The two-step approach is faster than iterating slowly on a 4K model.
Seedream 3: A Reliable 2K Baseline
Seedream 3 generates at up to 2048 pixels on the longest side, which covers most digital use cases without the generation time of 4K output. It supports nine aspect ratios including 21:9 cinematic widescreen, and its guidance scale control makes prompt interpretation predictable.
For portrait-format content at scale, Seedream 3 in 9:16 at 2K produces sharp, consistent results with reliable skin rendering. It is the practical choice for social media content, digital editorial work, and any use case where 4K would be overkill and speed matters more than resolution ceiling.
| Generator | Max Resolution | Speed | Safety Filter Off | Img2Img |
|---|
| Seedream 4 | 4K | Medium | Default on PicassoIA | Yes |
| Seedream 3 | 2K | Medium | Default on PicassoIA | No |
| Flux Dev | 1MP | Medium | Opt-in toggle | Yes |
| Flux Schnell | 1MP | Under 5s | Opt-in toggle | No |
All four are available at no cost on PicassoIA with no generation limits and no watermarks on output.
Writing Prompts That Get What You Want
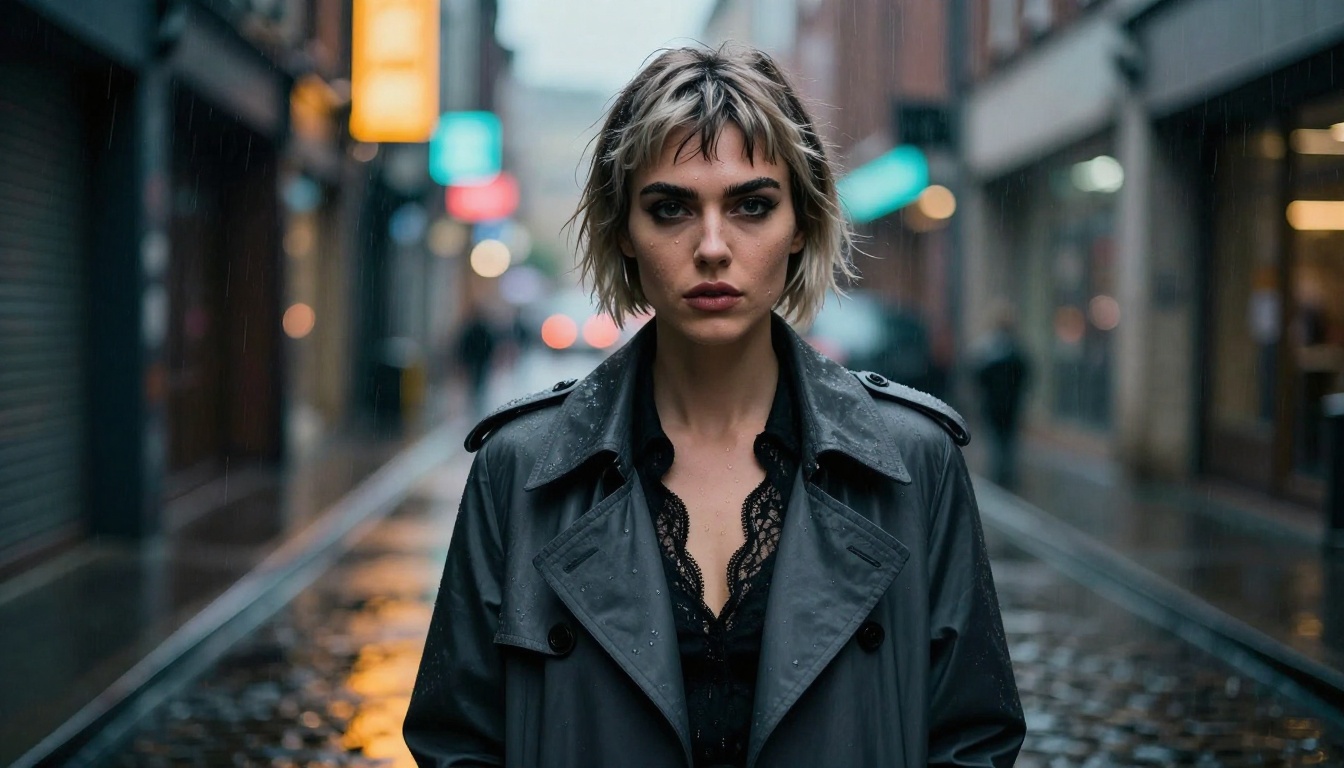
The generator matters less than the prompt. A strong prompt on a mid-tier model consistently beats a weak prompt on the most capable model available. Most people underwrite their prompts and then blame the generator for generic-looking output.
Build Your Prompt in Layers
Photorealistic AI image prompts perform best when built in a consistent layered structure. Writing your prompt in this order produces more controlled and repeatable results:
Layer 1, Subject: Describe the person or scene with specific terms. Include physical characteristics, clothing or state of dress, pose, and expression. "A beautiful woman" is a starting point. "A woman with long dark auburn hair swept over one shoulder, wearing a white silk camisole, seated on a linen chair, looking directly at the camera with a half-smile" is a prompt that has direction.
Layer 2, Environment: Place the subject in a specific location. Empty backgrounds produce AI-looking results. Detailed environments anchor the image in something that reads as real. "On a white studio backdrop" is flat. "On a white linen daybed in a sunlit beach house, open floor-to-ceiling windows behind her revealing an ocean view in soft afternoon haze" reads as a location with depth.
Layer 3, Lighting: This is the single most important detail for photorealism. Name the light source, its direction, and its quality. "Soft volumetric morning light flooding from the left through tall windows, creating gentle Rembrandt shadows on the right side of her face, warm amber in the highlights, cool blue in the fill shadows" produces a fundamentally different result than "natural lighting."
Layer 4, Camera and Lens: Naming a specific focal length and aperture activates conditioned camera behavior in these models. "Shot on 85mm f/1.4" produces a shallow-depth result with subject-to-background separation. "Shot on 35mm f/8" produces a sharper, more environmental look with the setting clearly in focus alongside the subject.
Layer 5, Texture and Film: Closing your prompt with "Kodak Portra 400 grain, authentic film texture, natural skin luminosity" adds organic warmth and reduces the synthetic look that plagues generated images. This step costs nothing and consistently improves every output.
Style Modifiers That Change the Final Image
Beyond structure, certain descriptor phrases reliably improve photorealism when added to any prompt:
- Skin: "fine pore texture visible", "natural skin luminosity", "subtle freckles across the nose bridge", "translucency in direct light"
- Hair: "individual strands catching the light", "natural volume and movement", "subtle highlights from ambient fill"
- Light: "volumetric light rays", "golden hour warmth", "blue hour cool tone", "soft directional fill light"
- Lens: "specular bokeh highlights in background", "lens flare from direct light source", "shallow depth of field"
- Atmosphere: "humidity shimmer in the air", "salt spray visible", "dust motes in volumetric light", "morning mist on the horizon"
Using three or four of these in any prompt consistently elevates photorealism regardless of which generator you are running.
Taking Your Output From 1K to Print-Ready
When you need an image larger than what any generator produces natively, upscaling fills the gap. The upscaling models on PicassoIA are built specifically for photorealistic content, which means they add meaningful detail during the enlargement process rather than just interpolating between pixels.
When Upscaling Makes Sense
Upscaling works best when the source image is already sharp and photorealistic. If the original has inconsistent detail or visible artifacts from low inference steps, an upscaler will amplify those problems alongside the genuine detail. Always generate the cleanest possible source image first, then upscale.
Clarity Pro Upscaler is the first choice for portrait and figure photography. It runs a detail-enhancement pass during the upscale, which means fine skin texture, hair, and fabric detail often improve beyond what was in the source image rather than simply getting larger. Use it when output quality is the priority.
Real ESRGAN upscales to 4x and handles faces particularly well. It has been trained across a broad range of photographic content and produces consistent results on human subjects without over-sharpening or introducing halos around edge detail.
Topaz Image Upscale goes up to 6x, which is the ceiling for large-format print work. A 1-megapixel source image at 6x produces a file large enough for large-format physical printing. If physical output is the destination, this is the right tool.
Google Upscaler delivers clean 4x results at high throughput. When you have multiple images to upscale in a single session and speed matters more than maximum detail, it is the most efficient option in the lineup.
💡 Two-Pass Workflow: Generate at 2K with Seedream 4, then upscale with Clarity Pro Upscaler. The AI-sharpened upscale from a clean 2K source often looks better than a native 4K generation from the same prompt, because the upscaler adds coherent micro-detail rather than having the base model invent it from noise during generation.
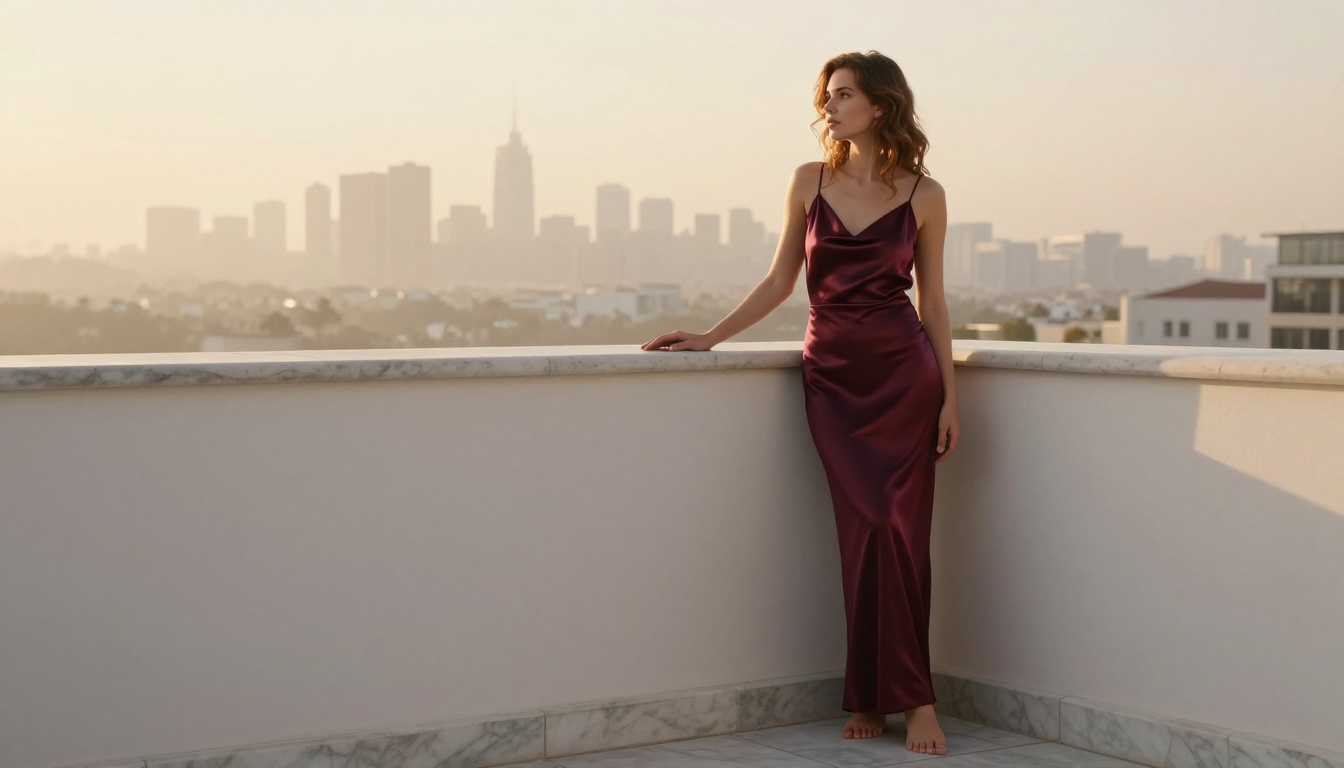
The practical output range of these generators, when used without content filters, spans the full spectrum of artistic and commercial photography that has historically required expensive shoots and professional equipment.
Fashion and glamour photography that would require a model, photographer, studio, and post-processing budget can be produced in seconds from a detailed text prompt. Boudoir and intimate portrait styles that mainstream generators routinely block are accessible without workarounds or prompt manipulation.
Editorial content, artistic nude photography in the tradition of fine art portraiture, swimwear and activewear campaigns, and anything requiring the human form in an expressive or sensual context all become possible without fighting an automated classifier.
The models do not produce explicit pornographic content. What they remove is the aggressive over-filtering that blocks legitimate creative work alongside material that actually violates community standards. That distinction matters for anyone doing serious work in adult-adjacent creative categories.
Start Creating on PicassoIA
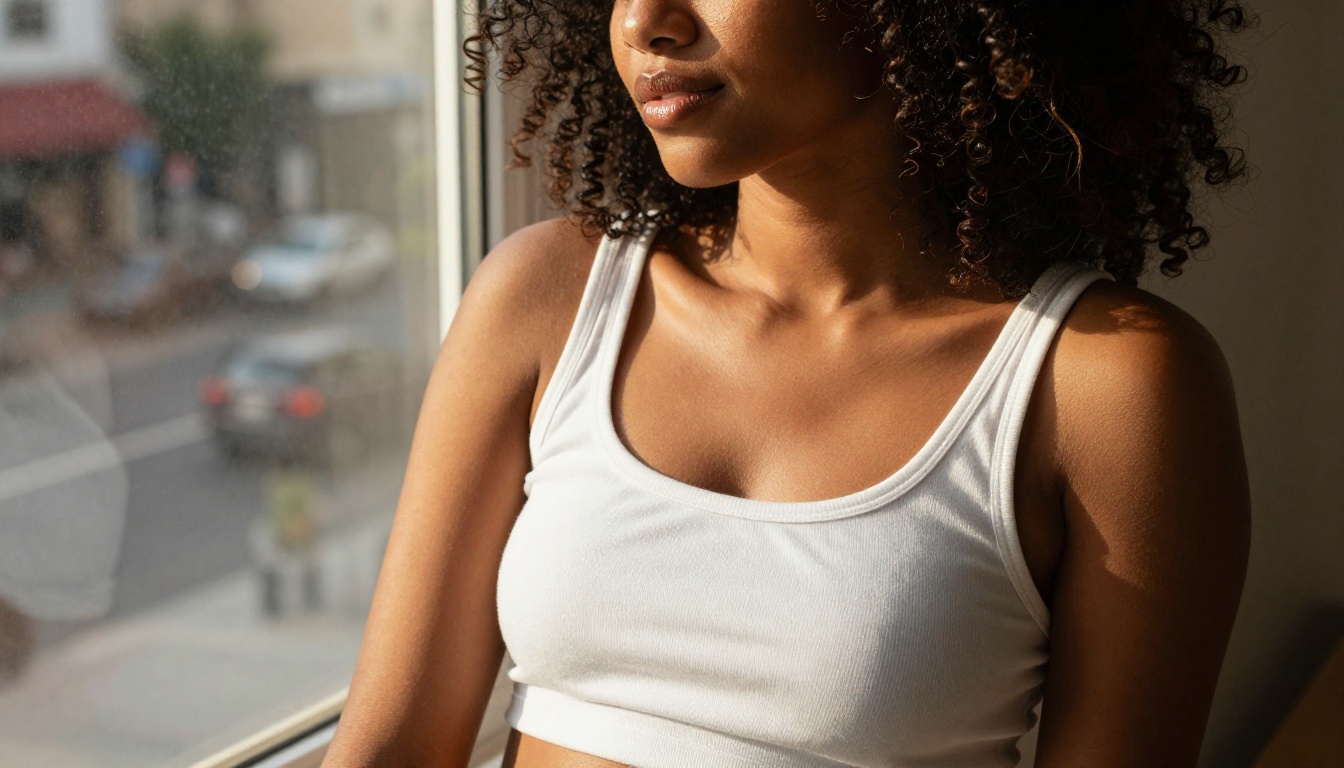
The gap between what you can imagine and what you can actually generate narrows to almost nothing with the right tools. Seedream 4, Flux Dev, Flux Schnell, and Seedream 3 are all available on PicassoIA without content restrictions, without credit caps, and without watermarks on your output.
The workflow is straightforward. Write a specific prompt using the layered structure above. Pick a generator based on whether you need 4K resolution, img2img editing control, or rapid iteration speed. Generate. Upscale with Clarity Pro Upscaler or Topaz Image Upscale if the destination is print. Download the clean file.
Every model in this article is part of a catalog of over 90 text-to-image models and dozens of editing, upscaling, and video generation tools at picassoia.com/en/all-models. You can browse by category, compare example outputs, and switch between models in the same session without starting over.
Try Seedream 4 first. Bring in Flux Dev when you need img2img editing. Use Flux Schnell to iterate fast. Upscale with Clarity Pro Upscaler when the result needs to go to print. The whole pipeline is free, and none of it filters your creative ideas before they reach the output.


