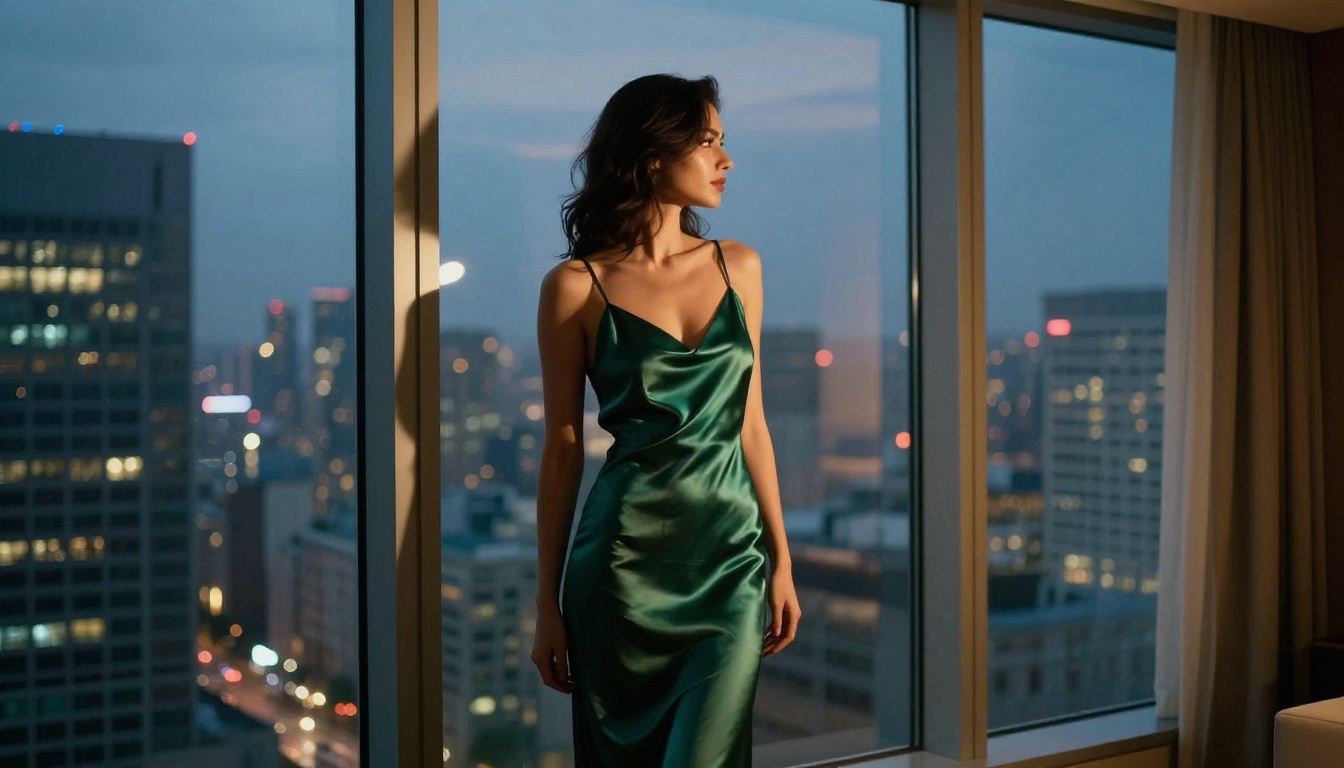
If you've ever tried to generate an AI companion and ended up with proportions that looked off, you already know the problem. Generic prompts produce generic bodies. Body sliders change that. They give you parameter-level control over every dimension of your AI companion's physique, from height and bust size to waist-to-hip ratio and limb length. Whether you're building a character for creative projects, designing a virtual companion, or experimenting with AI figure generation, understanding how body sliders work is the fastest way to stop getting results that almost look right and start getting results that actually match your vision.

What Body Sliders Actually Do
Body sliders are input parameters that let you specify physical proportions numerically or descriptively, rather than relying on your AI model to interpret vague adjectives like "curvy" or "athletic." The core idea is control: instead of hoping the model guesses what you mean, you tell it exactly what you want.
Most body customization systems work through one of two mechanisms: explicit slider values (like those in 3D character creation tools) or structured prompt tokens that map to trained body archetypes in the model's latent space. On text-to-image platforms like PicassoIA, the second approach dominates, which means your prompt structure directly determines how accurately the model renders body proportions.
Prompt Parameters vs. Slider Tokens
Text-to-image models don't have literal sliders in the traditional sense. Instead, they respond to carefully structured body descriptors. Words like "hourglass figure," "petite frame," "athletic build," or "full bust, narrow waist, wide hips" function as slider inputs at the prompt level. The more specific and layered your descriptors, the more control you exercise.
💡 Pro tip: Stack proportional language in a specific order: overall body type first, then specific region descriptors (bust, waist, hips, legs), then posture and stance. This layering gives the model a clear hierarchy to follow.
How AI Maps Your Instructions
When a model like Seedream 4.5 processes a body customization prompt, it cross-references your descriptors against its training distribution. Models trained on diverse body types honor a wider range of proportional requests than models trained on narrower datasets. This is why NSFW-capable models often produce more anatomically varied results: their training isn't filtered to a narrow aesthetic window.
The Main Slider Categories
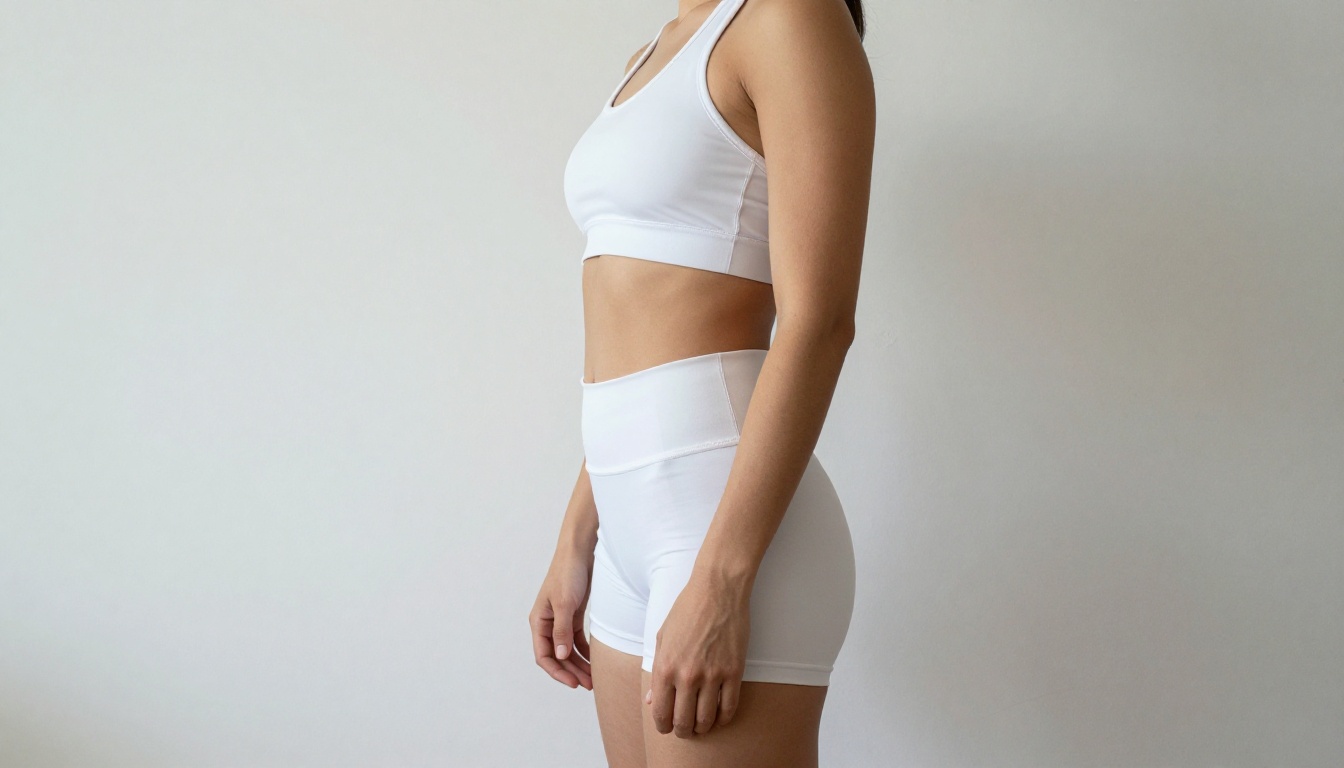
Understanding the major body slider categories helps you build prompts that target the right parameters. These categories mirror what you'd find in a 3D character editor, translated into the language your AI model actually understands.
Height and Proportion Controls
Height affects how every other proportion reads in an image. A tall figure with a long torso looks completely different from a petite figure with the same waist measurement. Effective height tokens include combinations like "tall, long-legged," "petite, compact frame," or "5'10 athletic build." Pairing height descriptors with camera angle (low-angle for tall figures, eye-level for average proportions) dramatically improves how the model renders the intended scale.
The relationship between stated height and rendered result depends heavily on what else is in the frame. Placing your companion against a wall, a doorframe, or alongside furniture gives the model spatial anchors that reinforce your height descriptor. Without those anchors, height often gets lost in abstract compositions.
Bust and Chest Adjustments
This is one of the most consistently requested slider categories in AI companion creation. Models vary significantly in how literally they interpret bust descriptors. P-Image by PrunaAI generates in under a second and handles detailed bust descriptors without content filtering, making it useful for rapid iteration. For higher-fidelity realism, Seedream 4.5 interprets nuanced proportional language with exceptional accuracy.
Effective prompts specify shape alongside size: "full, naturally shaped bust" reads differently to a model than just "large bust." The addition of "naturally shaped" or "proportional to frame" anchors the output in realistic anatomy rather than stylized exaggeration.
Waist, Hip, and Curve Settings
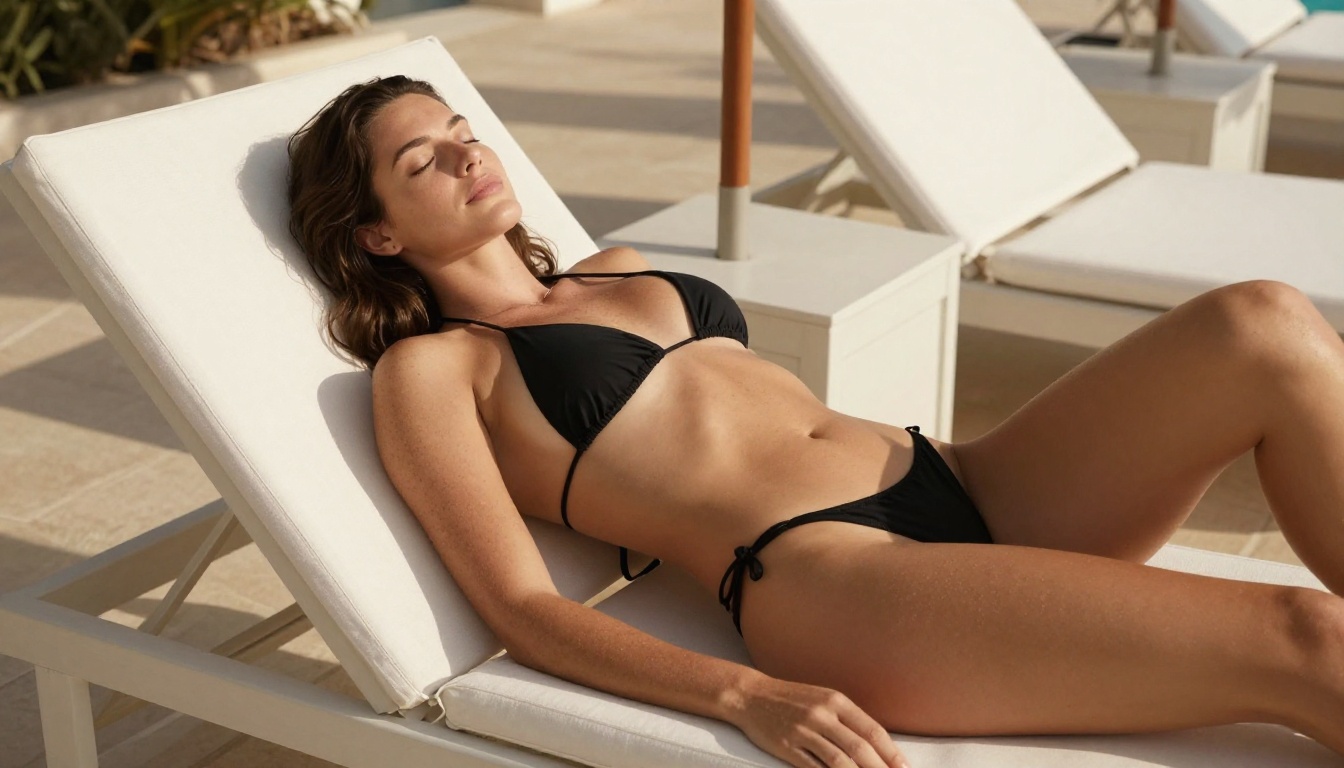
The waist-to-hip ratio is the single most influential proportional variable in AI companion body generation. Small changes here cascade through how the entire silhouette reads. The classic hourglass is the most reliably rendered ratio across major models, but you're not limited to it.
Use explicit ratio language to push beyond defaults: "narrow defined waist, full rounded hips" creates a strong hourglass. "Slight waist definition, wide athletic hips" produces a more sporty hip structure. "Minimal waist-hip difference, slim proportions" gives you a straighter silhouette. Each combination maps to a distinct region in the model's latent space.
💡 Technique: Add fabric context to anchor waist/hip rendering. A "form-fitting high-waisted bikini" makes the model emphasize waist-hip contrast more reliably than the same body descriptor without a garment reference.
The garment anchoring principle extends beyond swimwear. High-waisted jeans, a corset-style dress, or a cropped top paired with high-rise bottoms all signal waist position to the model. When the garment's cut matches your intended proportions, the rendering accuracy improves significantly.
Limb Length and Torso Shaping
Limb proportions are where many creators struggle. Overly long arms, asymmetric legs, or a torso that doesn't match leg length are common issues in AI-generated figures. The solution is to specify limb context explicitly: "long shapely legs, proportional to height," "slender arms, natural length," or "defined shoulders, narrow ribcage."
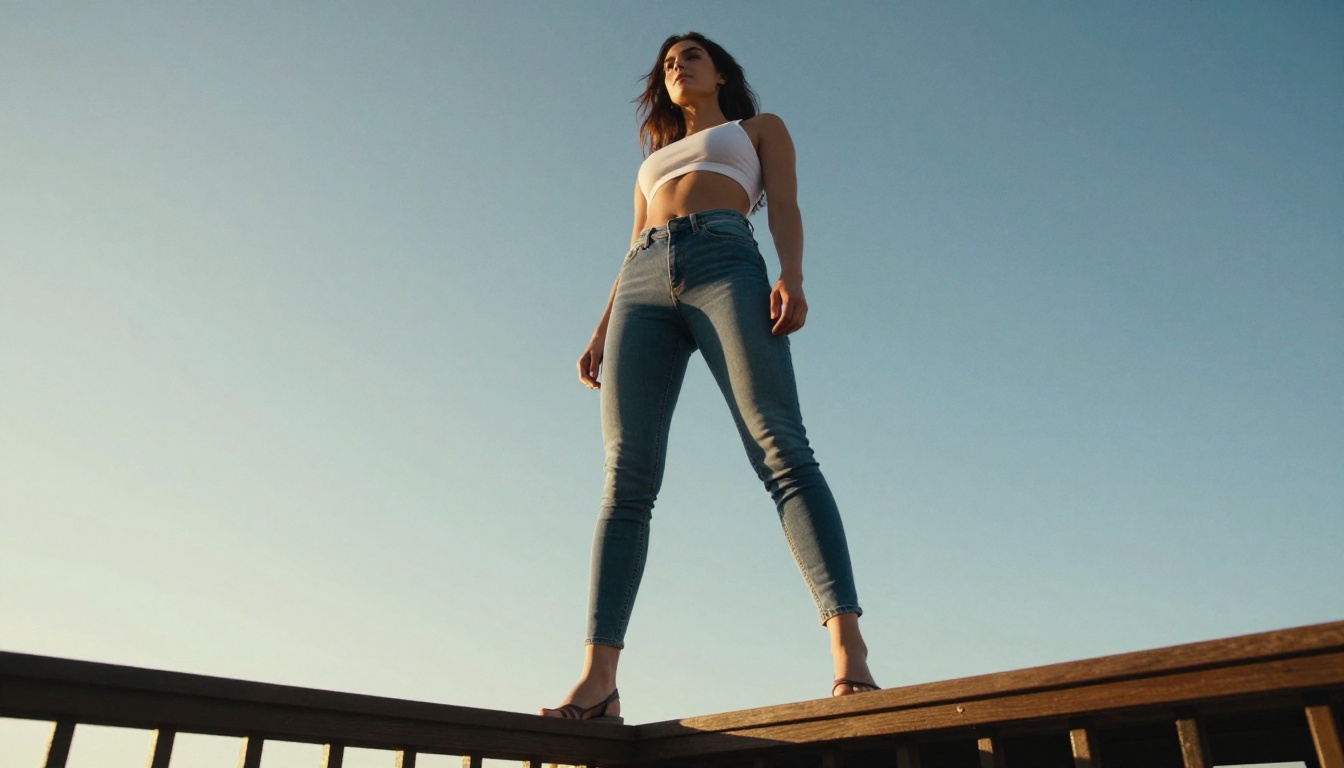
Camera angle is your strongest tool for limb control. A low-angle upward shot naturally elongates leg proportions. A standard eye-level shot renders more neutral limb proportions. Including the intended camera angle in every body generation prompt is not optional if you want consistent limb results.
Why Realism Matters in Body Customization
There's a practical reason to prioritize photorealism over stylization when generating AI companion bodies: stylized outputs break the illusion the moment you look closely. Film grain, natural skin texture, and realistic lighting are not aesthetic choices, they're the technical baseline for believable AI companion images.
The Uncanny Valley Problem
AI-generated bodies fall into the uncanny valley not from obvious distortions but from subtle ones: skin that looks smooth but not textured, proportions that are technically correct but compositionally off, lighting that doesn't interact with the body's surface naturally. These micro-failures accumulate and produce an unsatisfying result even when individual elements look fine.
The fix is always in the details of your prompt: specify skin texture explicitly ("natural skin texture, visible pores in highlight areas"), define the exact light source direction ("volumetric morning light from left"), and include lens context ("85mm f/1.4 shallow depth of field"). These additions force the model to render a more physically coherent scene.
Photorealistic Output Standards
RAW photography-style prompts produce the most realistic body renders. The workflow: specify the body descriptors first, add garment context, define lighting direction and quality, specify camera lens and distance, then close with "film grain, Kodak Portra 400, RAW 8K photography." This closing signature anchors the output in the photographic domain and suppresses any tendency toward illustrated or stylized rendering.
Models like Recraft V4 and Qwen Image 2 both respond strongly to RAW photography prompting. The latter's open-source architecture makes it particularly responsive to detailed technical photography descriptors, often producing accurate body proportions with skin detail that holds up at full resolution.
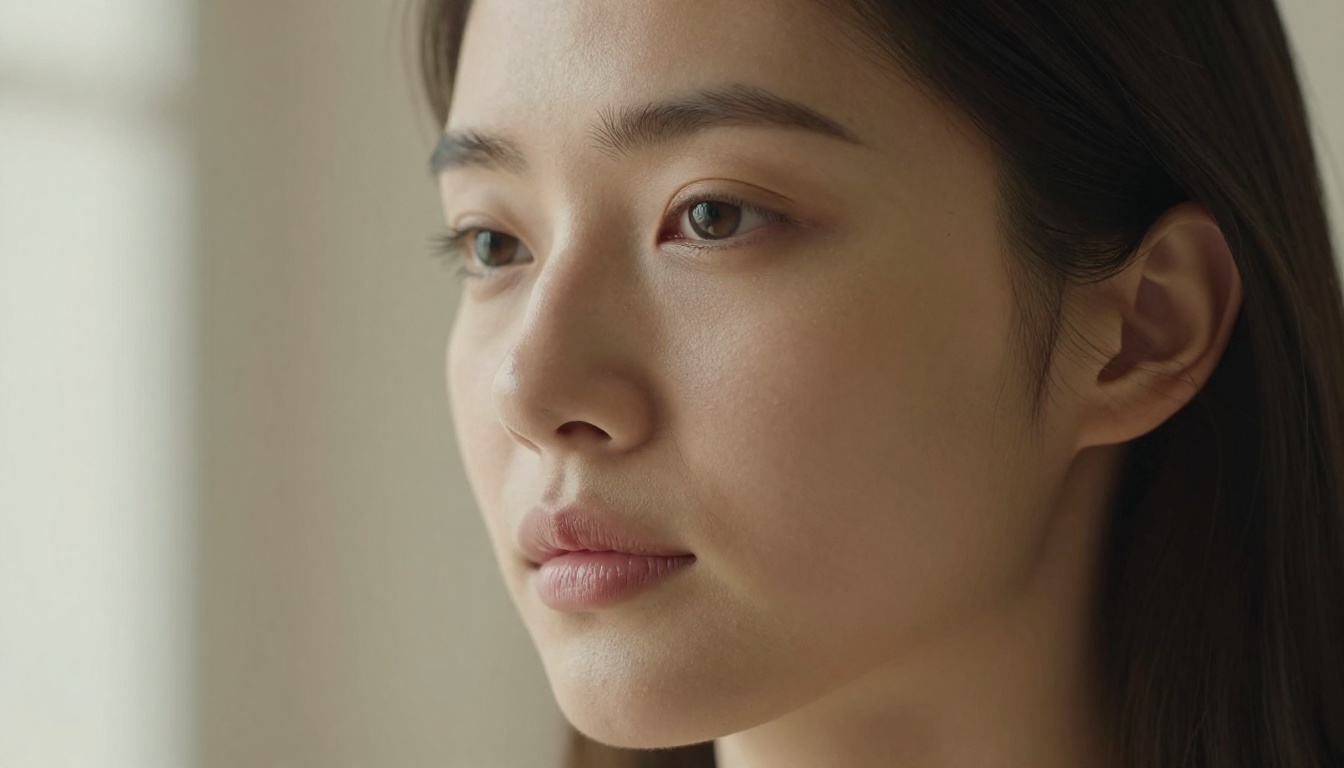
Best AI Models for Custom Body Generation
Not all models handle body customization equally. Here are the strongest options on PicassoIA for generating AI companions with custom body proportions, ranked by performance for this specific use case.
Seedream 4.5 for NSFW Body Customization
Seedream 4.5 is the top recommendation for custom body generation, including NSFW content. It accepts adult-oriented body descriptors, supports image editing for iterative refinement, and generates ultra-realistic results in under 3 seconds. Its latent space is broad enough to honor nuanced proportional language, making it the most reliable choice for creators who need precise body control.
Note: the newer Seedream 5 Lite does not support NSFW content, so stay with 4.5 for adult companion generation.
PicassoIA Image Editor Pro
PicassoIA Image Editor Pro is the best option when you need to iterate heavily. Its core advantage is unlimited generations on Elite and Infinite plans. If you're generating 500 variations to dial in exactly the right body proportions, the math is simple: unlimited generations means zero extra cost, compared to approximately $100 for the same volume on metered models. Results deliver in under a second, NSFW content is accepted, and a 3-generation free trial requires no credit card.
Full Model Ranking for Body Customization
💡 For video from your body customization images: P-Video outputs up to 1080p with no safety filter by default. PicassoIA Video provides unlimited 720p generation from text or image.
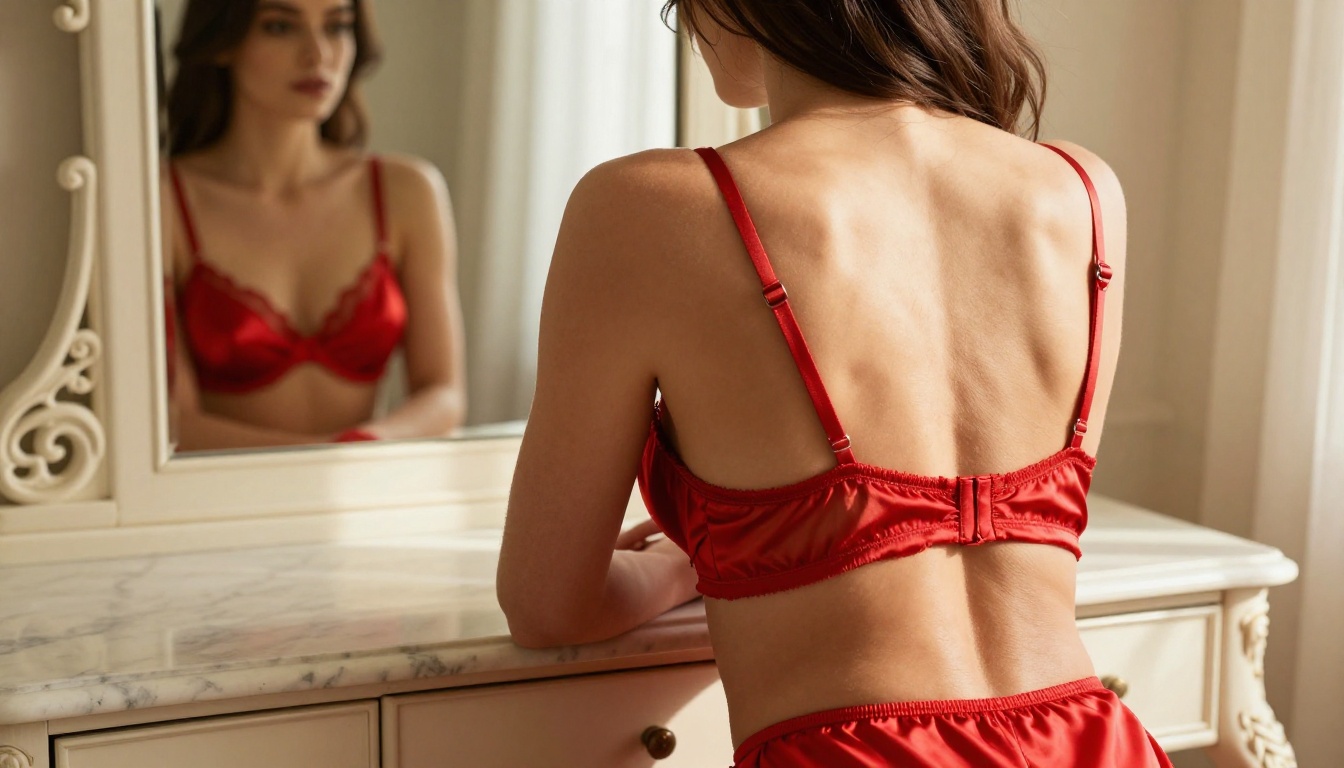
How to Build a Custom Body on PicassoIA
The process for generating a custom body AI companion is more methodical than it appears. Here's the practical workflow that produces consistent, high-quality results.
Writing Precise Body Prompts
The structure of a strong body customization prompt follows this sequence:
- Subject descriptor: gender, apparent age range, ethnicity (optional but helpful for skin tone rendering)
- Body type: overall frame (petite, athletic, curvy, slim, etc.)
- Region-specific proportions: bust, waist, hips, legs in that order
- Garment context: clothing anchors proportional rendering
- Posture and pose: how the body is positioned relative to camera
- Environment and lighting: scene context and light source direction
- Camera specs: lens, distance, angle
- Film style: Kodak Portra 400, film grain, RAW 8K
Each layer adds specificity. Removing any one of them increases variance and reduces proportion accuracy. The most common mistake is jumping from subject descriptor directly to environment, skipping the proportional stack entirely. That's where output quality diverges most sharply between experienced and inexperienced prompt writers.
Iterating with Image Editing
First-pass generations rarely nail every slider simultaneously. The efficient workflow: generate a base body with correct overall proportions, then use PicassoIA Image Editor Pro for img2img refinement to adjust specific regions. Want to modify the hip region without regenerating the whole image? Inpainting through the Image Editor lets you target that area with a region-specific prompt while keeping everything else stable.
Grok Imagine Image also excels at targeted body transformation: you can take an existing image and apply specific body modifications with strong realism. Its specialty is garment and body interaction rendering, which is particularly relevant for AI companion customization when you want to see your companion's proportions in different outfit contexts.
Consistency Across Multiple Generations
Generating consistent body proportions across multiple images of the same companion requires a seed system. When a generation matches your target proportions, note the seed value and reuse it in subsequent prompts. Combine seed consistency with a fixed prompt structure and you get a character whose body proportions hold stable across different scenes, outfits, and lighting conditions.
For video continuity, Seedream 4.5 maintains proportional consistency well when the base image is used as a reference for subsequent generations. The model's image editing capability means you can evolve your companion's visual context without losing the body proportions that took multiple iterations to dial in.
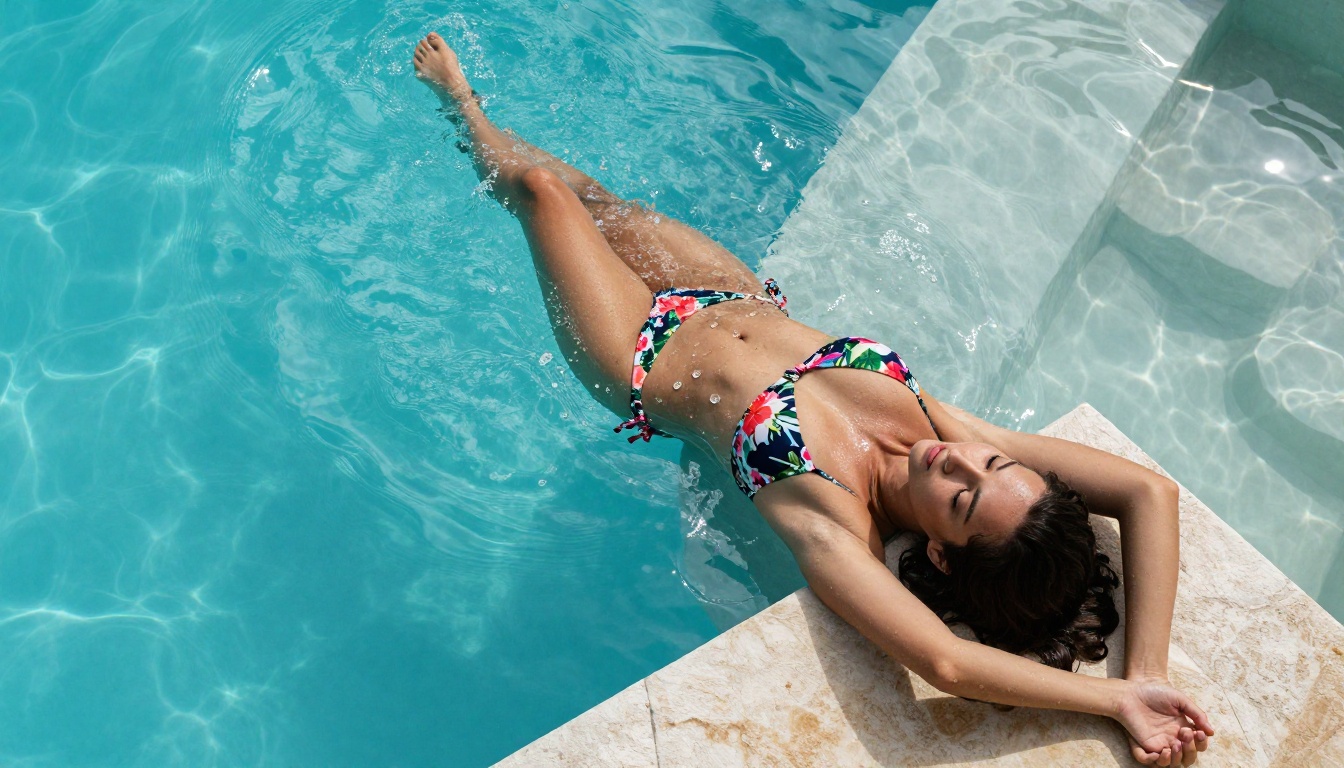
3 Common Mistakes to Avoid
Most proportion failures in AI companion body generation trace back to a small number of repeatable errors.
Vague Proportional Language
"Curvy" means different things to different models. "Hourglass figure with full bust, defined narrow waist, and wide rounded hips" means the same thing to every model. The more quantitative and specific your language, the more reliably the model renders your intent. Vague adjectives introduce variance. Specific descriptive stacks reduce it.
A practical test: if your body descriptor could describe two completely different physiques, it's too vague. Refine until only one clear physical reading is possible. "Athletic" alone fails this test. "Athletic with defined abdominal muscles, broad shoulders, and strong thighs" passes it.
Ignoring Camera Angle in Prompts
Camera angle is not a cosmetic choice. It determines how body proportions are perceived in the output. A front-facing shot at eye level renders neutral proportions. A low-angle shot elongates legs and emphasizes height. A three-quarter angle shows silhouette curve. Missing the camera angle in your prompt means the model picks one at random, and random camera choices frequently misrepresent the body proportions you specified.
💡 Rule of thumb: every body generation prompt should include the camera angle, distance (close-up, medium shot, full body), and lens specification. These three together lock in the visual presentation of your body descriptors.
Skipping Lighting Context
Lighting defines how body surfaces read in a photograph. Flat, directionless lighting flattens curves and reduces the visual impact of the proportions you've specified. Directional light from one side creates shadows that sculpt the body's three-dimensional form, making even subtle proportional differences visible.
Always specify a primary light source: "volumetric morning light from left," "soft afternoon sidelight from right," "strong backlight with rim highlighting silhouette." The light direction should match the pose's orientation so the shadows fall correctly and reinforce the body's shape. A figure facing left with light also coming from the left will appear flat. A figure facing left with light from the right creates depth-defining shadows across the body's contours.
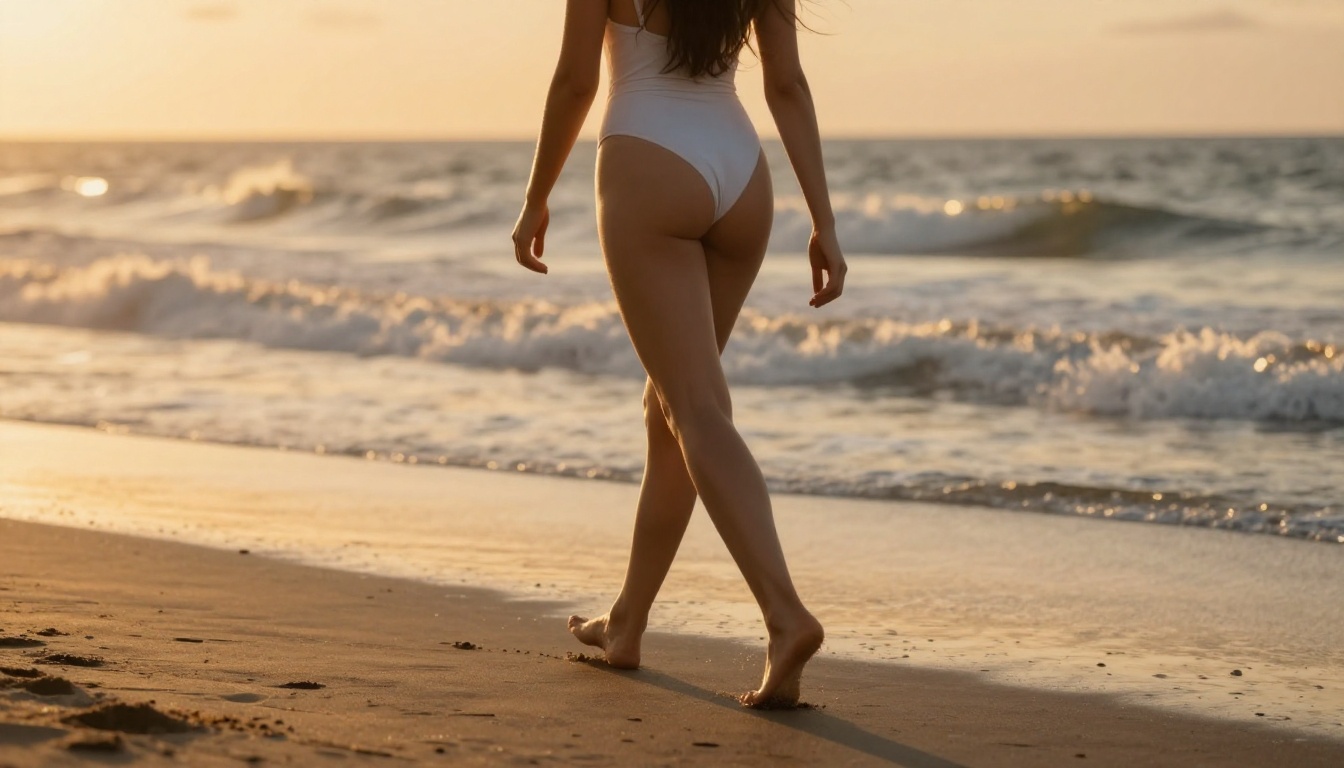
Build Your AI Companion on PicassoIA
Custom body sliders, in the form of structured prompt engineering, give you a level of AI companion control that generic text generation can't match. The difference between a vague prompt and a layered, specific body descriptor is the difference between hoping for the right result and reliably producing it.
PicassoIA brings together the strongest models for this workflow in one place: Seedream 4.5 for precision and realism, PicassoIA Image Editor Pro for unlimited iterative refinement, Grok Imagine Image for targeted body transformations, and P-Image for sub-second rapid testing. Each one accepts NSFW content. None of them require you to water down your body descriptors to get a result.
Once your base body is right, animate it. PicassoIA Video gives you unlimited 720p video generation. P-Video handles up to 1080p with no safety filter. LTX 2.3 Pro takes your companion to 4K at 50fps for the highest fidelity work. Grok Imagine Video generates clips up to 15 seconds with no watermarks for distribution-ready output.
The full catalog of NSFW-capable and unrestricted AI models is at picassoia.com/en/all-models. Start with one prompt, adjust your body descriptors like sliders, and see exactly what precise AI companion customization produces when you stop leaving proportions to chance.