You already have a type. You know it. The husbando with the dark skin that catches the light just right, or the pale, ethereal one with the silver hair and cool grey tones, or maybe that sun-bronzed protagonist with the warm caramel undertones you can picture perfectly in your head. The problem is getting an AI to produce exactly what you see. Not "kind of like it." Not "close enough." Exactly. Skin tone is the detail that separates a generic AI portrait from something that genuinely feels like your character, and most people treat it as an afterthought when writing prompts.
That stops here. This is the complete breakdown of how to generate custom skin tones for any anime husbando archetype you can imagine, using the AI image models available on PicassoIA.
Why Skin Tone Shapes the Whole Character
Skin tone is not decoration. It is character architecture. Change the skin tone and you change the entire feel of a portrait, the emotional register, the archetype the character reads as, even the story they seem to belong to.
The Emotional Weight of Color
Warm, golden-bronze skin reads as adventurous, sun-kissed, confident. A pale, ashen complexion carries mystery and distance. Deep mahogany carries power and elegance. These are not random associations; they are deeply embedded in anime visual storytelling. The cool-toned rivals, the warm-hearted protagonists, the otherworldly silver-grey characters who exist outside the normal human spectrum. Skin tone is the first thing your eye processes in a portrait, and it sets every expectation that follows.
When you are generating AI portraits of your ideal husbando, getting skin tone right is not about aesthetics alone. It is about making the character feel true to who they are. A mismatched skin tone feels like a costume on the wrong person.
How Fans Define Their Ideal
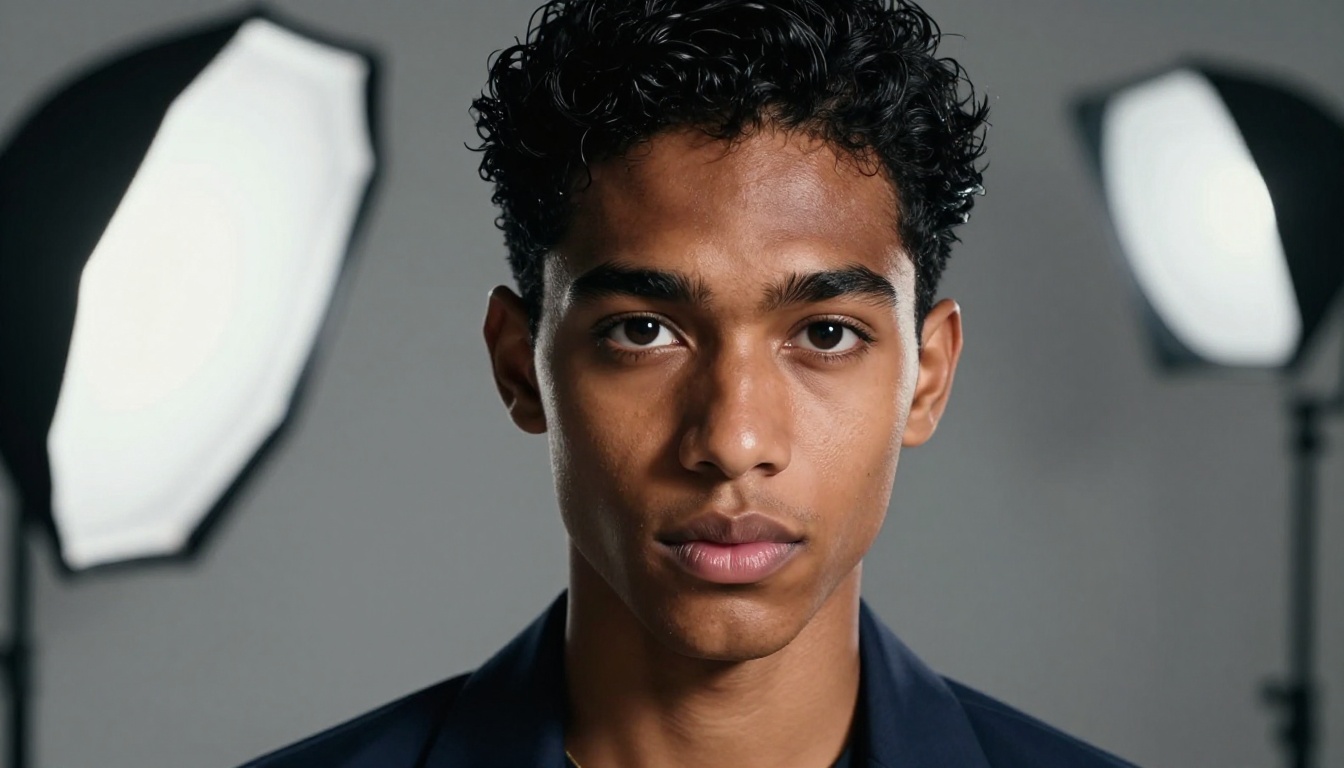
In the anime fandom, skin tone preferences are wildly specific. One person wants a deep ebony-skinned warrior with blue-black undertones in shadow. Another wants the pale, translucent-skinned bishounen with barely-there peach tones. Another wants that exact warm tawny-russet tone you only see in characters from desert or coastal settings. These are precise aesthetic targets, not vague requests, and that specificity is exactly what AI needs to deliver.
What Makes a Skin Tone Feel Anime
Photorealistic anime portraits occupy a specific aesthetic space: real enough to feel tangible, stylized enough to retain the anime archetype energy. What makes a skin tone feel "anime" in a photorealistic render comes down to three things:
- Color saturation: Anime skin tends toward slightly heightened saturation compared to naturalistic photography.
- Highlight placement: Strong, clean specular highlights on cheekbones and nose bridge, similar to cel-shaded aesthetics.
- Contrast between face zones: The dramatic interplay between lit and shadowed facial planes echoes anime's graphic sensibility.
When you prompt for these qualities explicitly, the output stops looking like a random portrait and starts looking like a character.
The AI Models That Deliver Real Skin Accuracy
Not all models handle skin tones the same way. Some are exceptional at dark complexions. Others nail pale and luminous tones better. Knowing your model's strengths is half the battle.
Flux Dev: The Detail Workhorse
Flux Dev is built for texture. When you need visible pore-level skin detail, subsurface scattering in the cheeks and earlobes, and authentic micro-highlights on individual facial planes, Flux Dev delivers consistently. It handles dark skin tones with particular strength, preserving the rich depth of deep complexions without flattening them into a uniform tone.
For anime-style portraits, Flux Dev rewards long, specific prompts. The more you describe lighting direction, skin texture quality, and undertone character, the more precisely it executes.
Flux 1.1 Pro: Speed Meets Precision
Flux 1.1 Pro is the faster sibling that does not sacrifice accuracy. It is particularly good at medium skin tones in the olive-to-caramel range, producing warm, dimensional portraits with natural-looking skin that reads as photorealistic without losing character presence. If you are iterating quickly across multiple skin tone variants to find the right one, Flux 1.1 Pro is your best tool.
Qwen Image 3: Photorealistic Depth
Qwen Image 3 brings strong photorealistic depth to skin rendering. Its particular strength is in complex skin tone scenarios where you want warm undertones with cool shadow areas, or vice versa. This dual-temperature skin rendering is what makes photorealistic anime portraits feel three-dimensional rather than flat. For russet, tawny, or Mediterranean skin types, Qwen Image 3 is worth including in your comparison testing.
GPT Image 2.5: Edit-Friendly Output
GPT Image 2.5 Flare is the model to use when you want a base portrait you plan to refine further. It produces clean, detailed skin rendering with strong prompt adherence, making it ideal for workflows where you generate a base image and then use the PicassoIA Image Editor Pro to adjust skin tone, lighting, or specific facial details without regenerating from scratch.
Your Prompting Blueprint for Skin Tones
The difference between a vague prompt and a precise one is the difference between "get me something warm-toned" and getting exactly the character you pictured. Here is the system.
Color Temperature First
Lead your prompt with specific color vocabulary:
- Warm golden-bronze sun-kissed skin — olive-to-caramel range with warm undertones
- Deep rich mahogany complexion — dark skin with reddish-brown warmth
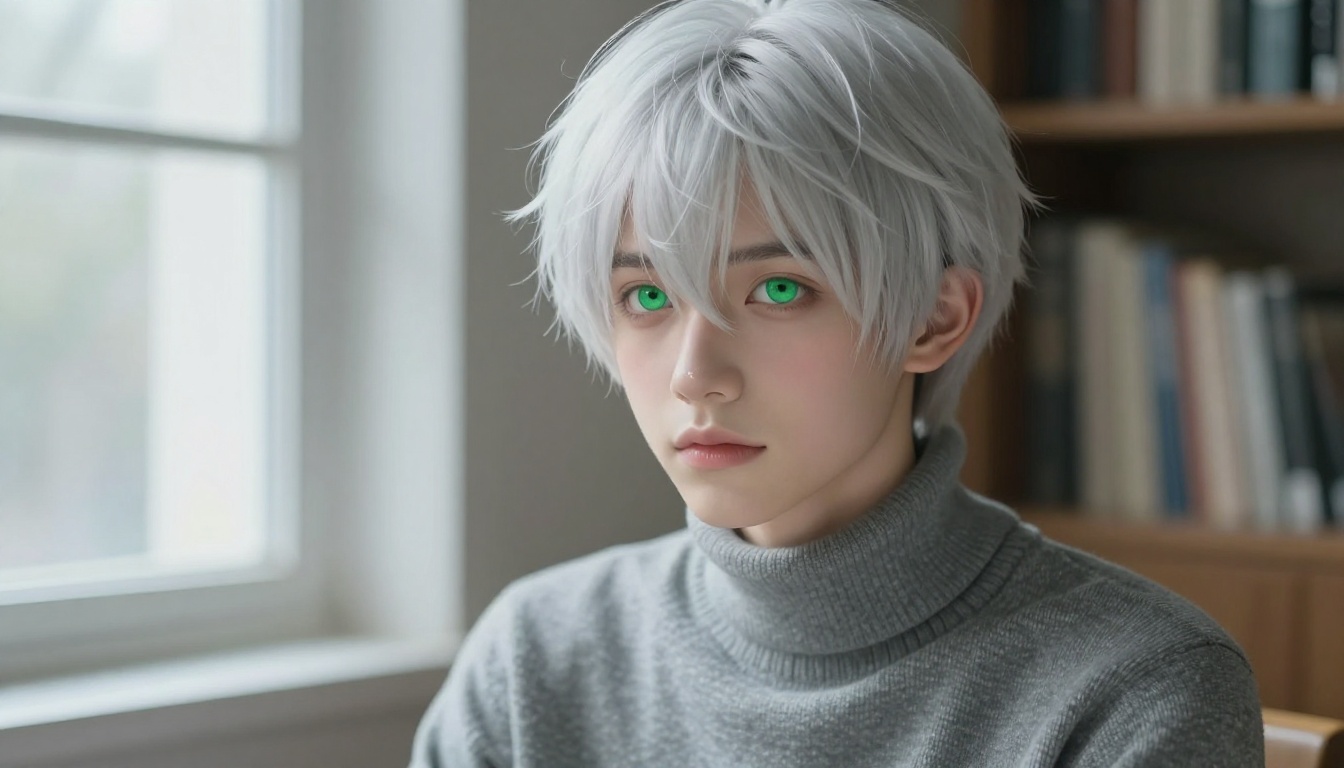
- Cool ashen grey complexion — otherworldly pale with grey-blue undertones
- Pale ivory porcelain skin — fair with pink-neutral undertones, no warmth
- Tawny russet complexion — reddish-brown with earthy warmth
The model reads these color temperature signals and uses them to calibrate the entire tonal range of the image.
Lighting Makes or Breaks the Tone
The same skin tone looks completely different under different lighting. Warm golden-hour light on pale skin reads as peachy and romantic. Cool northern light on the same tone reads as clean and sharp. This is not a technical accident; it is the most powerful tool you have.
Specify lighting direction and temperature in every prompt:
volumetric morning light from left for warm, directional golden glowsoft diffused overcast northern light for cool, even luminosityRembrandt lighting from upper right for dramatic three-quarter shadowschiaroscuro studio lighting, one side bright, one in shadow for theatrical depth
Undertones: Warm, Cool, Neutral
Every skin tone has an undertone that determines whether it reads as yellow-golden, pink-cool, or neutral-beige. Anime characters often have exaggerated undertones as part of their design identity. Be explicit:
| Skin Base | Warm Undertone | Cool Undertone | Neutral |
|---|
| Dark | Mahogany, Tawny | Ebony with blue-black shadows | Deep brown |
| Medium | Caramel, Golden | Dusty rose-tan | Natural brown |
| Light | Peach, Honey | Porcelain, Ashen | Ivory |
Include phrases like warm amber undertones glowing at cheekbones or cool blue-grey undertones in shadow areas to direct the model precisely.
The Subsurface Scattering Secret
This is the phrase that separates good skin from great skin: subsurface scattering. Real skin is not opaque. Light penetrates slightly and scatters within the dermis before returning, creating that warm glow in earlobes, nostrils, and lips. Including subsurface scattering visible in earlobes and nose tip in your prompt triggers this effect and immediately elevates the portrait's realism.
The Dark and Deep Skin Spectrum
Dark skin tones are among the most visually striking in AI portrait generation, and also among the most commonly botched. Here is how to get them right.
Mahogany, Ebony, and Tawny Tones
These are three distinct points on the dark skin spectrum:
- Mahogany: Deep warm-brown with reddish undertones, rich and luminous
- Ebony: Very deep brown-black, often with blue-violet undertones in deep shadow
- Tawny: Medium-dark with reddish-orange warmth, earthy and sun-soaked
Each requires different vocabulary and lighting treatment to render faithfully.
Getting Warmth Without Muddiness
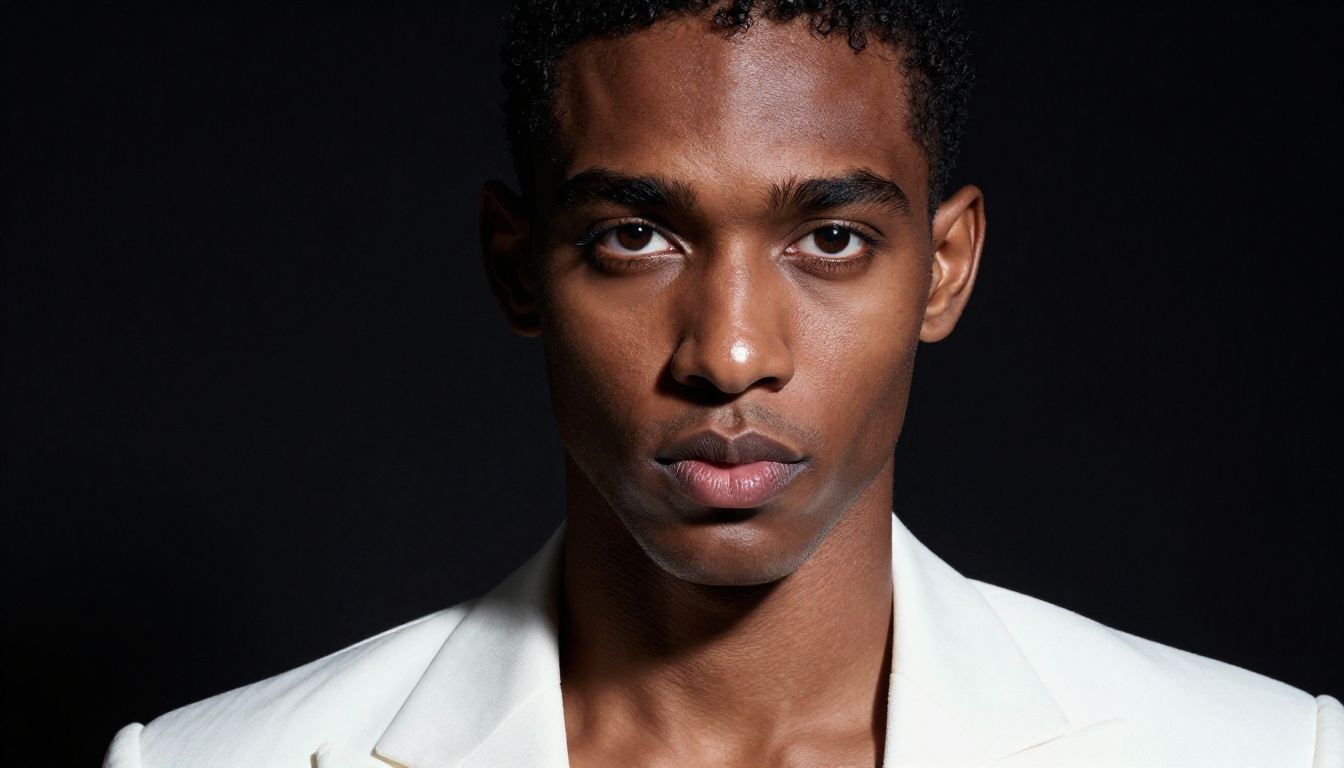
The most common failure with dark skin in AI is muddy, flat rendering where all the tonal variation collapses into a single dark mass. The fix is lighting contrast and explicit texture description.
Always include:
strong directional light source creating visible highlight and shadow separationskin texture showing natural pores near nose bridgemicro-highlights on brow ridge, cheekbone tip, and nose
Prompt Words That Actually Work
Based on consistent testing, these phrases reliably produce excellent dark skin results:
deep rich mahogany skin, warm reddish-brown tonesebony complexion with blue-black undertones in shadow areashigh cheekbones catching dramatic side lightingvisible specular micro-highlights on cheekbones and nose tipdramatic chiaroscuro lighting with strong shadow-to-highlight transition
💡 Tip: For very dark skin tones, use a lighter background to create tonal contrast. A dark background on very dark skin flattens the image. A white, grey, or softly lit environment lets the skin tone read in full dimension.
Pale, Ivory, and Ashen Skin
The opposite end of the spectrum has its own specific challenges. Pale skin rendered badly becomes either washed out and white, or strangely pink and inflamed. Here is how to avoid both.
Luminous Without Being Washed Out
The key word is luminous. Not white. Not blank. Luminous implies light from within, a subtle glow that gives the skin dimensionality. Pair it with:
soft diffused overcast light for even, non-harsh illuminationtranslucent quality to skin near temples and around eyeswarm blush undertones at cheeks and nose tip
The blush undertones are critical. Without them, pale skin in AI portraits tends toward the uncanny.
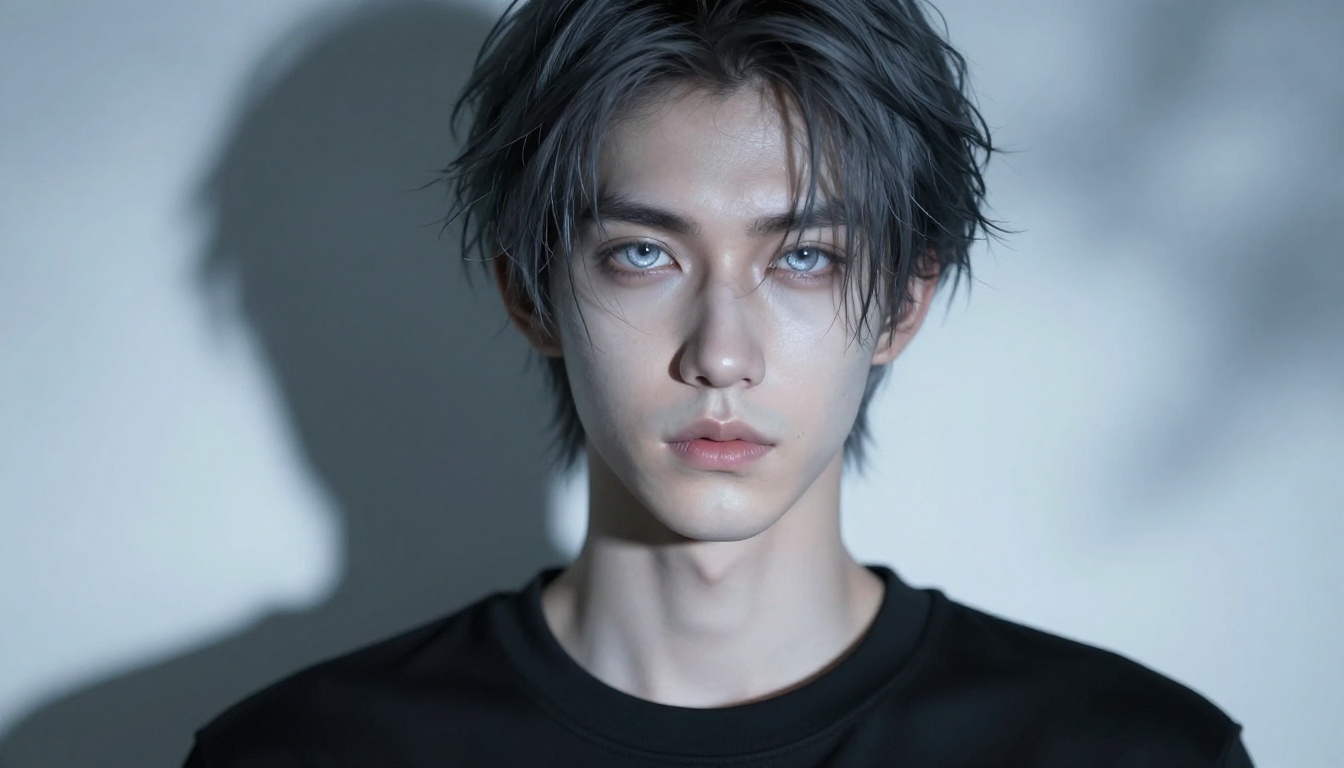
Cool Greys and Ice Tones
The ashen grey complexion is its own distinct category, separate from standard pale skin. It reads as otherworldly, with a grey-blue or silver quality that suggests the character exists outside the normal human spectrum. This is a specific and striking anime archetype.
For this tone, specify:
cool ashen grey-toned skin with silver qualitycool color temperature giving ice-blue tones to shadow areasblue-tinted studio lighting to reinforce the grey cast
The Peach-Pink Dimension
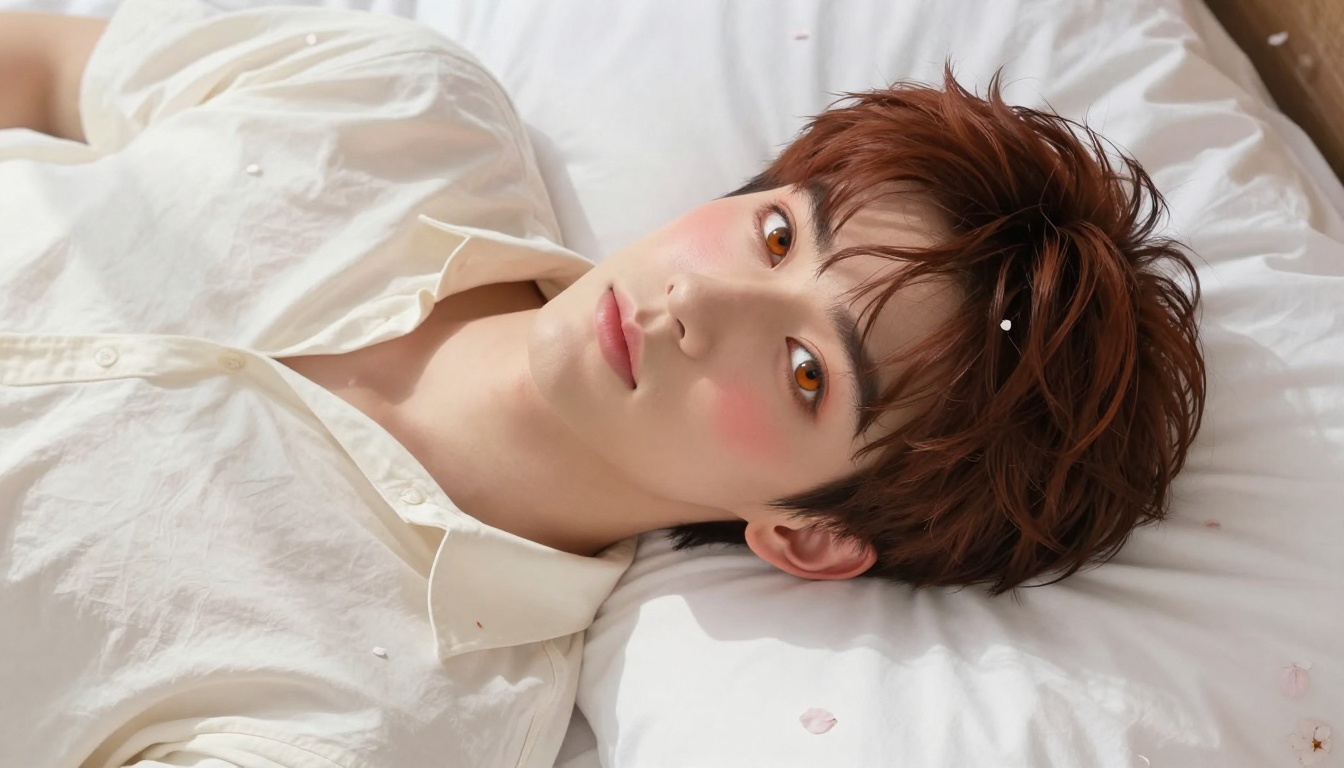
Peach skin is warm-pale, with a rosy-golden character that feels soft, approachable, and very bishounen in anime terms. It sits between ivory and caramel, catching warm light beautifully.
Prompt for it with peachy fair skin with warm blush undertones, warm rose tones at cheekbones and lip area, soft golden-hour light emphasizing the pink-gold quality of the complexion.
Mid-Range Tones: Olive, Caramel, Tan
The mid-spectrum is the broadest zone and arguably the richest for anime character diversity. This is where you find the most compelling husbando archetypes.
Mediterranean and Golden Skin
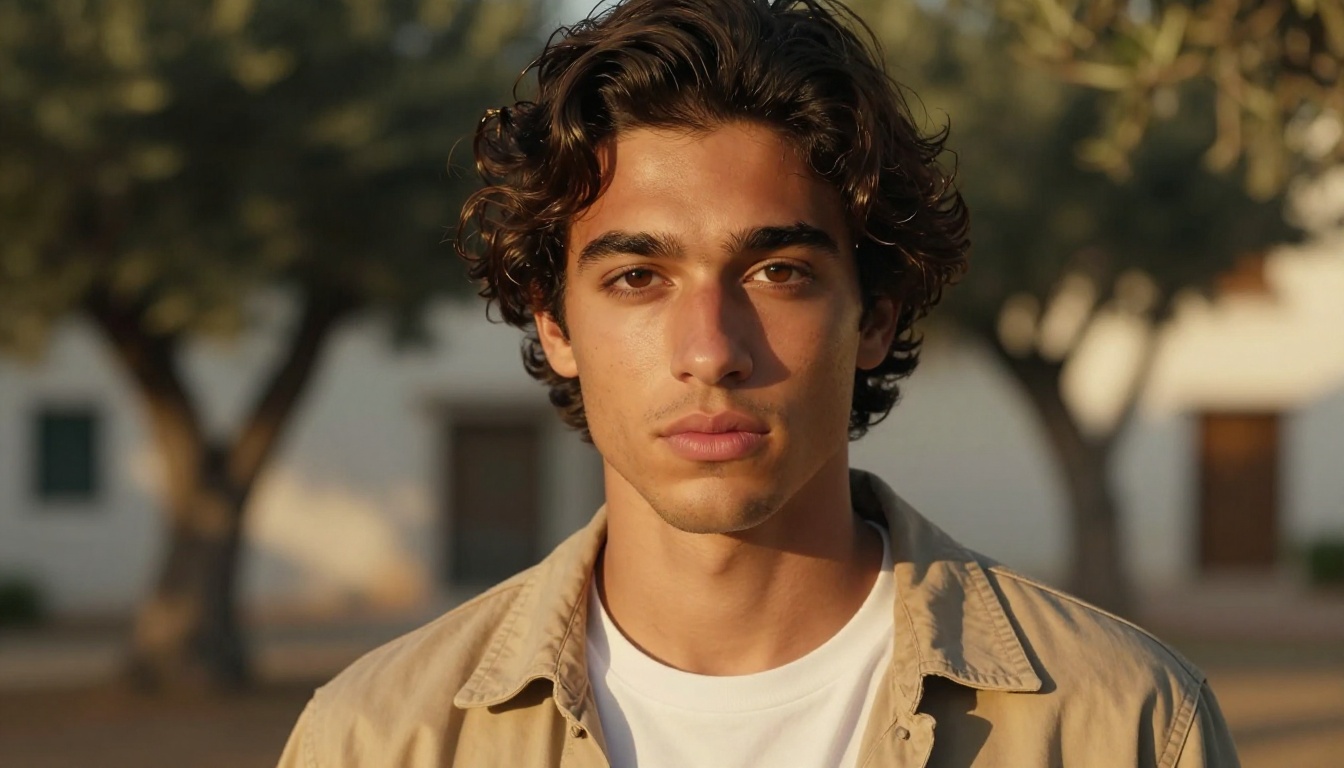
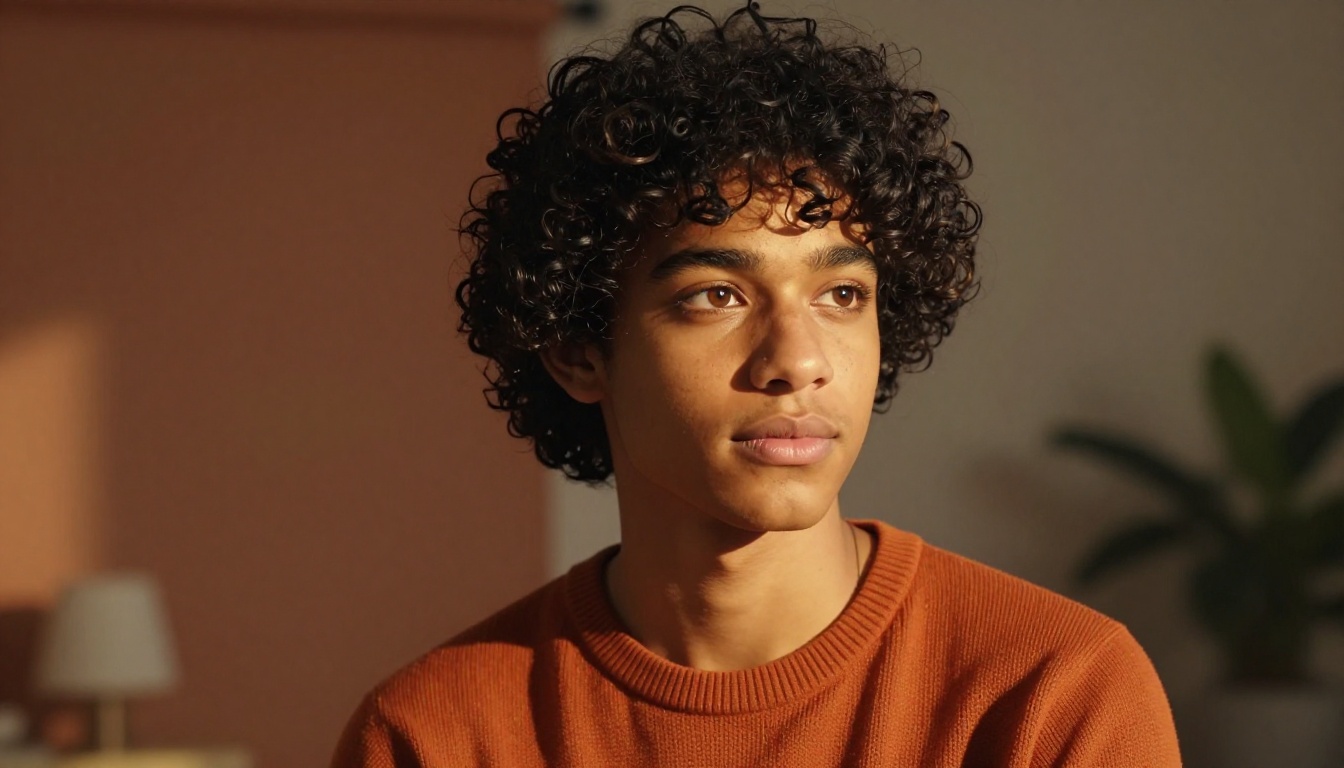
Olive and Mediterranean skin sits between fair and brown, characterized by yellow-green or yellow-brown undertones. In warm light, it glows golden. In cool light, it reads as earthy and muted.
To capture it accurately: warm olive Mediterranean skin with yellow-brown undertones, sun-warmed amber glow on cheekbones and forehead.
Beach Bronze vs. Natural Amber
These are visually similar but psychologically different:
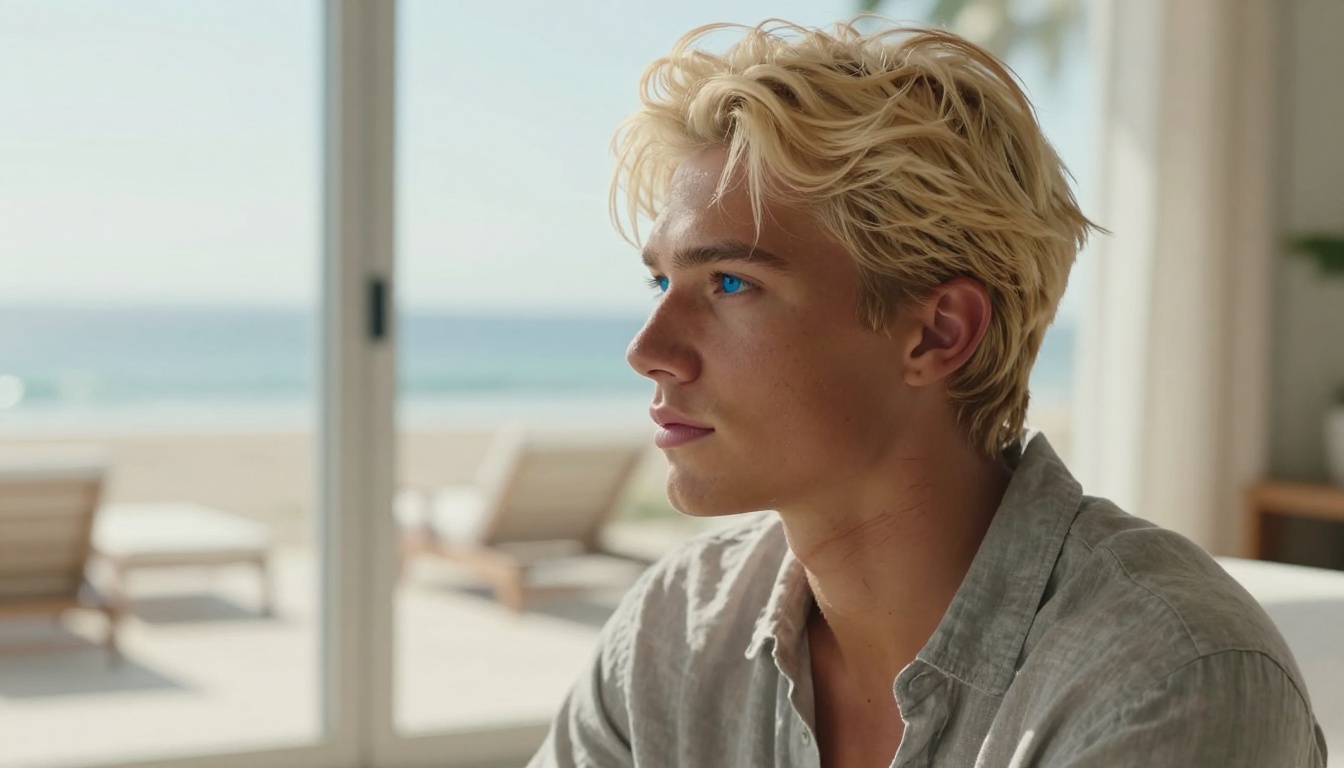
- Beach bronze reads as earned through sun exposure: slightly warm at exposed surfaces, with a bleached quality to hair.
- Natural amber is genetic, even across the face, with consistent warmth and no tan-line variation.
The beach bronze portrait benefits from: subtle tan lines at collar, bleached sandy blonde hair, sun-kissed skin texture with natural outdoor quality.
The Russet-Reddish Range
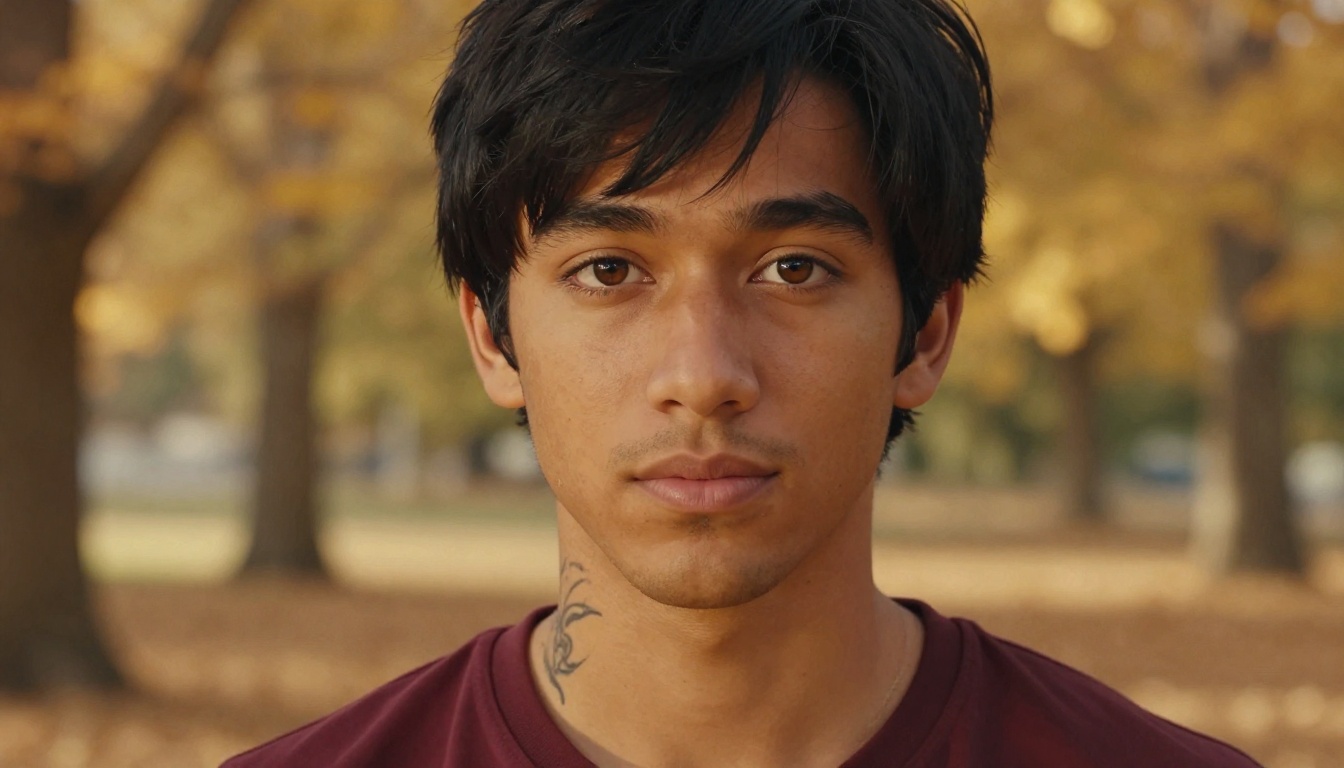
Tawny russet sits in the medium-dark zone with a distinctly reddish-brown warmth. It is the tone associated with many beloved anime characters from desert, tribal, or coastal settings. It photographs beautifully in golden-hour outdoor light where the red and amber tones saturate naturally.
Key phrases: warm tawny russet skin with reddish-brown tones, earthy warmth on cheekbones, autumn afternoon light saturating the red undertones.
How to Use PicassoIA for Your Husbando Portrait
PicassoIA brings all of the above into one accessible platform. Here is the practical workflow.
Step 1: Choose Your Model
Start at picassoia.com/en/all-models and navigate to the Text to Image category. For dark or deeply saturated skin tones, open Flux Dev. For mid-range and olive tones with fast iteration, use Flux 1.1 Pro. For photorealistic depth with complex undertone rendering, try Qwen Image 3 Pro.
💡 Tip: Do not commit to one model. Run your prompt on two or three models and compare results side by side. Skin tone rendering varies meaningfully between them, and the differences often surprise you.
Step 2: Write the Skin Tone Prompt
Use the blueprint from this article. Structure it as:
- Subject description: Face type, eye character, hair
- Skin tone specification: Base color + undertone + texture language
- Lighting: Direction, temperature, quality
- Camera: Lens focal length, aperture for depth of field
- Film stock: Kodak Portra 400 for warmth, standard for neutral
- Style suffix:
RAW 8K photography, photorealistic --ar 16:9 --style raw
Step 3: Refine with the Image Editor
When you get a result that is almost right but the skin tone needs adjustment, do not regenerate from scratch. Use the PicassoIA Image Editor Pro for targeted changes. You can modify specific skin areas, adjust lighting balance, or sharpen highlight definition without losing the character's overall composition and feel.
The Image Editor Pro offers unlimited generations, making it the most practical way to iterate on complex skin tone refinements without burning through credits on full regenerations.
Your Husbando Is Waiting
Every skin tone described in this article is achievable right now on PicassoIA. The models are there. The prompting vocabulary is now in your hands. The only thing missing is the version of your character you have been carrying around in your head.
Open Flux Dev, write the exact skin tone in precise vocabulary, describe the lighting that makes it look its best, and run it. Compare against Flux 1.1 Pro and Qwen Image 3. Refine with the Image Editor Pro.
The difference between a forgettable AI portrait and one that genuinely looks like your character comes down to specificity. You now have the vocabulary for it. Use it.
Browse every available model at picassoia.com/en/all-models and find the one that speaks to your vision.


