The choice between Flux 2 Pro and Flux 2 Max is not just a spec sheet exercise. It shapes how fast you iterate, how much budget you burn per generation, and whether your output holds up at 4MP print resolution or breaks apart under scrutiny. Both models sit at the top of the Black Forest Labs lineup and run on PicassoIA, but they are built for fundamentally different use cases.
If you have been working with Flux 1.1 Pro or Flux Schnell and wondering where the Flux 2 generation fits into your workflow, this breakdown skips the marketing language and focuses on what actually changes: the detail levels you can see, the generation times you will wait, and the scenarios where paying for Max over Pro makes a tangible difference.
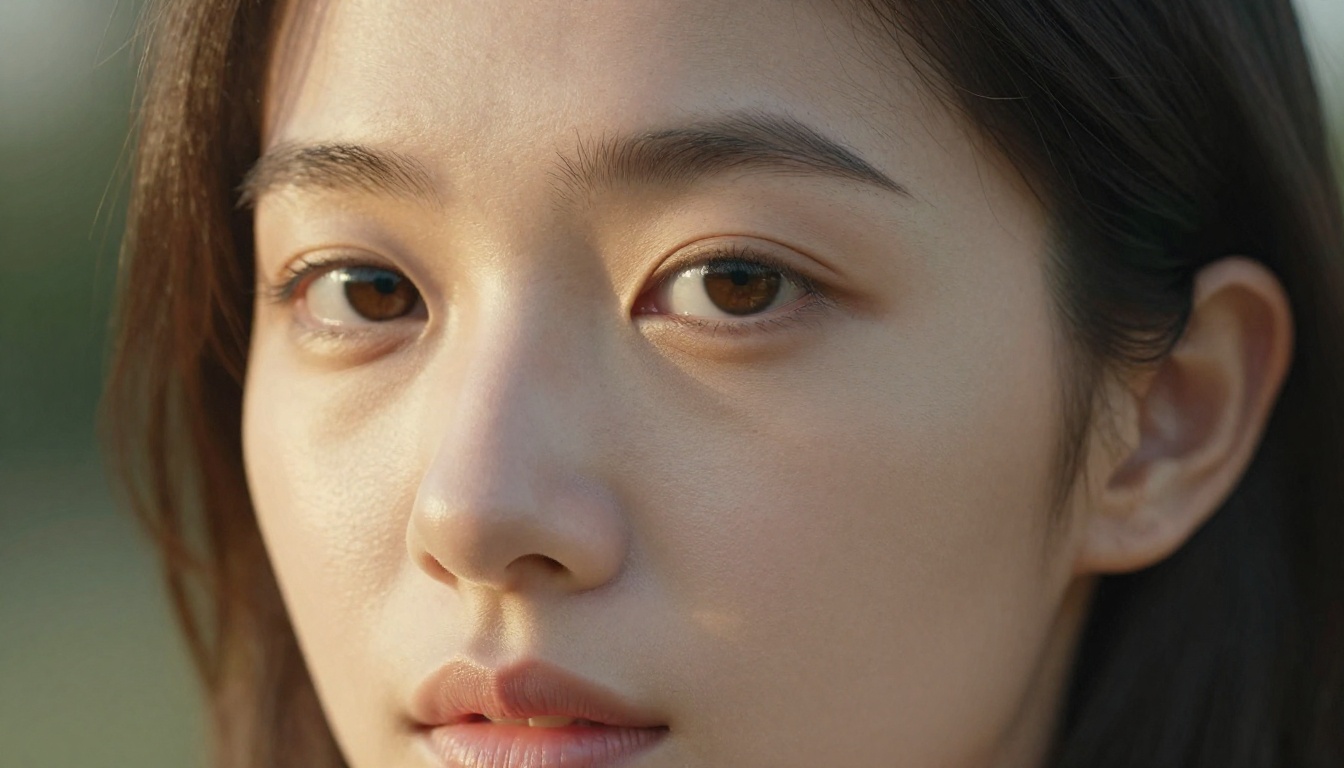
What Sets These Two Models Apart
The Flux 2 family represents a complete rearchitecting of how Black Forest Labs approaches resolution, prompt adherence, and photorealism. Moving from Flux Pro to the Flux 2 generation, the jump in instruction following is the most immediate difference you notice. Prompts that previously required careful engineering now produce accurate results in a single pass.
But within the Flux 2 family itself, Pro and Max serve separate tiers of creative demand.
Flux 2 Pro at a Glance
Flux 2 Pro is the performance-optimized model. It delivers output quality that decisively outpaces any previous Flux release, with notable improvements in:
- Photorealistic skin and surface texture at standard output resolutions
- Text rendering accuracy within images, a persistent weakness in earlier generations
- Complex scene composition where multiple subjects need to relate believably
- Prompt adherence for detailed, multi-element descriptions
Generation speed sits at roughly 15 to 20 seconds per image depending on server load, making it practical for iterative creative sessions where you are testing prompt variations and making fast adjustments.
Flux 2 Max at a Glance
Flux 2 Max is the resolution-first, quality-ceiling model. The core differentiation is output resolution: Max produces images at up to 4 megapixels, which translates to print-ready dimensions that hold detail at large formats without upscaling artifacts.
Beyond resolution, Max also applies additional refinement passes that improve:
- Micro-texture fidelity: individual fabric fibers, skin pores, and material grain
- Color accuracy and tonal range: richer shadow detail and more accurate specular highlights
- Spatial coherence: better depth relationships and perspective accuracy in complex architectural or landscape scenes
The tradeoff is speed. Max takes roughly 30 to 50 seconds per image, and it costs more per generation than Pro.
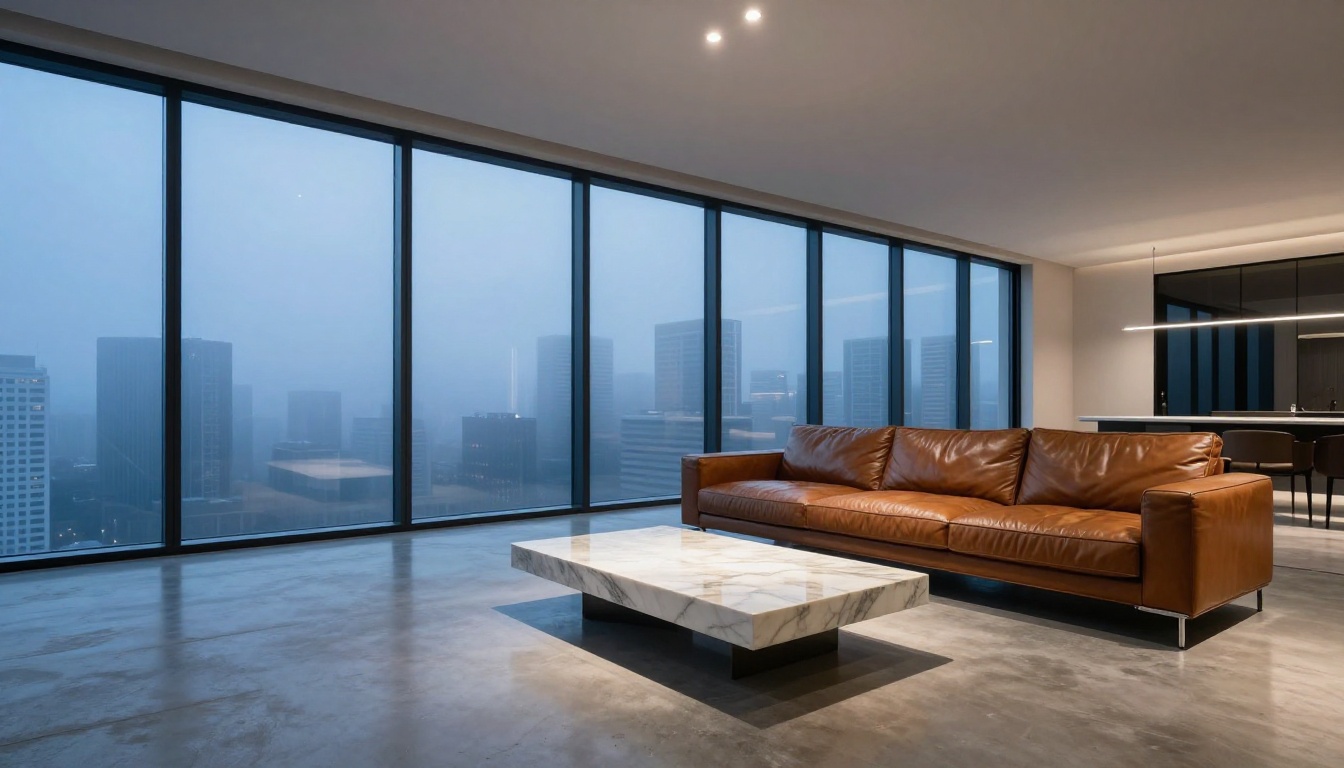
Side-by-Side: The Numbers
| Feature | Flux 2 Pro | Flux 2 Max |
|---|
| Max Resolution | ~1MP (1024×1024 equivalent) | Up to 4MP (2048×2048 equivalent) |
| Generation Speed | 15 to 20 seconds | 30 to 50 seconds |
| Cost Per Generation | Lower | Higher (roughly 2x) |
| Photorealism Level | High | Maximum |
| Text Rendering | Improved | Best in class |
| Batch Suitability | Excellent | Best for finals only |
| Print Resolution | Web and social | Print and large format |
| Prompt Adherence | High | Very high |
💡 Rule of thumb: Use Pro for concept development and iteration. Switch to Max only when a specific image is heading to final production.
Where Flux 2 Pro Has the Edge
Speed for High-Volume Workflows
When you are generating 20 to 50 image variations in a single session to find the right composition, lighting approach, or color palette, generation speed compounds. At 15 to 20 seconds per image with Pro versus 30 to 50 seconds with Max, a 30-image testing session takes 7 to 10 minutes on Pro versus 15 to 25 minutes on Max.
That difference feels minor in isolation but significant when you account for the creative rhythm of iterative work. Waiting 45 seconds between variations interrupts thinking in a way that 20 seconds does not.
For content creators producing images at volume (social media assets, blog thumbnails, marketing variations), Flux 2 Pro is the production workhorse. Pair it with Flux Fast for early-stage sketching, then escalate to Pro when a direction starts to crystallize.
Cost-Effectiveness at Scale
At high generation volumes (hundreds of images per month), the cost difference between Pro and Max adds up meaningfully. If your outputs are destined for digital platforms where 72 to 96 DPI is sufficient and images rarely exceed 1200 pixels on the long edge, the extra resolution from Max provides no practical benefit. You are paying for pixels you will never display.
Pro at scale, combined with Flux 1.1 Pro Ultra for specific high-stakes pieces, gives a cost architecture that scales without waste.

Where Flux 2 Max Has the Edge
4MP Resolution for Print-Ready Work
The 4MP output ceiling is not a marginal upgrade. At 2048×2048 or equivalent dimensions, Max-generated images can be printed at:
- 8×10 inches at 250 DPI without any upscaling
- 12×18 inches at 170 DPI for large-format photography prints
- A2 format at 100 DPI for exhibition-quality display prints
For studios producing visual content that appears in physical form (packaging, advertising, editorial print), this resolution eliminates a post-processing step. Images from Pro often need a super-resolution pass before print handoff. Max skips that step entirely.
This is especially relevant for:
- Product photography for packaging design
- Architectural visualization for client presentations
- Fashion editorial work going to magazine layouts
- Advertising imagery for large-format outdoor placement
Photorealism at the Highest Level
The quality gap between Pro and Max narrows considerably at standard web viewing sizes. At 100% zoom on a high-resolution monitor, the differences emerge clearly.
Max renders skin texture with dermatological accuracy: pores that scale naturally across different areas of the face, fine vellus hair catching directional light, and subsurface scattering that gives skin a translucent quality rather than a flat painted appearance. Pro achieves a high-quality approximation of this, but close examination reveals subtle smoothing at the micro-texture level.
In architectural imagery, Max maintains spatial geometry accuracy in scenes with complex perspective convergence, multiple material reflections, and overlapping light sources. Pro handles these scenes well but occasionally introduces subtle spatial inconsistencies in corner geometry or reflection alignment that require retouching.
💡 For portrait work specifically: If output will be viewed at full resolution by the end client (photography portfolios, fine art prints, model comp cards), Max is the right call. For social media at standard sizes, Pro is indistinguishable to most viewers.
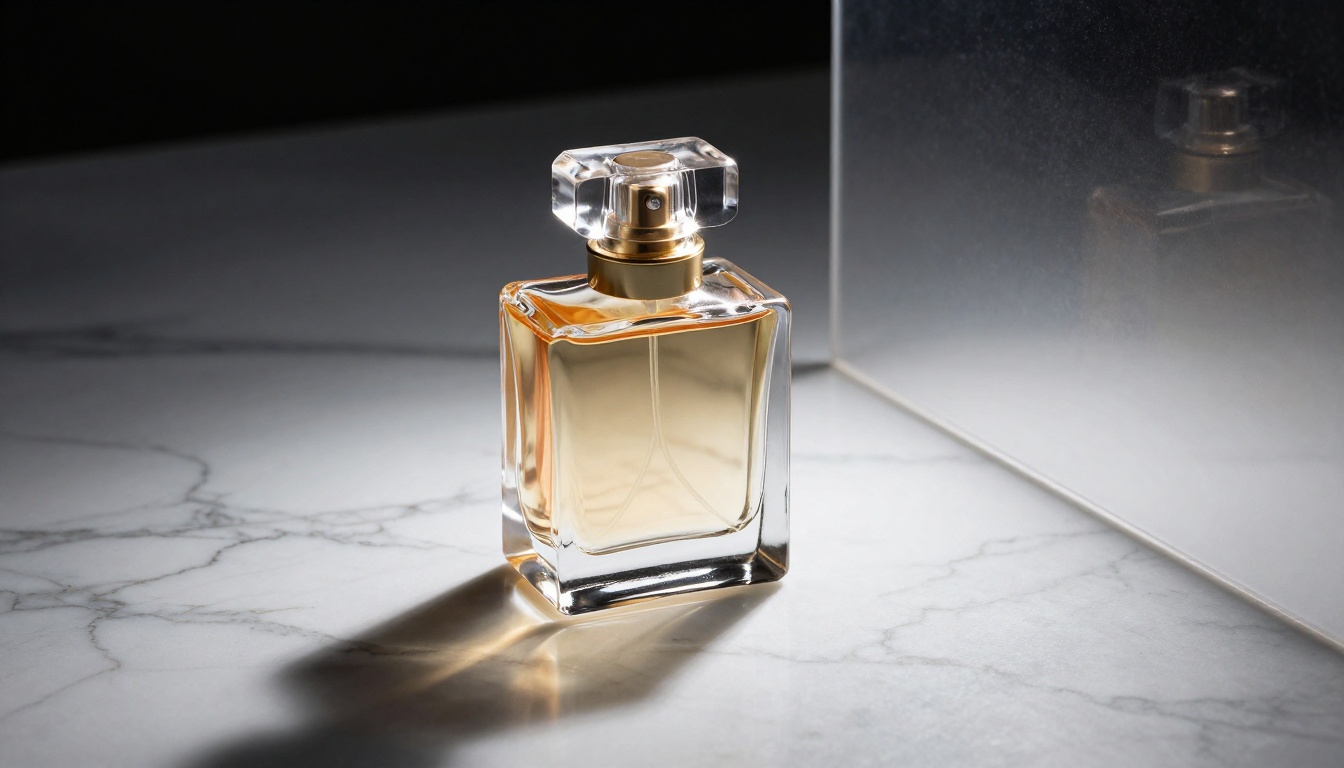
Real Output Differences by Subject
Portrait and Skin Texture
Portrait work is where the Pro vs Max choice becomes most visually apparent. At 100% zoom, Max shows individual pore structures that vary naturally across the face: larger near the nose, finer near the temples, with realistic variation in skin tone at a microscopic level.
Pro produces portraits that look definitively photorealistic at web viewing sizes and hold up well at moderate zoom levels. For use cases like Instagram, LinkedIn headshots, or website profile images, Pro is more than adequate.
For use cases like cosmetics brand imagery, beauty editorial, or print portraiture where clients examine images at full resolution, Max is the clear choice.
Architectural and Interior Shots
Both models handle architectural imagery with competence. The distinction shows in material rendering:
- Concrete surfaces: Max renders the aggregate texture and micro-variation of concrete with geological accuracy. Pro produces a convincing approximation but sometimes reads as textured gray rather than authentic concrete.
- Glass reflections: Max correctly traces reflection geometry in complex multi-surface glass arrangements (curtain wall buildings, interior glass partitions). Pro may simplify reflection physics in complex scenes.
- Lighting falloff: Max renders the natural falloff of daylight entering a space with accurate intensity gradients across surfaces. Pro handles this well in simpler scenes but may flatten gradients in complex multi-source lighting situations.
Product and Commercial Photography
Product photography is a case where Max's resolution advantage translates directly to commercial value. A product image that will appear on an e-commerce page, a packaging proof, and a billboard needs to work at wildly different sizes. Max's 4MP starting point gives retouchers more to work with at every stage of the production pipeline.

How to Use Both on PicassoIA
Both Flux 2 Pro and Flux 2 Max are available directly on PicassoIA without a local GPU or API setup.
Using Flux 2 Pro on PicassoIA
- Navigate to the Flux 2 Pro model page on PicassoIA
- Enter your prompt with specificity the model can use: lighting direction, camera lens, surface textures, color temperature
- Set your aspect ratio (16:9 for landscape, 1:1 for social, 9:16 for vertical formats)
- Run a first generation to assess the base composition and lighting interpretation
- Iterate on prompt details: refine surface descriptions, adjust color temperature language, specify camera distance more precisely
Pro's speed makes it ideal for rapid iteration. Run 5 to 10 variations before committing to a direction, then take the winning prompt to Max for the final production-ready output.
Prompt tips specific to Flux 2 Pro:
- Specify film stock or camera sensor type: "Kodak Portra 400 film grain" or "Sony A7R sensor, ISO 800"
- Include lighting setup language: "one-light Rembrandt setup" or "diffused north-facing window light"
- Describe surface textures explicitly: "raw linen weave visible at fiber level" or "brushed titanium with directional grain"
Using Flux 2 Max on PicassoIA
- Navigate to the Flux 2 Max model page on PicassoIA
- Use a prompt you have already refined with Pro, or write a maximally detailed prompt from scratch
- For portrait work, add micro-texture language: "individual pore structure visible at 100% zoom, subsurface scattering, fine facial hair catching directional light"
- For architectural work, include material specificity: "aggregate texture in concrete, weathered oxidation on steel, reflection tracing on curved glass panels"
- Generate and review at 100% zoom before accepting the output
Max rewards highly specific, technically detailed prompts. Vague prompts will produce good results, but the model's quality ceiling is only reached when the prompt gives it concrete visual targets.
Combining both in a real workflow: Use Flux 2 Pro for concept development (10 to 20 iterations to find the right direction), then Flux 2 Max for the final 2 to 3 production outputs. This keeps costs predictable while ensuring the final deliverable hits the resolution and quality bar that print and professional clients expect.
You can also use Flux 2 Dev as a free-to-run model for early concept sketching before escalating to Pro for direction-setting and Max for final output, creating a three-tier workflow that optimizes both time and budget.
Which Model Fits Your Situation?
For Content Creators and Social Media
If your primary output channels are Instagram, LinkedIn, YouTube thumbnails, or blog imagery, Flux 2 Pro covers everything you need. The resolution ceiling of Pro is well above what any social platform displays, and the generation speed lets you produce content at the pace social publishing demands.
Consider Flux Kontext Max alongside Pro when you need to edit or rewrite elements of an existing image without regenerating from scratch.
For volume-oriented content work, the recommended PicassoIA stack looks like this:
- Ideation: Flux Schnell (seconds-per-image speed for rough concept checks)
- Production: Flux 2 Pro (final outputs for all digital channels)
- Editing: Flux Kontext Pro (targeted modifications on Pro-generated images)
For Professional Designers and Studios
For studios where outputs appear in print, packaging, exhibition, or client presentations requiring full-resolution delivery, Flux 2 Max belongs in your final production pipeline.
The workflow that makes economic sense at studio scale:
- Concept rounds: Flux 2 Pro for all client review iterations
- Final delivery: Flux 2 Max for the approved creative direction only
- Retouching input: Flux Fill Pro when specific image areas need targeted regeneration
This three-stage approach keeps Max usage (and cost) limited to the final production step while maintaining high quality throughout client-facing materials.
The Verdict: A Framework for Deciding
There is no universally correct answer between Flux 2 Pro and Flux 2 Max. The right choice depends on three variables:
1. Output destination: Digital-only work (Pro). Print and high-resolution professional delivery (Max).
2. Generation volume: High-volume iterative workflows where you generate dozens of images to find one (Pro). Final production where you know exactly what you need and are running 2 to 3 generations (Max).
3. Budget sensitivity: Cost-conscious projects or high monthly generation counts (Pro). Projects where resolution and quality are the primary success criteria and budget is secondary (Max).
For most individual creators and small studios, Flux 2 Pro will be the right default. Reach for Flux 2 Max when a specific piece needs to meet print production standards or when a client is reviewing output at full resolution.
Try Both and Pick Your Default
The best way to internalize the difference between Pro and Max is to run the same prompt through both and compare at 100% zoom. Pick a subject that matters to your work: a portrait, a product shot, an architectural interior. Write a specific, detailed prompt. Generate with both models and examine the outputs side by side.
Within three or four of those comparisons, you will develop an intuitive sense of where Max actually adds visible value for your specific subject matter, and where Pro is genuinely indistinguishable for your use case.
Both Flux 2 Pro and Flux 2 Max are available on PicassoIA with no download, no local GPU, and no setup. You can start a comparison session right now, run your first prompt through both models, and make the call based on what you see rather than what a spec sheet says.
PicassoIA's full collection of Flux models also includes tools for editing (Flux Fill Pro, Flux Depth Pro), variation generation (Flux Redux Dev), and LoRA-based fine-tuning (Flux Dev LoRA) so your workflow can grow from single image generation to a full creative production system without switching platforms. Visit picassoia.com/en/all-models to see every model available and start experimenting today.


