Free AI Tools for 3D Anime Character Models: What Actually Works
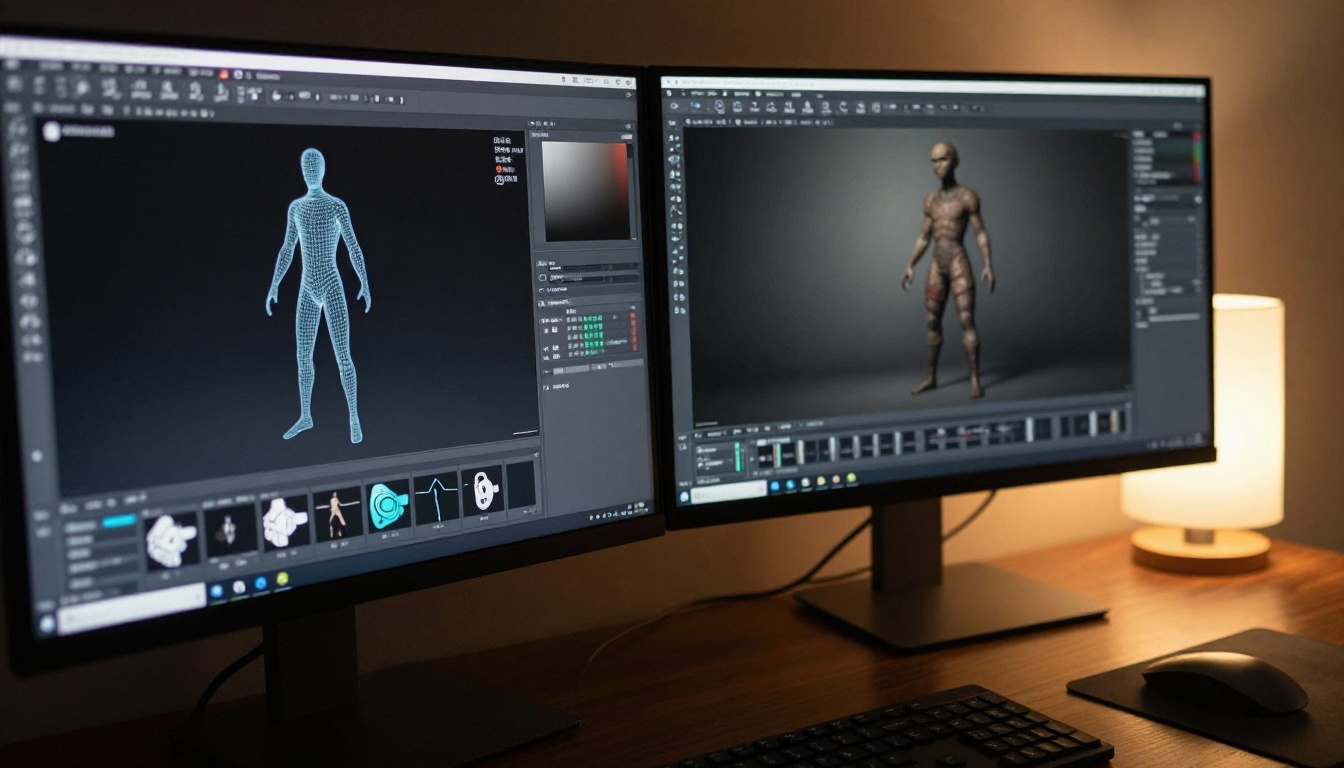
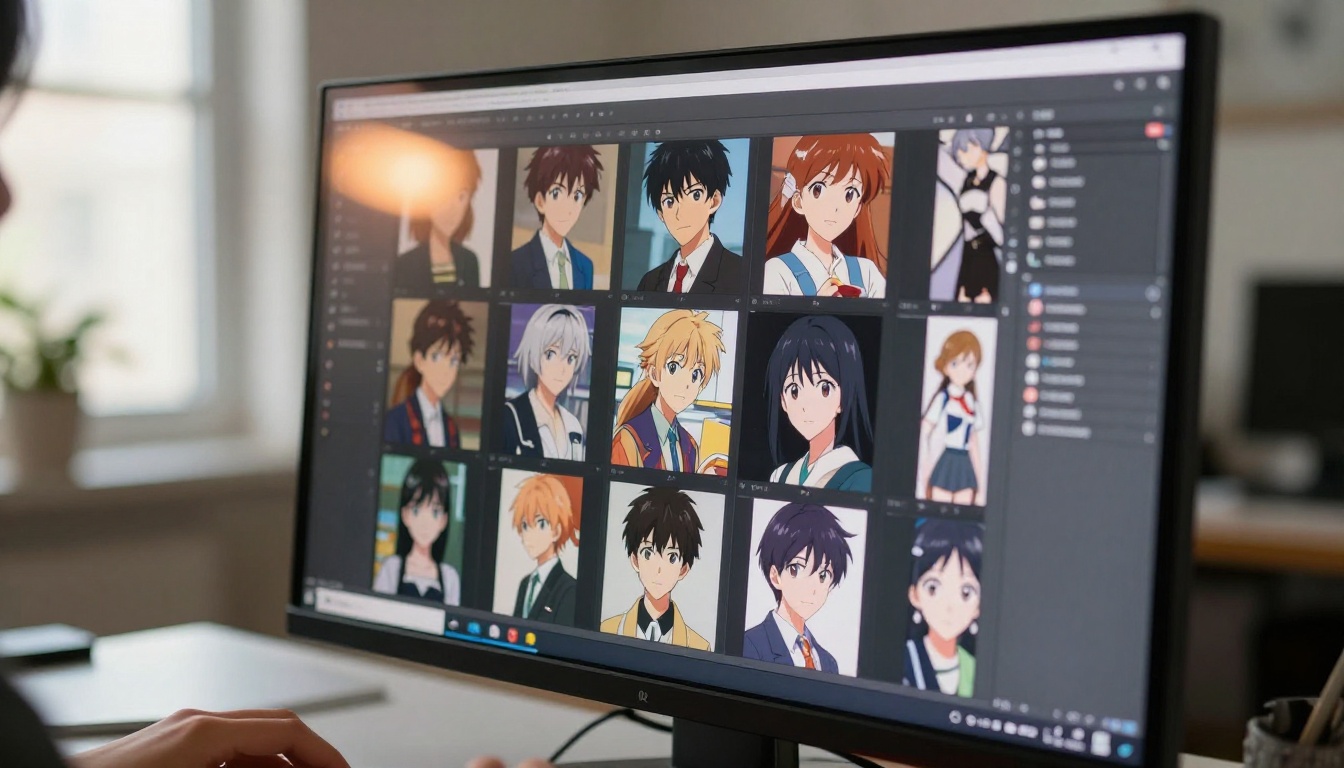
3D anime character creation used to require expensive software and months of training. Today, free AI tools can generate detailed character models from a single text prompt. This article breaks down which tools deliver real 3D-style results, how to write prompts that work, and how to run a full free workflow on PicassoIA using Flux Dev, SDXL, and Real ESRGAN for post-processing and upscaling.
If you have been scrolling through anime art forums wondering how people produce detailed 3D anime character models in minutes, the answer is usually an AI image generator with the right prompt. The technology has reached a point where free tools, used correctly, can output character designs that would have taken a professional 3D modeler days to build from scratch.
This article cuts straight to the tools that work, what their free tiers actually give you, and the specific prompting strategy that produces 3D-style results without a render farm or a modeling degree.
What "Free" Actually Means Here
The word "free" covers a wide range of situations, and mixing them up wastes hours. Three categories matter.
Truly Free With No Generation Caps
Some platforms give you unlimited generations on specific models with zero credit system. Flux Schnell on PicassoIA is one of the clearest examples: no watermarks, no daily limit, no subscription required. You type, you generate, you download. That is a rare combination in the current AI tools landscape.
Free Tier With Hard Limits
Most standalone AI tools give you 10 to 50 free images before hitting a paywall. For serious 3D anime character development, where you might run 30 iterations just to nail a single pose, that burns through immediately. Fine for experimenting, poor for any production workflow.
Free Open-Source That Requires Your Own Hardware
Tools like Stable Diffusion running locally are free in licensing cost but require a capable NVIDIA GPU. If you have one, this is powerful and private. If you are on an average laptop, cloud-based tools like PicassoIA give you the same models without the hardware barrier or the setup time.
The Best AI Models for 3D Anime Character Style
Not every AI image model produces a convincing 3D anime character look. The models below have been selected specifically for this use case. Each runs on PicassoIA with no usage caps and no watermarks on output files.
Flux Dev: High-Fidelity Character Renders
Flux Dev is a 12-billion parameter model that produces the sharpest, most detailed outputs of any free-tier model currently available. For 3D anime character work, it handles fine detail on clothing fabric, hair strand separation, and the kind of volumetric shading that gives a character visual depth and physical weight.
The model supports 11 aspect ratios including 2:3 for portrait character cards and 16:9 for scene compositions. Its img2img mode lets you refine an existing character design rather than starting from scratch every time, which cuts down the iteration count significantly. With 28 to 50 inference steps, you control the quality-speed tradeoff directly.
Best for: Final-quality character portraits, full-body renders with detailed costuming, character card artwork.
Flux Schnell: Fast Concept Rounds
When you are in the early concept phase and need to test 20 variations of a character's design in quick succession, Flux Schnell processes each image in under 5 seconds. Output quality is lower than Flux Dev but still clean and usable for reference and direction work.
The unlimited generation model on PicassoIA means you can run 100 variations of a character concept in a single session, zero cost, no credits depleted. Use it to narrow your design direction before committing, then switch to Flux Dev for the final high-quality output.
Best for: Concept exploration, pose testing, character design variation rounds, rapid ideation.
SDXL: Complex Character Compositions
SDXL generates at 1024x1024 resolution and includes an optional refiner pipeline that adds a second sharpening pass to the output. For anime characters with complex outfits, multiple accessories, or scenes with more than one character, SDXL handles layered visual complexity more reliably than lighter models.
The inpainting and img2img capabilities let you fix specific problem areas in a character output, such as a hand that came out wrong, a background element that clutters the composition, or a costume piece that needs adjusting. The LoRA weight support means that if you have a style preset for anime 3D rendering, you can load it directly into the generation workflow.
Best for: Complex character compositions, outfit detail work, background integration, inpainting fixes on existing outputs.
Stable Diffusion: Classic Anime Style Foundation
Stable Diffusion is the foundation model that most anime-specific specialized models are built on. While the base version does not specialize in 3D anime character style specifically, its wide community support means the negative prompt methodology is thoroughly documented, and the six scheduler options give you fine-grained control over the generation process.
For a free AI anime character generator workflow that needs to be flexible, well-documented, and able to incorporate custom community weights, Stable Diffusion remains a strong foundation, particularly when paired with deliberate negative prompts that push out unwanted flat illustration elements.
Best for: Classic anime aesthetic, LoRA-based custom styles, scheduler variation experiments, community-trained model weights.
How to Use Flux Dev on PicassoIA Step by Step
Since Flux Dev produces the highest quality output and runs completely free on PicassoIA, here is the exact workflow from start to finish.
Aspect ratio: 2:3 for portrait character cards, 16:9 for scene compositions, 1:1 for square social posts
Inference steps: 35 for a balance of speed and quality; 50 for final output
Go Fast mode: Disable this for maximum fidelity on final character renders
Guidance scale: Leave at 3 for natural outputs; raise to 5 or 6 if the model keeps drifting away from your prompt description
Step 3: Structure your character prompt
Format matters significantly here. Use this structure:
[Character description] + [Pose and expression] + [Outfit and styling details] + [Lighting setup] + [Camera angle and lens] + [Quality modifiers]
Example prompt for a warrior character:
young female warrior character, standing in three-quarter pose looking over shoulder, silver armor with detailed engravings on shoulder pauldrons, long dark hair pulled back, soft studio lighting from left with rim light on right edge, 3D character model rendering quality with volumetric shading, sharp subsurface skin texture, 85mm f/1.8 portrait lens, 8k resolution, photorealistic surface detail
Step 4: Lock the seed for character consistency
When you get a result with the right character face or body proportions, note the seed number shown in the interface. Change one element at a time, such as the pose or a single costume piece, while keeping the seed locked. This gives you a visually consistent character across a series of images.
Step 5: Export and post-process
Download the output in PNG format for the cleanest file. Then run it through Real ESRGAN on PicassoIA to upscale 4x for print or high-resolution use.
Prompt Writing for 3D Anime Style
This is where most people waste the most time. The 3D-style look in AI anime characters comes from specific prompt language, not from model choice alone.
The Biggest Mistake Most People Make
💡 Using the word "anime" alone pulls toward 2D flat illustration style in every model. You must qualify it with depth and physical rendering language.
A prompt that says anime girl warrior will produce a flat, 2D illustration in most models. The exact same concept with depth-specific language produces a completely different result.
Weak: anime girl warrior with sword
Strong: anime-style female warrior, subsurface skin shading, volumetric hair rendering with individual strand separation, metallic sword surface with specular light reflection highlights, ambient occlusion visible in shadow areas under chin and in fabric folds, 3D character model rendering quality, photorealistic surface textures, depth of field on background, 8k resolution
The difference is technical render vocabulary. Terms like subsurface shading, ambient occlusion, and volumetric rendering tell the model to weight toward 3D rendering conventions rather than flat illustration conventions.
Lighting Language That Adds Depth
Flat images stay flat because the lighting description is absent. Add at least one lighting term to every character prompt:
three-point lighting setup builds classic portrait studio dimensionality
volumetric rim light from right edge separates the character visually from the background
soft diffused key light from upper left creates a natural dimensional feel
ambient occlusion in fabric folds adds physical realism to clothing and armor
backlit with warm late afternoon sun creates hair and shoulder highlight separation
Negative Prompts That Fix the Most Common Problems
Problem
Negative Prompt to Add
Flat 2D illustration look
flat colors, cell shading, manga lines, 2D illustration, sketch
Distorted or malformed hands
deformed hands, extra fingers, fused fingers, blurry hands
bad anatomy, disproportionate body, elongated limbs, crooked spine
Watermarks or text artifacts
watermark, text overlay, signature, logo, username
💡 Stacking works: SDXL's negative prompt field accepts 10 to 15 terms. More specific negative terms reduce the probability of each unwanted element appearing in the output. Do not limit yourself to one or two.
All five models run free and unlimited on PicassoIA. No credits, no daily caps, no watermarks on exported files.
Post-Processing Your 3D Anime Character Outputs
Getting a character to production quality requires one step beyond the initial generation: upscaling.
Why Output Resolution Matters
Most AI image outputs land at 1024x1024 or a similar base resolution. For anything that needs to be printed, displayed on a large screen, or used as a reference texture in actual 3D modeling software, that is not sufficient. Real ESRGAN on PicassoIA scales your output 2x or 4x using AI-driven detail reconstruction that adds real sharpness rather than simply scaling pixels.
The face restoration option runs an additional processing pass specifically on facial regions, sharpening eyes, skin texture, and hair strand detail. For anime character portrait outputs where the face carries most of the visual information, this single step measurably improves the result.
The Full Post-Processing Workflow
Generate your character at base resolution with Flux Dev or SDXL
Set scale factor to 4x and enable face restoration
Download the processed result
Total added cost: zero. Total added time: roughly 10 seconds per image.
Building Character Consistency Across Multiple Images
One challenge specific to 3D anime character models is visual consistency: getting the same character to appear across multiple poses and angles without losing their distinctive features. AI models do not carry character memory between generations, but you can approximate consistency through four methods.
1. Anchor prompt blocks: Write a fixed base character description, about 30 to 40 words covering core features like hair color and style, eye color, skin tone, and primary outfit elements. Paste this at the start of every prompt.
2. Seed locking: Fix the random seed on generations where the character looks right. Different pose and scene prompts with the same seed will produce outputs that share underlying visual DNA, keeping the character more recognizable across iterations.
3. Img2img refinement in Flux Dev: Take a strong character output and feed it back into Flux Dev's img2img mode with a new pose prompt. Set prompt strength to 0.5. The model adapts the pose while preserving more of the original character's facial features and outfit details than a fresh generation would.
4. LoRA weights in SDXL: If you locate a LoRA weight file trained on a specific anime character style, loading it into SDXL keeps the visual style consistent across every generation, regardless of how much the individual prompt varies.
Using PicassoIA on Mobile
The PicassoIA platform works on mobile browsers without a dedicated app. The interface scales to a phone screen and all models remain fully accessible. For quick character concept testing while away from a workstation, Flux Schnell is particularly well-suited to mobile use, since fast generation means you are not waiting long on a small screen.
The workflow is identical to desktop: write your prompt, set parameters, generate. Output quality does not change based on the device used to access the platform.
The Real Cost of Free AI Anime Tools
Free does not mean no tradeoffs. The honest picture:
Time cost: Quality AI anime character art requires iteration. Budget 20 to 50 generations to get a single character design to a point you are satisfied with. With unlimited generations on PicassoIA, the cost is in iteration time, not in credits.
Learning curve: Prompt writing for 3D anime style takes practice. The first 10 to 20 generations are usually spent learning what language the model responds to. That is the real investment in using free tools well, and it compounds quickly.
Consistency limitations: Without a dedicated character LoRA or ControlNet pose control, getting the exact same character in multiple poses is time-consuming. Achievable through the methods above, but not automatic.
💡 PicassoIA has more than 90 text-to-image models available with no generation caps. If one model is not producing the 3D anime character style you need, switching to another takes seconds, not a new account. See the full model library at picassoia.com/en/all-models.
Start Creating Right Now
The fastest way to build intuition for what works is to run generations yourself. Open Flux Dev on PicassoIA, paste this starter prompt, and adjust from there:
young male swordsman character, dynamic pose mid-swing, silver blade catching directional light, layered battle outfit with worn fabric texture and visible stitching, volumetric hair movement, three-point studio lighting setup, subsurface skin shading, ambient occlusion in cloth folds, 3D rendering quality, photorealistic texture detail, 8k, 85mm f/1.8
Run it at 40 inference steps. Note what comes back. Then try the same prompt with the sword swapped for a bow. Change the lighting to a forest setting. Each iteration takes under 30 seconds and costs nothing.
The only way to build a fast, accurate eye for what prompts produce strong 3D anime character results is to generate in volume. PicassoIA removes every cost barrier to doing exactly that. Open the platform, pick your model, and build the character library you have been working toward.