Generate imagesLarge Language ModelsVisual Effects
Gemini Image Generation API in Python: Code Example
A working Python walkthrough for the Gemini image generation API using the current gemini-3.1-flash-image model and the Interactions API. Generate your first image, control aspect ratio and resolution, edit photos, retry failed calls, and estimate real per-image costs.
Most Gemini image tutorials still call gemini-2.5-flash-image, and Google's pricing page lists that model as deprecated with a shutdown date of October 2, 2026. That date has passed, so snippets built on it should be treated as broken. This page uses the current model, gemini-3.1-flash-image, and the Interactions API that Google's own documentation now leads with.
You will go from an empty folder to a working script that generates an image, controls its size, edits an existing photo, saves mixed text and image output, and survives rate limits. Every snippet is short enough to paste into a file and run. One 1K image on the standard Flash model costs about $0.067, so testing stays cheap.
What You Need Before Coding
Three things stand between you and your first picture: a recent Python 3 install, a credential from Google AI Studio, and a project with billing switched on. Google's pricing page shows no free tier for any of the Gemini image models, so an unbilled project will likely be rejected on the first call.
Install the SDK
One package does everything:
pip install -U google-genai
The Interactions API needs google-genai2.3.0 or newer, which is why the -U flag matters. Run pip show google-genai if a snippet below fails with an attribute error on client.interactions.
Set Your Credential
Create a credential in Google AI Studio, then export it as an environment variable under the exact name below. The SDK reads that variable on its own, so your script never has to contain the secret.
On Windows PowerShell the same line is $env:GEMINI_API_KEY = "paste-your-credential-here".
💡 Never paste the credential into a script that goes to Git. Keep it in an environment variable or a .env file that your .gitignore already excludes.
Pick a Model
Google now lists four image models. Three are current, one is retired.
Model ID
Sizes
Price per image
Best for
gemini-3.1-flash-lite-image
1K only
about $0.034
Bulk jobs, thumbnails
gemini-3.1-flash-image
0.5K, 1K, 2K, 4K
$0.045, $0.067, $0.101, $0.151
Default choice for most scripts
gemini-3-pro-image
1K, 2K, 4K
$0.134 (1K and 2K), $0.24 (4K)
Complex, multi-part prompts
gemini-2.5-flash-image
n/a
$0.039
Retired, do not use
Prices come from Google's pricing page at the time of writing. Check it again before a large run.
How do you choose? Start with gemini-3.1-flash-image. It is the only current model that offers all four sizes, so one code path serves thumbnails and print files alike. Switch to Flash Lite when you generate thousands of small images and every cent per picture counts. Reach for Pro when a prompt has many parts, such as a poster layout with several labeled elements, and a cheaper model keeps dropping details. Because the three current models share the same call shape, changing models later means editing a single string.
Generate Your First Image
Save this as first_image.py:
import base64
from google import genai

client = genai.Client()

interaction = client.interactions.create(
    model="gemini-3.1-flash-image",
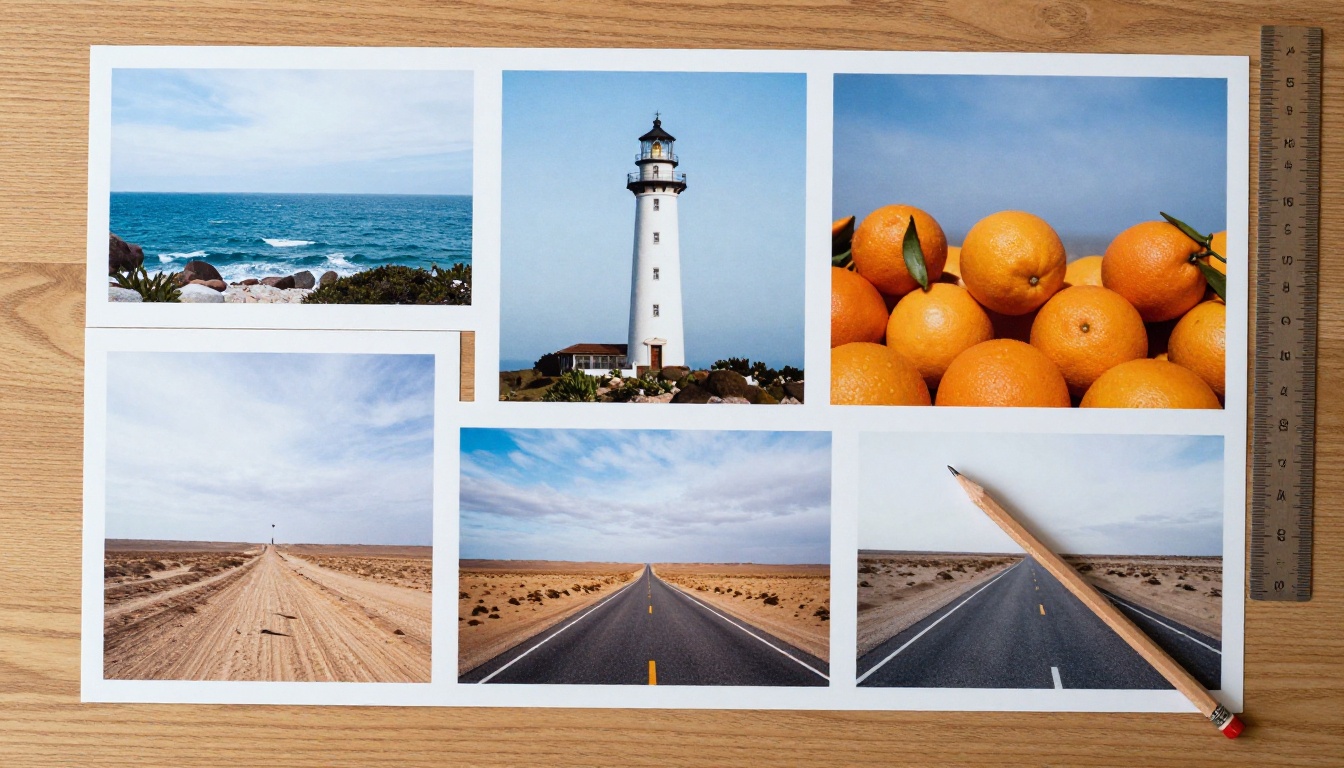
    input="A photograph of a bowl of oranges on a linen cloth, soft window light",
)

with open("oranges.png", "wb") as f:
    f.write(base64.b64decode(interaction.output_image.data))
Run python first_image.py and an oranges.png file appears next to the script. That is the whole round trip: prompt in, base64 string out, bytes on disk.
Once you generate more than one picture, a fixed filename overwrites your earlier result. Build the name from a timestamp instead, for example f"image_{int(time.time())}.png", and every run leaves its own file behind. You can then compare a dozen variations of one prompt side by side.
What Each Line Does
genai.Client() builds a client and pulls the credential from the environment variable you exported earlier, so nothing sensitive sits in the file.
client.interactions.create() sends the prompt and returns an Interaction object that carries an id, the output steps, and shortcuts such as output_image.
interaction.output_image.data holds the image as a base64 string. You must decode it before writing, otherwise the file is text, not a picture.
Write Prompts That Work
The model responds best to scene descriptions, not piles of loose tags. A prompt that reads like a photographer's shot list gives you more control than a list of adjectives.
Name the subject and action. "A baker dusting flour over a loaf" beats "bakery".
State the light. Window light, overcast sky, golden hour, or hard noon sun.
Add lens and distance. "85mm portrait, shallow depth of field" or "wide 24mm aerial".
Say what to leave out. One short sentence, such as "no text in the image".
💡 Keep your prompts in a Python list or a text file. When a result surprises you, you can change one variable and compare, which beats rewriting from memory.
Control Size and Aspect Ratio
Size and shape live inside a response_format dictionary. This trips up a lot of people, because older code put image settings in generation_config.
interaction = client.interactions.create(
    model="gemini-3.1-flash-image",
    input="A wide photograph of a coastal road at dawn, 35mm lens, film grain",
    response_format={
        "type": "image",
        "mime_type": "image/jpeg",
        "aspect_ratio": "16:9",
        "image_size": "2K",
    },
)

with open("coast.jpg", "wb") as f:
    f.write(base64.b64decode(interaction.output_image.data))
Because the requested mime_type is JPEG, the file gets a .jpg extension. Match the extension to the type you ask for and your image viewer will never complain.
Aspect Ratios You Can Request
Google's documentation lists ten ratios: 1:1, 3:2, 2:3, 3:4, 4:3, 4:5, 5:4, 9:16, 16:9, and 21:9.
Ratio
Typical use
1:1
Profile pictures, product tiles
4:5
Social feed posts
9:16
Stories and vertical video thumbnails
16:9
Blog headers, video thumbnails
21:9
Ultrawide banners
3:2
Classic photo prints
Choose a Resolution
The image_size value depends on the model. Flash Lite offers 1K only. Flash offers 0.5K, 1K, 2K, and 4K. Pro offers 1K, 2K, and 4K. Use uppercase K in the value.
A simple rule keeps costs sane: 1K for drafts, 2K for web pages, 4K only for print. A 4K image on Flash costs $0.151 against $0.067 at 1K, about 2.25 times more, so a habit of "always max" adds up fast.
Edit a Photo With Text Prompts
The same endpoint edits images. Instead of a plain string, input becomes a list that mixes text blocks and image blocks. The image travels as a base64 string with its MIME type.
import base64
from google import genai

client = genai.Client()

with open("portrait.png", "rb") as f:
    encoded = base64.b64encode(f.read()).decode("utf-8")

interaction = client.interactions.create(
    model="gemini-3.1-flash-image",
    input=[
        {
            "type": "text",
            "text": "Replace the background with a sunlit brick wall. Keep the person unchanged.",
        },
        {"type": "image", "data": encoded, "mime_type": "image/png"},
    ],
)

with open("portrait_edit.png", "wb") as f:
    f.write(base64.b64decode(interaction.output_image.data))
Notice the wording of the edit prompt. It says what changes (the background) and what stays (the person). Without the second half, the model is free to restyle the whole frame.
Chain Edits in a Conversation
You do not need to resend the image for every tweak. Pass the previous interaction's id and the model remembers the picture it just made:
second = client.interactions.create(
    model="gemini-3.1-flash-image",
    input="Make the light warmer, like late afternoon.",
    previous_interaction_id=interaction.id,
    response_format={
        "type": "image",
        "mime_type": "image/jpeg",
        "aspect_ratio": "4:5",
        "image_size": "2K",
    },
)
Keep the aspect ratio the same as the first image, otherwise the model may crop or extend the scene. Store each interaction.id in your database and you can roll back to any earlier step in a session, which is handy for client work where "go back to version two" comes up often.
Read Mixed Responses and Add Search
Sometimes the model replies with a sentence of text and an image. The output_image shortcut is fine for simple scripts, but a helper that walks the steps list handles every case:
def save_outputs(interaction, prefix="gemini", ext="png"):
    saved = []
    for step in interaction.steps:
        if step.type != "model_output":
            continue
        for block in step.content:
            if block.type == "text":
                print(block.text)
            elif block.type == "image":
                path = f"{prefix}_{len(saved) + 1}.{ext}"
                with open(path, "wb") as f:
                    f.write(base64.b64decode(block.data))
                saved.append(path)
    return saved
The function returns a list of file paths. An empty list means the model sent text only, which is not an exception, so check for it before you assume a file exists.
Ground Prompts With Search
Some pictures depend on facts that change daily: a weather graphic, a score card, a price chart. Turn on Google Search and the model can pull live data before it draws:
interaction = client.interactions.create(
    model="gemini-3.1-flash-image",
    input="Create an infographic of this week's weather in Chicago",
    tools=[{"type": "google_search"}],
    generation_config={"thinking_level": "high"},
)
The thinking_level setting accepts "minimal" or "high". Use minimal when speed matters and the layout is simple. Use high when the prompt asks for a structured layout with several parts.
💡 Every image the API returns carries a SynthID watermark, an invisible mark Google adds so the image can be identified as AI-generated. You do not need to add one yourself.
Handle Errors Before Production
Image calls tend to take longer than text calls, and bursts of requests can trigger rate limits. A small retry wrapper saves you from most of the pain. It retries on HTTP 429, 500, and 503 and waits longer after each failure:
import time

def generate_with_retry(prompt, retries=4, **kwargs):
    for attempt in range(retries):
        try:
            return client.interactions.create(
                model="gemini-3.1-flash-image",
                input=prompt,
                **kwargs,
            )
        except Exception as exc:
            status = getattr(exc, "status_code", None) or getattr(exc, "code", None)
            if status not in (429, 500, 503) or attempt == retries - 1:
                raise
            time.sleep(2 ** attempt)
Depending on the SDK version, the HTTP status sits on status_code or on code, so the helper checks both. Anything that is not retryable, such as a bad request, is raised straight away so you see the real message.
To process a list of prompts, run a few at a time:
from multiprocessing.pool import ThreadPool

prompts = ["A bowl of oranges", "A lighthouse at dusk", "A forest road in fog"]

with ThreadPool(4) as pool:
    results = pool.map(generate_with_retry, prompts)
Start with four workers. If the retry helper keeps firing, drop to two before you raise any quota.
Refused prompts need a different habit. Google's documentation notes that custom safety settings are not supported in the Interactions API, so you cannot loosen filters from code. When a response comes back with text and no image, log both the prompt and the text, then rewrite the prompt with a calmer, more concrete description. Retrying the identical prompt rarely changes the answer and only burns time.
3 Common Mistakes
Calling a retired model. Any snippet with gemini-2.5-flash-image needs the model string swapped to a current one.
Putting aspect_ratio in generation_config. It belongs in response_format, next to image_size.
Writing the base64 string to disk. Always run base64.b64decode() first, or the file will not open.
If you still have older code that calls generate_content, Google says that API remains supported and is now labelled legacy. For new projects, the Interactions API is the one Google's documentation recommends.
Watch the Costs
Costs scale with volume, so do the maths before a big loop. Five hundred 2K images on Flash cost 500 x $0.101, which is $50.50. Google also offers batch pricing at roughly half the standard rate for jobs that can wait:
Resolution
Standard
Batch
0.5K
$0.045
$0.022
1K
$0.067
$0.034
2K
$0.101
$0.050
4K
$0.151
$0.076
The same 500 images at 2K through batch cost about $25. If nobody is waiting on the result, such as a nightly catalog refresh, batch is the cheaper road.
Use Nano Banana Pro on PicassoIA
Not every image needs a script. If you want to test a prompt before you spend API credits, or hand the job to a teammate who does not write Python, Nano Banana Pro on PicassoIA is a no-code way to get up to 4K output from the same Google model family.
Write your prompt. Use the same shot-list style from earlier: subject, light, lens.
Add reference images (optional). The Image Input field accepts up to 14 images that steer style, composition, or subject.
Choose an aspect ratio. Pick from 11 presets, including 16:9, 9:16, 4:5, 21:9, and match_input_image.
Choose a resolution.1K, 2K (the default), or 4K.
Choose a format. JPG (the default) or PNG.
Set the safety filter.block_only_high is the default and the most permissive; block_low_and_above is the strictest.
Generate and download. Re-run with a tweaked prompt to compare versions.
Match API Settings to Page Fields
If you prototype on the page and then move to code, the settings line up almost one to one:
PicassoIA field
Python API equivalent
Prompt
input (text block)
Image Input
input (image blocks, base64)
aspect_ratio
response_format["aspect_ratio"]
resolution
response_format["image_size"]
output_format
response_format["mime_type"]
The Google family on PicassoIA is wider than one model. Nano Banana handles quick edits, Nano Banana 2 Lite favors speed, and Imagen 4 and Imagen 4 Ultra focus on photorealistic detail. Running the same prompt through two of them takes a minute and shows which style suits your project before you write a single line of integration code.
Make Your Own Images Today
You now have every piece: a working install, a first image, size and ratio control, edits, a safe way to read mixed output, a retry wrapper, and a cost estimate you can trust. Pick one small job, such as a blog header or a product tile, and run it end to end this afternoon.
If you would rather see results before touching a terminal, open Picasso IA, choose a model such as Nano Banana Pro, and type the prompt you just wrote for your script. Try three variations, change the aspect ratio, and compare. The best prompt you find there drops straight into the Python code above.
That loop, test on the page and ship in code, is the fastest way to settle on a look without paying for every experiment. Open Picasso IA, run your first prompt, and see what you can create before the afternoon is over.