If you've ever typed a description of a face and gotten back something that looks like a wax figure from a distance, you know the frustration. Most AI models struggle with portraits. Skin looks plastic. Eyes lose their depth. Hair turns into a smeared blob of pixels. Nano Banana Pro handles all of that differently, and the gap between its output and older models is not subtle.
This model is built around resolution fidelity and naturalistic rendering. At its ceiling, it outputs at 4K, which means individual pores, fine hairs, and iris reflections survive the full export. Below, you will see exactly how that works, what inputs the model accepts, and how to get portraits that actually look like photographs rather than AI approximations.
What Nano Banana Pro Actually Does
Nano Banana Pro is a text-to-image model by Google, available free on PicassoIA. You give it a written prompt, optionally supply reference images, and it renders an image at your chosen resolution. What separates it from generic generators is the quality ceiling. Other models tap out at 1K or deliver muddy 2K output. This one runs cleanly at 4K without adding visual artifacts or blurring detail away.
The model also accepts up to 14 reference images alongside your prompt. That is a significant capability for portrait work. Instead of hoping the model interprets "angular jaw with a stubble beard" correctly, you can show it exactly what you mean. Feed it three reference photos and write your prompt around them. The result reflects both the written intent and the visual anchors you provided.
This combination of high-resolution native output and multi-reference visual input is what makes Nano Banana Pro specifically useful for portrait work, as opposed to being another general-purpose generator that happens to accept prompts about faces.
The 4K Resolution Factor
Resolution is not just about file size. At 4K, a portrait renders enough pixel density to show the difference between coarse pores on a forehead and fine pores on a cheek. The capillary network in an iris becomes distinguishable from the iris color itself. Individual eyelashes stop blending into a smudge and become separate strands with their own directionality.
At 1K or even 2K, the model is forced to approximate those details. It averages them. You see what feels like skin, not what skin actually looks like under an 85mm lens. The 4K option removes that averaging step for most facial regions, which is why portrait work benefits from it more than landscape or product generation.
💡 Tip: Set resolution to 4K when your portrait will be displayed at full size — on a website hero section, a printed card, or a presentation slide. Use 2K for social thumbnails or profile images that will be scaled down to display anyway.
Reference Images Change Everything
Most people use Nano Banana Pro with text prompts only. That works. But the reference image input is the feature that separates a good result from a precise one. When you are building a portrait of a specific look — a specific cheekbone structure, a specific hair texture, a specific quality of natural outdoor light — words only go so far.
The model accepts reference images to anchor visual style, facial structure, or lighting direction. You do not need to fill all 14 slots. Even one or two well-chosen reference images tighten the output noticeably. Think of it as giving the model a visual brief alongside the written brief. Both channels inform the same generation pass.
How Portrait Rendering Works Inside the Model
The quality difference in Nano Banana Pro portraits comes from how it handles three specific problems: skin texture, lighting direction, and hair fidelity. Most models get one or two right. This one consistently handles all three when prompted with the right level of detail.
Skin Texture and Fine Details
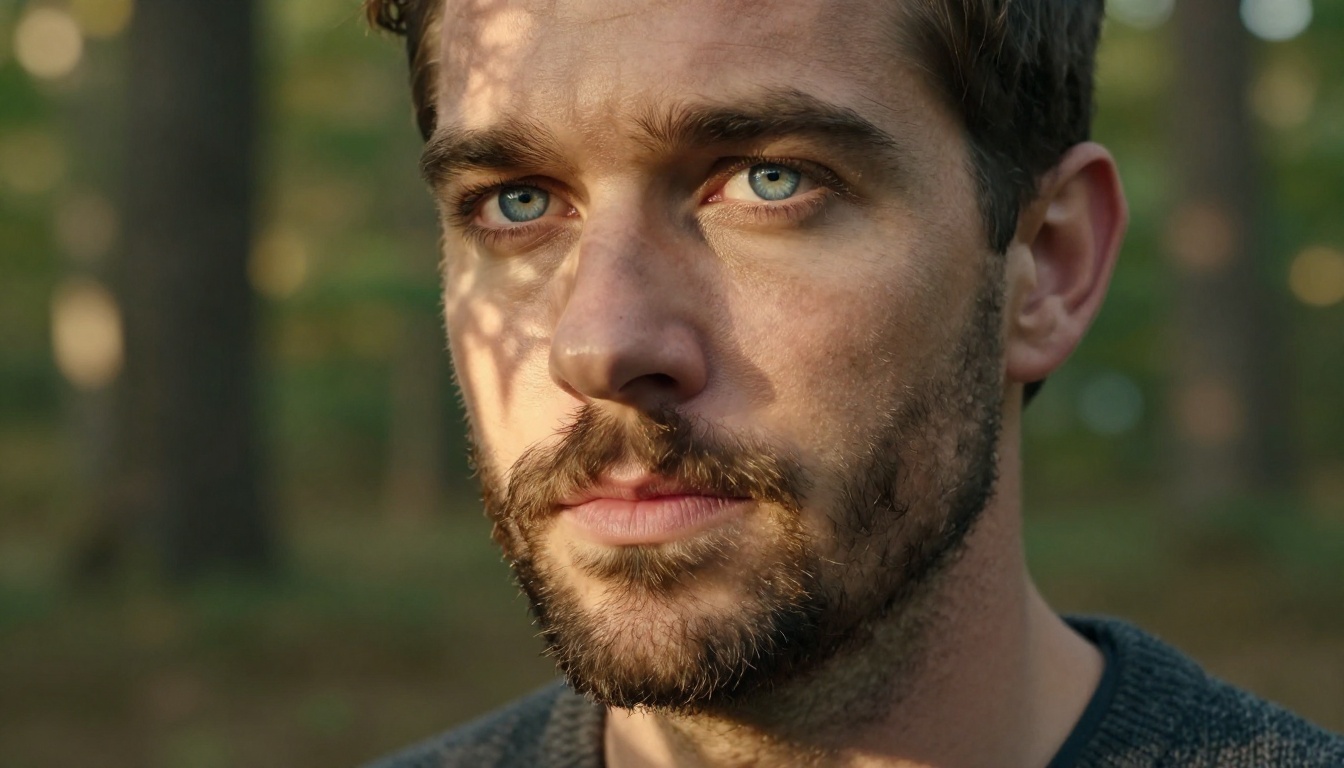
Photorealistic skin is not smooth. It has variation. The T-zone reads differently from the cheeks. The temples have a slightly different surface than the forehead. Around the eyes, the skin is thinner and shows underlying vascular structure. Around the jaw in men with stubble, follicle dots are visible even after shaving.
Nano Banana Pro preserves this variation when prompted with enough specificity. The mistake most users make is prompting for skin type only — "smooth skin" or "textured skin" — rather than prompting for the specific light that would reveal that texture. Skin texture in photography is mostly a lighting phenomenon. Side lighting and low-angle natural light reveal texture. Frontal soft light flattens it. Prompt for the light, and the skin detail follows.
Lighting and Shadow Accuracy
Photorealistic portraits rely on shadow falloff being physically accurate. When light comes from the upper left, the shadow on the right cheek falls at a predictable angle. The nose casts a shadow that reveals its three-dimensional shape. The eye socket shadow is deeper than the cheek shadow.
The model respects this geometry when you specify it clearly. Prompts that name a light source direction, such as "volumetric morning light from the left side," and describe the shadow behavior, such as "soft shadow falling across the right cheek with blue ambient fill from the right," produce images where the shadows match the described scenario. That physical accuracy is what makes an image read as a photograph rather than a render.
💡 Tip: Don't just write "natural lighting." Specify the direction: "diffused overcast light from above" or "low-angle afternoon sun from camera right." The output difference is immediate and significant.
Hair Strand Rendering
Hair is one of the hardest things to render realistically because it involves thousands of individual elements with different light interactions at every angle. At low resolution, models give up and render hair as a texture mass. At 4K, Nano Banana Pro has enough pixel budget to actually differentiate strands.
The way to prompt for it: describe the conditions that would reveal strand definition in real photography. Backlit hair shows separation between strands because each catches the light separately. Windy conditions show individual strands in motion. Detail-specific prompts like "individual strands of auburn hair catching rim light from the right, stray hairs catching backlight" give the model a specific instruction for the level of fine detail you want in the output.
Using Nano Banana Pro for Portraits Step by Step
Here is the workflow for getting sharp, photorealistic portrait output from Nano Banana Pro on PicassoIA.
Writing Prompts That Work
The prompt is the single biggest variable. A weak prompt returns a generic face with acceptable light. A strong prompt returns a portrait that holds up at 100% zoom on a 4K screen.
Portrait prompt structure that consistently works:
- Subject — age range, sex, specific features (jaw line, eye color, hair type, skin tone)
- Expression — specific, not vague ("slight squint with a relaxed jaw" beats "confident look")
- Clothing — fabric type and texture, not just color ("charcoal Merino wool turtleneck with visible ribbing")
- Lighting — direction, quality, and source ("volumetric late-afternoon sun from the left, soft fill from an off-camera reflector")
- Camera — focal length and aperture ("85mm f/1.4, shallow depth of field, creamy bokeh")
- Background — distance and out-of-focus detail ("blurred warm forest, amber and ochre tones at dusk")
- Film stock or style — "Kodak Portra 400, natural grain, warm shadow tones, clean highlights"
That structure is not mandatory. Even hitting three or four of those elements produces better results than a generic phrase. But prompts that address all seven consistently return portraits that look like they came from an actual shoot.
Choosing the Right Aspect Ratio
Nano Banana Pro supports 11 aspect ratio presets. For portraits, these matter:
| Use Case | Ratio | Why It Works |
|---|
| Headshot or social profile | 1:1 | Square frame, face fills the space naturally |
| Website hero or banner | 16:9 | Wide, good for environmental portraits |
| Social stories, mobile | 9:16 | Vertical, full-frame on mobile screens |
| Print portrait | 4:5 | Standard print proportion for portrait orientation |
| Editorial spread | 3:2 | Classic camera sensor ratio |
Set the ratio before running, not after. Cropping after generation loses detail from the edges. Starting in the right ratio means the composition was designed for that frame from the beginning.
Setting the Output Format
For most portrait uses, JPG is the right choice. It compresses well without visible loss at typical display sizes, and the file size stays manageable for web use or email delivery.
Use PNG when you need the portrait on a layer that requires transparency, or when you are sending the output to another editing tool for further work. PNG at 4K is a large file, but it preserves every bit of data the model rendered.
Pairing It with AI Upscalers
Nano Banana Pro outputs up to 4K natively. But if you generated at 1K or 2K and need to scale up for print, or if you want to add extra sharpness and micro-texture detail on top of the 4K output, AI upscalers handle that job without introducing the blurring that simple bicubic scaling produces.
Best Upscalers for Portrait Work
These models on PicassoIA are built specifically for high-quality upscaling and work well on AI-generated portrait output:
- Clarity Pro Upscaler — Photorealistic upscaling with detail enhancement. Best for portraits where you want to add micro-texture on top of an existing 2K or 4K generation.
- Crystal Upscaler — Tuned specifically for portrait work. Upscales faces to 4x while preserving natural skin gradients and avoiding over-sharpening.
- Topaz Image Upscale — The highest ceiling in the group at 6x. Uses Topaz Labs' professional-grade algorithm favored by photographers for print output.
- Google Upscaler — Enlarges photos 4x without introducing sharpening artifacts. Good for clean results without over-processing or halos around hair edges.
- Real ESRGAN — Free, 4x upscaling. Works well for general portrait upscaling when you need a quick result.
- P Image Upscale — Fast, sharp results in about one second. Good for batch workflows where speed matters.
- Bria Increase Resolution — Up to 4x upscaling with natural color balance preservation during the resize operation.
- Recraft Crisp Upscale — Free option. Adds edge definition on top of upscaling, useful when output needs crispness without added grain.
- Recraft Creative Upscale — Adds visual depth and invented detail beyond simple scaling, useful for editorial portrait work where added texture is a benefit.
When to Upscale vs. Run at 4K
If the target is a printed portrait at A4 or larger, start at 4K natively. Don't rely on upscaling to recover detail that was never there in the first place.
If the target is a digital social post or a small website thumbnail, generate at 1K or 2K. It renders faster, the file is smaller, and the output will be scaled down for display anyway. Running an upscaler on an image you're about to scale down is wasted computation.
The sweet spot where upscaling makes sense: you generated at 2K for speed, the result is exactly what you needed, and now you need a print version. Upscale the 2K output to 4K with Crystal Upscaler or Clarity Pro Upscaler and the portrait holds at print size.
Portrait Types That Shine
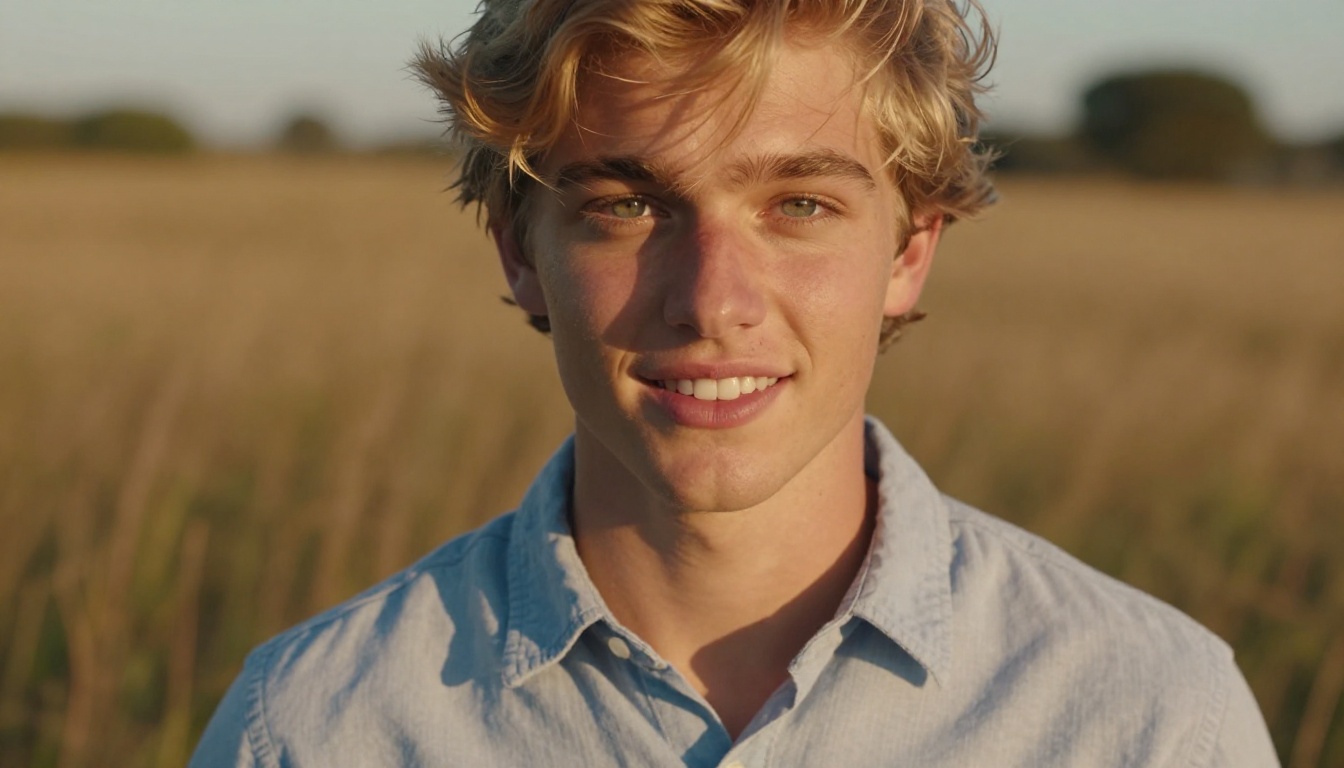
Not every portrait subject benefits equally from Nano Banana Pro. These three categories consistently produce the strongest results when paired with the prompt structure described above.
Professional Headshots
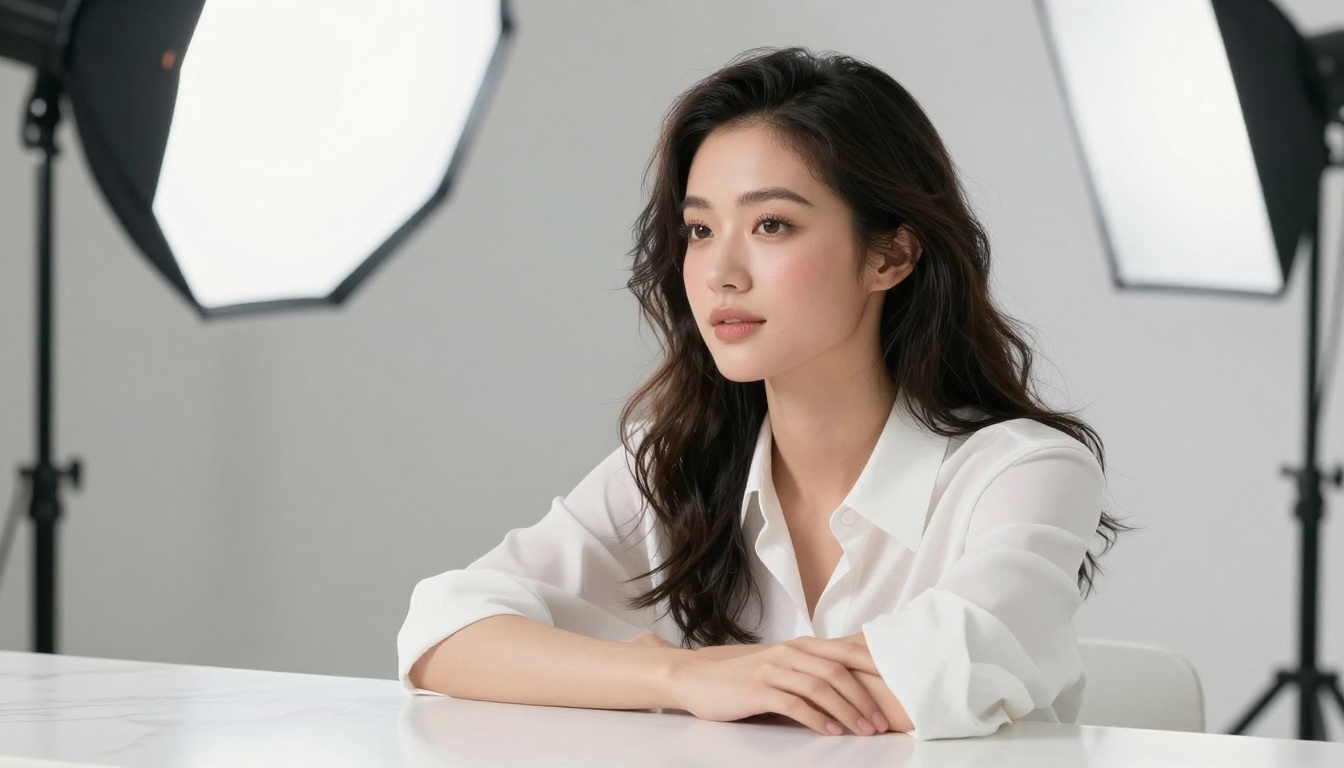
Business headshots have a specific set of requirements: clean background, even light, forward-facing subject, neutral but engaged expression. The model handles this configuration reliably when you prompt for it explicitly. A prompt specifying a seamless white or grey background, a large softbox from slightly above and to the left, and a subject in professional attire produces a headshot that reads as usable for LinkedIn, email signatures, or company team pages.
The 4K output is specifically valuable here. Professional headshots often need to be cropped for different uses — a square for LinkedIn, a wider frame for a website bio, a tighter frame for a presentation slide. Starting at 4K gives you the pixel budget to crop without losing sharpness or creating visible compression artifacts at the edges.
Editorial and Fashion Portraits
Editorial portraits thrive on contrast: the tension between the subject and the environment, between the clothing texture and the light hitting it, between the expression and the setting. Nano Banana Pro handles environmental portrait work well when you describe the setting with the same level of detail as the subject itself.
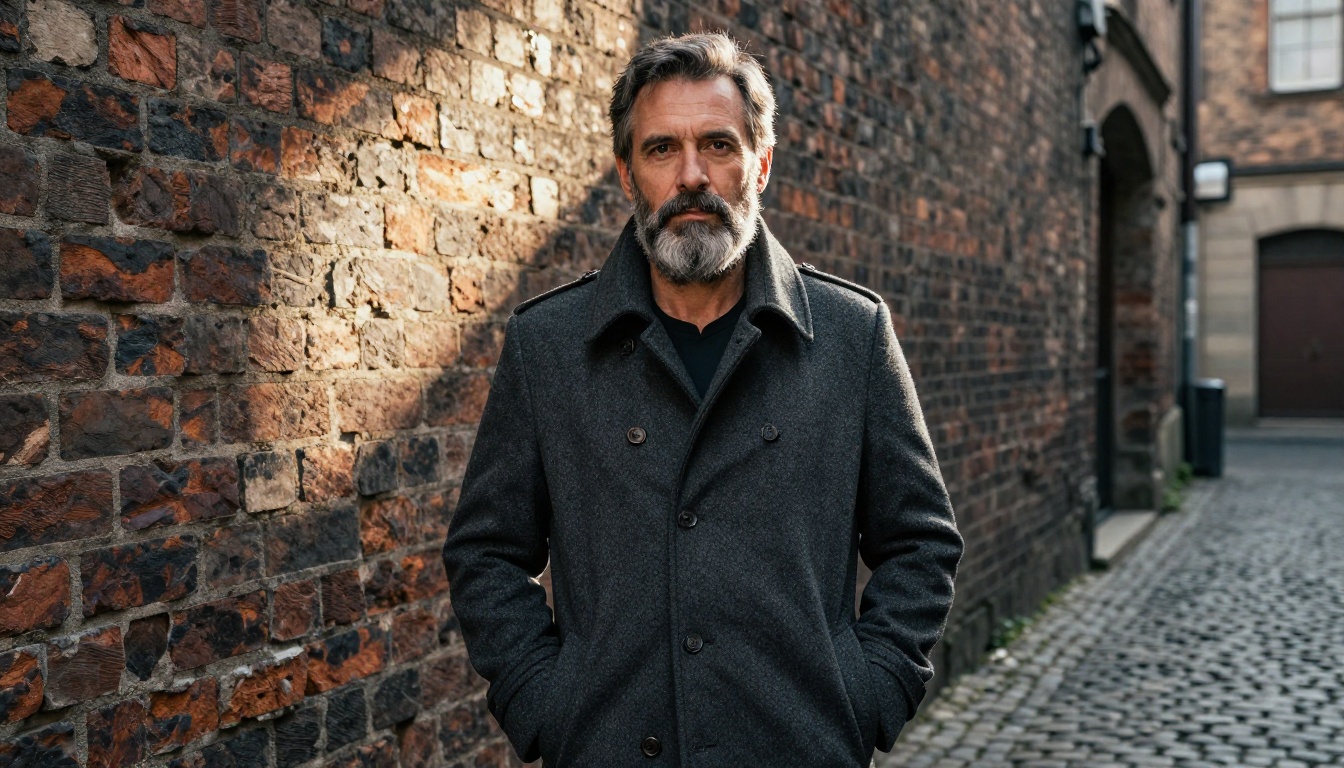
Fashion contexts work particularly well because clothing texture is something the model renders at high fidelity at 4K. The difference between writing "a wool coat" versus "a charcoal double-breasted peacoat with visible herringbone weave, leather-wrapped buttons, and a fine lapel stitch" in the prompt is visible in the output. The fabric reads as fabric rather than as a flat color field.
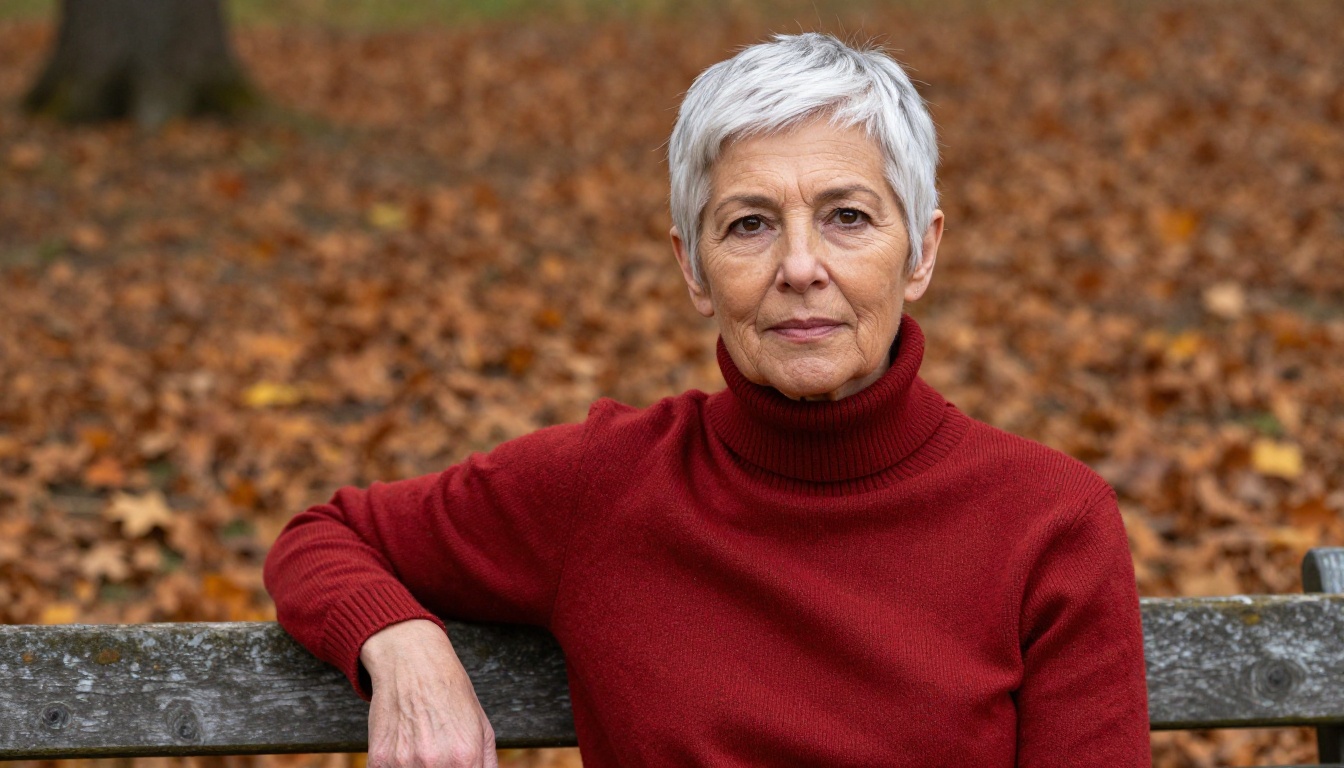
Senior and Age-Diverse Portraits
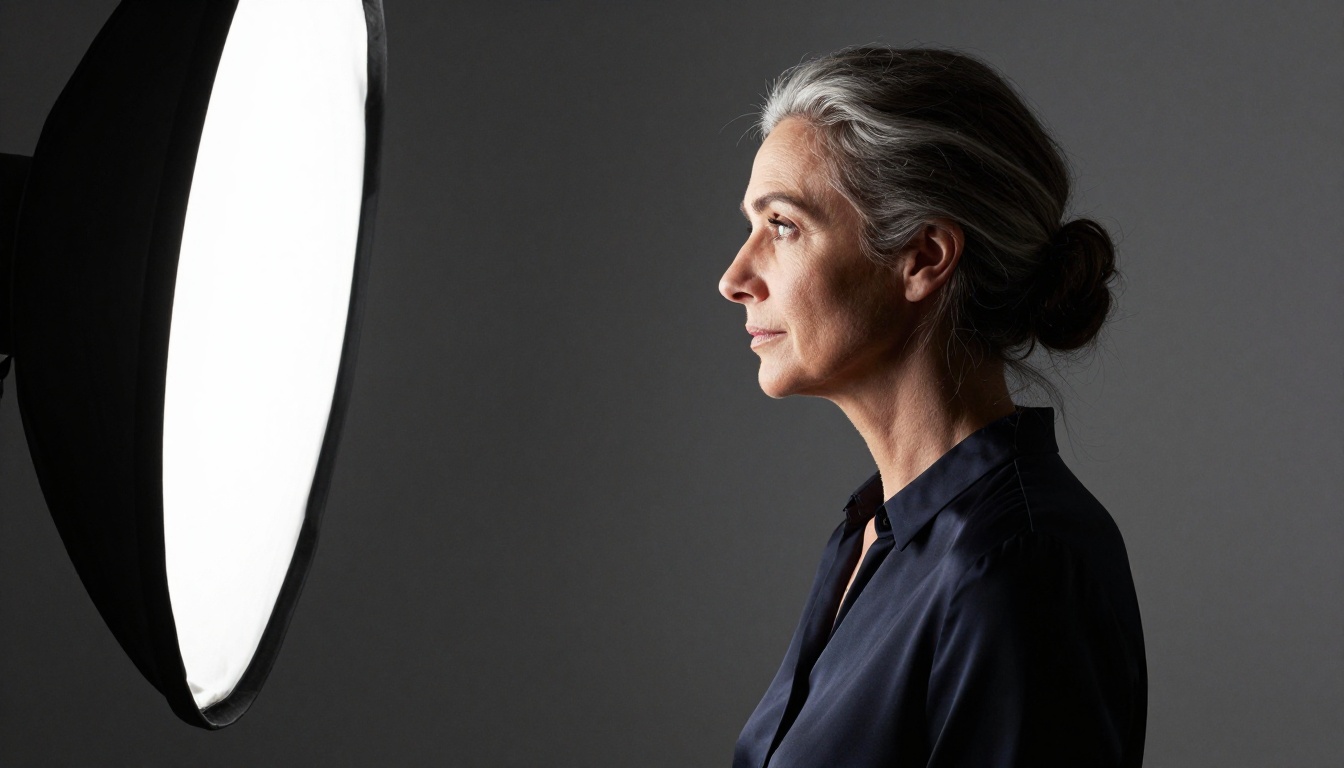
Age diversity in portrait photography is underserved by most AI models, which tend to weight training data toward younger subjects and unnaturally smooth skin. Nano Banana Pro renders age-related features accurately when you specify them. Silver hair with individual strand variation, natural age spots on the hands and neck, crow's feet with proper depth and shadow, and the thinner skin texture around the eyes all render correctly when prompted with specificity.
This matters for projects like family portrait generation, age-inclusive brand photography, or editorial content where diverse age representation is central to the brief.
Common Prompt Mistakes
These are the most consistent causes of weak portrait output when using Nano Banana Pro.
Avoid Vague Lighting Descriptions
"Good lighting" is the most useless phrase in a portrait prompt. The model interprets it as neutral, which typically means frontal, flat, uninteresting light that flattens all the facial structure you actually want to see. The same problem applies to "natural light" without further specification — it could mean harsh midday overhead sun or soft diffused window light, and those produce completely different portraits.
Instead, be specific about three things:
- Direction: left, right, above, behind, at a 45-degree angle from camera left
- Quality: hard, soft, diffused, dappled, volumetric, bounced off a white wall
- Source: window, softbox, open sky at golden hour, reflector, bare strobe
Two or three words of specificity: "soft morning window light from the left, cool blue ambient fill from the right." That alone produces a dramatically better starting point than "natural lighting."
Specify Camera Lens and Distance
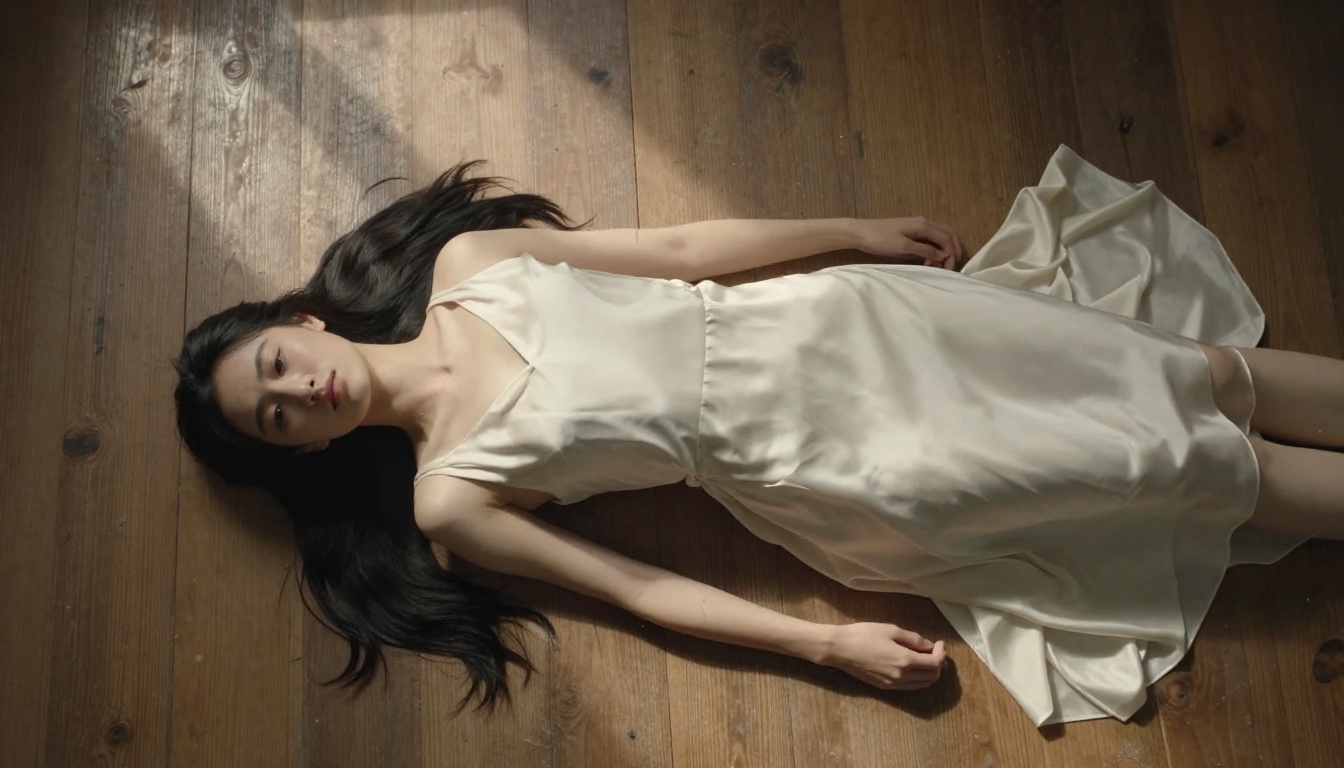
Camera lens and shooting distance tell the model how compressed the facial features should appear and how much background blur to apply. A 35mm wide-angle lens slightly distorts facial proportions, which is fine for environmental portraits but unflattering for traditional headshots. An 85mm to 135mm telephoto compresses the features and creates the natural-looking separation between subject and background that portrait photography is built around.
Without this information, the model guesses. Sometimes it guesses well. More often it defaults to something in the 50mm range with moderate depth of field — which works but misses the classic portrait aesthetic.
Adding "85mm f/1.4" or "105mm f/2" to any portrait prompt costs four characters and noticeably shifts both the facial proportions and the background rendering toward a photographic look.
Resolution and Detail Comparison
| Setting | Best For | Detail Level | File Size |
|---|
| 1K | Quick drafts, thumbnails | Low | Small |
| 2K | Social media, web display | Medium | Moderate |
| 4K | Print, hero images, full-screen | Maximum | Large |
| 4K + Crystal Upscaler | Large print, ultra-detail | Extreme | Very large |
| 4K + Clarity Pro Upscaler | Editorial, texture depth | Maximum + enhanced | Very large |
The jump from 1K to 2K is mostly about sharpness at normal display size. The jump from 2K to 4K is about what is visible when zoomed in at full resolution — whether pores, individual hairs, and iris structure resolve into actual detail or stay approximated by the model's averaging pass.
💡 Workflow tip: Generate at 2K to check the composition and expression. If the result is exactly what you need, re-run at 4K for the final export. This cuts generation time significantly on exploratory work without losing the option to go to full resolution on the final version.
Try It Now
Every portrait type in this article can be generated right now, for free, at Nano Banana Pro on PicassoIA.
The workflow is direct: open the model, paste a structured prompt, set your resolution and aspect ratio, and run. For portrait work that needs print quality, set resolution to 4K and export as PNG. For anything web-based, 2K JPG is fast and more than sufficient for most display contexts.
If you want to push detail further after generating, run the output through Crystal Upscaler for portrait-specific upscaling with face-aware rendering, through Topaz Image Upscale for the maximum resolution ceiling available on the platform, or through Clarity Pro Upscaler when you want to add micro-texture depth on top of a clean 4K output.
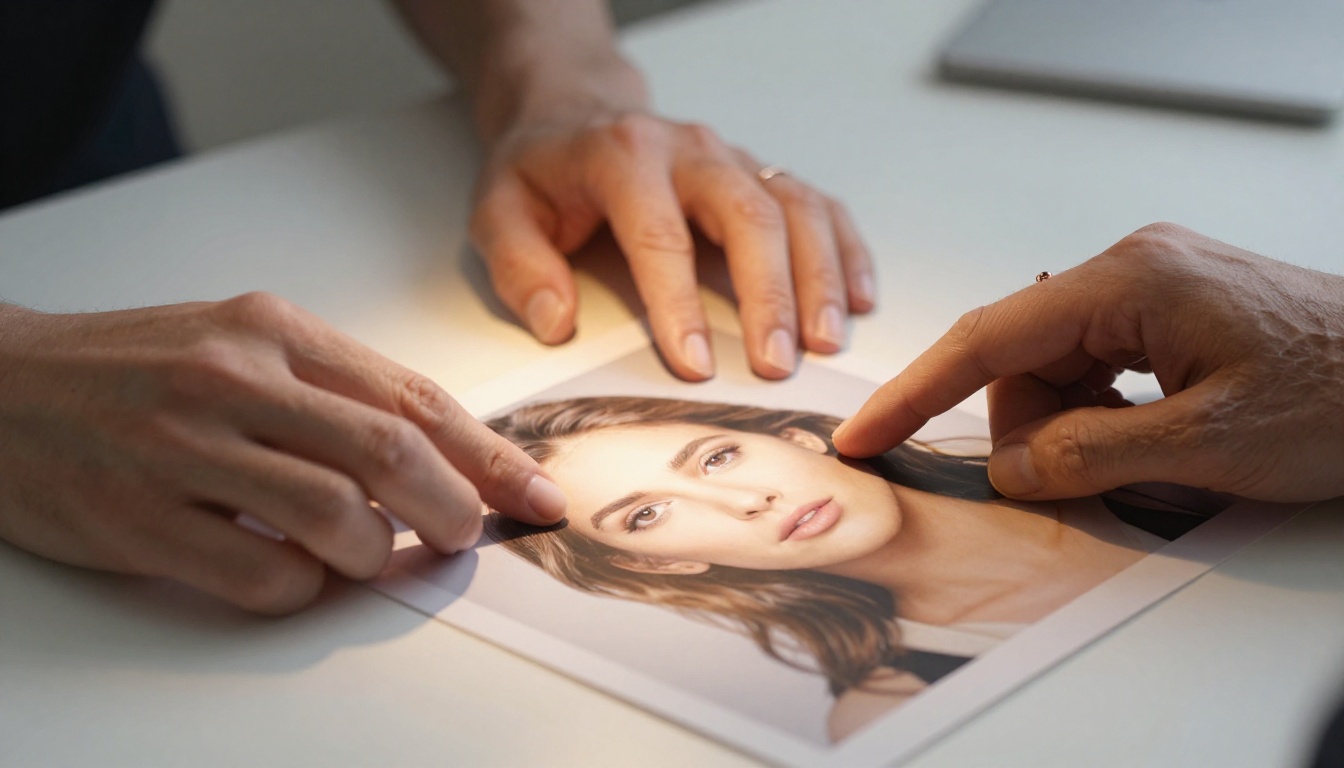
The model is built for creators who need results without the overhead of post-editing sessions. Write what you see in your head, hit generate, and see whether the output matches. When it does — and at 4K resolution with a solid prompt, it usually does — you have a portrait ready for immediate use without touching another tool.
Start at Nano Banana Pro, write a prompt that specifies the light and the lens, set it to 4K, and see what a properly rendered AI portrait actually looks like at full resolution. The difference from a vague prompt at 1K is not subtle.


