Your favorite anime character has a face, an expression, and a story frozen in time. The only thing missing is a voice.
Static anime art captures emotion in a single frame, but there is something magnetic about watching that same character actually speak. With AI text-to-speech and lipsync tools now reaching near-photorealistic quality, bringing sound to a still image is no longer a professional video production task. Anyone with a browser can do it in under 20 minutes.
This article walks you through the full process: picking the right voice model, generating speech that fits your character, and syncing that audio to a still image so the lips move naturally and convincingly.
Why Your Anime Art Deserves a Voice
Fan art and original anime characters have always lived in a visual medium. Creators spend hours perfecting shading, pose, and expression, but the moment someone watches the result on a social feed, the audio dimension is what stops the scroll.
Adding voice to static art opens up real creative territory:
- Short character monologues for social reels and TikToks
- Dubbed dialogue scenes from existing shows or original scripts
- Talking avatar posts that perform better than static images on Instagram and YouTube Shorts
- Interactive character demos for game developers testing voice casting
- Fan project narration with full audio-visual sync
The barrier is not technical skill. It is knowing which tools to connect, and in what order.
The 3-Step Workflow
The process works in three stages. Each stage uses a different type of AI model, and they feed into each other cleanly.
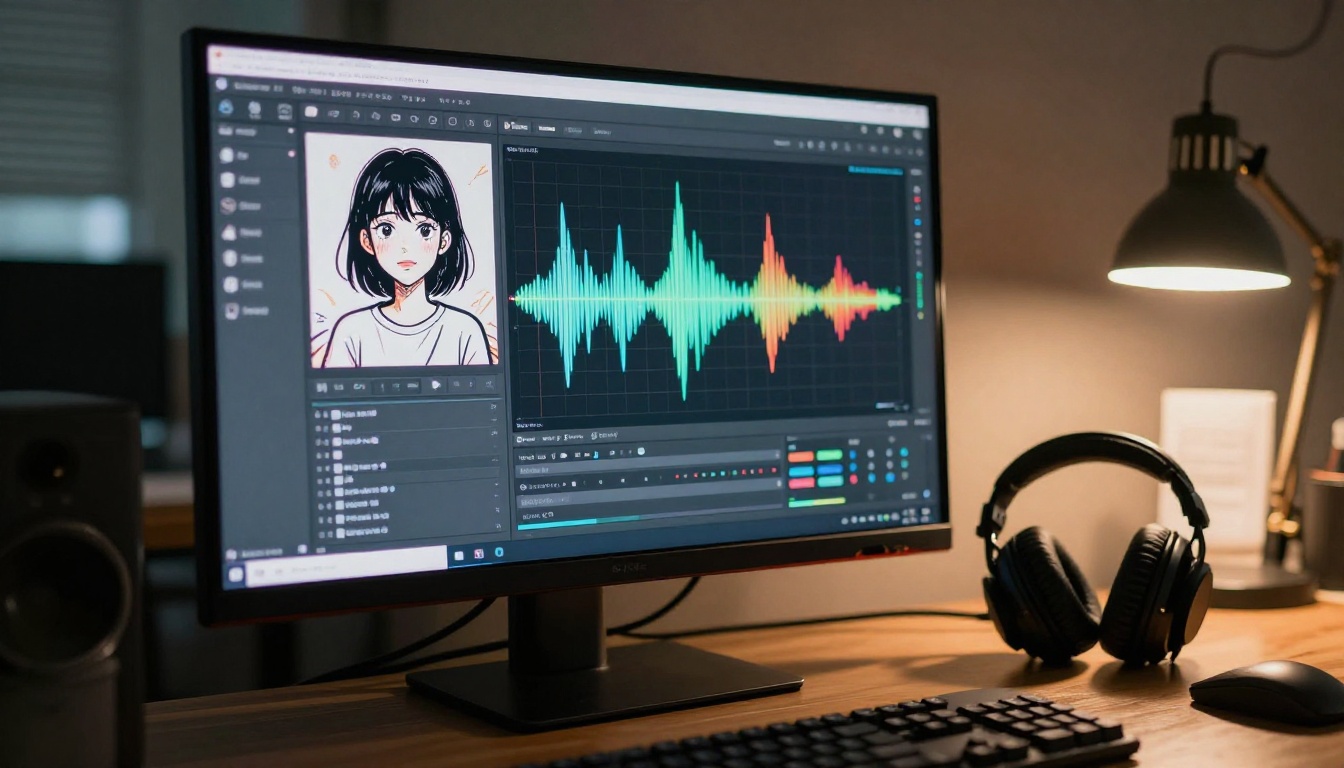
Step 1: Write the Script
Before touching any tool, write the dialogue or monologue your character will say. Keep it concise for best lipsync results. Shorter sentences with natural pauses give the AI more to work with. Avoid run-on sentences with no breathing room.
💡 Tip: AI lipsync models perform best on audio clips between 5 and 30 seconds. If your script is long, break it into multiple shorter segments.
Step 2: Generate the Voice
Use a text-to-speech model to convert your script into an audio file. This is where the personality of the voice comes from. You choose the tone, pitch, pacing, and in some cases the language and accent.
The audio you generate here becomes the input for the next step.
Step 3: Apply the Lipsync
Feed your anime image and your generated audio file into a lipsync model. The AI analyzes the mouth shape required for each phoneme in the audio and overlays realistic mouth movements on the still image, producing a short video where the character appears to speak.
The result is a talking anime portrait, exportable as an MP4 and ready to post anywhere.
Best Text-to-Speech Models for Anime Voices
Choosing the right voice model is the most creative part of this workflow. Different models have different strengths: some excel at emotional range, others at speed or multilingual support.

ElevenLabs V3
ElevenLabs V3 is one of the most expressive text-to-speech models available. It handles emotional nuance well, making it a strong pick for anime characters with dramatic or intense personalities. The model generates speech that sounds genuinely human, with natural breath patterns and tonal variation.
For anime voice work, this model works well for heroes, antagonists, or any character with a strong emotional arc.
MiniMax Speech 2.8 HD
Speech 2.8 HD from MiniMax delivers studio-quality audio output with excellent clarity and naturalness. It is particularly strong on longer sentences and maintains consistent tone across extended dialogue. If your character has a calm, authoritative, or mysterious voice archetype, this is an excellent fit.
| Feature | ElevenLabs V3 | Speech 2.8 HD |
|---|
| Emotional Range | Very High | Moderate |
| Audio Clarity | High | Very High |
| Speed | Medium | Fast |
| Best For | Dramatic characters | Calm, clear dialogue |
Chatterbox by Resemble AI
Chatterbox is notable for its emotion control feature. You can dial in the emotional intensity of a voice, which is invaluable when trying to match the tone of a specific anime expression. An angry expression in your art deserves an angry voice, and Chatterbox lets you push that parameter directly.
There is also Chatterbox Pro for higher output quality and Chatterbox Turbo for faster generation when you are iterating quickly.
Gemini 3.1 Flash TTS
Gemini 3.1 Flash TTS from Google offers 30 distinct voices across more than 70 languages. If your anime character is from a non-English-speaking culture, this is the practical choice. Japanese, Korean, Spanish, Portuguese: the voice library is broad and the audio quality is consistent.
ElevenLabs V2 Multilingual
V2 Multilingual from ElevenLabs handles more than 30 languages and maintains the emotional depth the ElevenLabs engine is known for. For international fan projects or characters from specific cultural backgrounds, this model preserves accent authenticity well.
💡 Quick Pick: Dramatic character? Use V3. Calm, clear voice? Use Speech 2.8 HD. Need emotion control? Use Chatterbox. Non-English script? Use Gemini 3.1 Flash TTS or V2 Multilingual.
Best Lipsync Models for Anime Characters
Once you have the audio, the lipsync model takes over. These models are designed to read phonemes from audio and map mouth movements onto a portrait image, frame by frame.
Omni Human 1.5 by ByteDance
Omni Human 1.5 is among the most accurate lipsync models for portrait animation. It works from a single photo and an audio file, generating realistic facial motion including not just lip movement but subtle neck, jaw, and micro-expression changes that make the output feel alive. For anime-inspired portrait art, this level of detail is the difference between robotic and believable.
The original Omni Human is also available as a slightly faster alternative for quick iterations.
Lipsync 2 Pro by Sync
Lipsync 2 Pro is built for precision. It aligns audio to mouth shape with frame-accurate timing and handles fast speech, overlapping phonemes, and complex sentence structures without drifting out of sync. If your character delivers rapid dialogue or has a complex speech pattern, this model handles it better than most.
The standard Lipsync 2 is a solid option when you want reliable sync without the extra precision overhead.
Fabric 1.0 by Veed
Fabric 1.0 specializes in making static photos talk. It is designed specifically for portrait-to-talking-video workflows, making it one of the most direct tools for this exact use case. The output is clean, the interface is simple, and the turnaround time is fast.
Kling Lip Sync
Kling Lip Sync by Kwai VGI is another strong performer, particularly for expressive or stylized portraits. It handles images where the face has more stylized proportions (as many anime-inspired artworks do) with less degradation than models optimized purely for photorealistic faces.
| Model | Best Strength | Speed | Face Accuracy |
|---|
| Omni Human 1.5 | Full facial motion | Moderate | Very High |
| Lipsync 2 Pro | Fast/complex speech | Moderate | High |
| Fabric 1.0 | Simple photo-to-video | Fast | High |
| Kling Lip Sync | Stylized portraits | Fast | High |
How to Use Omni Human 1.5 on PicassoIA
Omni Human 1.5 is one of the most capable models for this workflow, and the process on PicassoIA is straightforward.
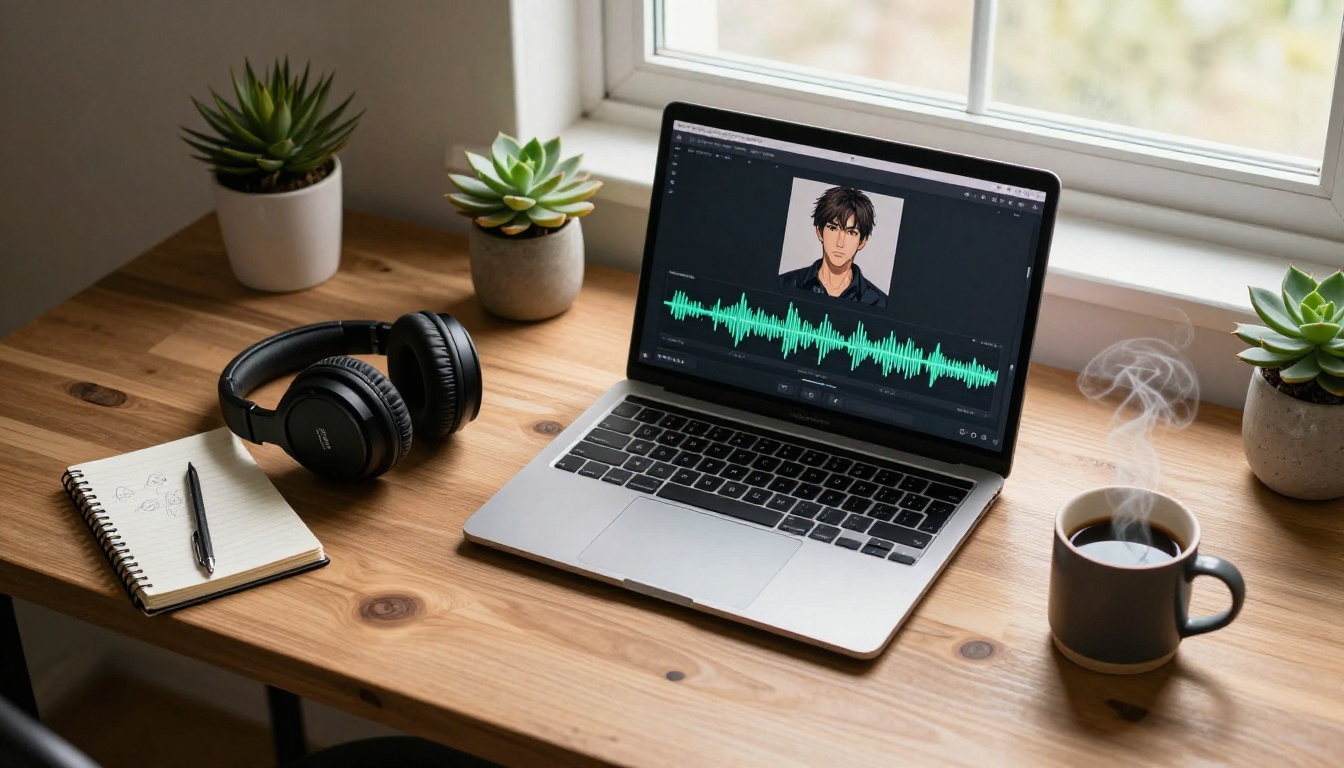
Step 1: Prepare Your Anime Image
Your source image has a direct impact on output quality. Follow these requirements before uploading:
- Face must be clearly visible: The model needs a forward-facing or near-forward-facing portrait. Extreme side angles reduce accuracy significantly.
- Image resolution: Use at least 512x512 pixels. Higher resolution inputs produce sharper output video.
- Clear lip area: The mouth region should be unobstructed. Masks, scarves, or hands covering the mouth area will interfere with the lipsync mapping.
- Neutral or near-neutral expression: A slightly open mouth or closed neutral expression works best as a starting point. A wide open-mouth expression in the source image can look unnatural in motion.
Step 2: Upload the Audio File
Your text-to-speech output becomes the audio input here. Upload the audio file directly to the Omni Human 1.5 tool on PicassoIA.
Supported formats: MP3, WAV, M4A. For best results, use WAV at 44.1kHz, which is the format most text-to-speech tools output by default.
💡 Tip: If you generated your audio with Speech 2.8 HD or ElevenLabs V3, the output is already in a compatible format. No conversion needed.
Step 3: Configure and Generate
Once both inputs are uploaded:
- Select your output resolution: 720p is suitable for social media. 1080p is available for higher-quality exports.
- Review the preview thumbnail: Make sure the face detection overlay is correctly placed on your character's face before submitting.
- Submit the generation: Processing typically takes between 30 seconds and 2 minutes depending on audio length.
- Download the output: The result is an MP4 file with the character speaking the audio you provided.
If the lip movement looks off on a specific word or phrase, regenerate with a slightly different pacing in your original text-to-speech script. Slower pacing generally produces more accurate lip sync.
Tips That Actually Improve Results
The workflow above will get you a working result. These tips move it from "working" to "convincing."
Image Quality and Framing
- Soft lighting in the source art: Images with harsh directional shadows on the face create visible artifacts when the lipsync model applies motion. Evenly lit faces produce cleaner output.
- No extreme head tilt: A head tilt above 30 degrees from straight-on significantly reduces frame accuracy.
- Avoid busy backgrounds: The model focuses on the face region, but a highly detailed or busy background can cause minor flickering in the output. Simple or blurred backgrounds perform better.
Voice Pacing and Tone
- Speak slower than you think: AI text-to-speech sometimes generates audio at a slightly faster pace than natural human speech. Use the speed control in the model settings if that option is available.
- Match the character's expression: A smiling character works best with a warm, upbeat voice. A serious expression works best with a measured, lower-pitched voice. A mismatch between visual expression and vocal tone is immediately noticeable and breaks immersion.
- Use natural sentence breaks: Commas and periods create natural pauses in the speech output. These pauses give the lipsync model clean anchor points and improve overall sync accuracy.
Matching Emotion to the Right Model
Different text-to-speech models handle emotion differently:
- Chatterbox lets you set an emotion intensity slider, which is useful when the visual expression is extreme (fear, rage, joy).
- ElevenLabs V3 interprets punctuation and phrasing emotionally without explicit settings. Writing the script with dramatic punctuation ("Wait...what?") produces noticeably different output than flat text.
- Qwen3 TTS allows voice design from scratch, meaning you can build a custom voice profile that matches a specific character archetype.
Syncing Across Multiple Scenes
Many creators do not stop at one clip. If you have a character with multiple pieces of artwork (different expressions, poses, outfits), you can produce an entire animated sequence by repeating the workflow for each scene.

For multi-scene projects, consistency is everything:
- Voice consistency: Use the same TTS model, same voice profile, and similar settings for all clips so the character's voice does not shift between scenes.
- Scene transitions: Export each clip as a separate MP4, then use a video editor to cut them together. Add smooth transitions between scene changes.
- Audio treatment: Apply consistent EQ and compression to all audio files before using them as lipsync input. This prevents volume jumps between clips.
💡 Tip: For multilingual projects, ElevenLabs Dubbing can translate an existing voice track into 90+ languages while preserving the original speaker's voice characteristics.
What You Can Actually Build With This
The talking anime portrait workflow is not just a novelty. There are real creative and commercial applications worth knowing.
Content Creators: Short-form video content featuring talking characters outperforms static image posts across every major platform. A 10-second clip of your original character delivering a line from your story is more shareable than any static post.
VTubers and Streamers: Many VTubers start with still art before investing in full 3D rigging. This workflow lets you produce voiced promo content, announcement clips, and reaction videos using existing art with no rig required.
Game Developers: Prototyping voice lines for characters before committing to full voice acting sessions saves time and budget. You can audition voice styles, test emotional range, and confirm pacing using AI tools before casting real actors.
Fan Projects: Dubbed scenes, character voice reveals, and short animated sequences for existing IP fan communities. The tools are accessible enough that a solo creator can produce polished output.
Educators and Storytellers: Visual novels, educational explainer content, and digital comics can all be enhanced with voiced character segments. AI lipsync removes the production bottleneck that previously required animation skill or a large team.
The Voice Cloning Option
For creators who want their character to sound like a specific person (including themselves), voice cloning adds another layer of personalization.
MiniMax Voice Cloning lets you upload a short reference audio sample and build a custom voice model from it. The cloned voice can then be used through the same text-to-speech pipeline, meaning your anime character can speak in your voice, a friend's voice, or any voice you have reference audio for.
Qwen3 TTS offers a similar voice design capability, letting you construct a voice from descriptive parameters rather than requiring reference audio.
For dubbing existing video content into other languages, HeyGen Video Translate handles translation and lipsync together in one step, supporting 150+ languages. This is the most efficient option when adapting existing voiced content rather than generating from scratch.
Test Before Going Big
Before building a 10-scene animated short, test the full pipeline with a single 5-10 second clip. This lets you confirm your source image works well with your chosen lipsync model, verify the voice tone matches your character's visual personality, and identify any pacing or sync issues before investing in a longer project.
React 1 by Sync is specifically designed for realistic lipsync on short portrait videos, making it an efficient testing tool before committing to longer generation runs with more compute-intensive models.
P Video Avatar is another option worth testing for talking avatar output, particularly for creators who want a more stylized or looping video format.
Start Making Your Characters Speak
Static anime art is a finished product on its own. But it is also a starting point.
The tools covered in this article give any creator, regardless of technical background, the ability to add a convincing voice to any portrait image in under 20 minutes. Pick the voice model that fits your character's personality, generate the audio, and let the lipsync model do the animation work.
PicassoIA brings all of these tools into a single platform so you are not jumping between five different services to complete the workflow. From text-to-speech to lipsync, the entire pipeline runs in one place.
If you already have anime art you want to bring to life, the fastest way to start is to pick one image, write three sentences of dialogue, and run it through Omni Human 1.5 on PicassoIA. You will have a talking character in less time than it took to read this article.


