Lighting is the single variable that separates a good AI render from a great photograph. You can have the most detailed prompt, the most refined model, and still end up with a flat, studio-lit nothing if you ignore how light actually behaves. Once you have the vocabulary, adding realistic lighting to AI renders becomes a repeatable process, not a lottery.
Why Lighting Breaks Most AI Images
Most prompts describe subjects. Lighting is an afterthought, if it appears at all. The result is diffuse, even illumination with no direction, no shadow, and no drama. It reads as "generated" immediately.
AI image models trained on photography data respond to photographic terminology. When you describe light the way a cinematographer would, the model draws from a completely different pool of training data, one full of technically shot, well-lit images.
The Flat-Light Problem
Default AI lighting comes from the model's attempt to make everything visible. There is no motivation for where the light originates, no falloff, and no contact shadows. Every surface receives roughly equal illumination. Photographers call this "flat light," and they actively avoid it because it collapses depth and removes the sense that objects occupy three-dimensional space.
The fix is specificity. "A woman" gives you nothing. "A woman lit by a single key light at 45 degrees from her left, creating a triangular highlight under her right eye" gives the model a photographic constraint to work within.
What Photorealism Actually Requires
Photorealistic rendering in AI images depends on four lighting properties working together: direction, quality (hard or soft), color temperature, and falloff. Remove any one and the image loses its grounded physical quality. Add all four and the model has enough information to render light that behaves the way real light behaves.
The Lighting Vocabulary Prompts Are Missing
Before writing a single prompt, you need a working vocabulary of photographic lighting terms. These are the exact phrases that map to real training data in generative models.
Direction and Angle
Light direction is always described relative to the subject. The most useful terms:
- Key light: the primary, dominant source
- Fill light: a softer secondary source that reduces shadow density
- Rim light: a source behind the subject that separates it from the background
- 45 degrees from subject left/right: the classic portrait position for dimensional lighting
- Top-down / overhead: harsh, dramatic shadows under eyes and nose
- Low-angle / upward: creates an unusual, theatrical quality
Color Temperature
Color temperature changes everything about the emotional tone of an image.
| Kelvin Range | Light Source | Effect in Image |
|---|
| 2700–3200K | Tungsten, candle | Warm amber, intimate |
| 4000–4500K | Early morning | Slightly cool, muted |
| 5500–6000K | Midday sun | Clean neutral, crisp |
| 6500–7500K | Overcast sky | Cool blue-grey |
Including the Kelvin value in your prompt ("warm 3200K tungsten key light") forces the model to render color casts correctly rather than defaulting to neutral white light.
Hard Light vs. Soft Light
Hard light comes from small, distant sources: direct sun, bare bulbs, or a single LED panel. It creates crisp shadow edges, high contrast, and defined specular highlights.
Soft light comes from large, close sources: softboxes, overcast skies, or north-facing windows. It wraps around subjects, fills shadows gradually, and creates smooth tonal transitions.
In prompts:
- Hard light: "direct sunlight", "bare strobe", "sharp shadow edges"
- Soft light: "large octabox", "overcast diffuse light", "north window fill"
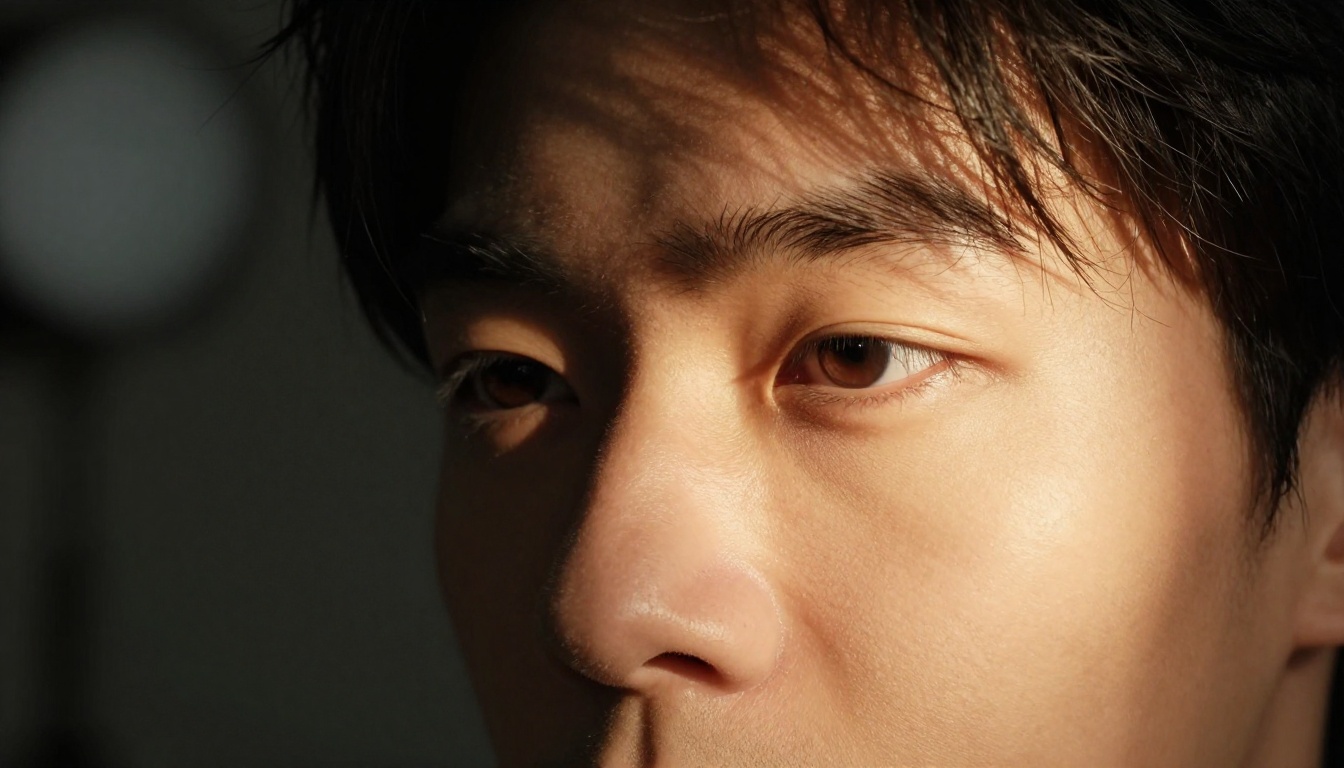
7 Lighting Setups That Work in AI Prompts
These are the most reliably effective lighting configurations for AI image generation. Each has a name photographers use, so the model knows exactly what the training data looks like.
Rembrandt Lighting
A single light source at 45 degrees creates a small triangular highlight on the shadow-side cheek. This is one of the most photographically recognizable setups.
Prompt: "Rembrandt lighting, single key light at 45 degrees from subject left, triangular catchlight under right eye, deep shadow on right cheek, 85mm f/1.8, photorealistic portrait"
Butterfly Lighting
The light sits directly in front of the subject and slightly above, creating a small butterfly-shaped shadow under the nose. Common in glamour and fashion photography.
Prompt: "butterfly lighting, soft frontal key light slightly elevated, butterfly shadow under nose, even skin illumination, catchlights in both eyes"
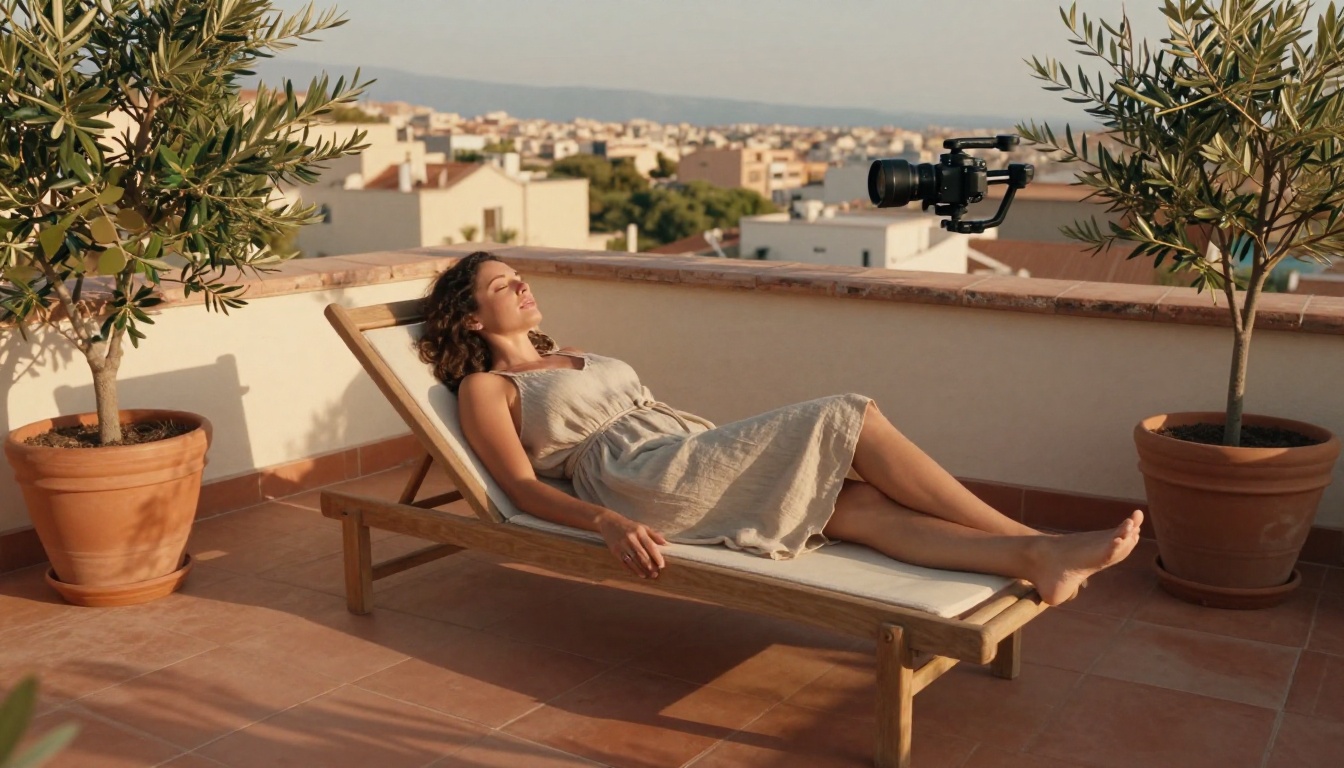
Golden Hour Rim Light
Shooting with the sun low on the horizon behind the subject creates a warm rim or halo of light that separates the subject from the background.
Prompt: "golden hour backlight, warm 3000K sun low on horizon, rim light separating subject from background, warm amber hair highlight, slight lens flare in frame, soft ambient fill from sky"
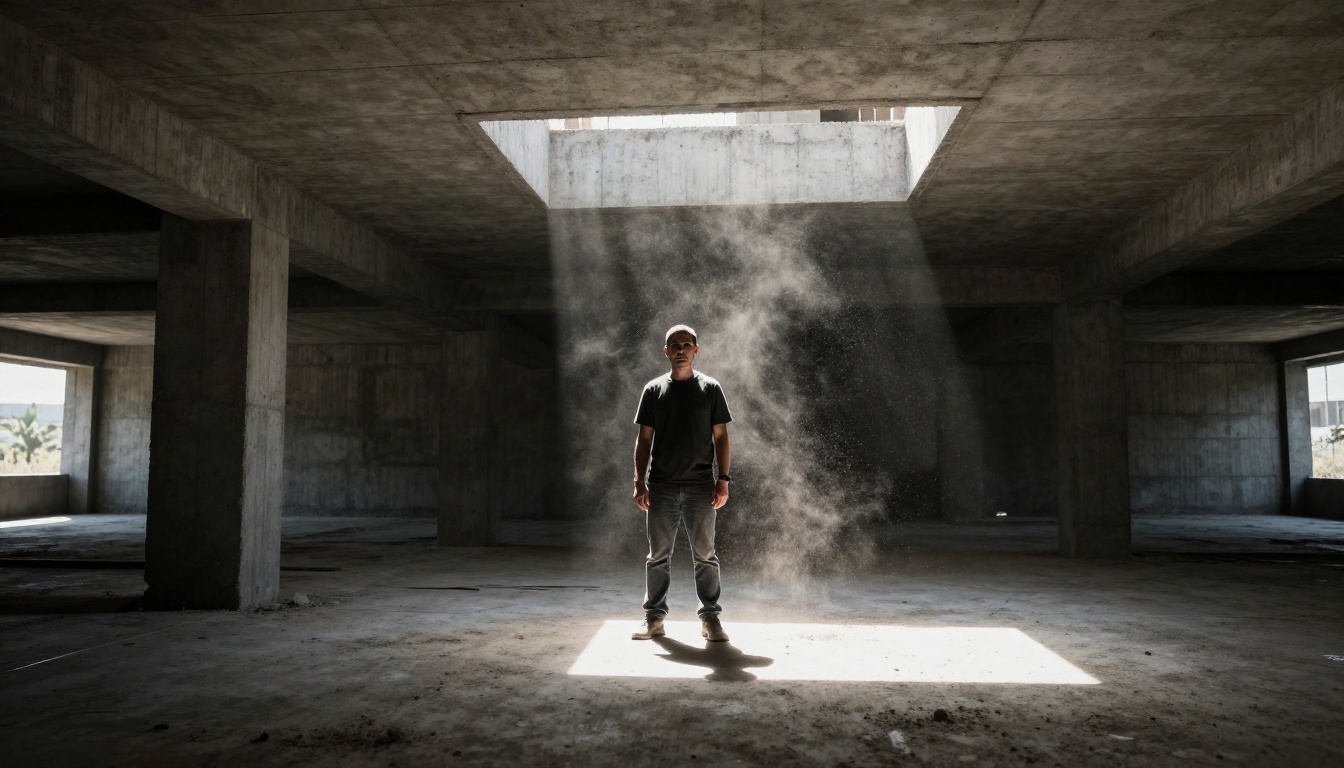
Volumetric Light Rays
Volumetric lighting describes visible light shafts in air cutting through haze, fog, or dust. It requires atmospheric particles to scatter the beam.
Prompt: "volumetric light rays, single shaft of sunlight entering through ceiling opening, dust particles suspended in beam, strong directional light with deep shadow falloff, cinematic atmosphere"
Window Light
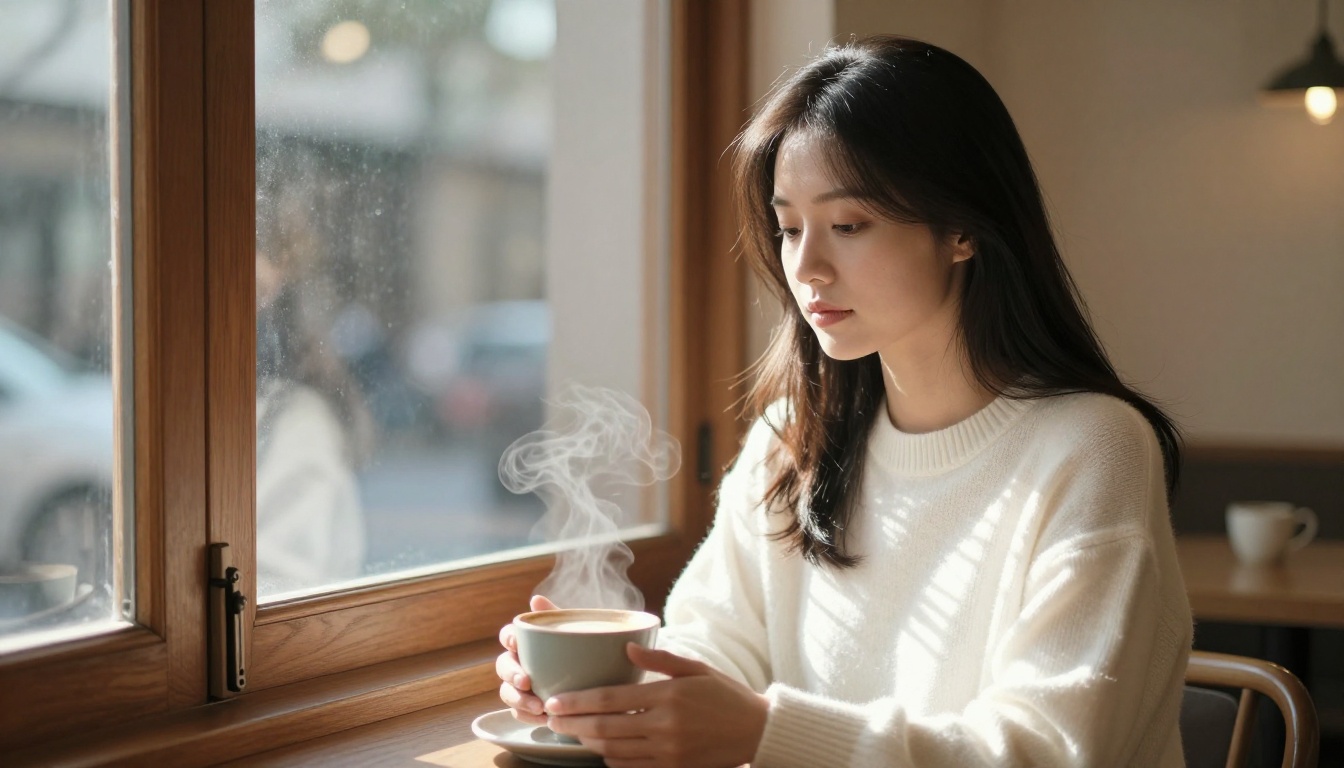
Natural window light is the gold standard for portrait photography. A large north-facing window creates soft, even, directional light with natural color temperature.
Prompt: "large north-facing window light from subject left, soft 5500K diffused natural light, gradual shadow falloff on right side of face, window frame casting linear shadow accent"
Three-Point Studio Setup
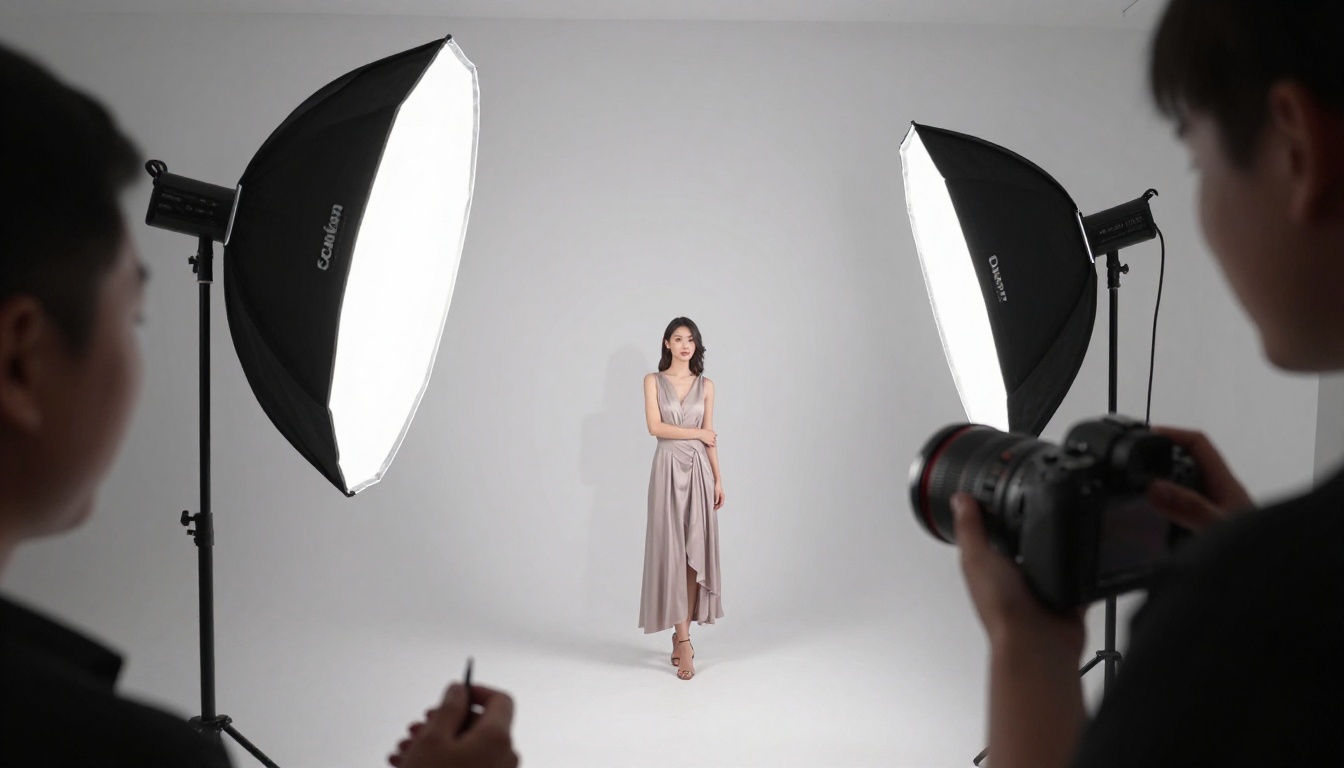
The industry-standard approach: a primary light source, a secondary fill light, and a rim or hair light. This setup is so well-represented in photography training data that it reliably produces professional results.
Prompt: "three-point studio lighting, key light at 45 degrees from left, fill light at 50% power from right, hair light from behind separating from white backdrop, photostudio, professional"
Candle and Practical Lights
Practical lights are actual light sources visible within the frame. Including them in the scene description motivates realistic warm-toned shadows and gives the image a grounded, believable quality.
Prompt: "single candle as only light source, warm 2700K flame illumination, soft falloff with deep shadows at edges, warm amber catchlights in eyes, intimate atmosphere"
Writing Prompts That Control Light
Knowing the setups is step one. Writing prompts that execute them reliably is step two.
The Core Prompt Formula
Every lighting prompt should answer three questions: What is the source? Where is it positioned? What does it do to surfaces?
A weak prompt: "dramatic lighting, portrait"
A strong prompt: "single tungsten key light at 45 degrees from subject left at 3200K, creating a Rembrandt triangle on right cheek, specular highlight on nose tip, rim light from behind at 6500K separating hair from background, no fill light, deep natural shadows, photorealistic"
The difference in output is not subtle.
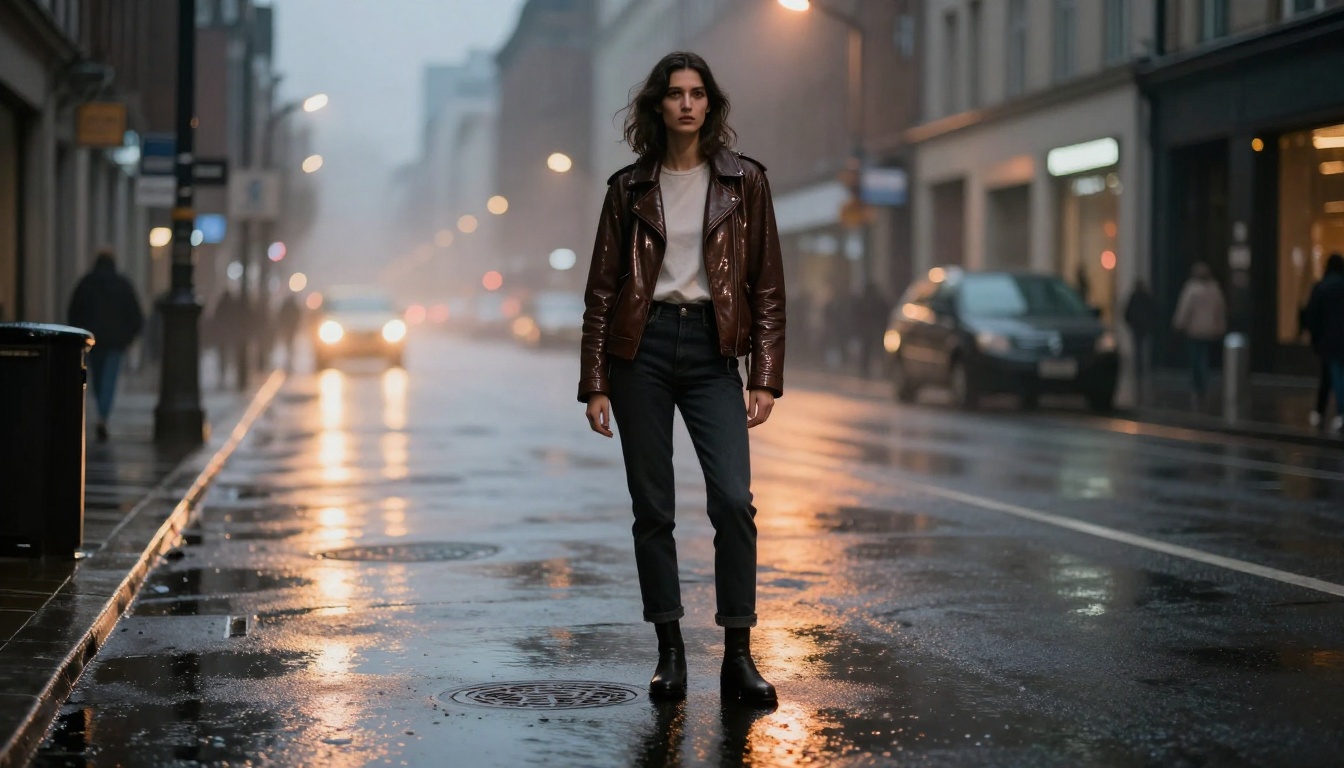
Adding Shadow Complexity
Real shadows have two parts: the umbra (the hard shadow core) and the penumbra (the soft, gradual edge). Describing both makes a shadow read as physically motivated.
Useful phrases:
- "deep ambient occlusion in corners and crevices"
- "contact shadows where surfaces meet"
- "soft shadow penumbra with gradual edge falloff"
- "cast shadows from foreground objects"
Subsurface Scattering for Skin
Human skin is semi-translucent. Light entering from one side partially transmits through and exits the other side, creating a warm, slightly reddish inner glow in areas like ear lobes, nose tips, and fingers when backlit.
Prompt phrase: "subsurface scattering visible on earlobes and nose, warm backlit skin translucency, slight red inner glow at skin edges where backlight transmits"
Including this term alone dramatically improves how AI renders skin in backlit or rim-lit scenarios.
Specular and Reflective Surfaces
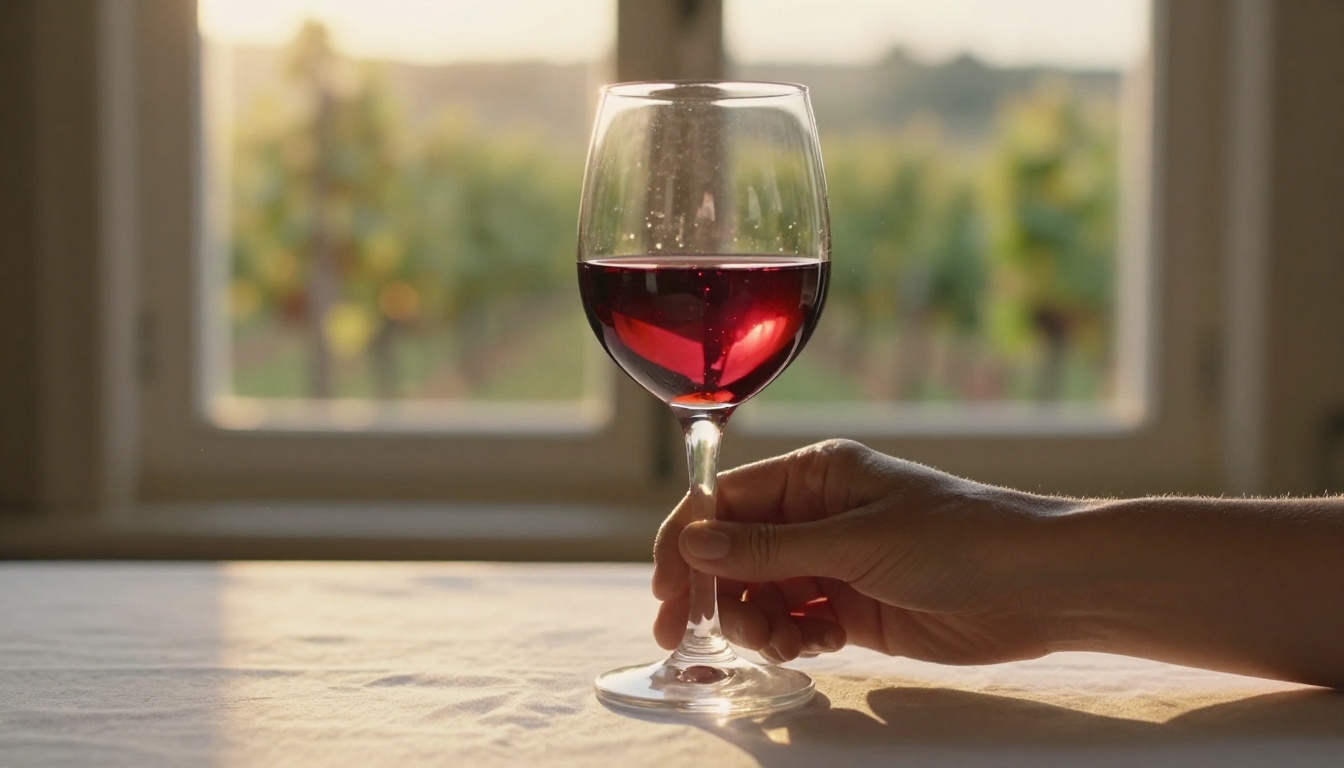
Specular highlights are the bright reflections of the light source itself on shiny surfaces. Their shape reveals the light source geometry.
- Round catchlight = spherical light or octabox
- Square catchlight = window or softbox
- Multiple catchlights = multiple light sources
Prompt phrases: "square specular catchlights in eyes from window", "oval catchlights from octabox", "specular highlight on nose bridge and cheekbone with defined edge"
How Lens Choice Affects Lighting
Lighting doesn't exist in isolation. Camera and lens choices determine how the light is rendered. A 50mm f/1.4 renders light very differently from a 24mm f/11.
Aperture and Bokeh Shape
A wide aperture (f/1.4 to f/2.8) creates shallow depth of field where background light sources blur into soft circular or polygonal bokeh shapes. Including lens bokeh characteristics adds another layer of photographic realism.
Useful phrases: "85mm f/1.4, creamy bokeh background", "50mm f/2 portrait, circular bokeh from background window", "medium format Hasselblad, smooth tonal transitions"
Film Stock Simulation
Real photographic lighting is inseparable from the film or sensor that captures it. Including film stock names in prompts maps to a specific look in the training data:
| Film Stock | Characteristic |
|---|
| Kodak Portra 400 | Warm skin tones, natural colors, slight grain |
| Fuji Pro 400H | Cool shadows, pastel highlights, natural skin |
| Kodak Tri-X 400 | Black and white, grain, strong contrast |
| Fuji Velvia 100 | Saturated colors, vivid greens |
| Kodak Ektar 100 | Fine grain, high color saturation |
Adding "Kodak Portra 400 film simulation" consistently produces more organic, photographic tonal behavior than generic "cinematic look" descriptors.
Upscaling Reveals the Lighting Detail
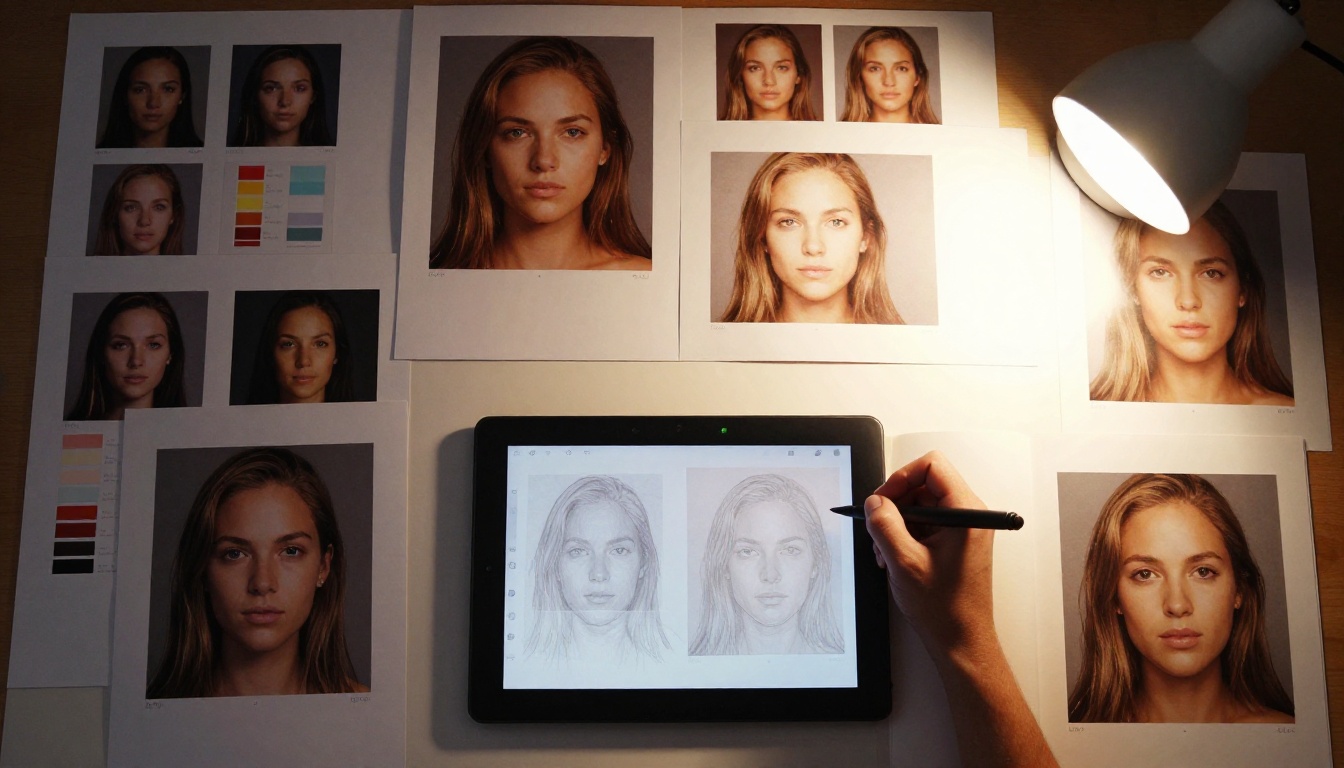
Lighting detail, fine gradients on skin, tiny specular highlights on hair strands, subtle caustic patterns from glass, all of it exists in AI renders but is often hidden at standard output resolution. Upscaling extracts it.
Clarity Pro Upscaler is purpose-built for photorealistic image enhancement. It adds microdetail back into upscaled regions rather than just increasing pixel count, which means lighting transitions look even smoother at 2x or 4x resolution.
Real ESRGAN handles standard upscaling well, particularly for environmental details like textured surfaces and background elements where lighting interacts with material.
For portraits specifically, Crystal Upscaler preserves facial feature sharpness while improving the fine skin texture and shadow edge definition that lighting prompts produce.
Topaz Image Upscale supports up to 6x enlargement and handles film grain authentically, making it the right choice when you want to print or display renders at large sizes without losing lighting nuance.
💡 Run your AI render through P Image Upscale at 2x before evaluating whether the lighting reads correctly. Many renders that look slightly soft at standard resolution reveal excellent light behavior at upscaled resolution.
5 Common Lighting Mistakes in AI Renders
Multiple Conflicting Light Sources
Adding "dramatic lighting, golden hour, studio strobe, candlelight" creates a model that doesn't know which physics to apply. The result is incoherent illumination. Pick one dominant source and add at most one secondary fill or rim.
No Color Temperature Specified
"Warm lighting" is vague. "3200K tungsten warm light" is precise. Vague temperature descriptions allow the model to default to neutral illumination with a slight warm tint, which loses all the color physics that come with actual low-temperature light sources.
Ignoring Contact Shadows
Objects rest on surfaces. Where they touch, there is a dark shadow called a contact shadow or ambient occlusion shadow. Without it, objects appear to float. Including "ambient occlusion" or "contact shadows under feet and chair legs" immediately grounds subjects in their environment.
Overspecifying Without Coherence
Including every lighting term in a single prompt creates noise. "Rembrandt lighting butterfly lighting golden hour volumetric rays studio strobe" gives the model conflicting signals. Choose a single setup and describe it with precision.
Wrong Lens for the Scene
A wide-angle lens in a tight portrait with shallow depth of field doesn't match how photography works. The model often resolves this conflict by defaulting to generic rendering. Match lens focal length to the framing: 85–135mm for portraits, 24–35mm for environmental scenes.
PicassoIA for Lighting-First Generation
PicassoIA provides access to 91+ text-to-image models, and each responds to photographic lighting vocabulary differently. For portraits and photorealistic scenes, the platform's full model collection includes models specifically trained on high-quality photography that respond best to the lighting vocabulary in this article.
After generation, the upscaling workflow on PicassoIA is tight. Google Upscaler enlarges renders by 4x while preserving the lighting gradient work from your prompt. Recraft Crisp Upscale adds texture depth on top of the enlarged base, making hard-light shadow edges crisp at any output size.
The workflow that produces consistent results:
- Write a lighting-first prompt using one of the setups above
- Include camera, lens, film stock, and specific Kelvin value
- Generate at standard resolution
- Upscale with Clarity Pro Upscaler or Topaz Image Upscale
- Evaluate the lighting at full resolution before iterating
For scenes where light quality is paramount, Increase Resolution by Bria offers 4x upscaling with excellent handling of smooth lighting transitions. Soft-light gradients survive the process without banding or tonal breaks.
The Recraft Creative Upscale model adds interpretive detail during enlargement, which works particularly well for scenes with complex lighting interactions like caustics, volumetric rays, and multi-source environments.
Your Next Render Starts With One Light
Realistic lighting in AI renders is not a matter of better models or longer prompts. It is a matter of physically motivated light placement described in photographic language. One dominant source, a position, a color temperature, and a quality descriptor. That is the minimum viable lighting prompt.
Start with one of the setups from this article, pick a text-to-image model on PicassoIA, and run three variations of the same prompt with different lighting configurations. Compare the results side by side. You will see immediately that "Rembrandt lighting, 85mm f/1.4, Kodak Portra 400" gives the model a genuinely different instruction set than "dramatic lighting, portrait."
After generation, pass the result through P Image Upscale or Real ESRGAN to extract every bit of lighting detail from the render.
The gap between a flat AI image and a photographic one is almost always a lighting prompt away. Head to picassoia.com and generate something that looks like it was shot on film.


