Anime art and 3D modeling have always had a complicated relationship. The flat colors, impossible proportions, and abstract line work that make anime characters so visually striking are the exact same things that make them hard to translate into three dimensions. But here is the thing: that difficulty is mostly a planning problem, not a technical one. Once you know how to read anime art for volume and structure, the pipeline from flat illustration to fully rigged 3D character becomes repeatable and fast.
This article walks through the complete workflow, starting from generating or sourcing your anime reference art all the way to a textured, riggable mesh ready for animation or 3D printing.
Why Anime Art Makes a Surprisingly Solid 3D Base
Most artists assume that anime's stylization makes 3D interpretation harder. In practice, the opposite is often true.
Flat Colors Help You Read Volume Fast
Because anime shading uses simplified cel tones rather than photorealistic gradients, you can identify the major light planes of a character almost instantly. That single shadow drop under the chin, the hard highlight on the nose, the sharp secondary shadow on the inner arm, all of these signal clear depth relationships that translate directly into 3D geometry decisions.
When you look at a realistically painted character, ambient occlusion, subsurface scattering, and atmospheric perspective all bleed together. Reading volume from that kind of reference requires more interpretive work. Anime shading is a shorthand that was designed to communicate three-dimensional form through two-dimensional ink, which means it maps back to 3D surprisingly cleanly.
Strong Silhouettes Speed Up Topology
Anime character design places enormous weight on readable silhouettes. Hair shapes, costume edges, and body proportions are all exaggerated specifically so they read clearly at small sizes. That silhouette priority means you always have a clean outer edge to work from when you are blocking in your base mesh.
You do not have to guess where the character's shoulder ends and the arm begins because the anime artist already made that boundary as clear as possible. The same goes for hair volumes, skirt geometry, and accessory shapes. The art has already done the hard compositional work for you.
What You Need Before Starting
Getting organized before you open a 3D application will save you hours of frustrating rework later.
The Software Stack Worth Knowing
You do not need every tool in this list, but knowing what each one does best will help you decide where to spend your time.
| Tool | Best For | Free |
|---|
| Blender | Full pipeline: modeling, sculpt, rig, render | Yes |
| ZBrush | Organic sculpting, fine detail | No |
| Maya | Rigging and animation, studio standard | No (subscription) |
| Substance Painter | PBR texture painting | No |
| Marmoset Toolbag | Real-time rendering and baking | No |
For most indie animators and hobbyists, Blender covers the entire workflow without spending anything. For production-level organic sculpting, ZBrush is worth the investment. Everything else can wait until you have specific needs.
Reference Sheets Are Non-Negotiable
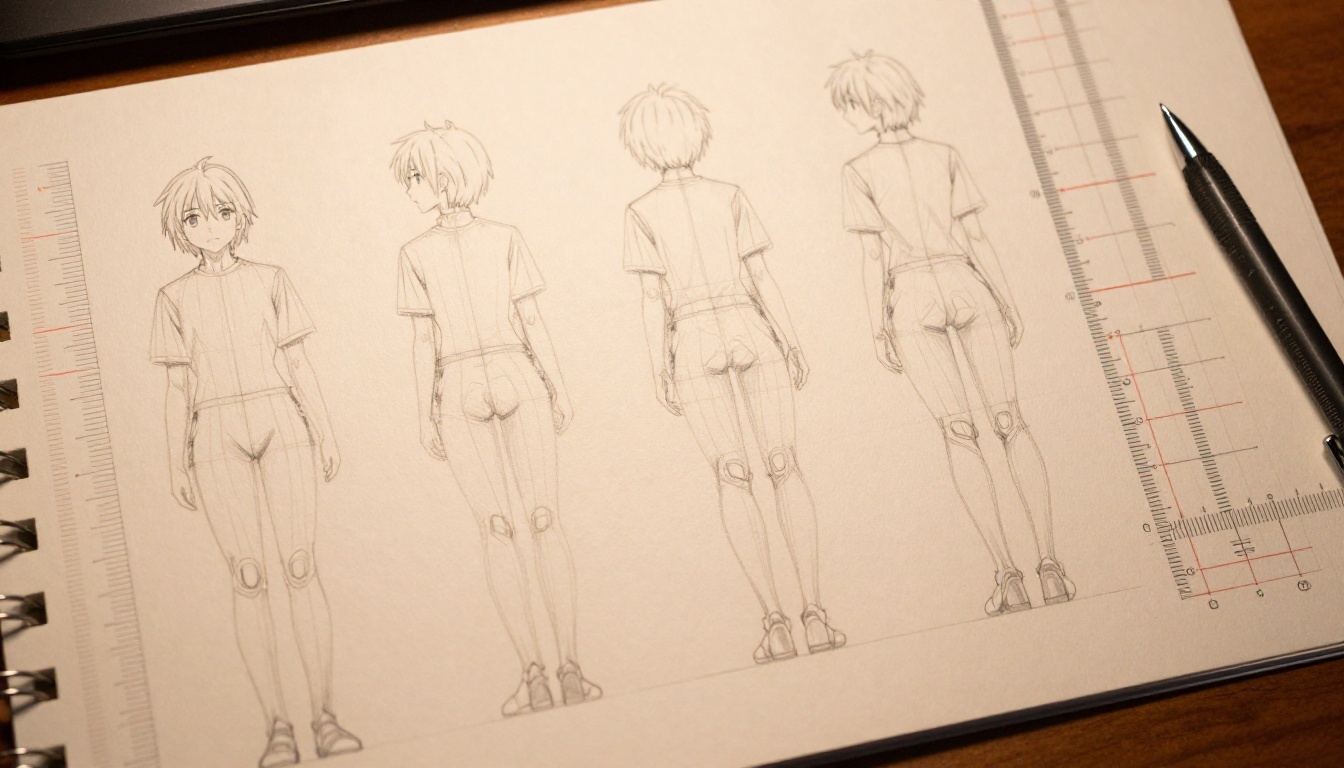
Before you touch any 3D software, you need orthographic reference views: front, side, and ideally back. These are the sheets you load into your 3D viewport as background images to keep proportions consistent across all three axes as you model.
Most anime art is drawn at a 3/4 angle or dynamic pose, which makes it nearly useless as a direct 3D reference. You need views that are flat, measured, and consistent in scale between each angle. This is where generating AI reference art gives you a significant advantage.
How to Use AI to Generate Your Anime Reference Art
One of the biggest bottlenecks in this workflow used to be finding or commissioning orthographic reference sheets. Few artists provide them publicly, and commissioning them adds cost and waiting time.
AI image generation removes that bottleneck entirely.
Why AI-Generated Anime Art Works Better for 3D
When you generate a character specifically for 3D reference purposes, you control the pose, the angle, and the lighting. You can request a front-facing neutral A-pose with flat studio lighting, which is exactly what 3D modelers need. Commissioned artists often add dynamic poses and dramatic lighting by default because those look more impressive as illustrations, but they make terrible modeling references.
With AI generation, you can produce:
- A clean front-view reference in A-pose for accurate proportions
- A side profile with the same lighting and scale
- A 3/4 detail view to clarify areas where orthographic views lose information
- Close-up detail sheets for face, hands, and shoes
This reference pack, which would cost several hundred dollars to commission and take days to receive, can be generated in minutes.
Using PicassoIA to Create Your Reference Pack
PicassoIA offers a broad library of text-to-image models suited to generating anime-style character art with the precise poses and lighting conditions 3D modelers need. You can dial in consistent character design across multiple generation passes by being specific in your prompts about A-pose positioning, studio flat lighting, and orthographic viewing angle.
Once your reference images are generated, upscaling is essential before taking them into your 3D viewport. Low-resolution reference images introduce ambiguity at exactly the moments you need clarity, when you are placing edge loops around the eyes or following the curve of the shoulder. Tools like Clarity Pro Upscaler can bring your generated references up to print-quality resolution while preserving crisp line art edges. For character portraits specifically, Crystal Upscaler adds sharp facial detail that is invaluable when you are matching mesh topology to the original art.
💡 Tip: Generate your character at least twice using different seeds and compare them side by side. Small inconsistencies between the front and side views are much easier to spot and correct at the reference stage than after you have already modeled half the character.
Step 1: Block Out the Base Mesh
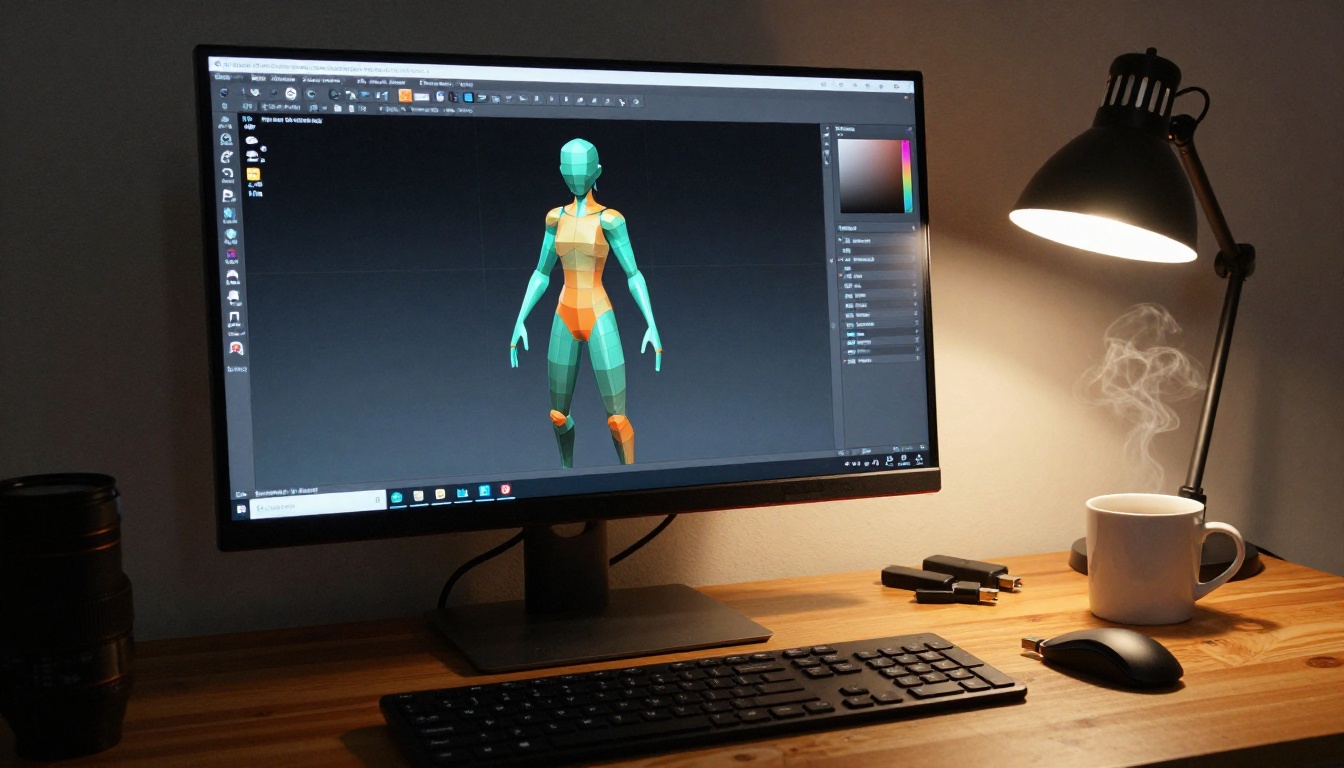
With your reference sheets loaded into your 3D application as background images, you are ready to start modeling. The most common beginner mistake here is trying to achieve final quality in the block-out stage.
Start With Primitives, Not Splines
Begin with basic geometric shapes aligned to your reference: a sphere for the head, cylinders for the limbs, a box for the torso. Your goal at this stage is correct volume and proportion, nothing else. The head sphere should match the reference exactly in diameter. The torso box should hit the right shoulder width, chest depth, and hip height.
Resist the temptation to add edge loops for detail. You are building a skeleton of shapes first. Subdivide only when you have confirmed that the silhouette of your block-out matches the reference from both front and side views simultaneously.
Getting Anime Proportions Right
Anime characters often have proportions that look correct in the art but feel wrong when blocked out in 3D. The most common issues:
- Head-to-body ratio: Many anime characters use a 1:5 or 1:6 ratio rather than the realistic 1:7.5. This looks natural in 2D but can appear top-heavy in 3D until you adjust the camera focal length to match how the original artist intended the character to be viewed.
- Eye placement: Anime eyes sit lower on the skull than realistic eyes. Match the reference exactly and trust it, even if it looks unusual in your 3D viewport initially.
- Limb taper: Anime limbs typically taper more aggressively from joint to extremity than realistic anatomy. Exaggerating this in 3D helps the character read as intentionally stylized rather than accidentally malformed.
💡 Tip: Set your viewport focal length to 85mm during block-out. Most anime art is drawn with an implied medium-telephoto lens perspective. Matching that focal length makes your 3D proportions align far better with what the 2D art is describing.
Step 2: Sculpt the Details
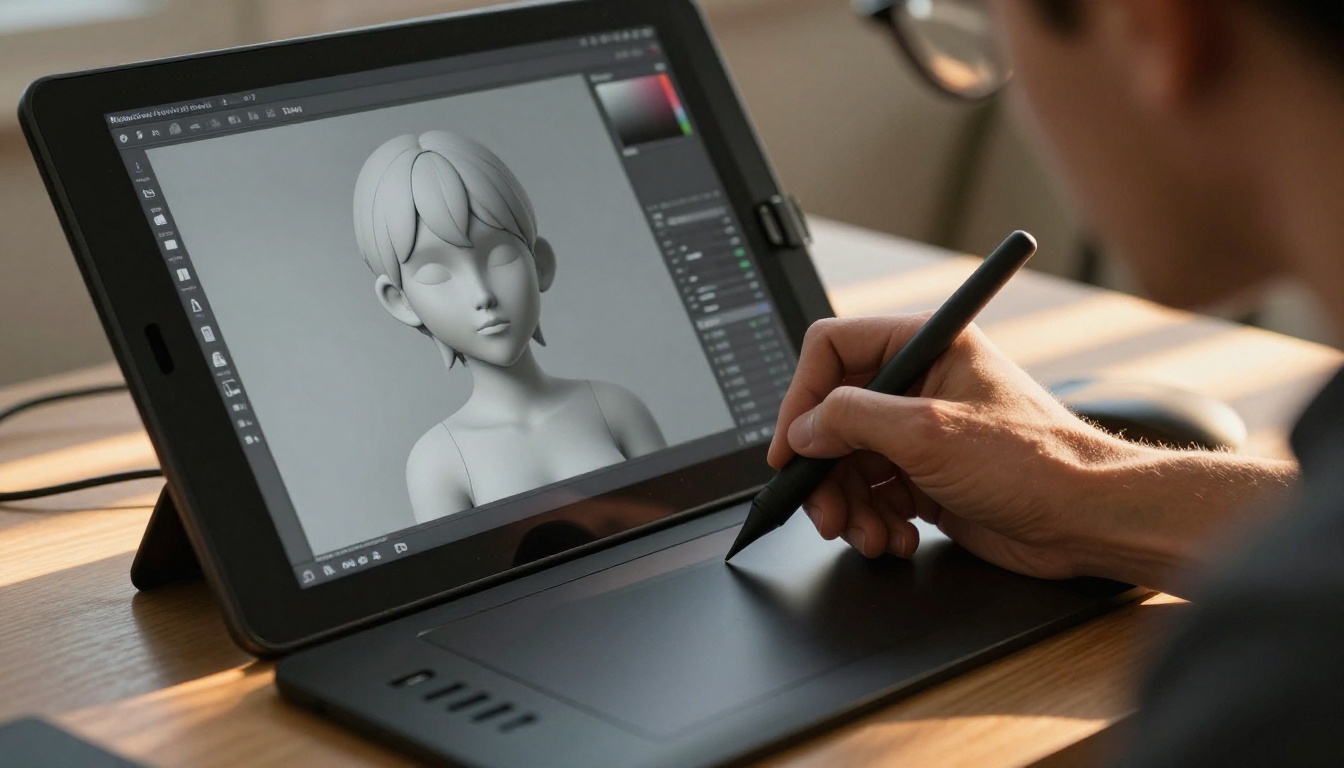
Once your block-out passes proportion checks from all angles, you can move into detail sculpting. This is where the character starts to feel like a real entity rather than a collection of shapes.
ZBrush vs. Blender Sculpt Mode
Both tools are capable, but they excel at different things within this workflow.
Blender Sculpt Mode is excellent for the first two rounds of detail passes: establishing the major planes of the face, defining the nose bridge, softening the cheek transitions, and blocking in the hair volumes. It integrates seamlessly with the rest of your Blender workflow, which means you can jump between sculpting, retopology, and rigging without exporting anything.
ZBrush becomes relevant when you need micro-detail. Skin pore simulation, fabric weave on clothing, hair strand definition, the fine crease where eyelids meet skin. For stylized anime characters, you may not need this level of detail at all, especially if the final output is a real-time game mesh or a 3D print. But for cinematic renders, ZBrush micro-detailing makes a significant difference.
Eyes, Hair, and the Anime Aesthetic
These two features are where anime 3D modeling diverges most sharply from realistic character work, and they deserve specific attention.
Anime eyes are almost always modeled as separate flat planes or shallow curved surfaces rather than as realistic eyeball geometries. This is intentional. The large, expressive anime eye is fundamentally a surface graphic, not a volumetric structure. Model a slightly curved plane positioned just in front of the eye socket, UV unwrap it, and paint the eye texture directly onto it. This approach matches how anime art actually depicts eyes and produces far more convincing results than trying to make a realistic eye look anime.
Hair in anime is typically modeled as large grouped chunks rather than individual strands. Think of it as sculpting a helmet that has been carved into sections. Each hair group is a solid mass with a distinct silhouette. The separation lines between groups are clear and deliberate. This chunk-based approach is much faster to model, easier to rig, and more faithful to how anime hair actually looks in the source art.
Step 3: Retopology and UV Mapping
Your sculpted mesh at this point probably has an unstructured polygon flow that is not suitable for animation or game engines. Retopology is the process of drawing a clean, animation-friendly polygon surface over your sculpted form.
How Many Polygons Do You Actually Need
This depends entirely on your final use case:
| Use Case | Target Polygon Count |
|---|
| Mobile game character | 1,000 to 5,000 |
| PC or console game | 10,000 to 30,000 |
| Cinematic render | 50,000 to 200,000+ |
| 3D print | Unlimited (optimize for watertight mesh) |
For most anime-style characters, a PC game budget of 15,000 to 25,000 polygons gives you enough resolution to capture all the important curved surfaces while running efficiently in real-time engines.
UV Unwrap Without Stretching
UV mapping is the process of flattening your 3D mesh surface into a 2D map that you can paint textures onto. The challenge with anime characters is that the large flat areas (face, torso, clothing panels) need very clean UV islands with minimal distortion, because any stretching will make painted textures look wrong.
The key technique here is seam placement strategy. Place your seams:
- Along natural clothing edges (collar seam, sleeve hem, skirt hem)
- Behind the ears and along the hairline
- Under the arms where they are invisible in most poses
- Along the bottom of the feet
This hides the seam lines in locations that are rarely visible in typical use, leaving your large visible surfaces with smooth, distortion-free UV islands.
Step 4: Texture Painting the Anime Look
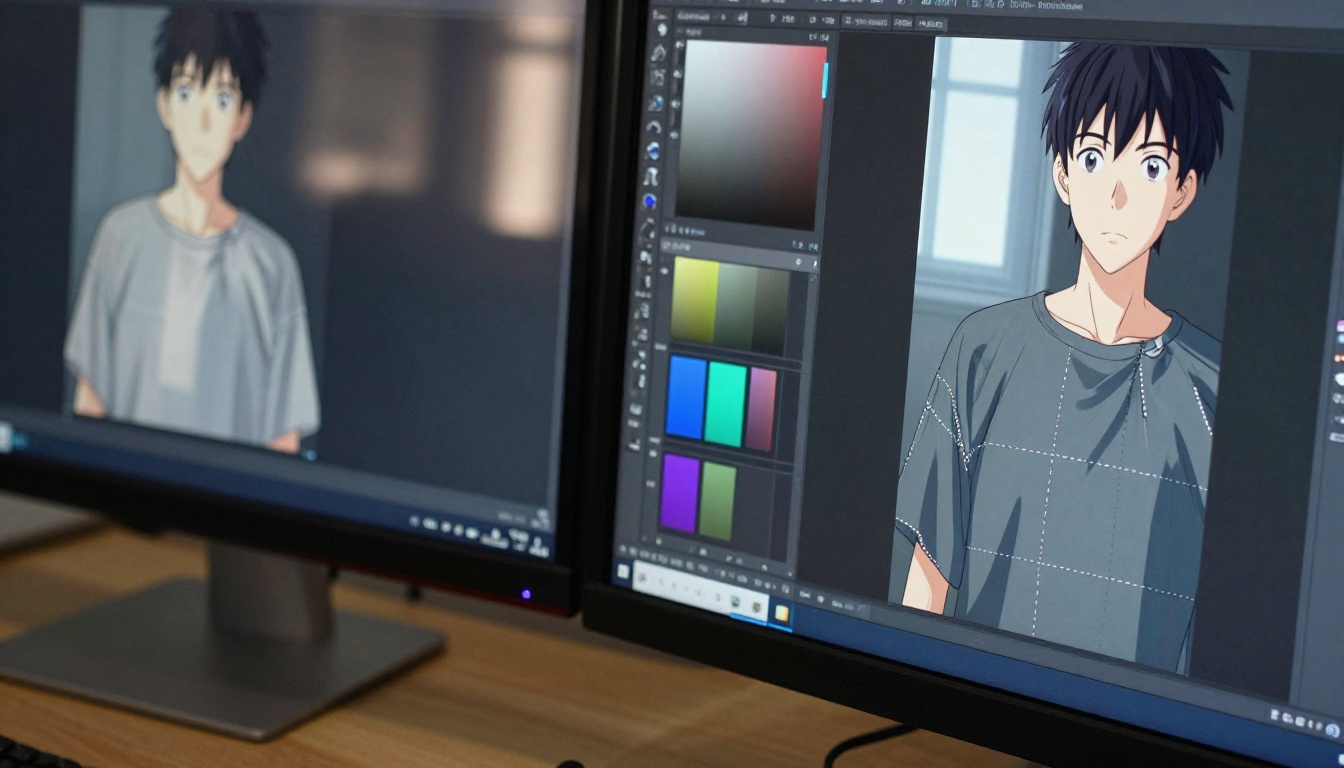
Texturing is where your 3D model either succeeds or fails at looking like the original art. The approach you choose here has more visual impact than any other single decision in the pipeline.
Cel Shading vs. PBR Textures
You have two fundamentally different approaches to choose from:
Cel shading replicates the flat, toon-rendered look of anime directly. It uses a step-based lighting model that posterizes shadows into distinct bands rather than gradients. The result looks like the character was drawn rather than modeled. This is the right choice when fidelity to the anime source art is the priority.
PBR textures use physically-based rendering materials that respond realistically to any lighting environment. This approach produces more photorealistic results and is compatible with any modern game engine or render pipeline, but it moves the final look away from pure anime style toward a stylized-realism hybrid. Many modern anime-influenced games (Genshin Impact, Blue Protocol) use a clever combination of both: PBR materials with a cel shade post-process pass layered on top.
The texture painting itself should always reference your original anime art. Match the specific hue values from the source illustration. Do not try to be more realistic. If the character's hair is a flat warm brown in the reference, paint a flat warm brown on your texture. The lighting in your renderer will do the work of adding perceived depth.
Upscaling Your Reference With AI
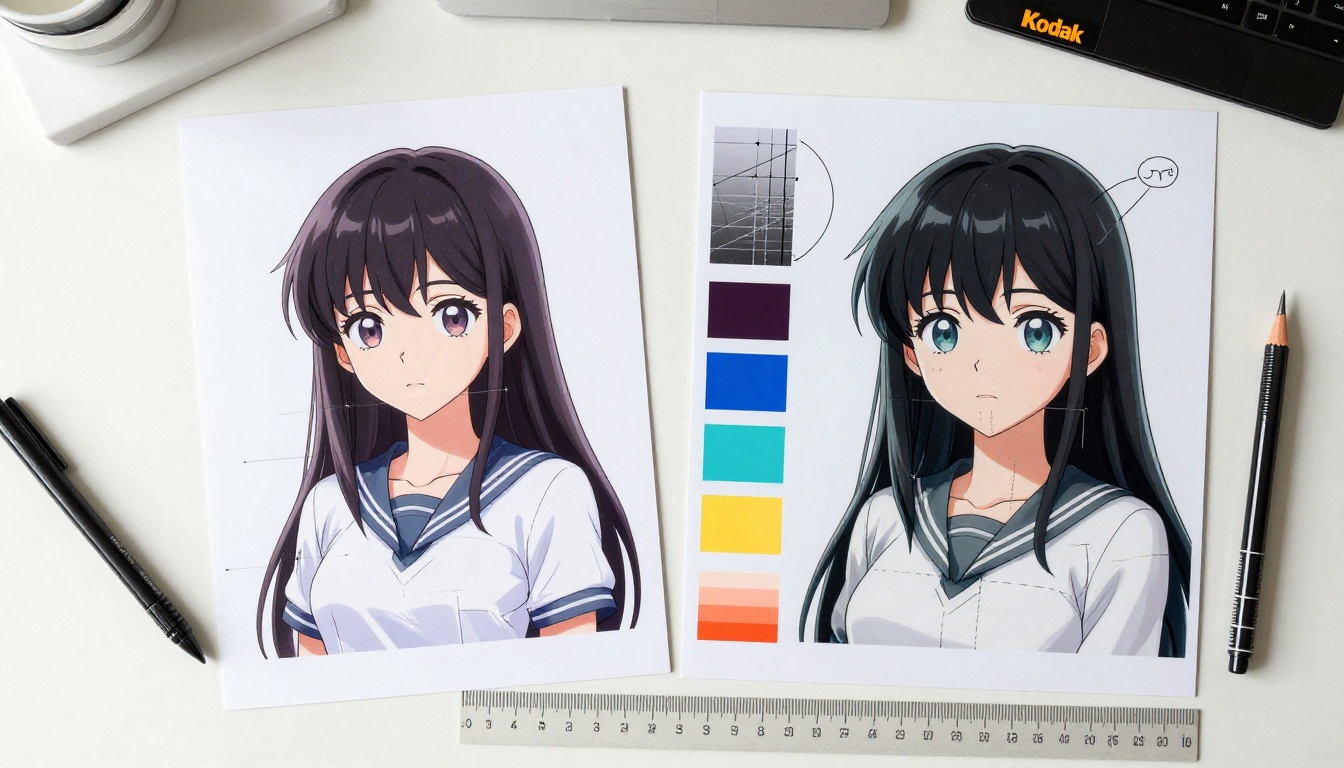
One workflow trick that saves significant time during texture painting: use AI upscaling to enlarge your original anime reference art before painting. When your reference image is large enough that you can zoom into a single eyelash without losing pixel clarity, matching subtle color relationships becomes far easier.
Tools like Real ESRGAN specialize in upscaling illustrations with clean, sharp edges rather than the photo-focused upscaling that can introduce unwanted noise or softening into line art. Google Upscaler offers 4x enlargement with excellent detail preservation for complex anime character artwork. For maximum resolution when you need reference imagery at truly large sizes, Topaz Image Upscale can push up to 6x without visible degradation.
Step 5: Rig Your Model for Animation
A textured model with no rig is a statue. Rigging gives your character the bone structure that allows it to be posed, animated, and used in game engines or film pipelines.
Bone Placement for Anime Movement
Anime characters move in ways that emphasize impact and expression over anatomical realism. When placing bones, keep these priorities in mind:
- Spine flexibility: Anime often uses extreme spine bends for dramatic poses. Add more spine bones than you think you need, typically five to seven in the torso chain, to support fluid arching and twisting.
- Face rig: Anime expression relies on extreme mouth and eye deformation. Dedicate significant bone or shape key work to the face rig. Jaw rotation alone is insufficient; you need individual controls for cheek puff, eye squish, and brow raise at minimum.
- Hair dynamics: Anime hair moves expressively with physics-driven secondary motion. Whether you use Blender's hair physics simulation or a manual secondary animation layer, planning for hair movement at the rigging stage saves rework later.
- Hand detail: Anime hands are often simplified in the source art but need realistic deformation in 3D. Use at minimum three bones per finger for clean curl poses.
💡 Tip: Anime characters frequently use extreme S-curve spine poses that push past realistic anatomical limits. To support this, weight paint your spine deformers with larger influence radii than you would for a realistic character. This makes exaggerated poses look fluid instead of blocky.
Bringing It All Together
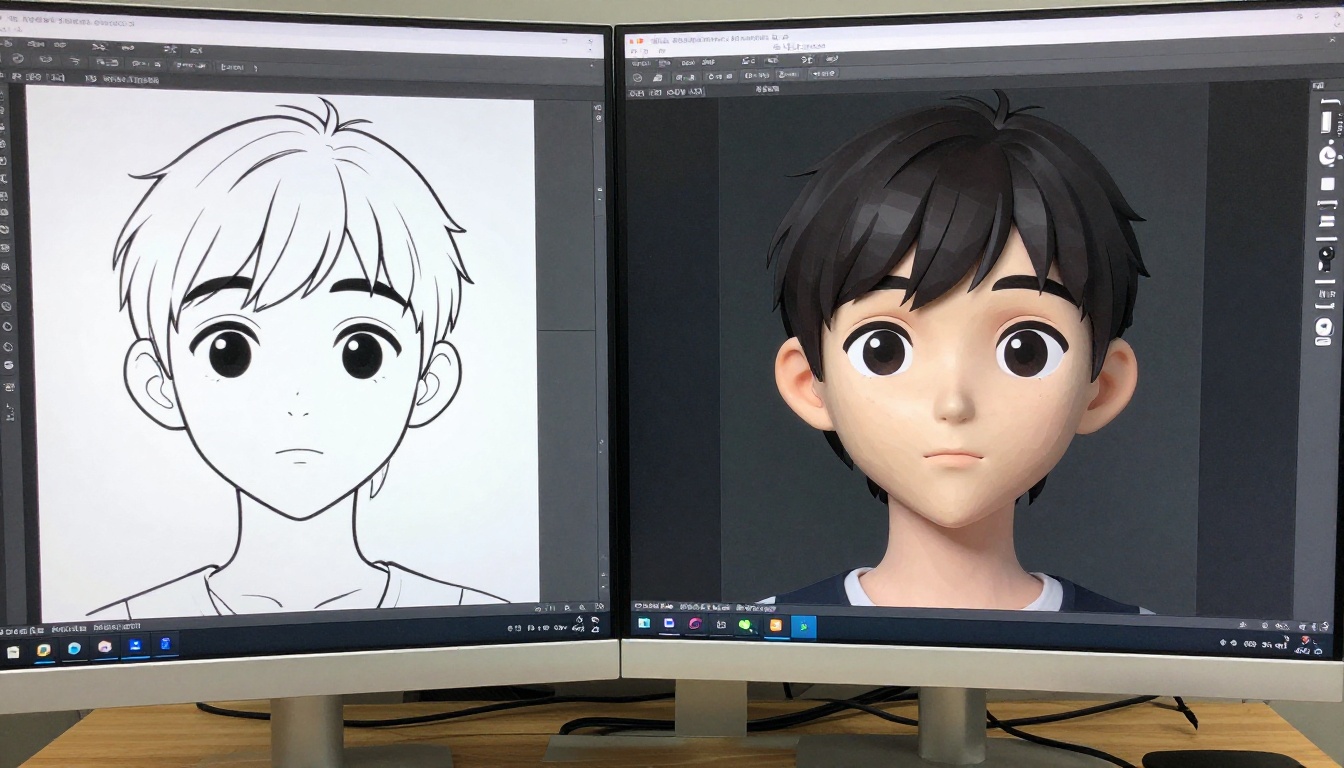
The complete pipeline from anime art to finished 3D model breaks down into clear, repeatable stages. Getting stuck is almost always a sign that you skipped something earlier in the workflow rather than a sign that the current stage is genuinely difficult.
A common mistake is jumping from block-out directly to texture painting without proper retopology and UV work. The textured model may look acceptable in a still render, but the first time you try to pose it or export it to a game engine, the underlying mesh problems surface immediately.
Another common issue is under-investing in the reference generation stage. A low-quality or single-angle reference sheet forces you to guess at the character's 3D form repeatedly throughout the modeling process. Every hour you spend generating clean, high-resolution, multi-angle references before modeling saves two hours of second-guessing later.
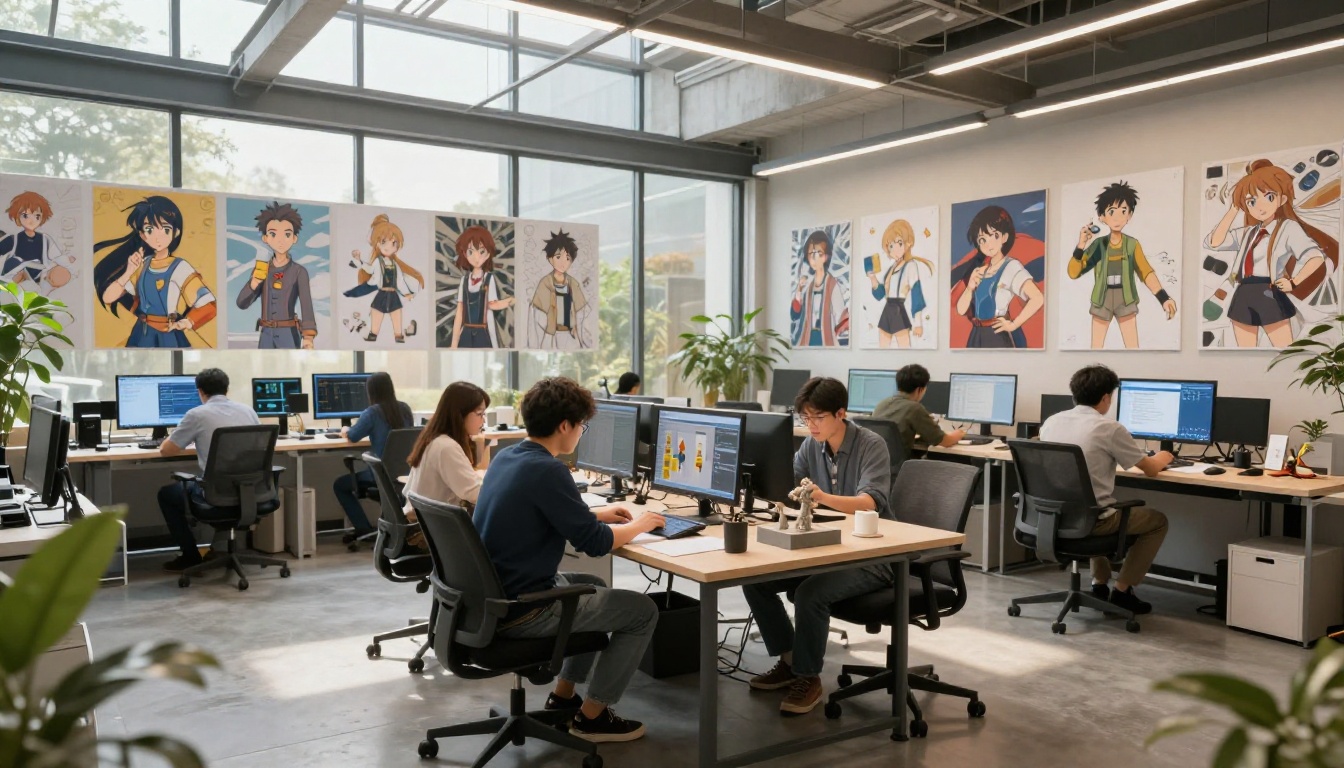
When you use AI-generated references and clean up the outputs with proper upscaling tools, that preparation stage drops from days to minutes. The actual modeling work then becomes purely about craft and technique rather than hunting for adequate reference material.
The Full Pipeline at a Glance
| Stage | Primary Tool | Output |
|---|
| Reference generation | PicassoIA | Multi-angle reference sheets |
| Reference upscaling | Clarity Pro Upscaler | High-res reference pack |
| Block-out | Blender | Proportioned base mesh |
| Sculpting | Blender / ZBrush | Detailed sculpt |
| Retopology | Blender | Clean animation mesh |
| UV mapping | Blender | UV-unwrapped mesh |
| Texture painting | Substance Painter / Blender | Textured model |
| Rigging | Blender / Maya | Animatable character |
| Character isolation | Remove Background | Clean reference cutouts |
Start Building Your Own Characters
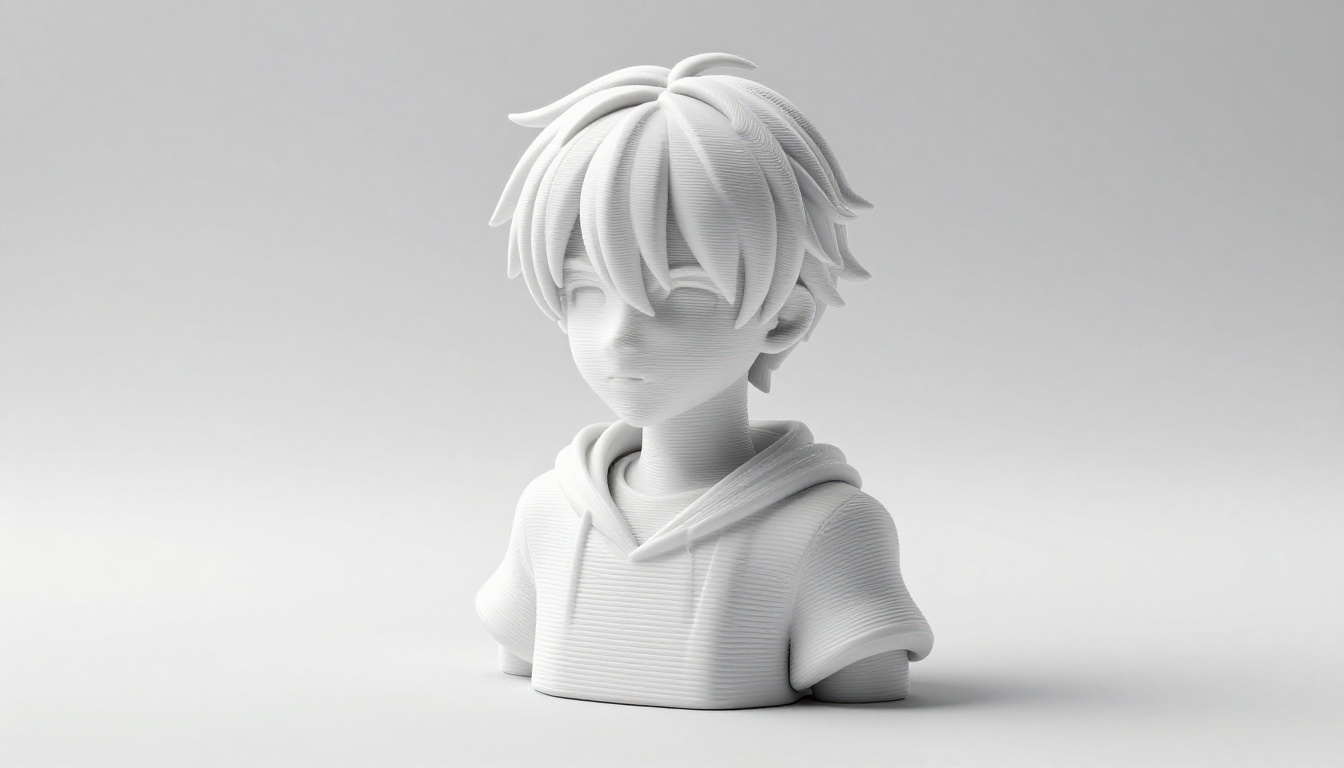
The workflow described here works for any anime-style character, from simple chibis to complex full-costume designs. The techniques scale with your ambition. A simple character with basic proportions and minimal costuming can go from reference art to rigged mesh in a weekend. A complex character with layered clothing, intricate accessories, and a full facial rig will take longer, but the same pipeline applies at every scale.
The fastest way to start is with a strong reference sheet. Head to PicassoIA and generate your character in a clean A-pose front view, then a side view, using one of the platform's text-to-image models. Upscale both outputs with Clarity Pro Upscaler to get sharp, high-resolution images you can actually read at viewport scale. Load those into Blender as background references and start your block-out.
Every hour you spend on the AI reference generation stage pays back multiple hours of modeling confidence. The cleaner your starting material, the less time you spend second-guessing decisions mid-mesh.
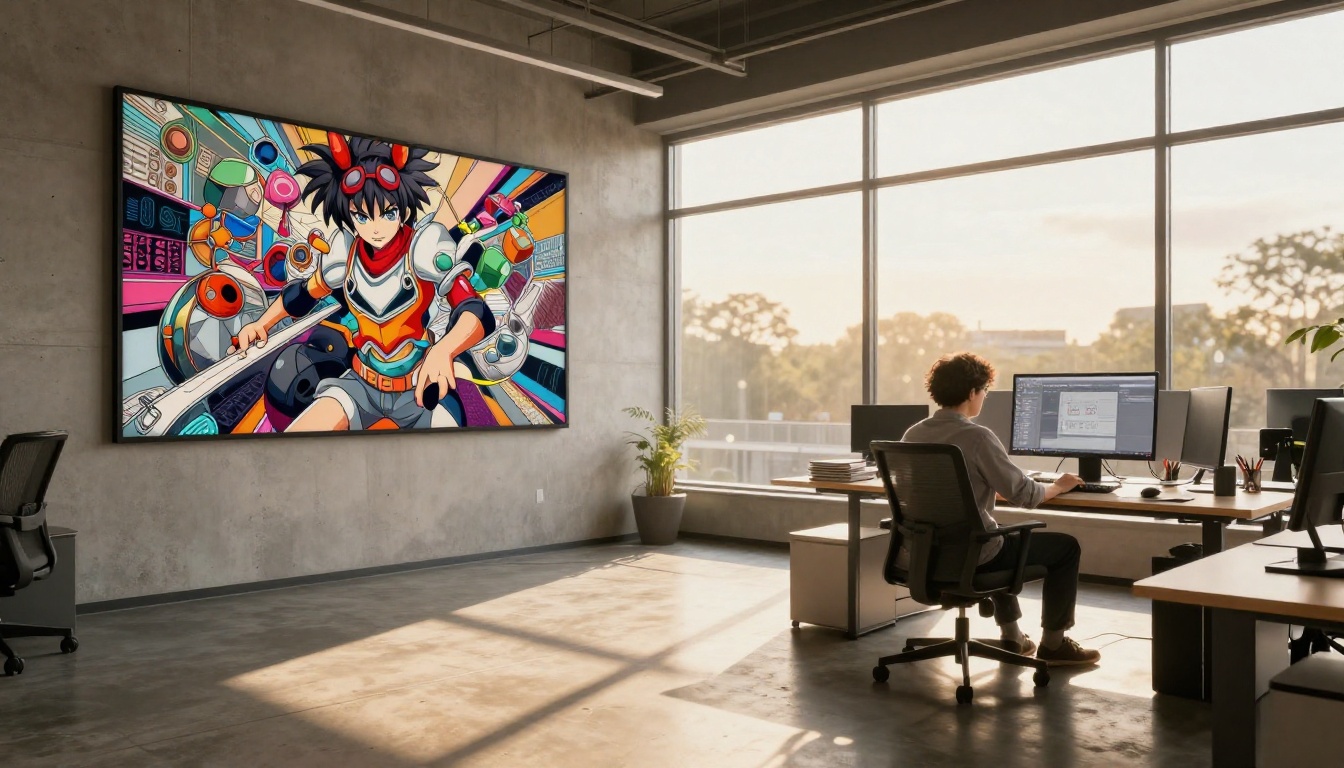
Pick a character you have always wanted to see in three dimensions. Generate the references. Open Blender. The pipeline is waiting.


