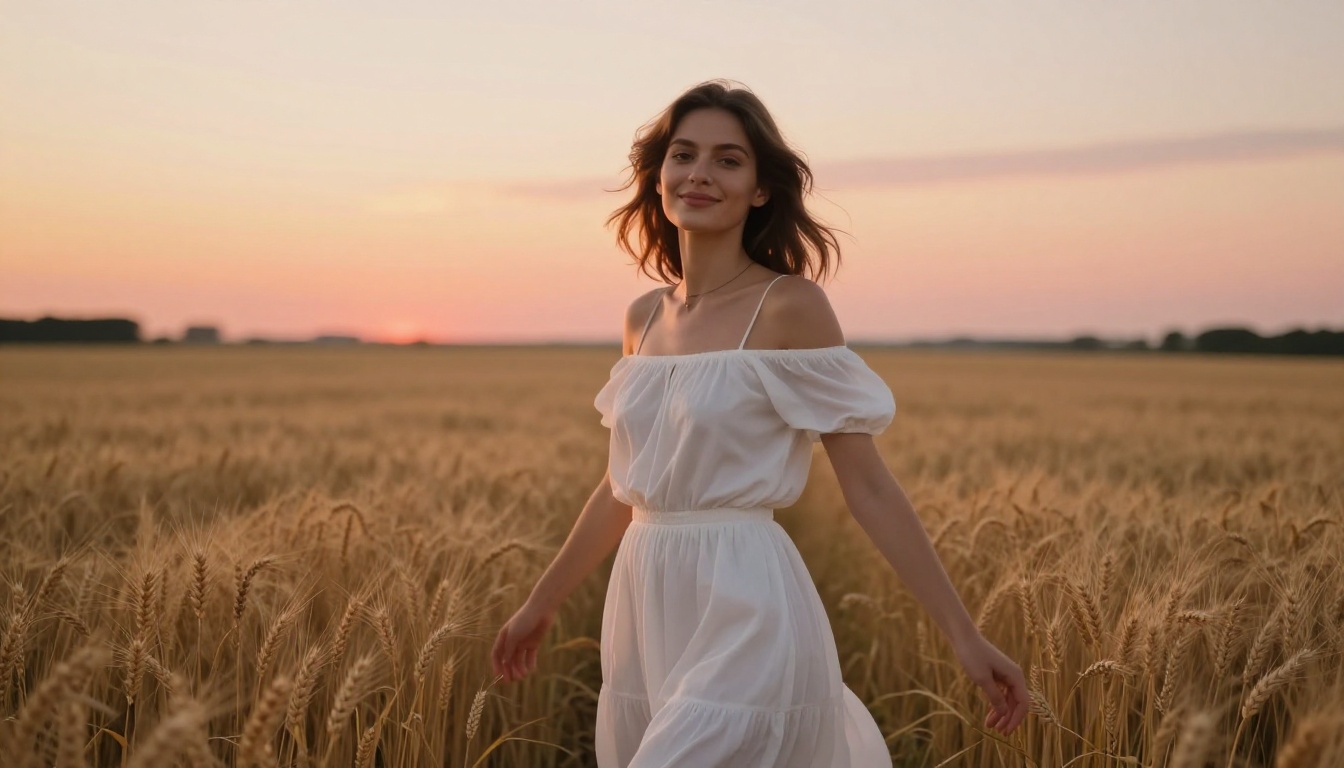
Petite AI waifus are one of the most searched styles in AI art right now. This article walks through every step: choosing the right uncensored model, writing prompts that nail petite proportions and anime-influenced features, and fine-tuning your results to near-photographic quality. No guesswork, just results.
Building a petite AI waifu that actually looks convincing takes more than just typing a few words and hitting generate. The proportions, the facial structure, the balance between anime-inspired aesthetics and photorealistic rendering, and the choice of model all play a critical role in whether your result looks like a real character or a blurry mess with broken anatomy. If you have been getting inconsistent results, or you have never tried this style before, this article gives you exactly what you need: the right platform, the right models, and the exact prompts that produce stunning petite waifu characters every time.
Why Petite AI Waifus Are Hard to Get Right
Most general-purpose image models are trained on broad datasets. They handle average proportions well, but the moment you start asking for specific physical attributes, like a petite slender figure with anime-influenced facial features while keeping the image photorealistic, things break down fast.
The common problems:
Anatomy distortion: petite proportions get exaggerated into unrealistic extremes
Style conflict: "photorealistic" and "anime" often pull the model in two directions at once
Censored models: many models refuse to generate anything suggestive, even artistic or bikini content
Generic faces: without the right prompting approach, faces look identical and lifeless across every generation
These are not unsolvable problems. They are prompting and model-selection problems. Solve those, and the results will shock you.
The anatomy challenge
Petite does not mean miniature. It means a smaller, slimmer frame with refined proportions: narrower shoulders relative to hips, a shorter torso, delicate bone structure. These are specific prompting targets, not vague suggestions. The model needs precise instruction, and the image generation system needs to understand what those instructions mean physically.
The most common anatomy failure with petite characters is distorted limbs or an odd head-to-body ratio. This usually happens when the prompt says "very small" or "tiny" without describing the actual physical features. Describing the features directly, rather than their scale relative to average, produces dramatically better anatomy.
Why model choice matters more than prompts
You can write the perfect prompt, but if your model has safety filters that block mature or suggestive aesthetics, you will hit a wall immediately. Even something as tame as a bikini or a slightly form-fitting dress can trigger censorship in some models. The solution is using a platform built for creative freedom: PicassoIA, with models specifically designed to handle the full aesthetic range without unnecessary restrictions blocking your work.
The Best Models for This Style
Not all models on PicassoIA perform the same way for this aesthetic. Here is an honest breakdown, ordered by how well they handle petite waifu-style generation.
The top recommendation for petite AI waifu generation is Seedream 4.5. It strikes the perfect balance between anime aesthetics and photorealistic output, handles suggestive and artistic content without unnecessary censorship, and consistently nails the soft facial features and slender proportions that define this style.
For post-generation editing, refining specific details, or getting unlimited generations without rate limits, PicassoIA Image Editor Pro is what you use next. It is built specifically for unlimited creative freedom and targeted image corrections.
Models to avoid for this style
💡 Skip Seedream 5 Lite for this use case. While it is fast, it applies content restrictions that will block most suggestive aesthetics. You will waste time retrying prompts that work perfectly on Seedream 4.5. Stick to the recommended stack above.
Flux Schnell LoRA is worth experimenting with for rapid stylistic tests, but its output tends toward stark realism rather than the anime-influenced softness that defines waifu aesthetics. Use it for environment tests and concept mockups, not final character renders.
How to Use Seedream 4.5 on PicassoIA
Seedream 4.5 is available directly on PicassoIA with no setup required. Here is the step-by-step workflow for generating a petite AI waifu.
Step 1: Open the model
Navigate to Seedream 4.5 on PicassoIA. No account required to preview, but log in to save your outputs and track your seeds.
Step 2: Set your aspect ratio
For waifu-style characters, use 16:9 for scene and environment shots or 9:16 for portrait and full-body poses. The portrait orientation gives the model more vertical space to render the full figure correctly, which dramatically reduces anatomy errors with petite characters.
Step 3: Write your base prompt
Start with the character foundation. Here is a reliable base structure:
petite young woman, anime-influenced facial features, large expressive eyes,
soft porcelain skin, slim slender figure, [outfit], [environment],
photorealistic, 8K, natural lighting, [camera settings]
Step 4: Add style anchors
After the base, add photorealism anchors to prevent the model from drifting into fully stylized output:
RAW 8K photography, Kodak Portra 400 film grain, 85mm f/1.4 lens,
shallow depth of field, natural skin texture, no CGI, no cartoon
Step 5: Set negative prompts
This is where most beginners fail. Seedream 4.5 responds well to explicit negatives:
Step 6: Generate and iterate
Run the generation. If the anatomy is off, regenerate immediately. Seedream 4.5 is fast enough that you can run 5-10 iterations in under two minutes to find the best result. Speed is part of what makes this model so effective for waifu character work.
Parameter tips for Seedream 4.5
Guidance scale: Set between 7-9. Below 7 the model ignores your prompt too freely. Above 9 the image becomes overprocessed and plastic-looking.
Steps: 30-40 for best quality. Fewer steps means faster output but noticeably lower detail in skin and hair.
Seed: Fix a seed once you find a composition you like, then refine the prompt around it. This is the foundation of consistent character work.
Prompts That Actually Capture Petite
The word "petite" alone is not enough. Models interpret it differently, and many default to just generating a shorter-than-average person without any of the specific proportional details that make waifu characters distinct. You need to be specific about what petite means physically.
The anatomy prompt framework
Use this framework to describe petite proportions precisely:
💡 The Petite Formula: slim narrow shoulders + delicate collarbone + slim waist + [height indicator] + small refined facial features
Here are working examples by scene type.
For portraits (face focus):
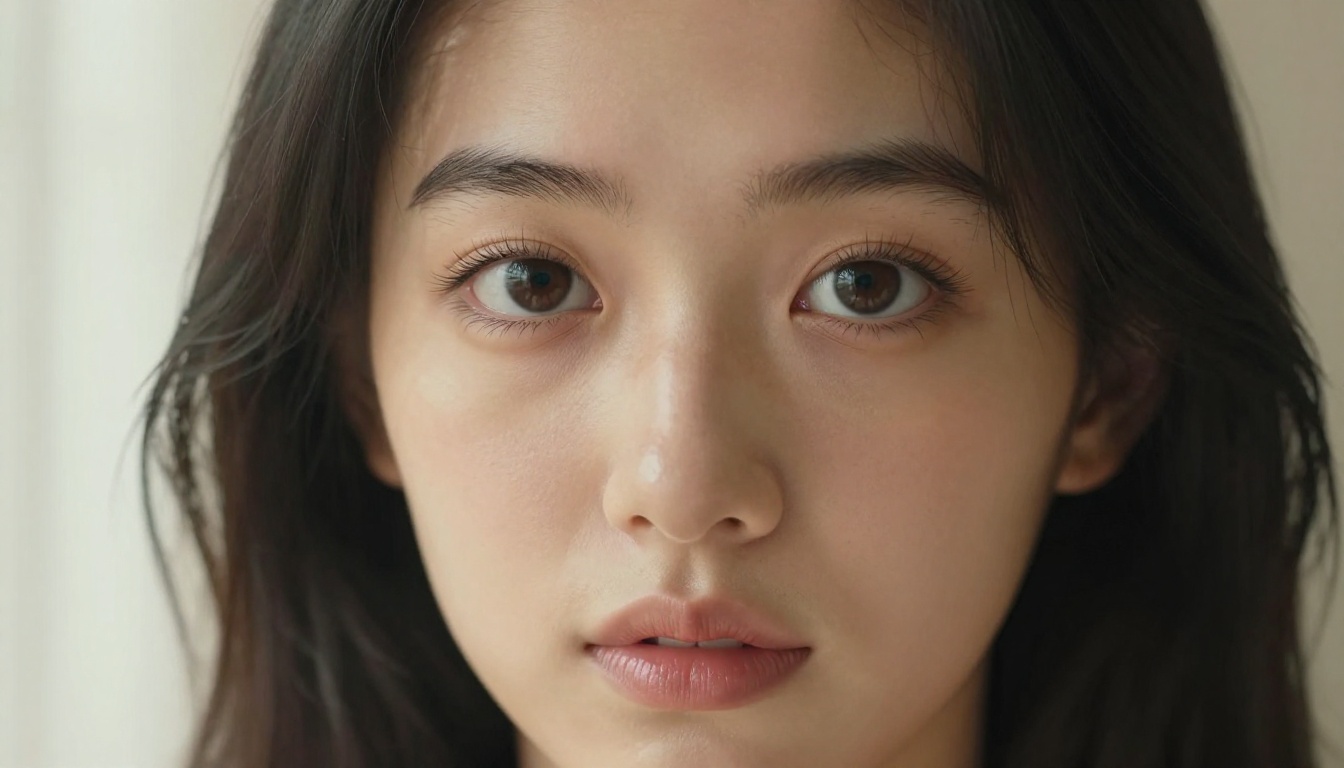
petite young woman, large expressive almond-shaped eyes, soft button nose,
full lips, porcelain smooth skin with warm undertones, silky straight black hair,
delicate feminine facial structure, natural soft blush, 85mm f/1.4 portrait
For full body outdoor:
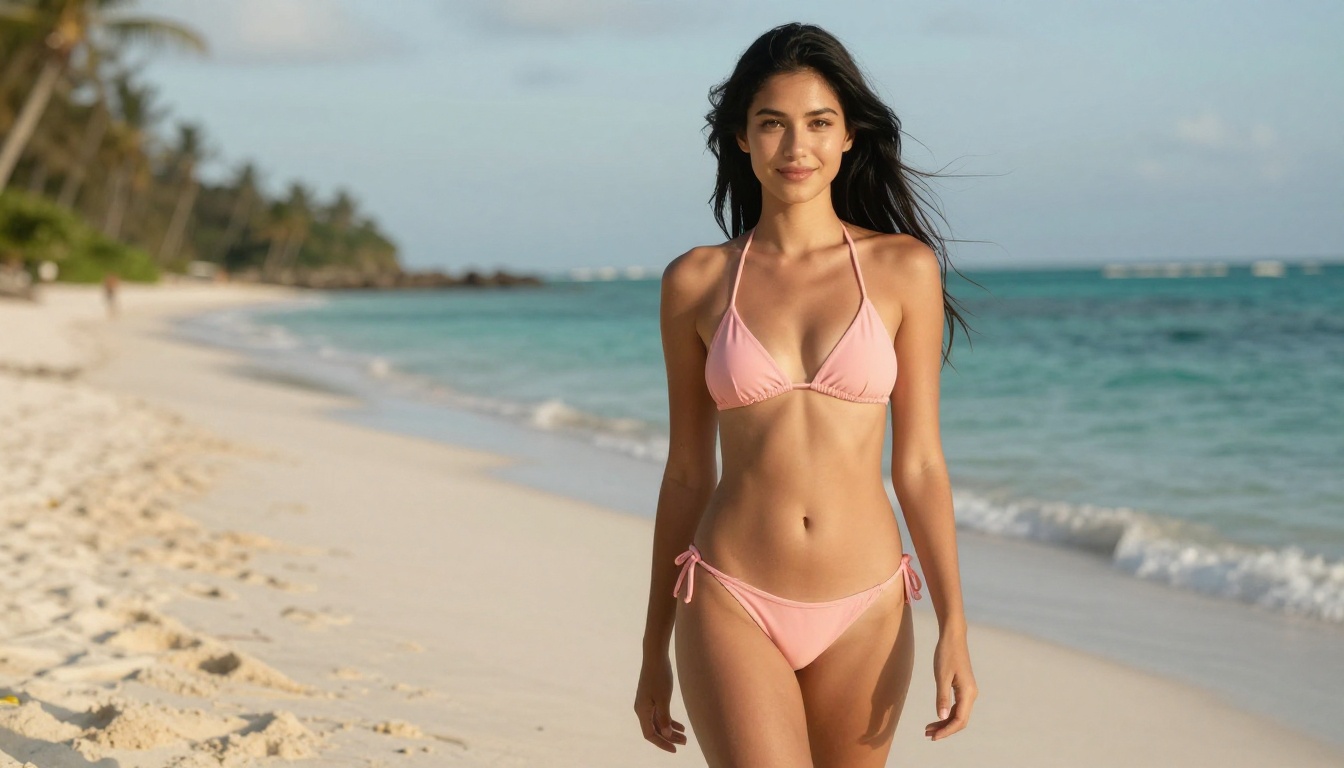
petite slender young woman, 5 foot 2 slim build, narrow shoulders, defined
small waist, wearing [outfit], [environment background], low camera angle
emphasizing height, golden hour backlighting
For fashion and glamour:
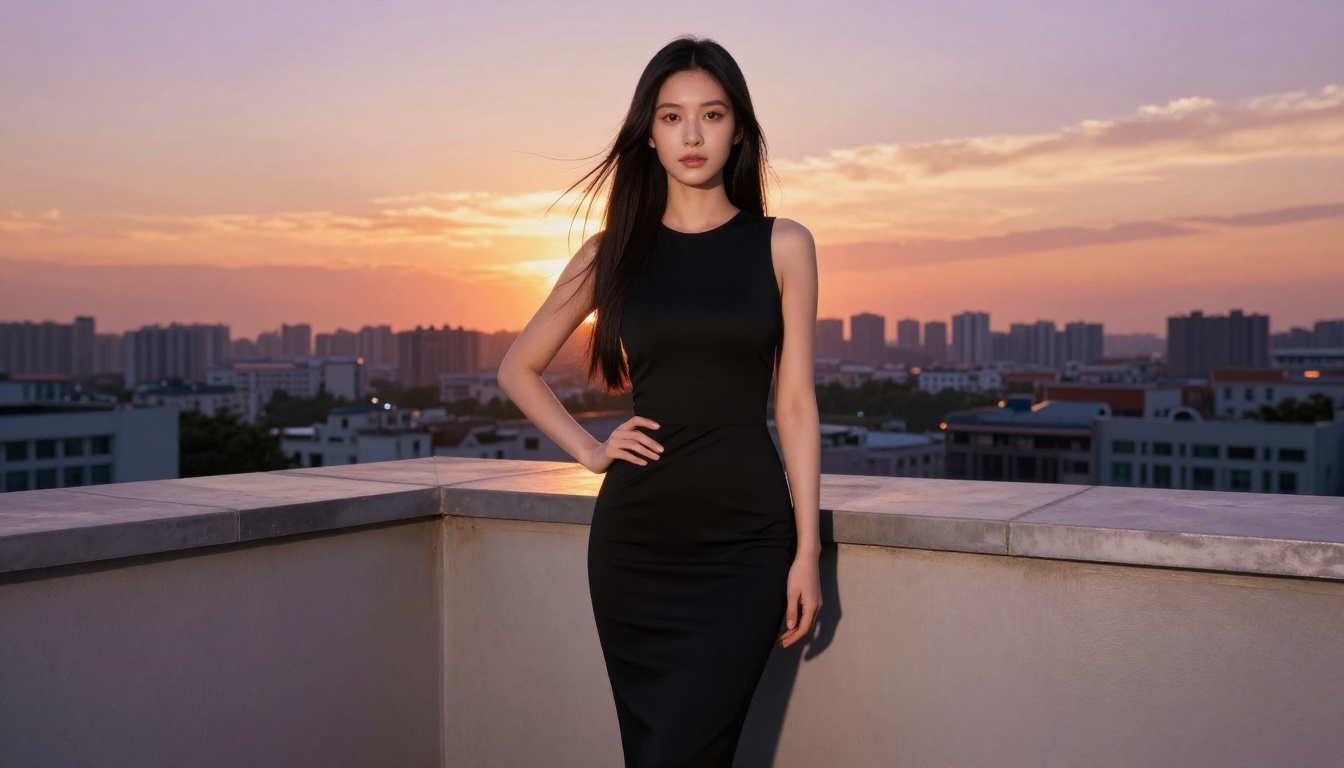
petite young woman in [outfit], slim natural figure, standing confidently,
form-fitting clothes accentuating her slender proportions, editorial
fashion photography, soft studio lighting, 50mm f/2 lens
What Works vs. What Breaks Results
Works Well
Avoid
"petite slender figure"
"tiny" (reads as unnatural to the model)
"delicate feminine features"
"miniature" (breaks proportions severely)
"narrow shoulders, slim waist"
"extremely small" (triggers anatomy errors)
"anime-influenced, photorealistic"
"anime style" alone (kills realism entirely)
"soft natural skin texture"
"smooth perfect skin" (produces plastic look)
"85mm f/1.4, shallow DOF"
"4K render" (implies CGI output)
The biggest mistake people make is using vague size descriptors. The model does not know what "very petite" means in concrete pixel terms. Describe the actual physical attributes directly instead of describing their scale.
Hair and eye prompting
Hair and eyes are the defining features of a convincing waifu aesthetic. Getting these right separates results that look like character art from results that look generic.
For hair:
Specify color, texture, and style explicitly: "silky straight jet-black hair, natural shine, slight wave at ends"
Add light interaction: "hair catching afternoon sunlight, warm golden highlights"
Mention movement when relevant: "gentle breeze, hair swept softly to one side"
For eyes:
Use specific descriptors: "large almond-shaped hazel eyes, natural catchlights, visible iris detail"
Avoid "big anime eyes" which consistently pushes toward cartoon territory and breaks realism
Add "soft eyeshadow" or "subtle eye makeup" only when you want a specifically styled look
Outfit and Environment Styles That Work
The outfit and environment you choose dramatically affect the mood, the lighting physics the model needs to handle, and the overall quality of the output. Some combinations consistently produce better results than others.
Outfits that render well
Casual and cozy (easiest to render, cleanest anatomy):
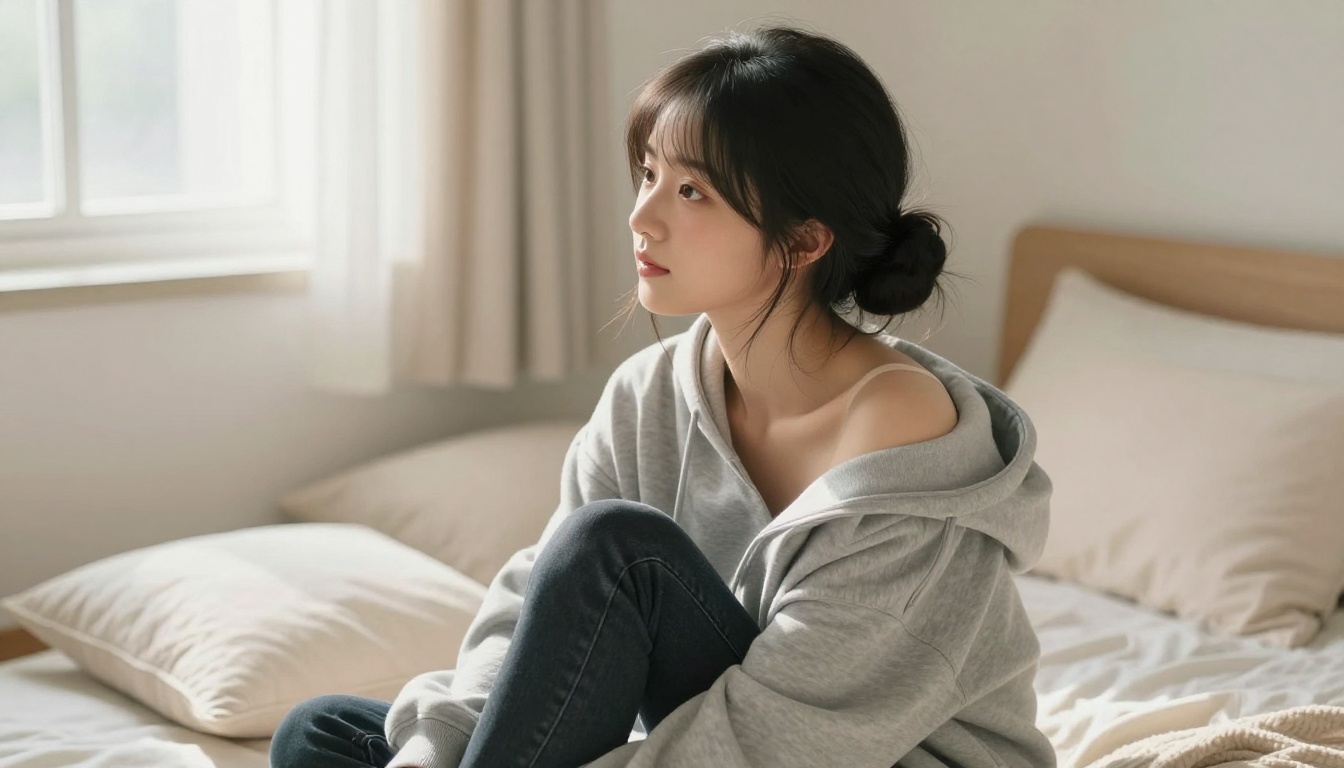
Oversized hoodie, slightly off-shoulder
High-waisted jeans with fitted crop top
Oversized knit sweater with visible collarbone
Glamour and fashion (good for showcasing petite proportions):
Form-fitting midi dress
Off-shoulder sundress
Elegant silk slip dress
Suggestive and artistic (specifically for Seedream 4.5):
Bikini in natural outdoor settings
Fitted lingerie in soft-lit indoor environments
Sheer fabric in editorial and fashion context
💡 Tip: Outdoor natural light environments always render more convincingly than complex indoor setups. The model handles real-world lighting physics significantly better than artificial set configurations with multiple light sources.
Environments that complement petite characters
The environment should scale with your character. Avoid overly large empty rooms where anatomy errors become highly visible. These environments consistently produce the best results:
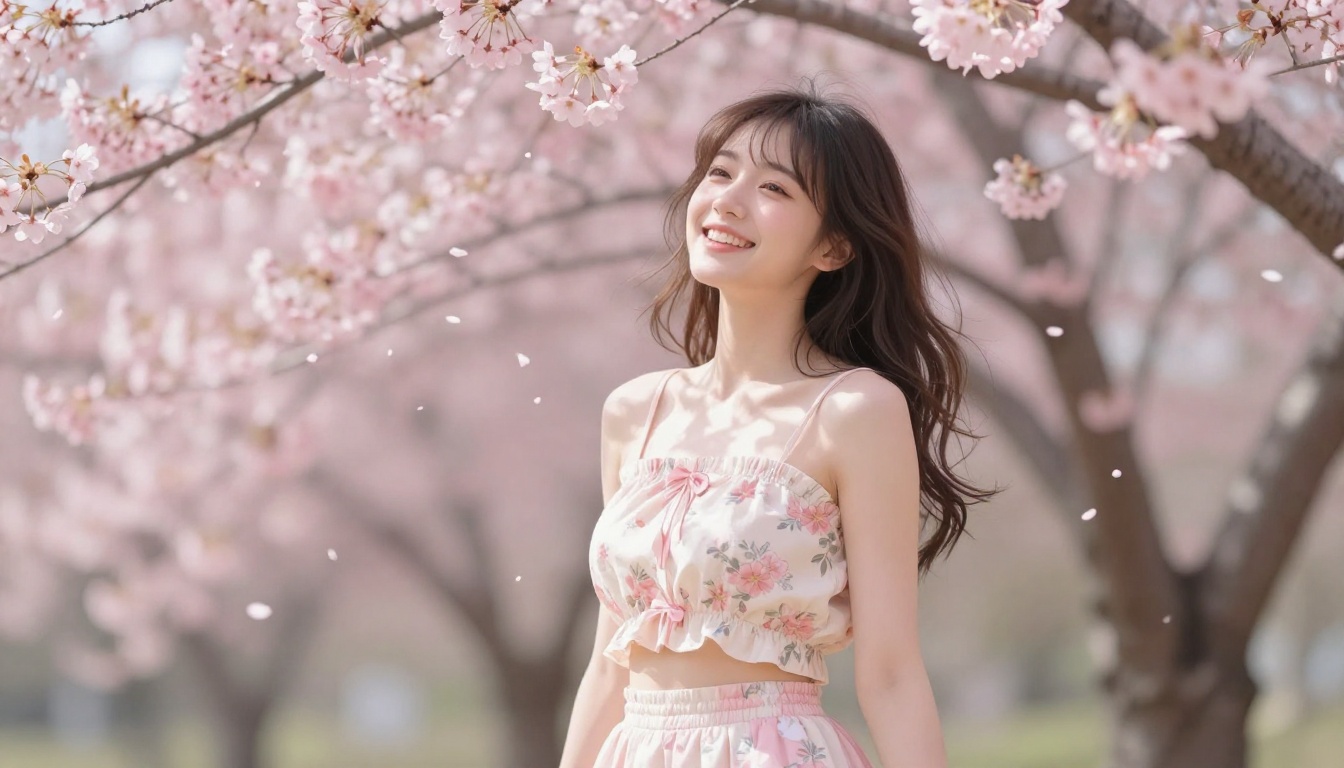
Cherry blossom or spring garden: soft diffused light, flattering warm tones, natural scale cues
Golden wheat field: magic hour backlighting is forgiving and creates beautiful natural results
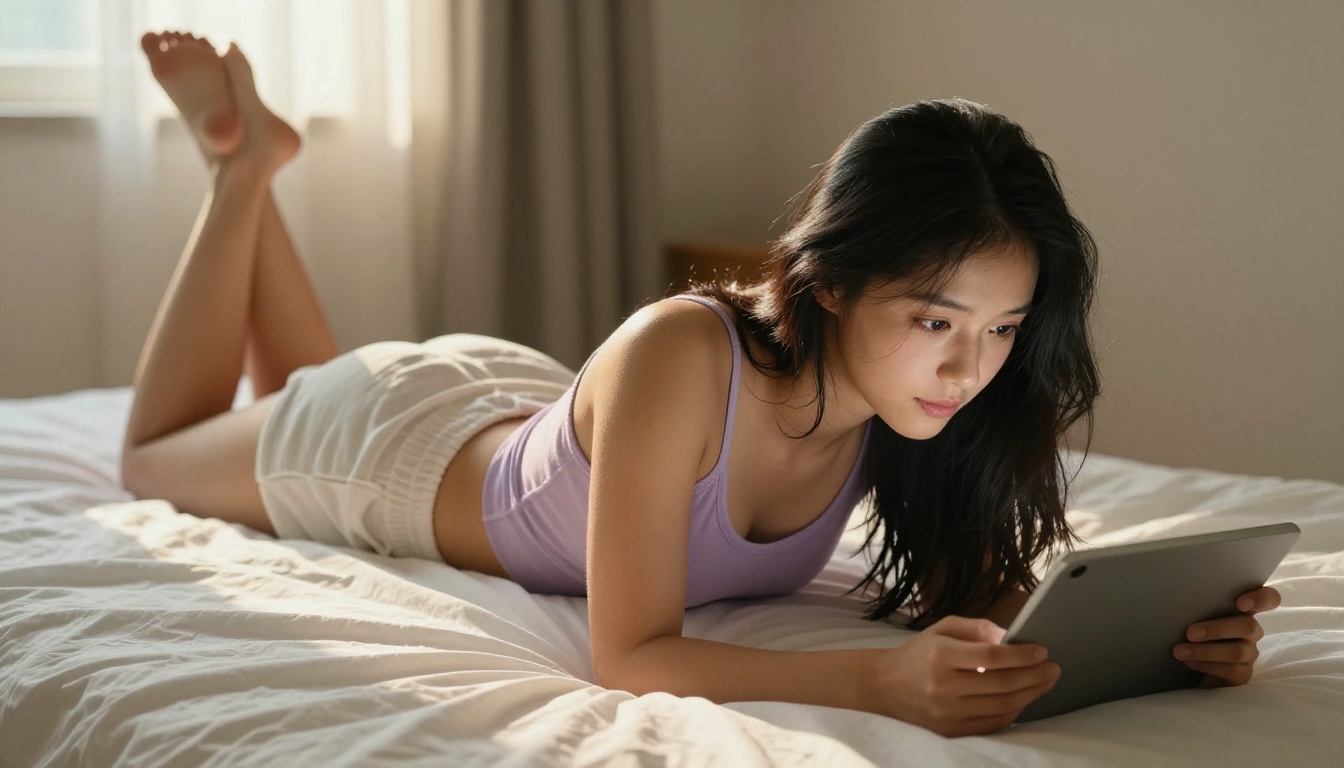
Minimalist bedroom: neutral tones keep all attention on the character
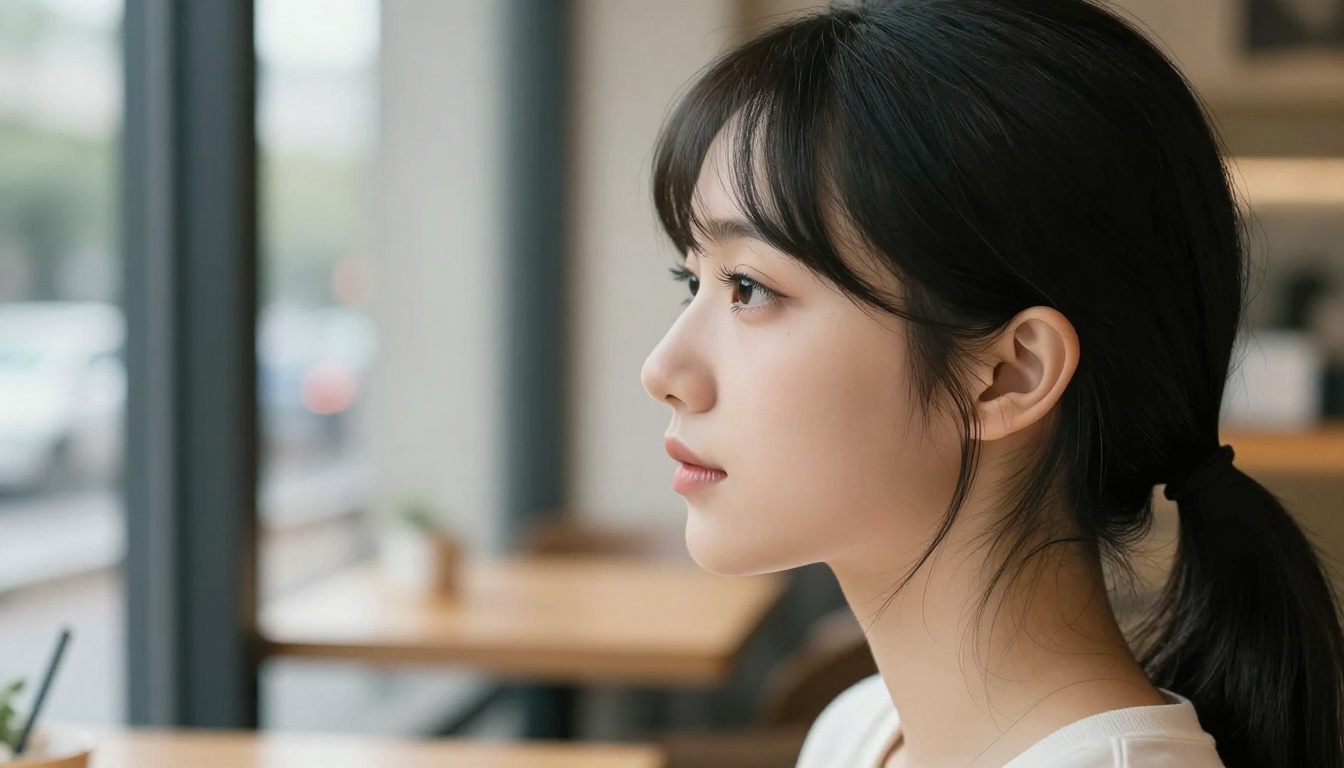
Cafe or coffeehouse: intimate scale, soft window light works beautifully for portrait work
Fine-Tuning with PicassoIA Image Editor Pro
Once you have a base generation you are happy with, PicassoIA Image Editor Pro is where you polish it. This tool is built for unlimited iterations, which matters a lot when refining subtle details on a character you care about getting right.
What you can fix in post
Inpainting lets you target specific regions without regenerating the whole image. Common fixes include:
Eyes that are slightly asymmetrical or have inconsistent catchlights
Hair strands that bleed into the background incorrectly
Outfit edges that got distorted at the borders
Skin tone inconsistencies between different areas of the body
Outpainting lets you extend the canvas outward. If your original generation cut off legs or cropped the composition awkwardly, outpainting fills in the missing area naturally and matches the surrounding style.
Object replacement lets you swap specific elements entirely: change the outfit, replace the background, or update accessories without touching the rest of the image at all.
💡 For inpainting corrections, keep your mask tight around the target area. The tighter the mask, the more precisely the model fills it, and the less the surrounding image gets disturbed.
The unlimited generations advantage
Most AI platforms rate-limit you. You get a fixed number of generations per day before hitting a paywall or a slowdown. PicassoIA Image Editor Pro does not work that way. Unlimited generations means you can run the 15-20 iterations often needed to nail a specific character look without constantly watching a usage counter drain down.
This matters most when you are trying to build a consistent character across multiple images and need to run many fine-tuning passes on the same result.
Building a Consistent Character
A single great image of a petite AI waifu is satisfying. A consistent character that looks recognizably the same across 10 different images is genuinely impressive and opens up storytelling, character sheets, and social content at a professional level.
The character seed method
Generate your ideal base image using Seedream 4.5 with a fixed seed
Record that seed number carefully
Use the same seed as a starting point for all future generations of that character
Keep the core descriptive elements (eye color, hair style, skin tone) identical across all prompts
Only vary the outfit, environment, and pose between images
This produces a degree of visual consistency that makes the character feel real rather than like a series of random generations that happen to look vaguely similar.
Building a character brief
Write a short character brief you paste at the start of every prompt:
[Character]: petite young woman, large hazel almond-shaped eyes, silky straight
black hair to mid-back, porcelain skin with warm undertone, soft full lips,
delicate feminine features, 5'2 slim natural build
Every new image starts with this block, then adds the outfit, environment, and technical parameters. The consistency you get from this method is significantly better than rewriting your character description from scratch each time.
Using Flux Dev LoRA for style consistency
For serious character work, Flux Dev LoRA lets you incorporate a custom LoRA trained on reference images. Once active, the LoRA acts as a style anchor that pulls every generation toward your character's specific appearance. The results are noticeably more consistent than prompt-only methods, especially across varied scenes, lighting conditions, and outfits.
Flux 2 Pro is worth testing for higher-fidelity photorealistic renders once your character is established, particularly for close-up portrait work where skin texture detail becomes critical.
Using multiple models together
The most powerful workflow is not single-model. It is a deliberate stack where each model plays a specific role:
Seedream 4.5 for initial character generation and rapid iteration
Using them together produces results that none of them could achieve alone. The generation quality ceiling when stacking these models is genuinely high.
Your Waifu Is One Prompt Away
Building a petite AI waifu that looks genuinely convincing is not reserved for people with coding skills or years of AI art experience. It takes the right model, a structured prompt, and a few rounds of iteration. That is the entire process.
Seedream 4.5 on PicassoIA is where you start. It is fast, uncensored for artistic and suggestive content, and produces the anime-photorealistic blend that makes this aesthetic work so well. Pair it with PicassoIA Image Editor Pro for unlimited refinement and you have a creative stack that produces professional-quality character art on demand.
The full library of models at picassoia.com/en/all-models gives you even more tools to push this further: super-resolution upscaling for crisp large prints, background removal for compositing your character into new environments, face swap tools for testing different looks, and text-to-video for bringing your waifu character to life in motion.
Start with Seedream 4.5. Write a structured prompt using the frameworks in this article. Generate 5-10 variations. Pick the best result. Refine with Image Editor Pro. Everything you need is already on PicassoIA.