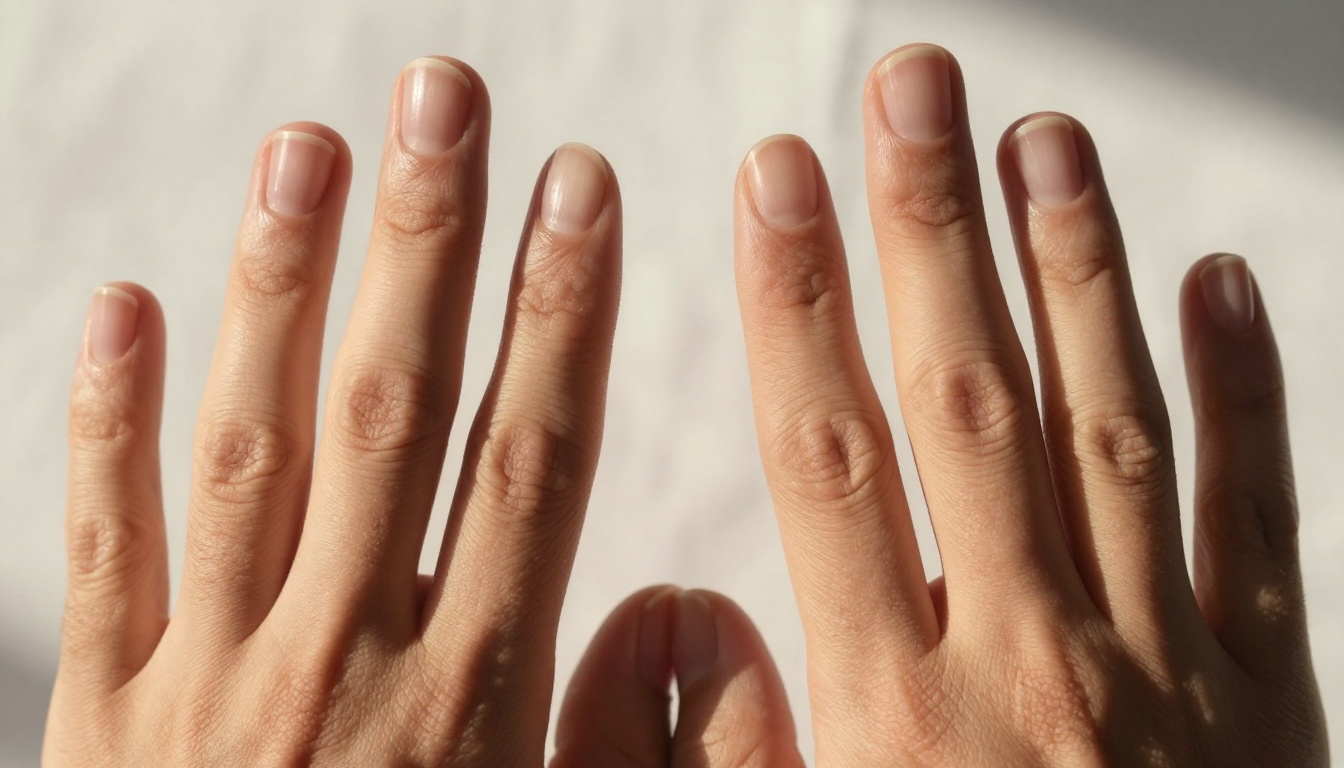
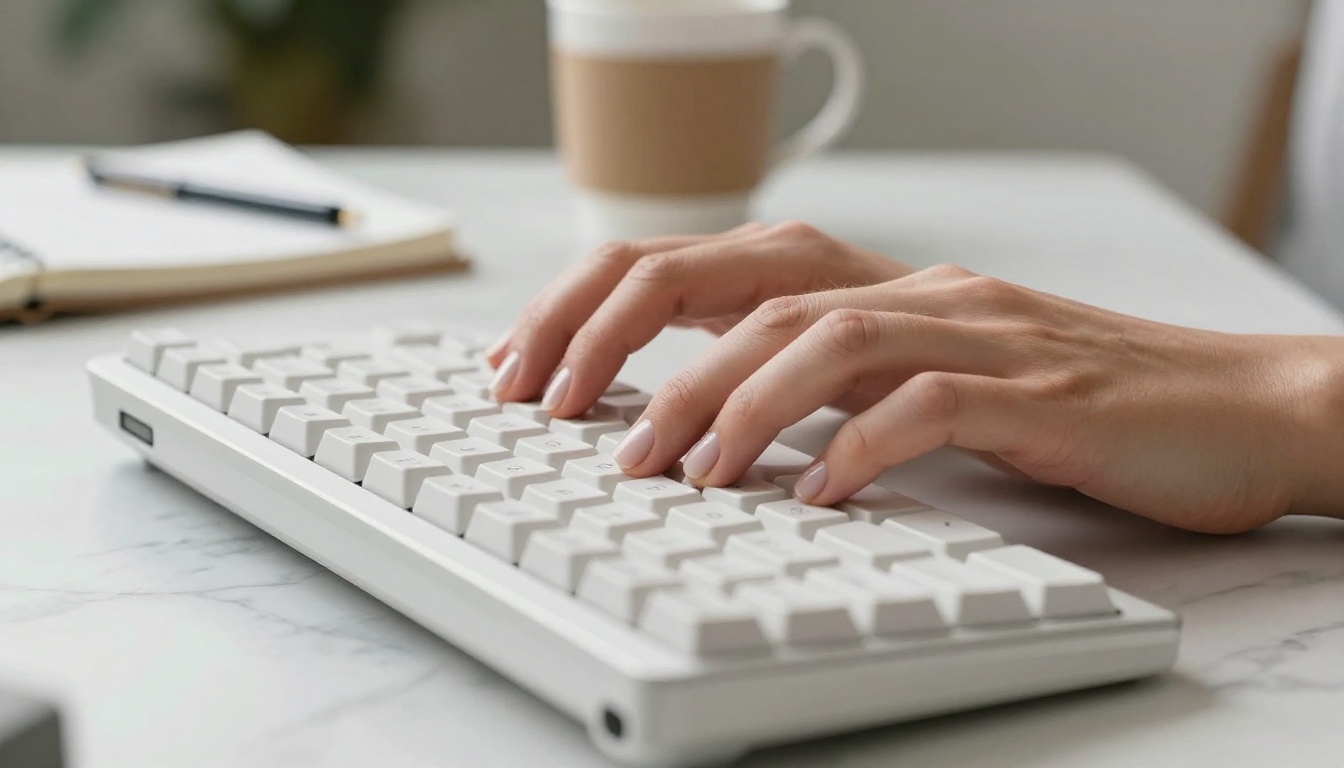
Weird hands are the most common flaw in AI-generated images. From extra fingers and fused joints to broken proportions, this piece shows you every method available to fix hand anatomy in your AI art, using prompt engineering, inpainting, and upscaling workflows on the best available models.
AI image generators have gotten remarkably good at faces, hair, and backgrounds. Hands, though, remain the one place nearly every model stumbles. You prompt a portrait and the subject's fingers come out fused, bent at impossible angles, or numbering six on one hand. It is frustrating, it is common, and it has specific causes with specific solutions.
This piece breaks down exactly why AI models produce deformed hands, which error patterns show up most, and how to fix them using prompt adjustments, inpainting, and upscaling workflows. Every method here works in practice, not just in theory.
Why AI Struggles With Hands
Human hands are anatomically complex. A single hand has 27 bones, 29 joints, and over 30 muscles. In photography and painting, hands are notoriously difficult to render well. For an AI model trained on billions of images, the problem compounds: hands appear in wildly varied positions, often partially hidden, blurred, or cropped. The model learns a statistical average of all those ambiguous examples, which produces outputs that look approximately hand-like but fail anatomically under close inspection.
The Training Data Problem
Most large image datasets contain photos where hands are not the subject. They appear at the edge of frames, behind objects, or in motion. The AI has seen far fewer clean, well-lit, anatomically clear hand images compared to the number of faces it has processed. This imbalance means the model's internal representation of a hand is fuzzy. It knows a hand has fingers, but the precise count, proportion, and joint placement remain uncertain.
How Models Predict Anatomy
Diffusion models generate images by predicting pixel neighborhoods statistically. When rendering a hand, the model must predict each finger's position relative to every adjacent pixel. A small error in one prediction cascades into neighboring pixels, producing merged fingers or extra digits that look plausible at a glance but break under scrutiny. The more fingers visible in the image, the more prediction steps can go wrong.
5 Common Hand Errors in AI Images
Before fixing a problem, you need to name it. AI hand errors fall into a small number of repeating patterns. Recognizing which one you have narrows down which fix to apply.
Extra or Missing Fingers
This is the most recognizable error. A hand has four fingers and a thumb. AI models regularly generate five fingers plus a thumb, or produce a hand where one finger blends into the palm. The root cause is that the model treats finger count as probabilistic rather than fixed.
How to fix it: explicit finger counting in your positive prompt combined with anatomy-specific negative prompts. Details in the prompt section below.
Fused or Melted Fingers
Two or three fingers merge into a single wide digit, or the gap between fingers disappears entirely. This happens most often when fingers are close together in the reference pose the model approximates. The model blurs the boundary because it is uncertain where one finger ends and the next begins.
How to fix it: inpaint the affected area with a detailed hand description, or regenerate with a prompt that specifies spread fingers.
Wrong Finger Proportions
The index finger ends up the same length as the middle finger. Pinkies appear as long as ring fingers. Thumbs point in physically impossible directions. These proportion errors stem from the model averaging across many hand poses where perspective or foreshortening made certain fingers appear shorter or longer.
How to fix it: use a reference-controlled generation model, or post-process with an upscaler that adds anatomical detail.
Disconnected or Floating Fingers
A finger appears to hover above the hand, not connected to any knuckle. This often happens when the AI generates a hand from a high angle or in a complex gesture where joints are partially occluded.
How to fix it: simplify the requested hand pose in your prompt, or mask the disconnected finger and inpaint it.
Plastic Skin Texture
The hand skin looks plastic, lacks pores, or shows unnatural smoothness compared to the rest of the image. This is less an anatomy error and more a rendering quality issue, but it makes hands look uncanny even when the shape is correct.
Prompt engineering is the fastest and cheapest fix. It does not require post-processing tools. You change the text and rerun the generation. Not every bad hand can be fixed this way, but for mild errors it is the right first step.
Prompt Additions That Work
The core idea: be more specific about what you want than the model defaults to. Generic prompts leave room for the model's fuzzy hand representation to fill in the gaps. Specific prompts constrain it.
💡 Add these phrases to your positive prompt when hands are visible:
"five fingers, correct hand anatomy, detailed knuckles, realistic hand proportions, natural finger spacing"
Here is a comparison of vague versus specific prompts:
Vague Prompt
Specific Prompt
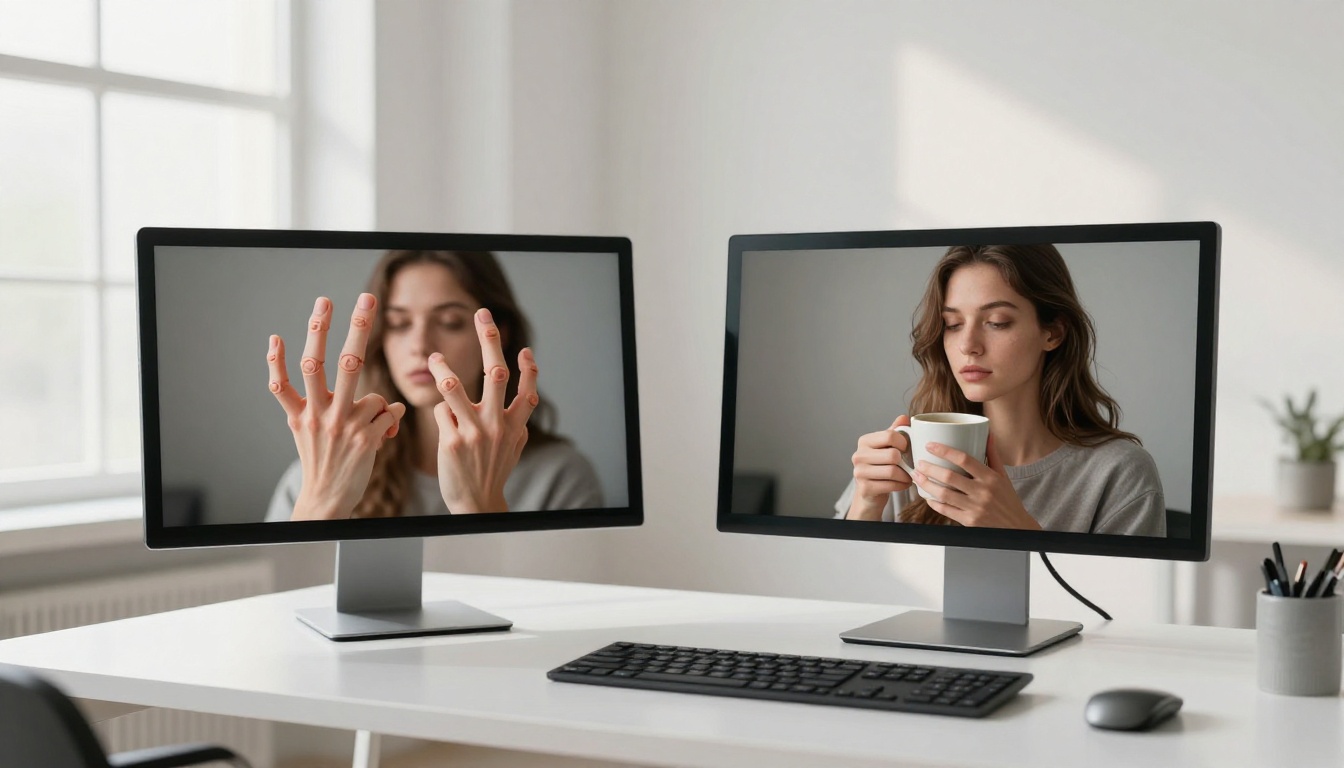
"woman holding coffee cup"
"woman holding coffee cup, five fingers visible, natural hand grip, correct finger anatomy"
"hands on keyboard"
"hands typing on keyboard, ten fingers, correct finger proportions, natural wrist position"
"person pointing at camera"
"person pointing with right index finger, four other fingers curled naturally, thumb at side, five fingers total"
Specify the exact hand pose. If you want a closed fist, say "closed fist with thumb tucked." If you want an open palm, say "open palm facing camera, fingers spread, five fingers visible." The more concrete your description, the less room the model has to invent anatomy.
Negative Prompts for Hands
Negative prompts tell the model what to avoid. For hands, the most effective negative terms are:
extra fingers, missing fingers, fused fingers, merged digits, six fingers, deformed hands,
malformed hands, mutated hands, abnormal hands, extra limbs, missing limbs, floating fingers,
disconnected fingers, bad anatomy, bad proportions
Using even three or four of these in your negative prompt reduces hand errors significantly. Models like Ideogram v4 Quality and Krea 2 Large respond especially well to negative prompt conditioning on anatomy.
💡 Pro approach: Run the same prompt 4-6 times and pick the best result. With good negative prompts, at least 2-3 of those runs will produce acceptable hands.
Inpainting: The Surgical Fix
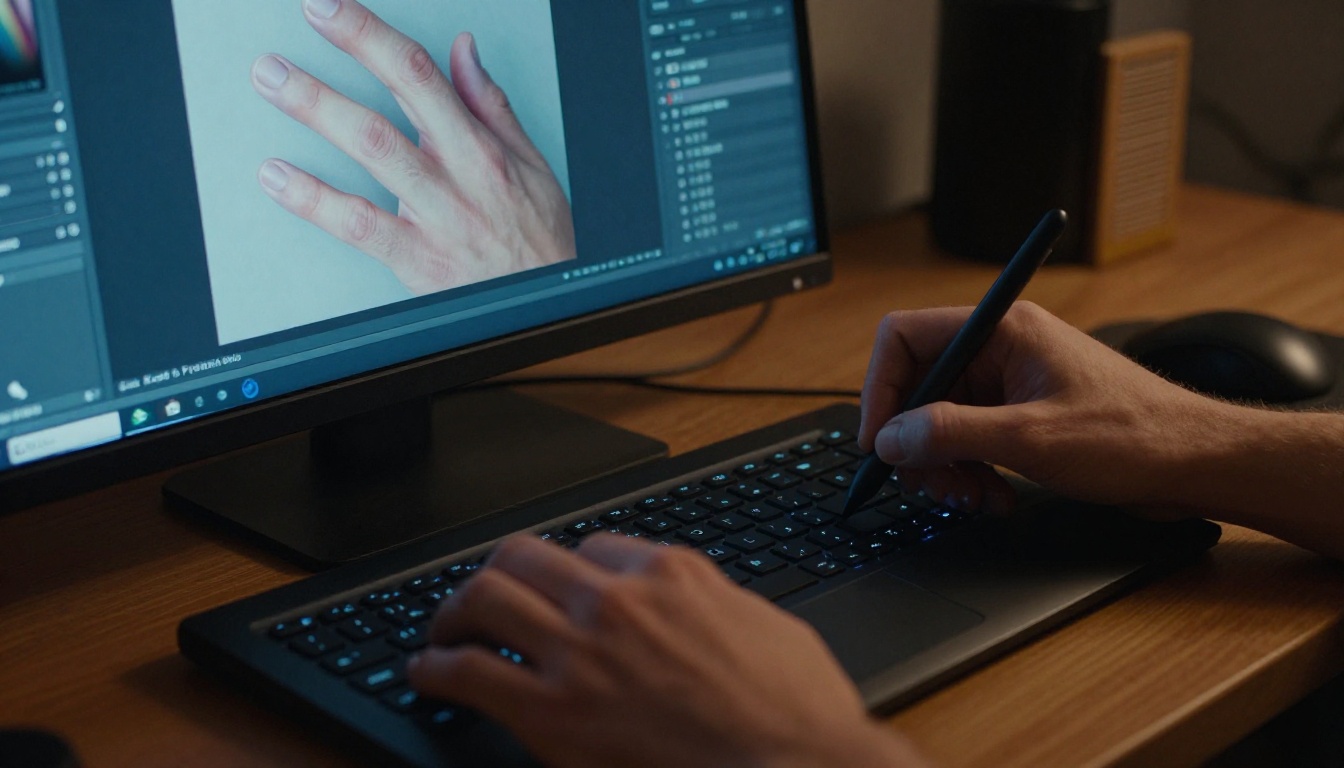
When prompts alone cannot fix the hands, inpainting is the next step. Inpainting works by masking the specific area you want to change and regenerating only that region while keeping the rest of the image intact. It is the most precise tool for hand correction.
How to Inpaint Hands Step by Step
Generate your base image with your preferred model. Do not worry about the hands at this stage.
Zoom into the hand area to assess exactly what is broken. Extra finger? Fused digits? Proportion error?
Draw a mask over the entire hand region, including the wrist and a small margin into the arm. A tight mask covering only one finger often creates seam artifacts.
Write a hand-specific inpainting prompt describing the exact anatomy you want: "right hand, five fingers, natural grip on coffee cup handle, realistic skin texture, photorealistic."
Run the inpaint at a denoise strength between 0.6 and 0.8. Lower values stay closer to the original image, preserving lighting. Higher values give the model more freedom, which helps with severe deformations.
Review and iterate. Run the inpaint 3-4 times and pick the best result.
Best Models for Inpainting on PicassoIA
Not all models handle inpainting equally. Models with strong anatomy training produce more realistic finger structure in the repainted region. On PicassoIA, these text-to-image models work well for hand inpainting:
💡 Mask tip: Always expand your mask 10-15 pixels beyond the visible problem area. The model needs context about surrounding skin tone and lighting to blend the repainted region seamlessly.
Upscaling to Expose and Fix Flaws
There is a two-part role for upscaling in hand correction. First, upscaling lets you see exactly what is wrong with the fingers before you decide which fix to apply. Second, high-quality upscalers add photorealistic micro-detail to fingers that makes them look more anatomically convincing even without full inpainting.
Why Resolution Matters
Most AI image generators output at 512x512 or 1024x1024 pixels. At these resolutions, a hand occupies maybe 80x80 pixels of the image. There simply are not enough pixels for the model to render fine finger detail. When you upscale to 4K or higher, the upscaler must reconstruct those missing details. A well-trained upscaler adds realistic skin pores, knuckle creases, and nail detail that were absent in the lower-resolution original.
This means upscaling can partially correct the uncanny-valley effect of AI hands even without fixing the underlying anatomy error.
💡 Workflow tip: Use P Image Upscale for a quick 2x preview, then decide whether to inpaint before doing a full 4x upscale with Topaz Labs Image Upscale for the final output.
Pose Control: The Structural Approach
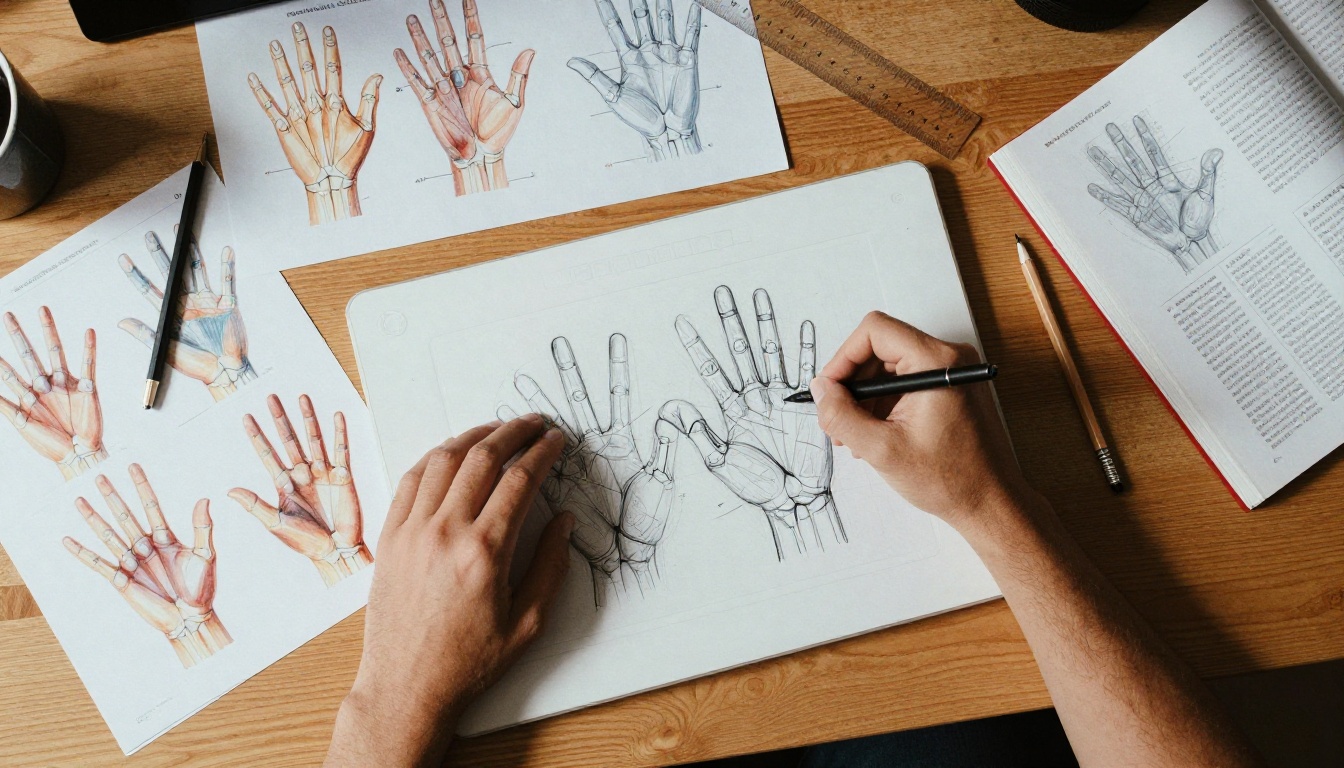
Beyond prompts and inpainting, pose-control systems give you the most direct influence over hand anatomy. ControlNet and similar pose-conditioning models let you feed an exact skeleton or reference pose that the AI must follow when generating the image. For hands, this means you can supply a specific finger position that the model cannot deviate from.
How Pose Control Works for Hands
Find or create a hand pose reference: use a 3D hand model, a photograph of your own hand, or a pose-dataset image showing the exact position you want.
Run it through a ControlNet-compatible model: the model reads the pose skeleton and generates the image constrained to match that structure.
Result: finger count, angles, and proportions are locked to your reference. The model fills in skin texture, lighting, and style on top.
This approach works especially well for complex poses: hands holding objects, gesturing, or mid-motion. If the hand must match a specific real pose exactly, pose control is the most reliable method available.
Best AI Models for Clean Hands on PicassoIA
Some models handle hands significantly better than others out of the box. If you consistently get hand errors, switching to a model with stronger anatomy training is the most impactful single change you can make.
Seedream 5 Pro
Seedream 5 Pro by ByteDance generates sharp 2K images with notably good anatomical accuracy. Its training includes high-quality photography datasets that give it a stronger baseline for realistic finger structure.
Best for: portraits, lifestyle shots, close-up hand photography prompts.
Prompt tip: include "photorealistic, 2K, natural skin, detailed hands" when using Seedream 5 Pro for hand-visible images.
Ideogram v4 Quality
Ideogram v4 Quality follows detailed text descriptions more faithfully than most alternatives. This makes it particularly useful for hand generation because it actually responds to anatomical specifications rather than ignoring them.
Best for: images where the hand position needs to match a specific description.
Prompt tip: describe the hand action in detail: "right hand gripping a glass, four fingers wrapped around the glass, thumb on the side, natural grip pressure."
Krea 2 Large
Krea 2 Large produces photorealistic images with strong micro-level detail. For hands, this means better skin texture, more convincing knuckle rendering, and sharper nail structure.
Best for: editorial-style images, close-up portraits where the hand is a prominent feature.
Reve 2.1
Reve 2.1 supports both generation and editing, making it well-suited for the iterative workflow of generating a base image and then refining specific regions. Its editing mode applies directly to the inpainting workflow described above.
Best for: multi-step workflows where you generate first and fix hands in a second pass.
The Full Workflow: From Broken to Fixed
Combining the methods above into one ordered workflow gives you the highest success rate with the least wasted effort.
Not every broken hand needs fixing. If the image is intended for abstract art, surrealism, or horror content, the uncanny hand actually adds to the effect. The methods above are for images where anatomical accuracy matters: portraits, product shots, lifestyle photography, and professional-looking AI art.
For everything else, weird hands can be a feature, not a flaw.
Try It on PicassoIA Right Now
The methods in this article work best when you actually run them. PicassoIA gives you access to every model referenced here in one place, with no installation or API setup required. Open Seedream 5 Pro and try a prompt with explicit hand anatomy specifications. If the result needs work, run it through Clarity Pro Upscaler and see how much the upscaler recovers.
The difference between broken AI hands and clean ones is almost always in the prompt detail and the model choice. Both of those variables are entirely in your control. Visit picassoia.com/en/all-models to see every available model, including options for image editing, inpainting, and super-resolution, all ready to use immediately.