Midjourney v8 produces images so sharp and photorealistic that most people cannot tell them from photographs. The problem is the subscription. At $10 to $30 per month, plus usage caps on the cheaper tiers, it sits behind a paywall that excludes hobbyists, students, and anyone experimenting before they commit. The good news: the underlying technology that powers this quality level is fully available for free, right now, through open-weight diffusion models and platforms that put them in your browser with no signup credit card and no hidden limits.
This article covers every part of making AI art free with Midjourney v8 quality as the benchmark: which free models actually match it, how to run them, how to write prompts that produce consistent photorealistic output, and how to take raw generations to a finished, print-ready image using additional free tools.
What Midjourney v8 Changed
The Realism Bar Moved
Every Midjourney version since v4 improved on the last, but v8 was the first release where the default output reliably fooled people. Earlier versions had a recognizable "AI look": oversaturated colors, smeared backgrounds, hands with extra fingers. v8 addressed most of those tells through a combination of a larger model, better training data, and improved guidance during inference. The result is images with consistent lighting, accurate human anatomy, photorealistic skin, and backgrounds that hold up under scrutiny.
This raised the bar for what creators expect from AI image generators and, in doing so, made several free models competitive in ways they were not before.
What the Paid Tier Actually Gives You
Midjourney charges for three things: access to the model, speed (fast vs. relax mode), and the number of GPU-minutes per month. The model itself is what people pay for, because Midjourney does not release weights publicly. If you want Midjourney specifically, you pay. If you want similar quality, you have several free paths that deliver results that are, in many cases, indistinguishable to the non-specialist eye.
The open-weight AI art ecosystem matured dramatically in 2024 and 2025. Three model families are now worth knowing in depth, and all of them are available in your browser today with no usage limits.
Free Models That Match the Output

Flux Dev and Flux Schnell
Black Forest Labs, the team behind Flux, trained a 12-billion parameter model family with one clear goal: match the best closed-source generators at their own quality level. They released two variants:
- Flux Dev: the full-quality model, 12B parameters, supports img2img editing alongside text-to-image, 11 aspect ratios, and adjustable inference steps from 28 to 50. Best for final outputs where you want maximum fidelity.
- Flux Schnell: a speed-optimized variant that runs in 4 denoising steps instead of 28+, delivering a finished image in under 5 seconds. Quality is slightly lower than Dev but still surpasses most models available 18 months ago.
Both are available on PicassoIA with no credit limits. You can generate as many images as you need in a session, change the aspect ratio freely, and download watermark-free files in WebP, JPG, or PNG.
P Image for Pure Speed
P Image generates in under a second. For rapid concept iteration where you need to test 30 prompt variations in 15 minutes, nothing else comes close. Quality is strong for web-resolution work and concept drafts, and the unlimited generation model means speed is the only constraint in your creative workflow.
Flux Pro for Precise Prompt Following
Flux Pro adds a guidance control system that makes the model follow your prompt description with higher accuracy. When you have a specific brief, a client deliverable, or a very particular scene in mind, Flux Pro is the right choice. The interval parameter also lets you introduce compositional variance across runs without changing the prompt, which is useful for generating several distinct options from a single idea.
How They Compare
| Model | Speed | Quality | Best For |
|---|
| Flux Dev | 5-15s | Highest | Final artwork, printing, portfolio |
| Flux Schnell | 2-5s | High | Iteration, content workflows |
| P Image | Under 1s | Good | Concept drafting, rapid testing |
| Flux Pro | 8-20s | Highest + precision | When the brief must be followed exactly |
💡 Tip: Use P Image for your first 10-20 variations to find the direction you want. Switch to Flux Dev for the final 2-3 renders.
How to Use Flux Dev on PicassoIA

Because Flux Dev is available on PicassoIA, a full step-by-step is warranted. The interface is browser-based: no installation, no API key, no download.
Setting Up Your First Generation
- Open Flux Dev on PicassoIA in your browser.
- Type your prompt in the input field. Start with a single specific scene rather than a concept: "A woman reading on a park bench in late afternoon light, photorealistic, 85mm lens" works better than "artistic portrait."
- Set your aspect ratio. For social media banners, choose 16:9. For portraits, 4:5 or 9:16. For square thumbnails, 1:1.
- Leave inference steps at the default (28) for your first run. Increase to 40-50 only if the default output lacks fine detail in hair, fabric, or background elements.
- Click generate and download.
Parameters That Matter
Go Fast mode: Enabled by default. It runs the quantized (fp8) version of the model, cutting generation time roughly in half. Disable it only if you notice specific quality issues, and even then the difference is often marginal for most prompts.
Guidance: Controls how closely the output follows your prompt vs. how much creative freedom the model takes. Default is 3. Increase to 5-7 if the output keeps drifting from your description. Decrease to 1-2 for more organic, painterly results that feel less literal.
Seed: Once you generate an image you like, note the seed value. Reusing the same seed with small prompt changes lets you iterate on a direction without starting from zero each time. This is the single most useful parameter for consistent creative work.
Image input (img2img): Upload a reference photo alongside your prompt. Flux Dev will use it as a visual starting point and blend your description with the uploaded composition. This is particularly powerful for adapting your own photographs, using a rough sketch as structural reference, or maintaining a consistent character or location across multiple images.
Getting Photorealistic Results
Photorealism in Midjourney v8 comes from a combination of the model's training and the user's prompt. The same is true for Flux Dev. Three habits separate good generations from great ones:
- Specify the camera and lens: "85mm f/1.8", "35mm wide angle", "macro 100mm" all push the model toward photographic output rather than illustrated or painted styles.
- Name the light source and direction: "volumetric morning light from the left", "overcast diffused daylight", "golden hour backlight creating rim light on hair". Lighting description is the single highest-leverage addition you can make to a prompt.
- Add a film stock or photography style: "Kodak Portra 400", "Fujifilm Provia", "RAW photography, film grain" all signal realism to the model and move the output away from the generic "AI look."
Writing Prompts That Actually Work

Midjourney v8's reputation partly comes from its prompt interpretation. The model is excellent at understanding natural language descriptions and translating them into visual output. Flux Dev behaves similarly. The habits of writing strong prompts are transferable regardless of which generator you use.
The Anatomy of a Good AI Art Prompt
A high-performing prompt for photorealistic AI art has four layers:
- Subject and action: Who or what is in the scene, and what are they doing? "A baker lifting a tray of croissants out of a stone oven"
- Environment: Where is this happening? What surrounds the subject? "Inside a small Parisian boulangerie at 6am, flour dusted on wooden counters, copper pots on shelves"
- Light: What is the light source? What direction and quality does it have? "Warm tungsten light from a pendant lamp directly above, soft shadows falling across the floured surfaces"
- Camera and lens: "Shot with a 50mm f/2.0, eye-level framing, tight on the baker's hands and the tray"
💡 Tip: Always write the subject and action first. Models weight the beginning of the prompt more heavily, so burying your key subject after environment and lighting details can push it toward secondary importance in the output.
5 Prompts Worth Copying Right Now
These are structured to produce Midjourney v8-level photorealism with Flux Dev:
1. Urban portrait:
Young woman in a yellow raincoat walking through a Tokyo crossing at night, wet asphalt reflecting neon signs, 35mm f/1.8, street photography style, Kodak Portra 400, photorealistic
2. Nature macro:
A single dewdrop on the tip of a grass blade at sunrise, the droplet refracting the meadow behind it, macro 100mm f/4, volumetric morning light, rich green and gold tones, photorealistic
3. Interior architecture:
A brutalist concrete library interior with floor-to-ceiling shelves, a solitary reader at a wooden table under a beam of natural skylight, 24mm wide angle, cool overcast daylight, photorealistic
4. Food photography:
A stack of three pancakes on a ceramic plate with maple syrup cascading down the sides, a knob of butter melting on top, wooden breakfast table, 85mm f/2.5 overhead angle, warm morning window light
5. Landscape:
Rolling fog over a Scottish highland valley at dawn, heather-covered slopes in deep purple, a single stone ruin visible through the mist, 28mm wide angle, soft diffused light, Fujifilm Provia 100F
Refining Your Output

Generating the image is step one. Additional tools on PicassoIA take raw output from good to polished and finished.
Upscaling for Print Quality
The default output from Flux Dev and Flux Schnell is approximately 1 megapixel (around 1024x1024 or 1344x768 at 16:9). That is fine for web use and digital screens, but if you want to print at A4 or larger, or crop into a specific area of the image, you need more pixels.
Clarity Pro Upscaler is the highest-fidelity option for photorealistic output. It adds genuine detail rather than simply stretching pixels, reconstructing skin texture, foliage, fabric weave, and architectural detail at 2x and 4x the original resolution.
P Image Upscale processes in under a second and is ideal for web resolution boosts or thumbnail production at scale.
Real ESRGAN is a reliable 4x upscaler that handles a wide variety of image types. If you are unsure which upscaler to start with, this is a solid default that handles most AI-generated content well.
Removing Backgrounds Instantly
For product shots, social media content, or compositing AI-generated subjects into new scenes, BRIA Remove Background isolates the subject of any image cleanly. It handles complex edges like individual hair strands, semi-transparent fabrics, and fine object outlines, returning a clean PNG with a transparent background. Paste the result over any background you choose, or use it directly in a design tool or presentation.

Using AI to Write Better Prompts
Prompt quality is the difference between an interesting generation and a great one. The LLM models available on PicassoIA can function as prompt collaborators. The workflow is straightforward:
- Describe your idea in plain language: "I want an image of a chef in a modern kitchen looking intense and focused"
- Ask GPT-5 or Claude Sonnet 5 to expand it into a structured AI art prompt with camera angle, lighting, and texture details
- Paste the result into Flux Dev and generate
This removes the learning curve for prompt writing. The LLM understands what visual descriptions work and automatically adds the technical photography layer that non-photographers often miss or underspecify.
Gemini 3.5 Flash is particularly fast for this use case: describe your idea, receive a prompt back in under 2 seconds, generate the image immediately. The whole cycle from idea to image takes under 30 seconds.
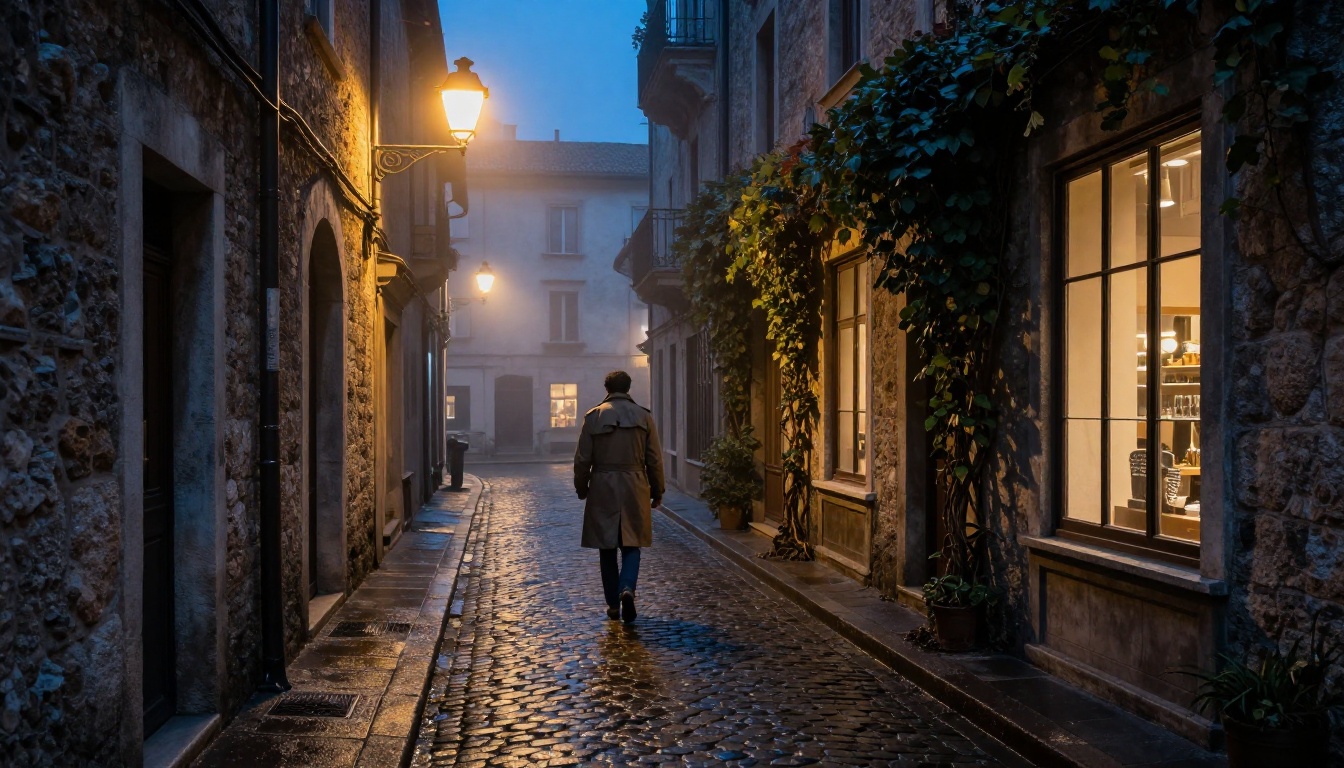
💡 Tip: Ask the LLM to give you 5 prompt variations of the same idea, each with a different lighting condition: overcast, golden hour, blue hour, studio, and candlelight. Run all 5 in Flux Schnell, then pick the best lighting direction and refine it with Flux Dev. This is faster than manually iterating on lighting descriptions yourself.
From Sketch to Final Image
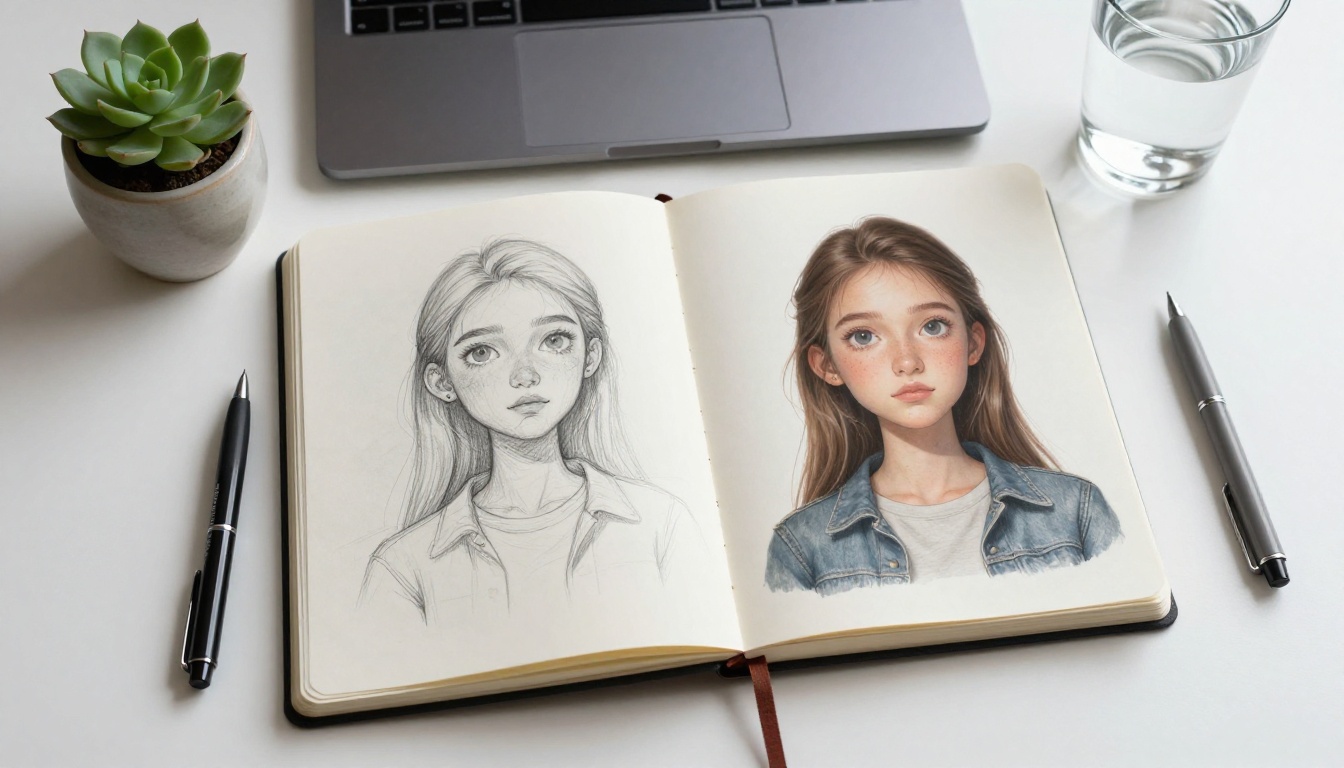
One of the most practical workflows for designers, illustrators, and concept artists is using AI to bridge from hand-drawn sketches to polished photorealistic output. No drawing skill required beyond a rough outline.
- Draw your concept: A rough sketch of a character, room layout, or product shape. Notes about what goes where are enough.
- Photograph or scan it: A phone photo works fine. The resolution does not need to be high at this stage.
- Upload to Flux Dev's img2img mode: Set prompt strength to 0.6-0.7 to preserve the sketch composition while letting the model fill in realistic detail, textures, and lighting.
- Write a detailed prompt: Describe what the sketch shows using the four-layer structure (subject, environment, light, camera).
- Generate and refine: Fix the seed from a result you like and adjust guidance up or down for tighter or looser prompt adherence.
The output is a photorealistic image that maintains the composition you designed, without requiring 3D software, photography equipment, or illustration skills. It is the same concept-to-visual pipeline used by professional concept artists, now available free in a browser.
The Real Cost of a Subscription (And Why You Don't Need One)
Every resource costs something. What a Midjourney subscription costs is money. What free tools cost is iteration time and prompt-writing skill. That trade is favorable for anyone making art regularly, because prompt skill compounds: the more images you generate, the faster you get at writing prompts that hit on the first or second try, and the time cost per good image drops steadily.
The tools available through PicassoIA eliminate the subscription cost entirely. Flux Dev, Flux Schnell, and P Image are available right now with no limits. Flux Pro adds prompt precision for cases where a client brief must be followed to the letter.
The quality ceiling has risen to where the free tools produce output comparable to what Midjourney v8 delivers in its standard mode. The gap that remains is mostly in Midjourney's interface polish and its Discord-based community features, not in the raw quality of the images themselves.
Start Creating Now
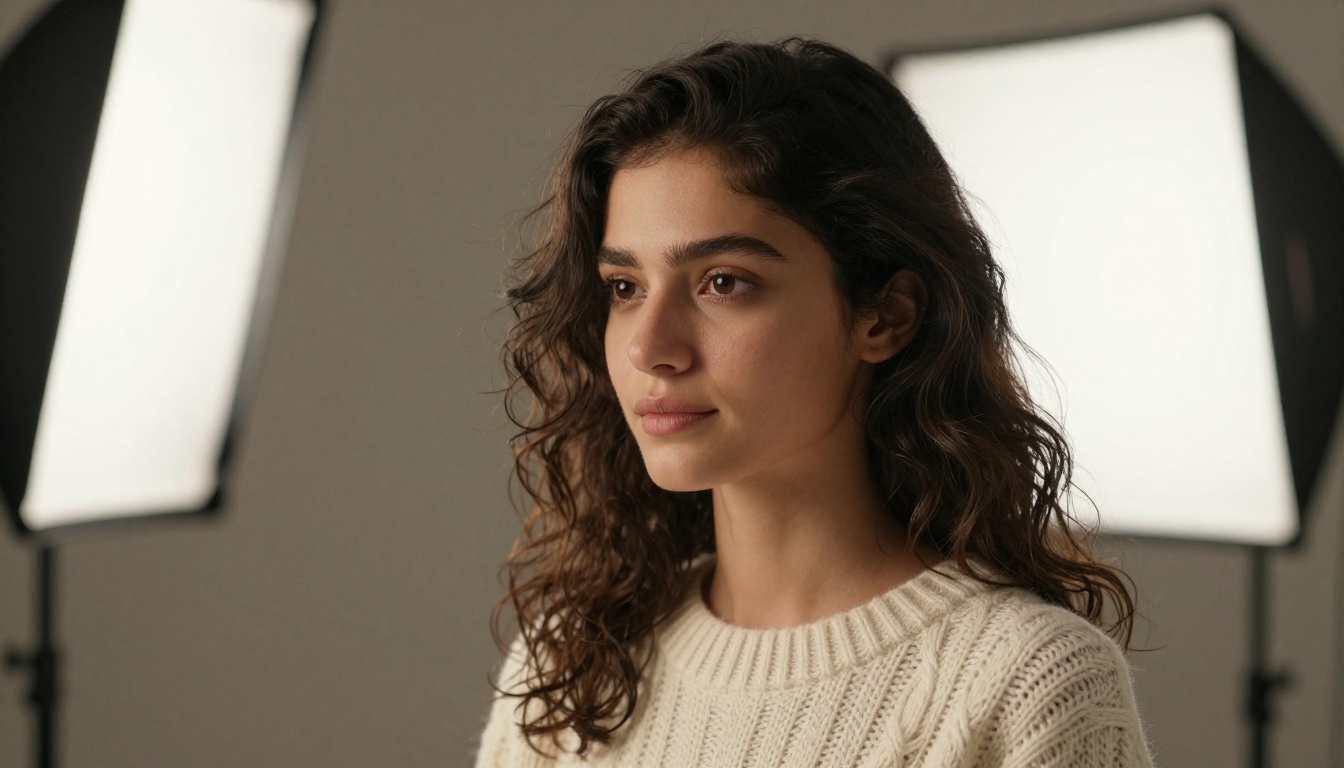
If you are starting from scratch, here is the sequence that gets you to a finished image in under 10 minutes:
- Open Flux Schnell and run 5 quick variations of your idea using short prompts. This costs nothing and takes under 3 minutes.
- Find the direction that interests you. Note what is working in the output: the lighting, the composition, the color palette.
- Write a detailed prompt following the four-layer structure (subject, environment, light, camera) and run it in Flux Dev.
- Upscale the best result with Clarity Pro Upscaler to get print-ready resolution.
- If you need the subject isolated from its background, run it through BRIA Remove Background.
Every step is free, runs in your browser, and produces output at a quality level that was behind a paywall 18 months ago. The only requirement is the time to iterate and the willingness to write specific, detailed prompts. With PicassoIA's full model library available for your next session, there is no better time to start making images that rival what any subscription service produces.


