Plastic skin is the most obvious tell that an AI generated an image. It does not matter how good the lighting is or how sharp the composition looks: if the skin looks like a wax sculpture, the portrait fails. The reason is almost always in the prompt, and fixing it is not about using a different model. It is about knowing exactly which words signal to the model that you want texture, depth, and biological realism instead of a smoothed, airbrushed result.
This article is a practical breakdown of the specific prompt language, lighting descriptors, camera specs, and model choices that produce skin you can almost feel. Every technique below has been tested on PicassoIA's most capable photorealistic generators, and the examples go from beginner-friendly to deeply technical.
Why AI Portraits Look Plastic
Most AI image models are trained on curated datasets where professionally retouched photos are common. The model learns that beautiful skin means smooth skin. The output defaults to a softened, over-processed aesthetic that removes everything that makes skin look real: the pores, the peach fuzz, the subtle unevenness of pigmentation, the way light travels through the top layer of skin and bounces back.
What the Model Is Actually Doing
When you write "beautiful woman, portrait, photorealistic," the model fills the gaps with its statistical average of "beautiful" and "photorealistic." In practice, that average looks like a fashion magazine cover after heavy Photoshop, not a RAW photograph taken on a prime lens. You are not telling the model what kind of photorealism you want.
The Smoothness Problem
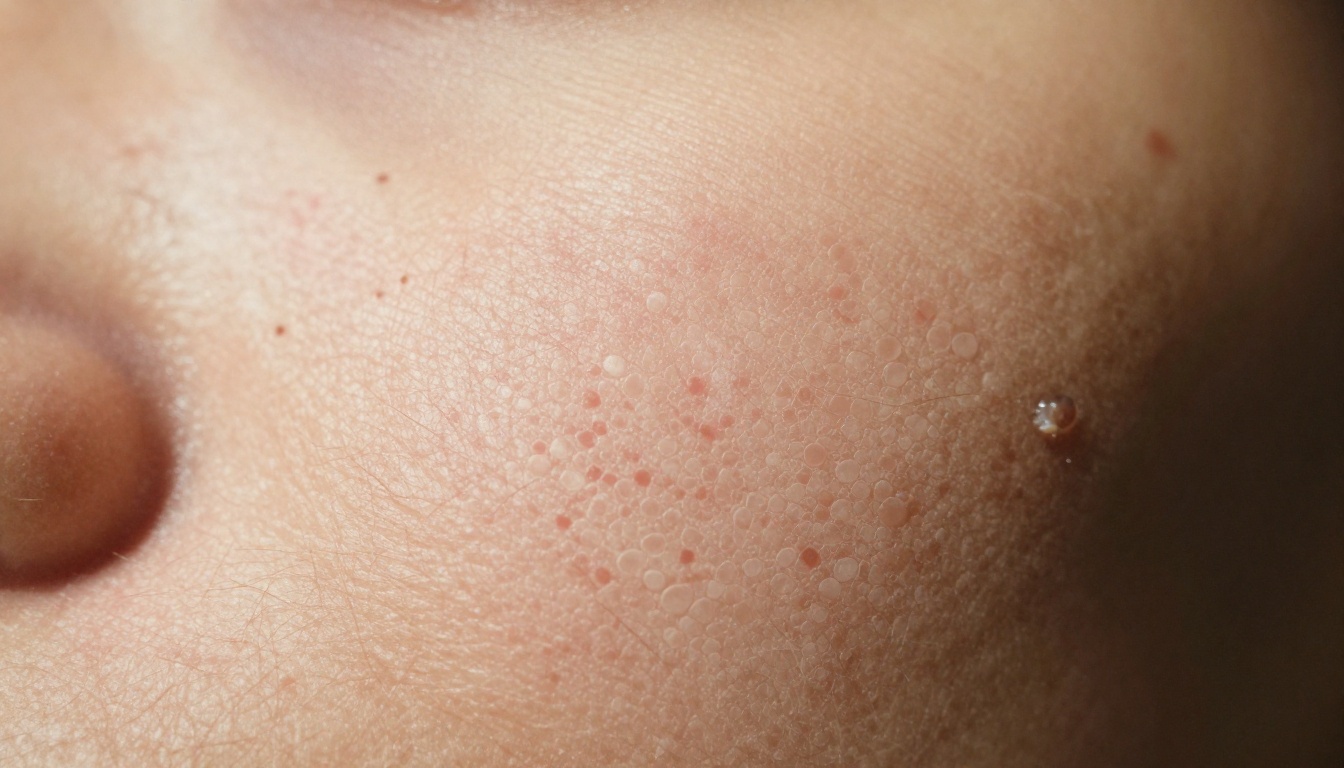
Smoothness is the enemy of believability. Human skin has:
- Pores ranging from microscopic to visible, casting tiny shadows
- Vellus hair (peach fuzz) that catches backlight and creates a halo
- Micro-imperfections: freckles, redness at capillary zones, minor blemishes
- Texture variation: oily zones at the T-zone versus drier texture at cheeks
- Subsurface scattering: the glow that occurs where light penetrates the skin surface
Every one of these features needs to be named in the prompt.
The Vocabulary of Skin Texture Prompts
The fastest way to improve skin quality is to add specific texture-related vocabulary. These words are not decorative. They are direct instructions to the model's internal understanding of photographic realism.
Pore and Surface Language
These terms reliably activate texture generation across most models:
| Prompt Phrase | What It Does |
|---|
visible pores | Forces the model to render individual pore structures |
skin texture | General texture activation, always include |
micro-imperfections | Adds freckles, minor redness, natural variation |
peach fuzz, vellus hair | Renders fine surface hair that catches light |
skin cell mosaic | Triggers fine surface relief pattern |
natural pore shadows | Adds micro-shadows inside each pore |
unretouched skin | Overrides the model's smoothing tendency |
dermatological detail | Scientific framing that signals extreme close-up realism |
Use at least three of these in every portrait prompt where skin is important.
Subsurface Scattering in Plain English
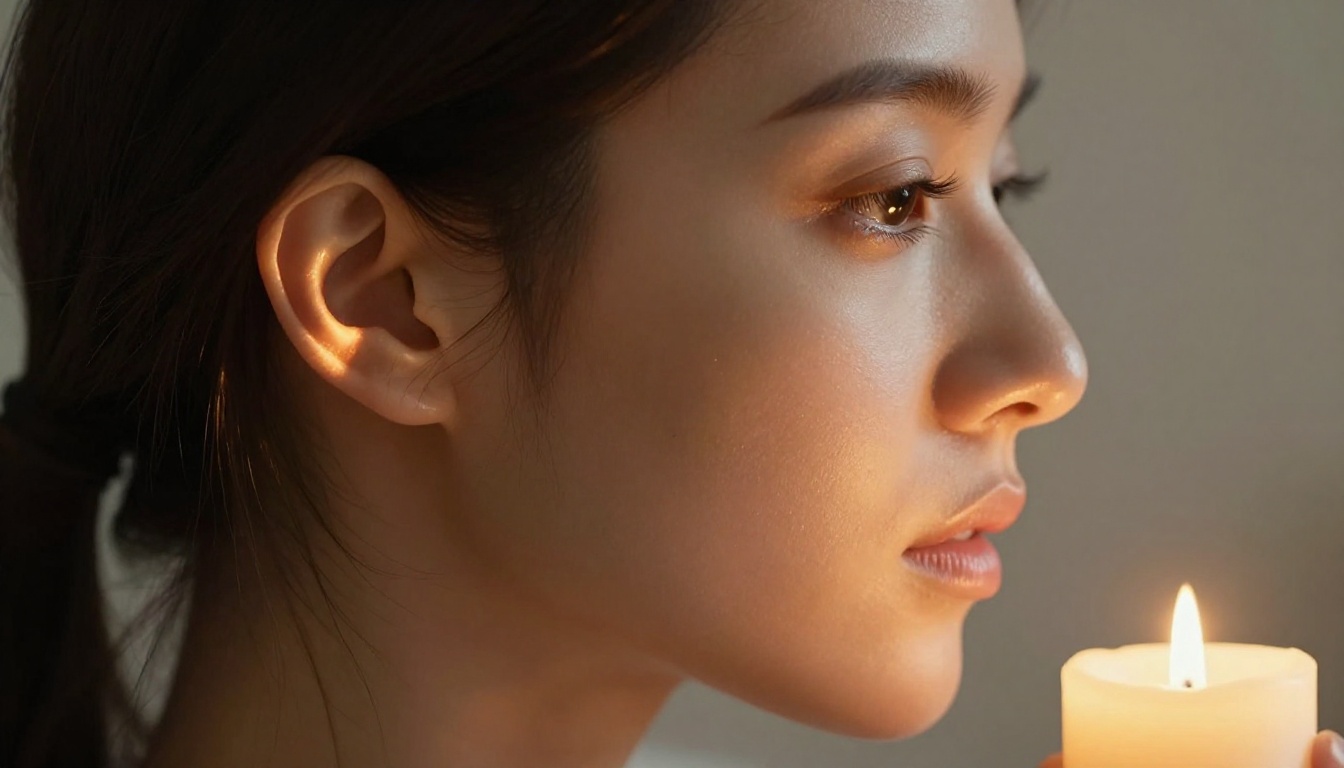
Subsurface scattering (SSS) is the optical effect where light enters the skin, bounces around beneath the surface, and exits at a slightly different point. It creates that warm, translucent glow in ear cartilage, nostrils, and fingertips when held up to light. It is why skin looks alive rather than like painted plastic.
To activate it in prompts, write:
subsurface scatteringtranslucent skin with inner glowlight penetrating skin layerswarm translucency at ear cartilageskin appears three-dimensional and alive
💡 Tip: Combine subsurface scattering language with a candle or backlight source in your prompt. The effect is only visible when the light source is positioned to catch it.
Film Grain and Sensor Noise
This sounds counterintuitive, but adding film grain to your prompt dramatically improves skin texture. Grain breaks up the smooth tonal gradients that read as fake. It adds randomness and micro-texture that reinforces the biological irregularity of real skin.
Use specific film stocks:
Kodak Portra 400 (warm, fine grain, flattering for skin)Kodak Portra 800 (slightly coarser, grittier result)Fujifilm Pro 400H (cooler, accurate color)Ilford HP5 Plus (high-contrast black and white film grain)Cinestill 800T (cinematic color cast, moody)
Lighting Prompts That Reveal Every Detail
Light direction determines how much texture is visible. The same skin will appear perfectly smooth under a beauty dish pointing directly at the face, and incredibly detailed under sidelight hitting it at a low angle. In photography this is called raking light, and it is your single most powerful texture tool.
Raking Light
Raking light travels parallel to the surface it illuminates, causing even tiny surface variations to cast visible shadows. For skin, this means pores suddenly look like craters. Fine lines become evident. The entire landscape of the skin becomes three-dimensional.
Prompt phrases to activate raking light:
hard sidelight raking across skin surface from camera rightlow-angle directional sunlight at 15 degrees to face planeraking window light revealing every skin detailharsh directional light casting micro-shadows in pores
Diffused Northern Light
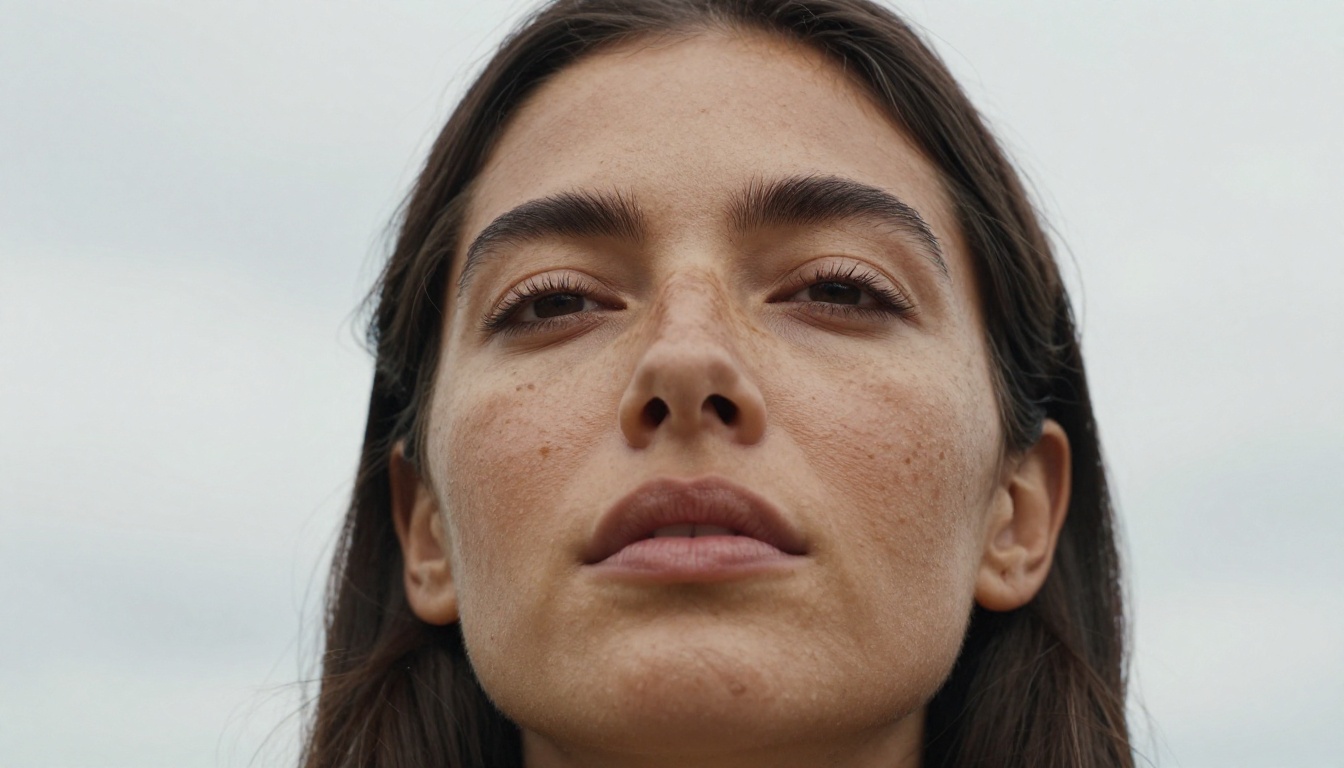
Flat diffused light from a large source (north-facing window, overcast sky) creates even illumination with no harsh shadows. This does NOT hide texture. The lack of contrast actually reveals the physical relief of the skin surface because nothing is being blown out or cast into deep shadow. It is the light used in clinical photography.
Use phrases like:
diffused northern window lightsoft overcast daylight, flat shadowless illuminationlarge softbox above, fill card below, no harsh shadows
Backlight and Translucency
Backlight positioned behind and slightly above the subject creates rim light on hair and, crucially for skin, reveals the vellus hair on the face as a luminous halo. The edges of ears and nostrils glow. This is one of the fastest ways to make a portrait feel photographic and alive.
Try:
backlit by afternoon sun creating rim light on hair and peach fuzzgolden backlight revealing facial vellus hair as luminous halo
💡 Tip: Pair backlight with a reflector phrase ("fill from camera left with silver reflector") so the face does not go completely dark while still getting the translucency effect.
Camera and Lens: The Hidden Texture Controls
Most people do not think about camera specs as a texture tool, but they are. Different focal lengths produce different apparent skin textures. Different apertures change how much of the skin is in sharp focus. Specifying these in the prompt pulls the model toward professional photographic output rather than the default AI portrait look.
Why Focal Length Changes Skin
- 35mm and wider: Slight distortion, pores appear slightly compressed, useful for environmental portraits where skin detail is secondary
- 50mm: Neutral, no distortion, closest to human eye perspective, reliable for skin texture
- 85mm: The classic portrait focal length. Slight telephoto compression makes skin appear at its most flattering while still rendering fine texture
- 100mm macro: Extreme detail, dermatological-level close-up, every pore visible
- 135mm: More compression than 85mm, skin appears smoother but still textured, used for glamour
Aperture and Depth of Field
A wide aperture (f/1.2 to f/2) creates shallow depth of field that isolates the face sharply against a blurred background. The sharp focal plane on the cheekbone is where you want maximum texture detail. Write the aperture explicitly:
85mm f/1.4, focused on near cheekbone100mm f/2.8 macro, minimum focus distance50mm f/2.0, bokeh background
The Lens Reference Table
| Focal Length | Best For | Skin Effect |
|---|
| 35mm f/2.0 | Environmental portrait | Naturalistic, slight distortion |
| 50mm f/1.4 | Standard portrait | Neutral, reliable texture |
| 85mm f/1.4 | Classic portrait | Compressed, detailed, flattering |
| 100mm f/2.8 macro | Close-up skin detail | Maximum pore visibility |
| 135mm f/2.0 | Glamour/editorial | Smooth-looking but textured |
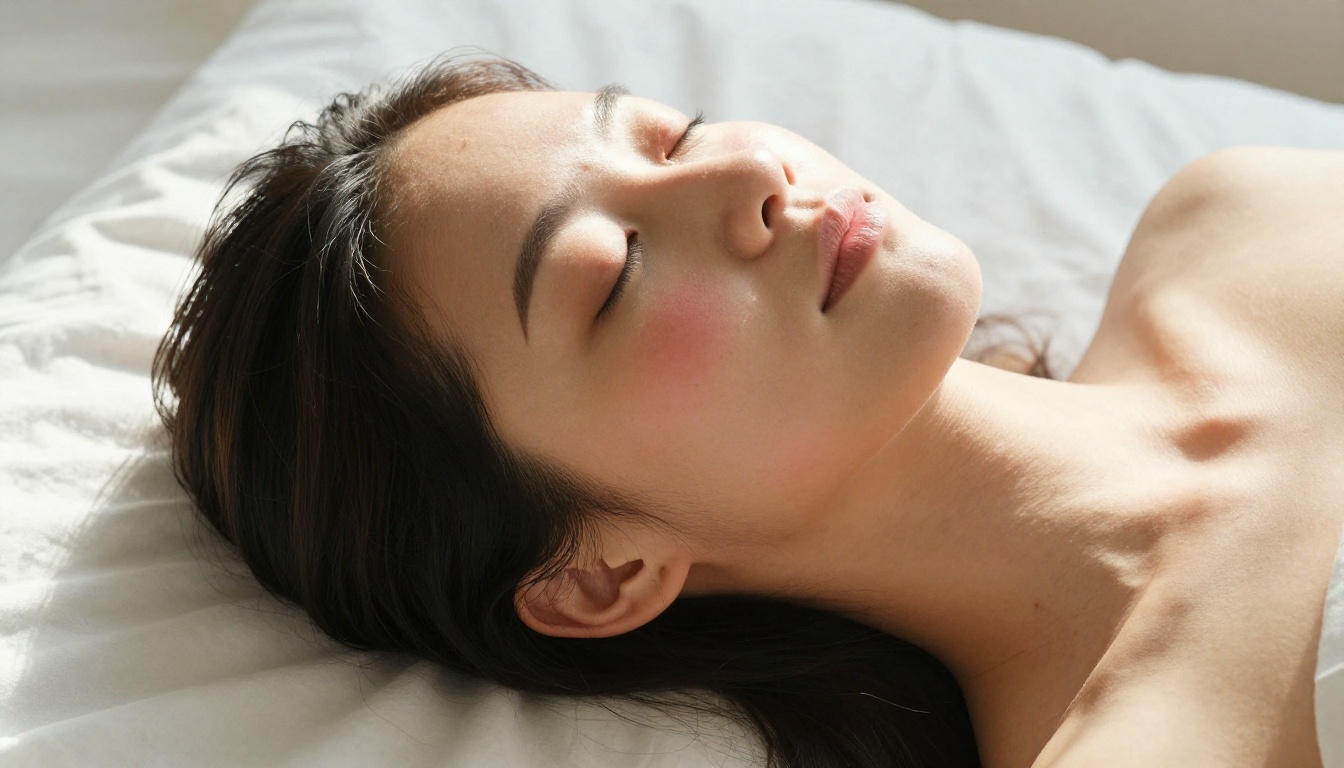
Choosing the Right Model on PicassoIA
Not every model handles skin texture equally. Some default to smooth, stylized results. Others produce photorealistic depth from the start. Here are the most relevant options on PicassoIA for skin texture work.
FLUX 1.1 Pro Ultra for Maximum Detail
FLUX 1.1 Pro Ultra is the highest-fidelity text-to-image model on PicassoIA. Its understanding of photographic realism is exceptional: it responds well to lens specifications, film grain language, and micro-detail vocabulary. For demanding skin texture prompts with 50+ words describing pore structure, subsurface scattering, and raking light, this is the first model to try.
FLUX Pro offers similar quality with slightly faster generation. FLUX Dev is the open-weight version, excellent for iteration and experimentation at lower cost.
Seedream 4.5 for Natural Skin Tones
Seedream 4.5 from ByteDance has particularly strong color science for skin tones across a wide range of complexions. It handles darker skin and warm undertones well, and its response to subsurface scattering language is excellent. Seedream 5 Pro pushes this further with higher resolution output and better micro-detail retention.
P-Image for Speed and Flexibility
P-Image from Prunaai is PicassoIA's fastest photorealistic model. When you are iterating quickly to test prompt variations, it delivers reliable skin texture output without the wait time of the larger models. Once you have the prompt dialed in, move to FLUX 1.1 Pro Ultra for the final high-fidelity render.
💡 Workflow tip: Use P-Image for the first 5 to 10 iterations to refine your prompt structure, then switch to FLUX 1.1 Pro Ultra for the final output.
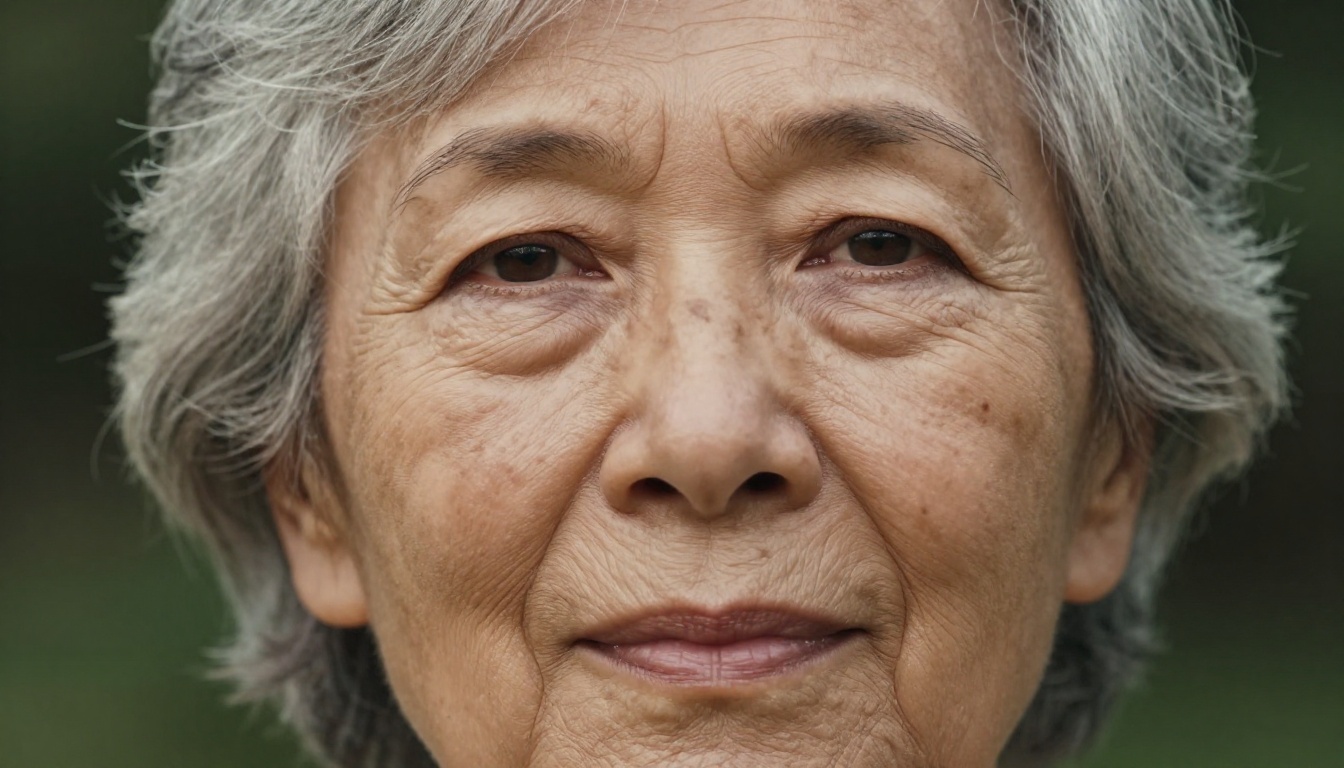
After Generation: Upscaling for Skin Detail
Sometimes the initial generation gets the skin texture right but the resolution is not sufficient to see the detail at print size or in a large display. This is where PicassoIA's super-resolution tools come in. They do not just enlarge an image. The best ones actually add plausible detail in the process.
When Upscaling Beats Re-prompting
If the skin texture reads correctly at small size but the detail breaks down when zoomed in, upscaling will solve it faster than reprompting. Reprompting changes the entire composition. Upscaling preserves everything you have while sharpening the micro-texture.
Use upscaling when:
- The overall image is good but pores are soft or blurry at 100% zoom
- You need print-quality output from a web-resolution base image
- Film grain is visible but too coarse and you want finer grain at higher resolution
Clarity Pro vs Crystal Upscaler
Clarity Pro Upscaler is purpose-built for photorealistic content. It preserves the natural look of skin texture while sharpening it. For portrait work, it is the top choice.
Crystal Upscaler is specifically optimized for portrait upscaling and delivers exceptional results on facial detail. It handles complex skin tones and shadow areas well.
For maximum enlargement, Topaz Image Upscale offers up to 6x and is excellent for images where you want maximum detail recovery. Real ESRGAN is the reliable free option for 4x upscaling when budget matters.

5 Prompt Mistakes That Kill Texture
| Mistake | Why It Fails | Fix |
|---|
beautiful flawless skin | "Flawless" tells the model to remove imperfections | Replace with natural unretouched skin with visible pores |
smooth complexion | Explicitly requests smooth output | Use textured complexion, natural skin surface instead |
soft lighting | Soft light hides texture rather than revealing it | Use raking sidelight or directional window light |
studio portrait | Generic phrase defaults to commercial retouched look | Add unretouched RAW photograph, zero post-processing |
photorealistic alone | Too vague, model defaults to its average | Add Kodak Portra 400, 85mm f/1.4, visible pores, subsurface scattering |
These are the five phrases that single-handedly undo everything else in a prompt. Removing them and using their replacements will improve skin texture in the next generation.
Building Your Skin Texture Prompt From Scratch
With all the vocabulary in place, here is the formula for a reliable skin texture prompt.
The Formula
[Subject + skin tone descriptor] + [specific environment or background] + [raking/directional light source from specific direction] + [camera and lens specification] + [texture vocabulary: pores, peach fuzz, subsurface scattering] + [film stock] + [anti-smoothing modifier] --ar 16:9 --style raw
Examples for Different Skin Types
Fair/Porcelain Skin:
"Close-up portrait of young woman with porcelain skin and subtle pink undertones, frosted window providing diffused northern daylight from the left, 85mm f/1.4, pores visible at cheekbone zone, peach fuzz catching backlight, Kodak Portra 400 grain, unretouched skin surface, subsurface scattering at nostril edges, RAW 8K photography --ar 16:9 --style raw"
Olive/Medium Skin:
"Three-quarter portrait of woman with warm olive skin and golden undertones, raking afternoon sidelight from camera right at low angle casting micro-shadows in pores, 50mm f/2.0, individual pores visible, micro-imperfections including small freckles, natural sebum sheen at T-zone, Fujifilm Pro 400H grain, no digital smoothing, RAW 8K photography --ar 16:9 --style raw"
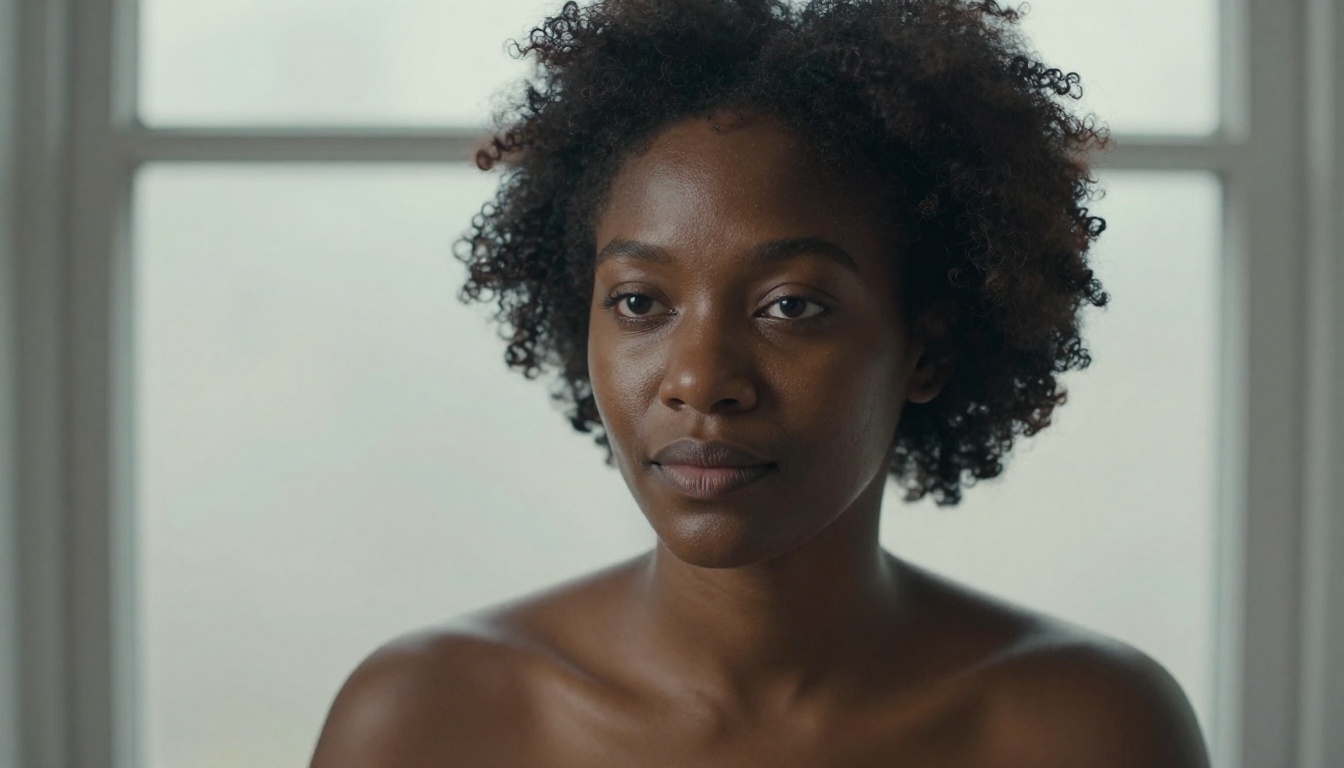
Deep/Dark Skin:
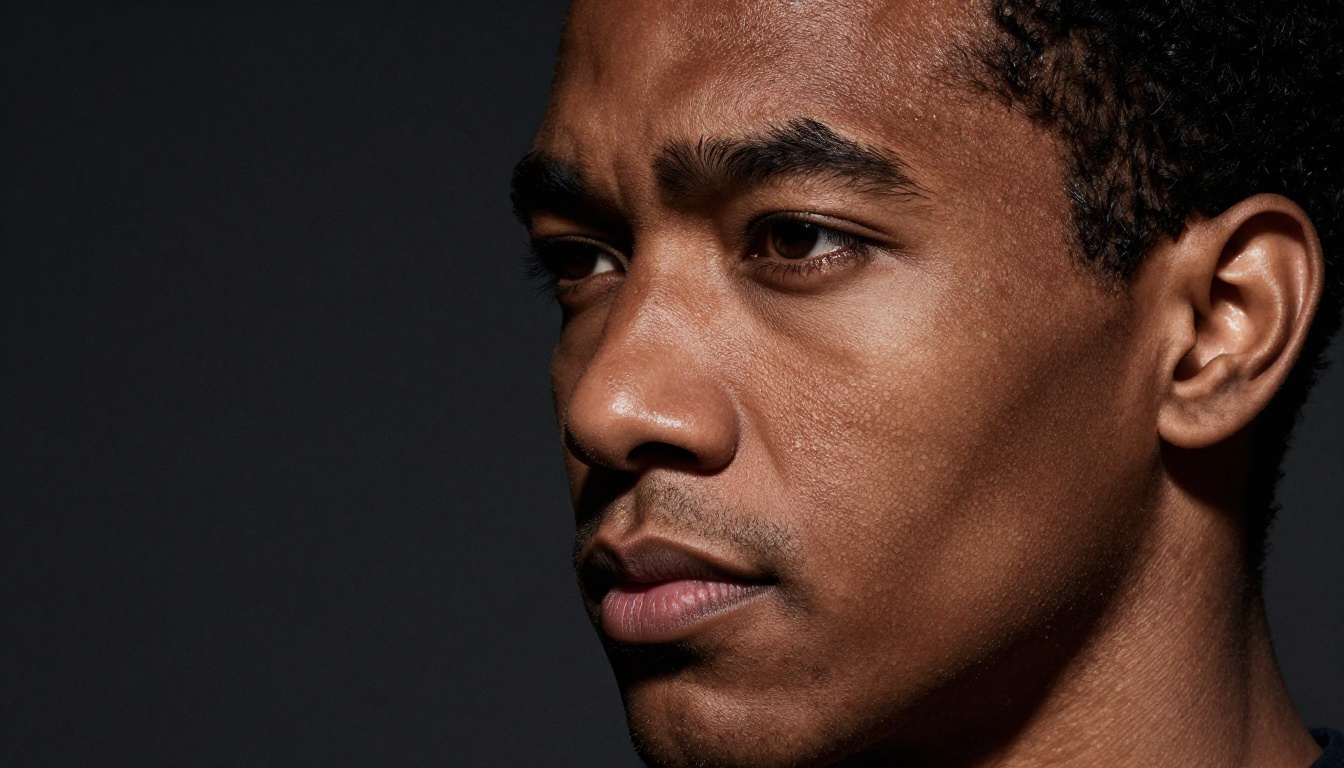
"Studio portrait of man with deep brown skin illuminated by single sidelight revealing pore detail as micro-craters on cheekbone, 85mm f/1.8, matte finish at forehead, subtle specular highlights on skin peaks, beard follicles visible at skin surface, Cinestill 800T film grain, subsurface scattering in lip area, commercial portrait realism, RAW 8K photography --ar 16:9 --style raw"
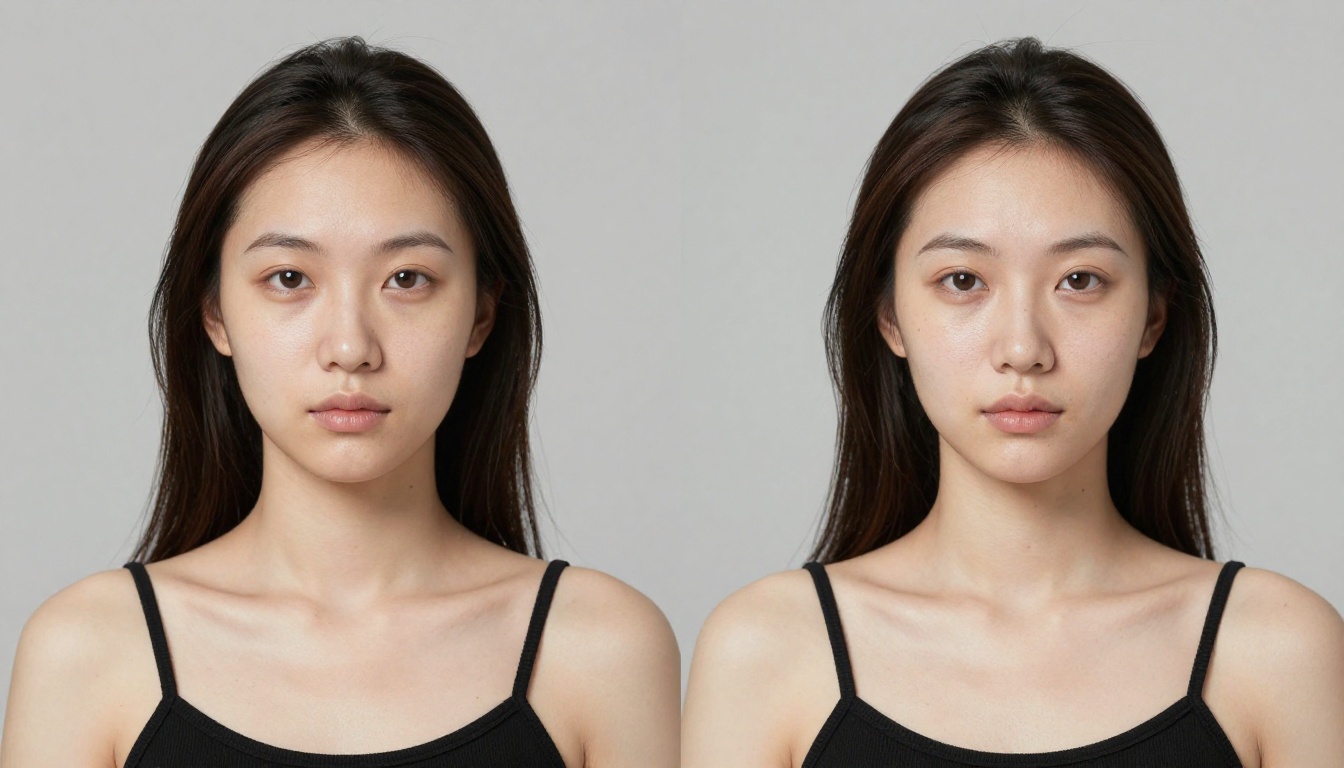
💡 Quick Reference: Save your favorite lens and film stock combination as a template. For most portraits, 85mm f/1.4, Kodak Portra 400, visible pores, unretouched is an excellent starting point that works across most PicassoIA models.
Your Turn: Start Generating
The difference between plastic AI skin and photorealistic texture is not a better model. It is a more specific prompt. You now have the full vocabulary: texture terms that activate pore rendering, lighting language that creates raking angles, lens specs that signal photographic realism, and film stocks that introduce the irregularity real skin has.
PicassoIA gives you direct access to the most powerful photorealistic generators available: FLUX 1.1 Pro Ultra, Seedream 4.5, P-Image, and the full suite of super-resolution tools including Clarity Pro Upscaler. Every single one is available to try right now at picassoia.com/en/all-models.
Take the formula from this article. Pick a skin type. Build the prompt. See the difference a single well-constructed prompt makes.


