Generate imagesLarge Language ModelsVisual Effects
How to Prompt for Softer More Natural AI Skin: What Actually Works
A deep-dive into the exact vocabulary, lighting language, and model choices that produce genuinely natural, soft skin in AI-generated portraits. Covers pore texture language, subsurface scattering prompts, skin tone vocabulary, and which PicassoIA models deliver the most photorealistic, lived-in results every time.
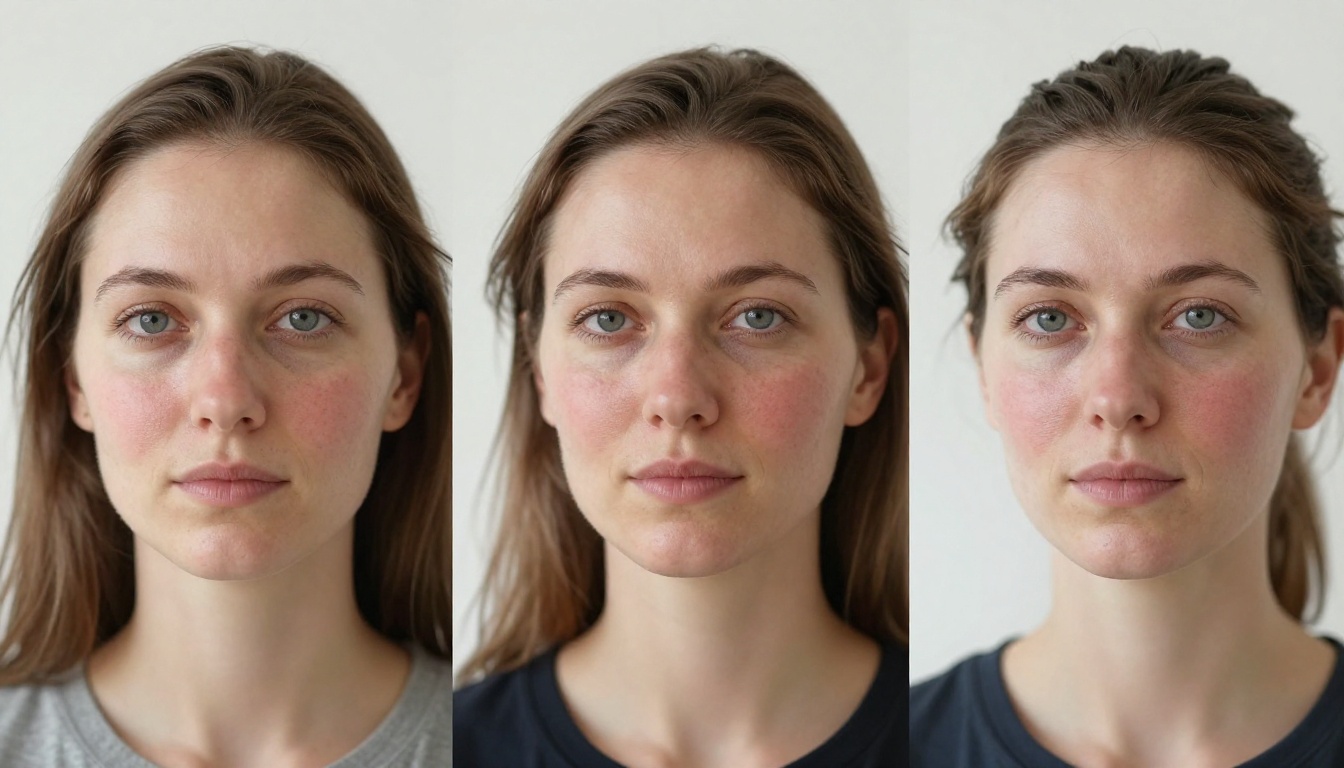
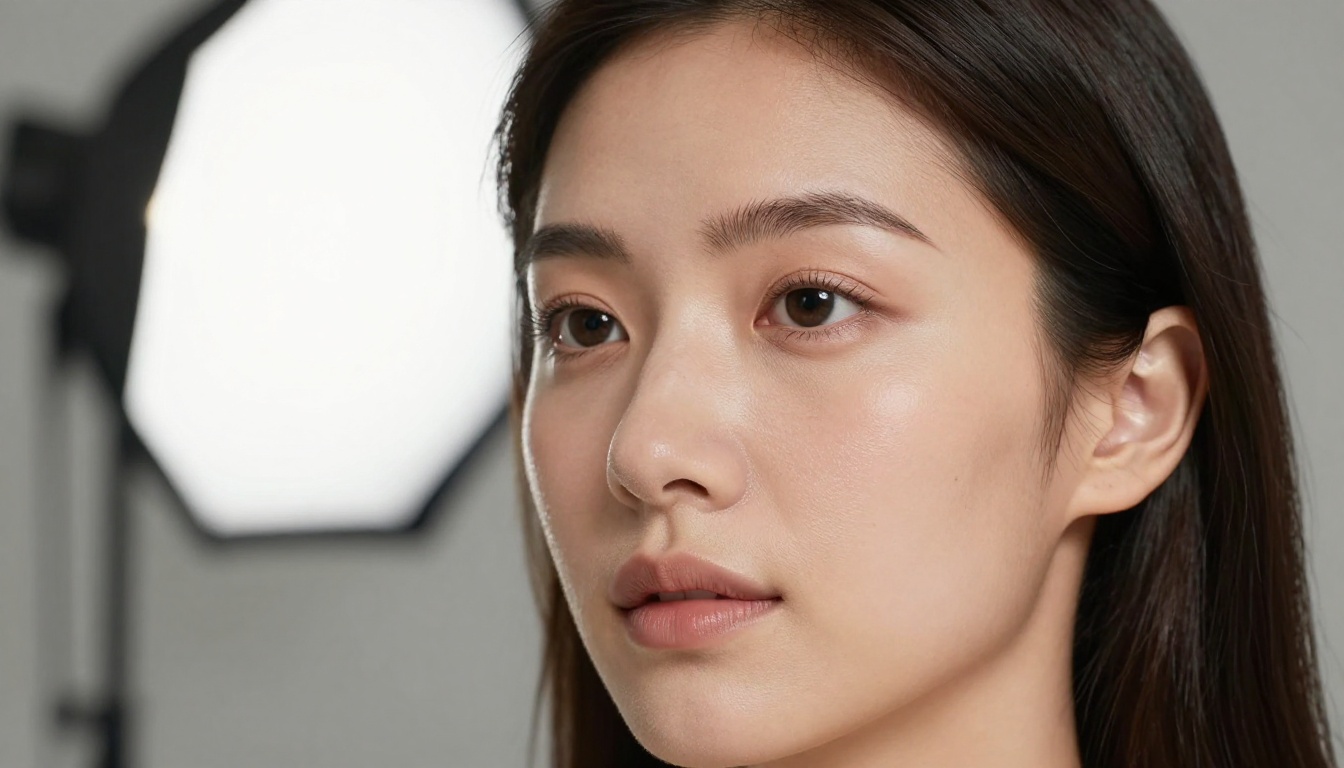
You type "beautiful woman portrait" and the AI gives you a face that looks like it was polished with digital sandpaper. The skin is too smooth, the pores are gone, and the whole thing reads like a wax sculpture rather than a human being. This happens to almost everyone generating AI portraits, and the fix is not a better model. It is better language.
The difference between plastic AI skin and genuinely soft, natural skin comes down to the specific vocabulary you use in your prompts. Words carry enormous weight in how models render texture, light interaction, and biological realism. This article breaks down exactly which words work, why they work, and how to structure prompts that consistently produce portraits where the skin feels alive.
Why AI Skin Looks Wrong
The Plastic Skin Problem
Most AI image models are trained on a mix of internet photography, stock imagery, and digitally retouched content. That training data is heavily biased toward commercial beauty photography, where skin has been smoothed, pores filled, and tone evened out in post-processing. The model learns that "beautiful portrait" means heavily retouched. The result is that default outputs skew toward artificial perfection.
When you ask for a "beautiful woman" without any skin-specific direction, the model defaults to its median interpretation of beauty: zero pores, zero texture variation, perfect symmetry, uniform color. It is not a failure of the model. It is the model doing exactly what the training data taught it.
Over-Smoothing vs. Under-Texturing
There are two distinct failure modes. Over-smoothing happens when the model applies the equivalent of Gaussian blur to the skin, removing all micro-detail. Under-texturing happens when texture is present but wrong, like a uniform noise pattern that reads as sandpaper rather than actual skin topology. Both problems come from vague prompting.
Skin in real photography has directional texture. Pores on the cheeks are wider and more visible under raking sidelight. The forehead has a slightly different quality than the nose. Around the eyes, skin is thinner and smoother. The jawline shows more shadow. None of this happens automatically without prompting.
💡 Key insight: AI models respond to specificity. "Natural skin" is almost useless as a prompt instruction. "Visible pore texture across the nose and cheeks, subsurface scattering warmth beneath the cheekbones, natural skin color variation from forehead to jawline" produces real results.
The Words That Change Everything
Prompt Terms That Add Natural Skin Texture
The following vocabulary consistently produces more realistic, natural skin across the main portrait models on PicassoIA:
Prompt Term
What It Does
subsurface scattering
Renders light passing through skin layers, adding warmth and depth
visible pores
Pulls the model away from smoothed skin toward textural realism
Kodak Portra 400 / Kodak Portra 800
Film stock references that add grain, warmth, and natural color rendering
film grain
Adds micro-level texture that obscures artificial smoothness
no retouching
Negative instruction that counters the model's smooth-skin bias
natural color variation
Prompts uneven pigmentation, which reads as authentic
vellus hair
Fine facial hair catches light and adds a layer of realism
capillaries near nose
Natural redness from blood vessel distribution near the nostrils
lived-in skin
Signals the model toward authentic rather than idealized
natural oil / natural sheen
Adds specular highlights that read as realistic rather than plastic
85mm f/1.8 or 85mm f/2.0
Lens specifications that anchor the model in photography mode
The technical photography references are particularly powerful. When you specify a lens, an aperture, and a camera body, you give the model a consistent visual "mode" to operate in. It shifts the generation from "make a beautiful image" to "simulate a specific photographic capture."
Words to Avoid in Your Prompts
Just as important as what you include is what you leave out:
"Flawless skin" — actively prompts over-smoothing
"Perfect complexion" — tells the model to iron out all imperfections
"Ultra HD" used alone — can push toward clinical crispness rather than photographic warmth
"Smooth skin" — directly asks for what you do not want
"Professional headshot" — strong retouching bias in training data
💡 The phrase "photorealistic, natural skin" outperforms "flawless, HD, professional portrait" in almost every test for organic skin texture results.
Lighting Is Half the Battle
This is where most people underestimate their prompts. The way light hits skin determines whether texture is visible at all. Flat frontal light, which is common in studio photography defaults, can erase texture entirely even when it is technically present in the model's output. The prompt needs to specify lighting direction and quality.
Natural Light Descriptions That Work
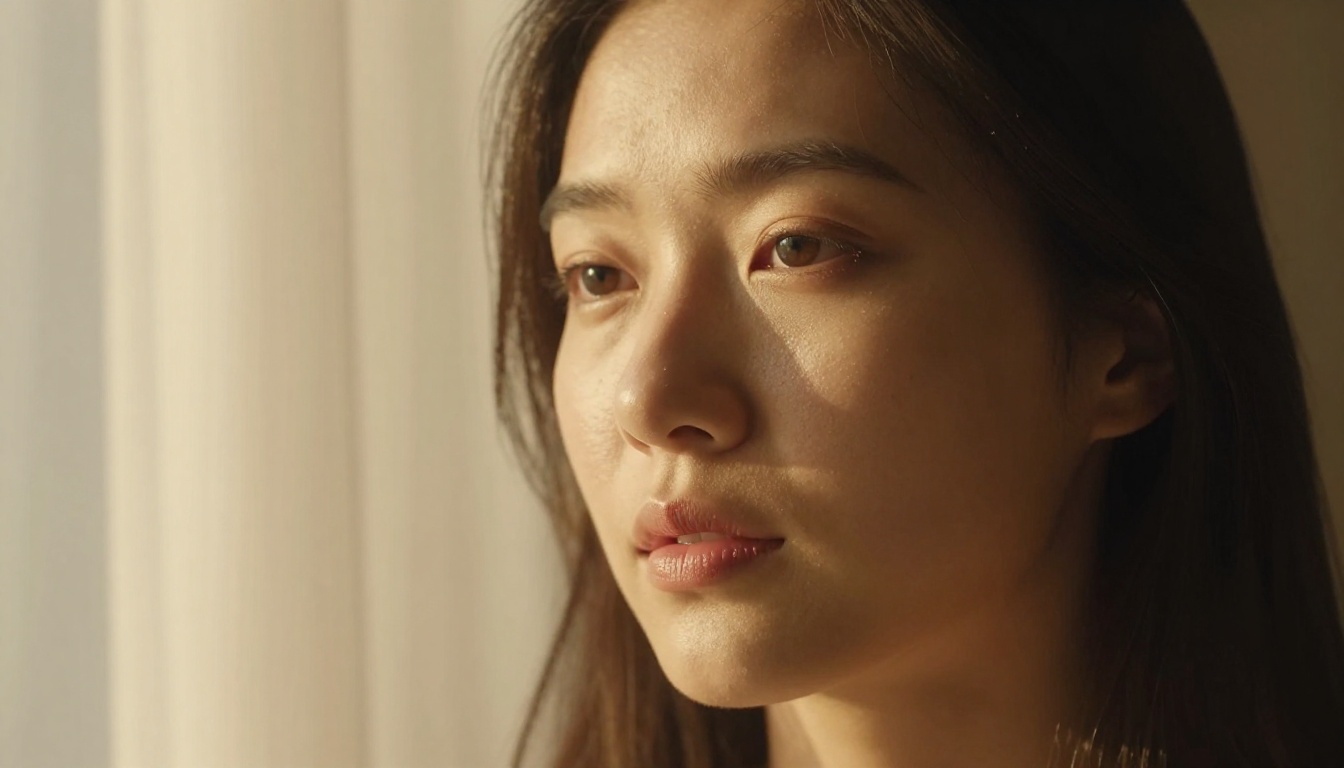
Window light is your best starting point. Specifically, directional window light, not flat overcast light. The vocabulary that works:
"soft directional window light from the upper left" — describes quality and angle
"diffused morning light through sheer curtains" — quality descriptor that suggests soft shadows
"overcast daylight, soft wrap-around illumination" — good for even-toned skin with natural color
"golden-hour warmth filtering through thin curtains" — warm and directional
"cool northern studio light" — for fair skin tones, pulls out natural pinkish undertones
What you want to avoid is any lighting descriptor that suggests artificial perfection: "studio lighting," "ring light," or "perfectly lit" all push toward commercial beauty outcomes.
How to Describe Skin Undertones
Skin undertone language is rarely discussed in prompting tutorials, but it makes a significant difference:
"warm amber subsurface glow beneath the cheeks" — adds the warm blush of blood beneath skin on cheeks
"natural pink undertone on fair skin" — prevents the grey or plastic look on pale skin
"warm golden undertone on olive complexion" — anchors Mediterranean or Asian skin tones
"deep mahogany with warm reddish undertone" — for rich dark skin tones
"translucent quality near the temples" — describes thin skin near the hairline
💡 For darker skin tones specifically, add "natural luminosity" and "subsurface depth" to your prompt. Darker skin tones are under-represented in AI training data for quality texture, and these terms help steer models toward respectful, realistic rendering.
Best Models for Natural Skin on PicassoIA
Not all models are equal for skin. Some lean heavily toward artistic stylization. Others are optimized for photorealism. Here is how the most relevant models on PicassoIA perform for natural skin generation.
Flux 2 for High-Fidelity Portraits
Flux 2 Pro and Flux 2 Max are among the strongest choices for photorealistic portraits. Flux 2 Max specifically handles complex lighting conditions and skin texture with a level of fidelity that older models struggle to match. For skin work, the longer and more specific your prompt, the more Flux 2 rewards you.
Flux 1.1 Pro Ultra is also worth noting for its ultra-realistic rendering pipeline. The ultra variant pushes output resolution and detail higher, which benefits skin texture work significantly.
Seedream 4.5 is built for high-resolution portrait generation and handles skin texture with remarkable consistency. Its training produces particularly strong results with warm skin tones and complex lighting conditions. Seedream 4 runs at ultra-high resolution, which gives you more room for pore-level detail in the output.
For Seedream, the subsurface scattering vocabulary works especially well:
"subsurface scattering warmth beneath cheekbones, visible pore texture,
Kodak Portra 800 film grain, no digital smoothing"
Realistic Vision v5.1
Realistic Vision v5.1 is one of the most purpose-built models for photorealistic photography simulation. For skin work, it responds strongly to photography-specific vocabulary like lens specs, camera bodies, and film stock references.
RealVisXL v3.0 Turbo offers a faster version of this same photorealistic pipeline, useful when you want to iterate quickly across prompt variations before committing to a full-resolution render.
Prompt Templates by Skin Type
These templates are structured to work across the major portrait models. Adjust the lighting and camera specs to match your creative direction.
Fair and Porcelain Skin
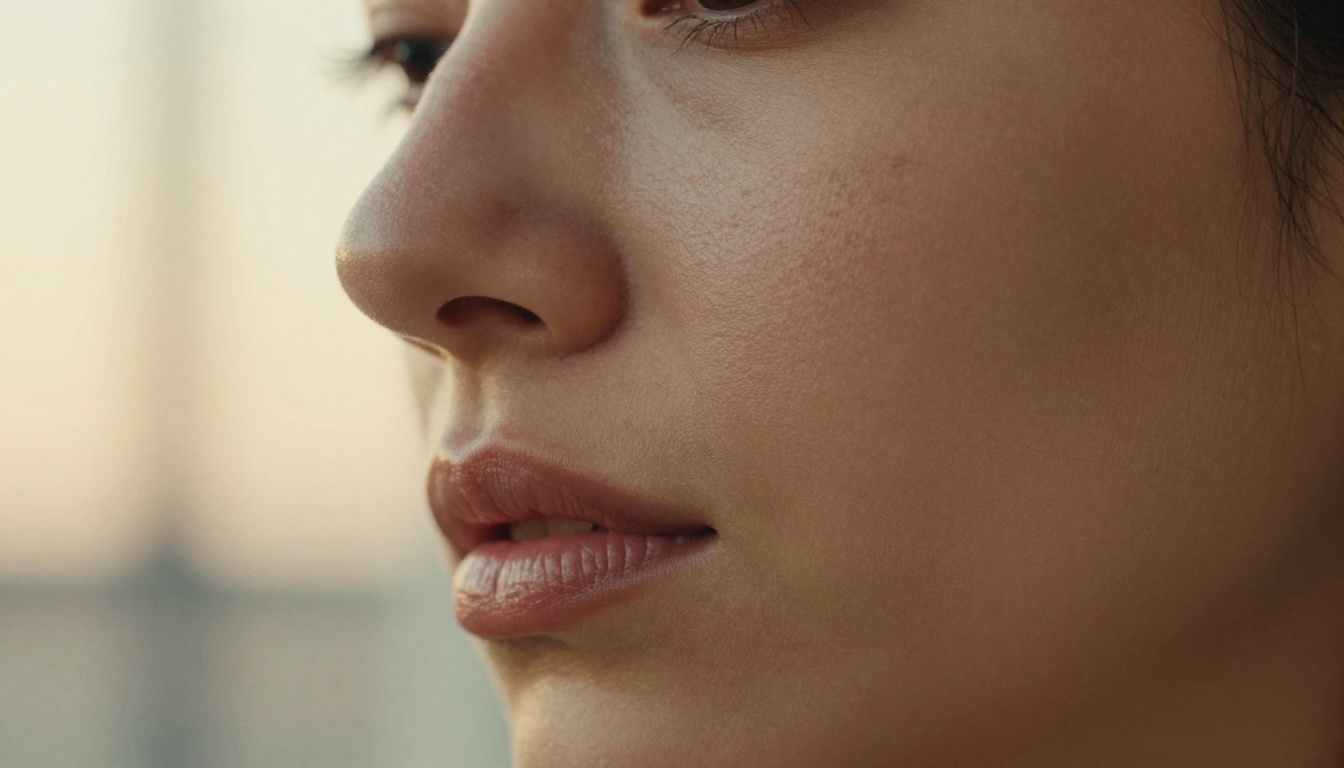
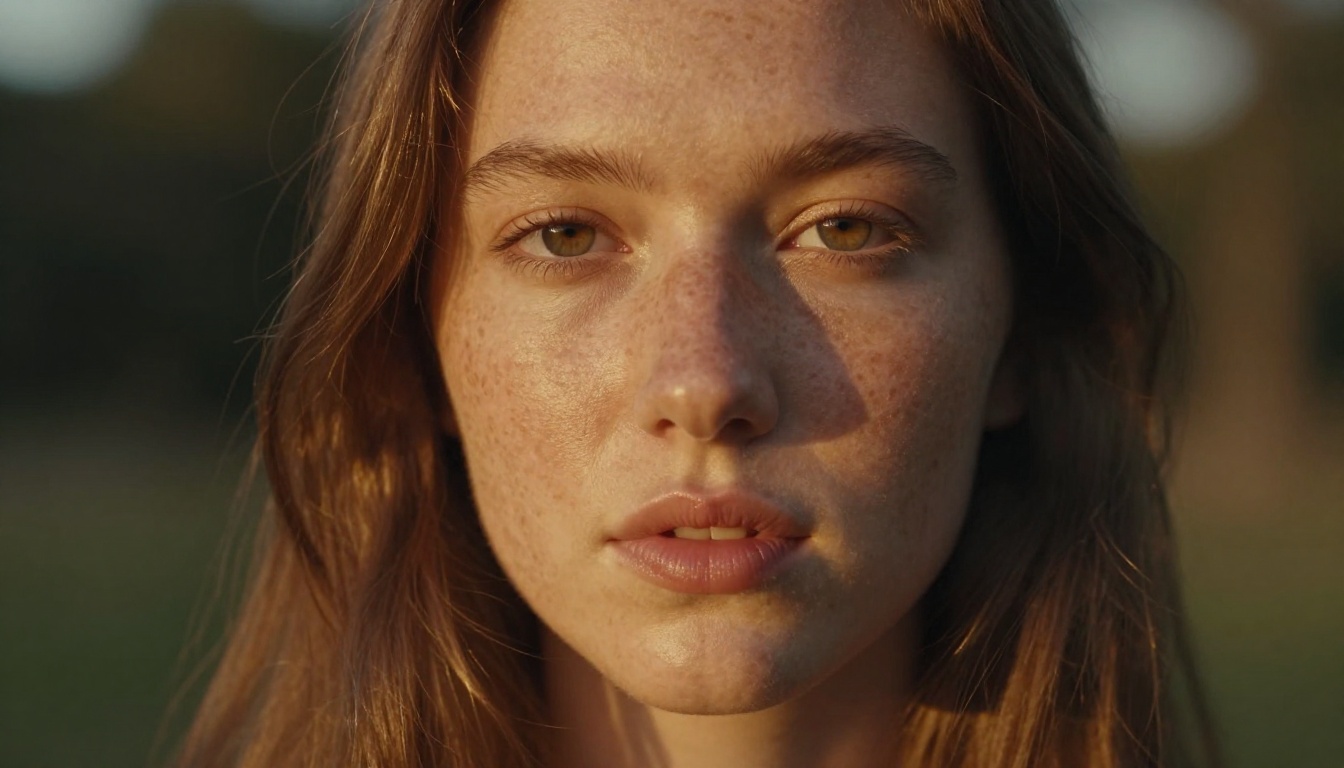
Close-up portrait of a woman with fair porcelain skin, natural pink undertones
visible beneath the cheekbones, delicate freckles across the nose bridge,
visible pore texture on the nose and cheeks, translucent skin quality near
the temples, soft directional morning window light from upper left,
natural redness around the nostrils, 85mm f/2.0, Kodak Portra 400,
no retouching, natural skin texture, subsurface scattering --ar 16:9 --style raw
Warm and Olive Skin Tones
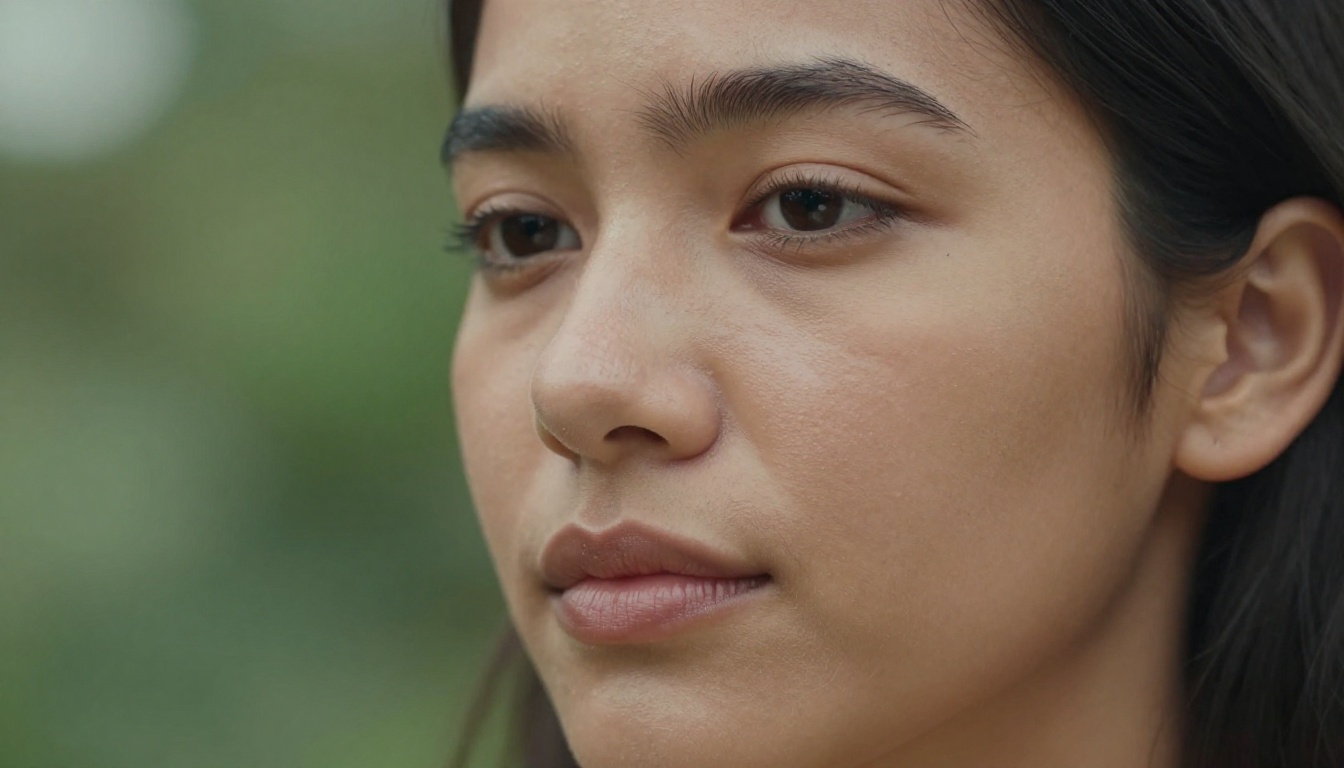
Portrait of a woman with warm olive skin, authentic golden undertone,
natural oil sheen across the T-zone, visible fine facial hair catching
sidelight, pore texture on forehead and cheeks, natural skin color
variation from temple to jaw, afternoon light filtered through thin curtains,
85mm f/1.8 Canon portrait lens, Fujifilm Velvia aesthetic, natural
skin texture, lived-in complexion --ar 16:9 --style raw
Deep and Rich Skin Tones
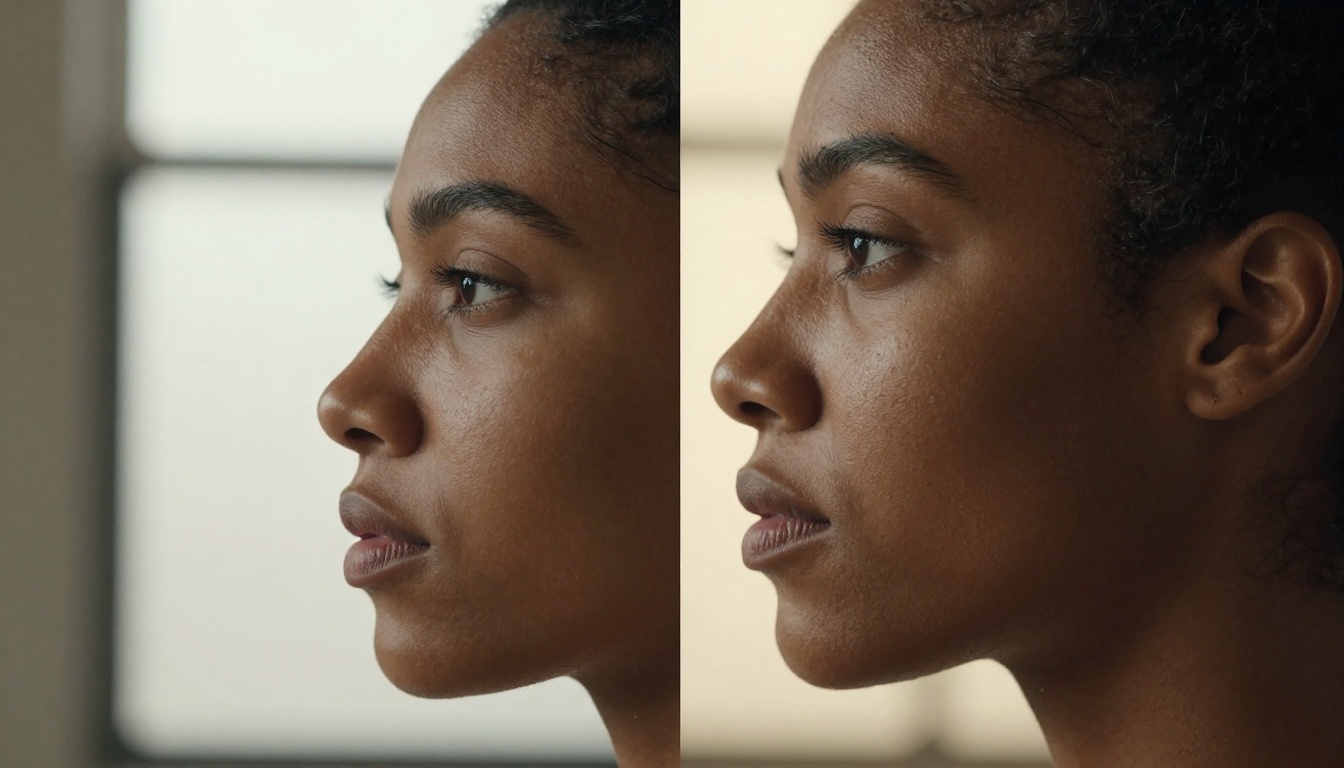
Side-profile portrait of a woman with deep brown skin, warm reddish
subsurface undertone, natural luminosity across the cheekbones, authentic
pore texture, natural lip texture with uneven pigmentation, warm studio
window light from the right with white reflector fill, visible eyebrow
hair detail, 85mm f/2.2, Kodak Portra 800, natural skin texture,
subsurface scattering depth --ar 16:9 --style raw
💡 When working with darker skin tones, always include "natural luminosity" and "subsurface depth" in your prompt. These terms counter the tendency of models to flatten dark skin into uniform dark tone without texture variation.
Deeper Skin Detail Prompting
Subsurface Scattering Language
Subsurface scattering (SSS) is the optical phenomenon where light penetrates the surface of skin, scatters through the tissue, and emerges slightly displaced. This is what makes skin glow rather than just reflect. It is the single biggest factor in whether AI skin looks alive or dead.
The vocabulary that triggers SSS rendering:
"subsurface scattering warmth beneath the cheeks"
"warm amber glow beneath thin skin on the nose"
"light penetrating the skin, warm translucent quality"
"inner radiance of skin under backlight"
"backlit portrait, skin glowing from transmitted light"
Backlit portraits are particularly effective for demonstrating SSS because transmitted light through ears, fingers, and the nose bridge is directly visible in the output.
Pore and Texture Descriptors
Detail Level
Prompt Vocabulary
Subtle
"natural skin texture, soft pores"
Medium
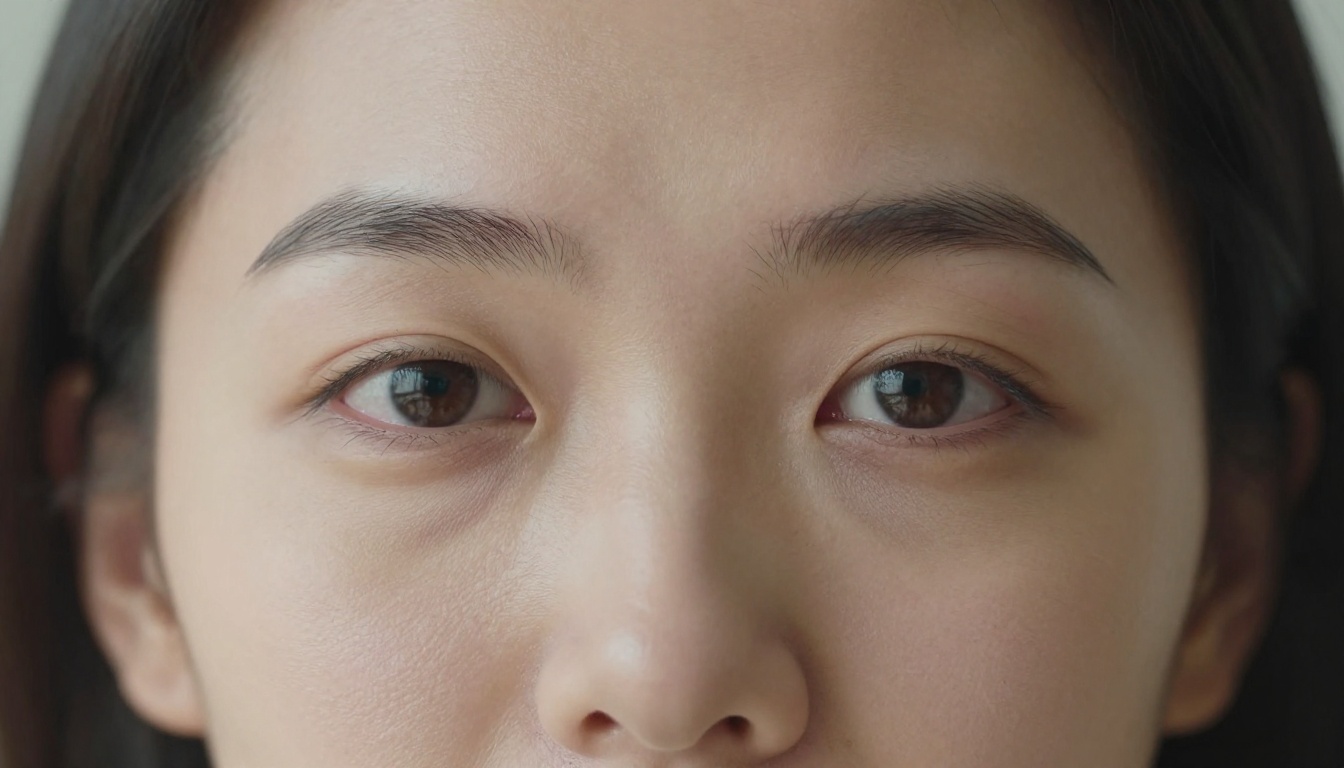
"visible pore texture across nose and cheeks, fine lines"
This is a meaningful choice worth being intentional about. Blemish-free does not mean smoothed. You can have clear skin that still reads as real:
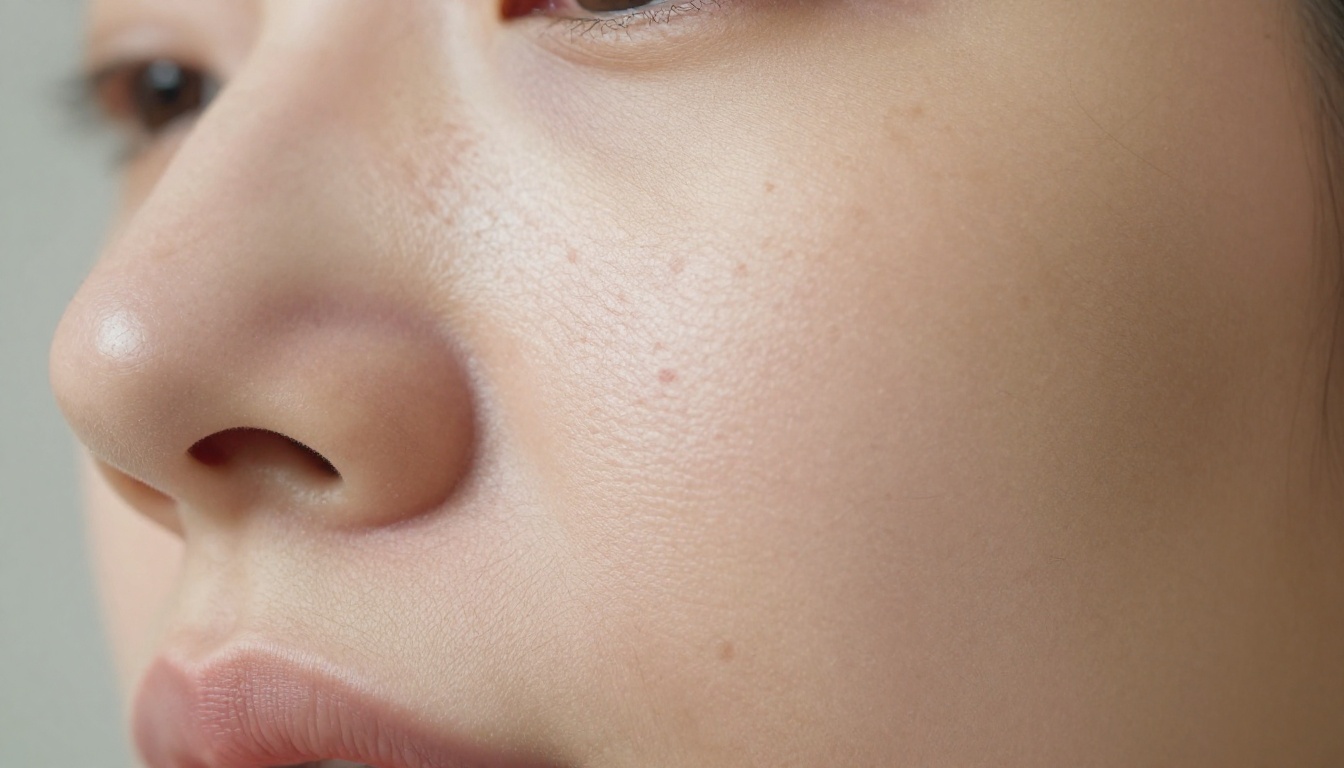
"Clear skin with natural pore texture, no blemishes but no retouching,
natural skin color variation, visible capillaries, subsurface scattering"
Lived-in skin includes the small imperfections that actually increase believability:
"Natural skin with mild uneven pigmentation, faint freckles,
slight redness around the nose, natural fine lines at expression points,
visible pore texture, no digital smoothing"
The lived-in approach almost always produces more convincing results because it gives the model permission to include the small details that make skin look real.
Upscaling to Reveal Skin Detail
Generating an image at standard resolution often hides the skin detail your prompt actually produced. The model generates the texture, but it is compressed at output resolution. Running the result through a portrait-focused upscaler reveals significantly more skin detail.
Crystal Upscaler is built specifically for portrait upscaling. It preserves and adds facial feature detail, including skin texture, without the over-sharpening artifacts that general-purpose upscalers introduce. For skin work, this is the recommended first choice.
Clarity Pro Upscaler runs photorealistic AI upscaling with a similar approach. Both tools work at 2x to 4x magnification, which is typically sufficient to bring pore-level detail into sharp focus.
Check the nose and cheek areas specifically for pore detail
If texture is present but soft, upscale again or adjust the prompt toward higher detail descriptors
💡 Image Upscale by Topaz Labs supports up to 6x magnification and handles fine hair and skin texture detail with exceptional quality for demanding use cases.
The Prompt That Works Right Now
After testing across multiple models, this structure consistently produces soft, natural skin results:
[Shot type] portrait of a [age description] woman with [skin tone + undertone],
[2-3 specific skin characteristics], [lighting description with direction],
[lens + aperture], [film stock], no retouching, natural skin texture,
visible pore detail, subsurface scattering, lived-in complexion --ar 16:9 --style raw
Concrete example:
Close-up portrait of a woman in her late twenties with warm olive skin and
golden undertone, natural pore texture across cheeks and forehead, faint
freckles on the nose bridge, soft morning window light from the upper left,
85mm f/1.8, Kodak Portra 400, no retouching, natural skin texture,
visible pore detail, subsurface scattering warmth beneath the cheekbones,
lived-in complexion --ar 16:9 --style raw
This structure works because it anchors the model in photography mode via the lens and film stock, specifies biological details that force texture rendering, uses lighting direction so texture is visible rather than washed out, and explicitly negates the smoothing bias with "no retouching."
Comparing Model Outputs
Here is a practical comparison of how different models handle natural skin prompts:
For first-time skin prompting, start with Flux 2 Pro or Seedream 4.5 — both respond predictably to the vocabulary above. Once you have a working prompt, move to Flux 2 Max or Seedream 4 for the highest fidelity output.
One More Thing: Stable Diffusion and SDXL
If you prefer working within the Stable Diffusion ecosystem, Stable Diffusion 3.5 Large and SDXL respond well to the same vocabulary with one adjustment. These models benefit from negative prompts that explicitly exclude smoothing. Add to your negative prompt:
DreamShaper XL Turbo is another option in the SDXL family, particularly well-suited to portrait work with natural, warm skin rendering. The same film stock and lighting vocabulary applies.
💡 For any SDXL-based model, adding --style raw to your prompt signals the model away from artistic stylization and toward straight photography simulation. This single addition often produces a visible improvement in skin texture realism.
Try It Yourself
The difference between knowing this and producing it is one generation. Take any portrait prompt you have used before and rebuild it with this structure:
Add a specific lens and aperture (85mm f/1.8 or f/2.0)
Add a film stock (Kodak Portra 400 or Kodak Portra 800)
Add "subsurface scattering" somewhere in the prompt
Add "visible pore texture, no retouching"
Specify lighting direction ("from the upper left", "warm afternoon light from the right")
Then run it on Flux 2 Pro or Seedream 4.5 and compare the result to your previous output. The difference is immediately visible.