FLUX.3 Max has quietly become the benchmark that other text-to-image models are measured against. Released by Black Forest Labs, it builds on the FLUX lineage to deliver photorealistic results that rival professional studio photography. If you have tested earlier FLUX versions and found them impressive, FLUX.3 Max takes that output further in resolution fidelity, prompt adherence, and human anatomy accuracy. This article walks through everything from how the model works to writing prompts that actually produce publication-quality results.
What FLUX.3 Max Actually Is
FLUX.3 Max is a flow-matching diffusion model developed by Black Forest Labs, the team behind the original FLUX.1 series. Unlike competing models that use latent diffusion with added noise schedules, FLUX uses a rectified flow transformer architecture that trains the model to predict straight-line trajectories from noise to the target image. The result is a model that generates images with fewer artifacts and dramatically more consistent structure at the pixel level.
The "Max" designation in FLUX.3 refers to the largest parameter count variant, designed for scenarios where output quality is non-negotiable. Commercial illustrators, advertising agencies, and content studios use it when they need images that hold up to print scrutiny or large-format display.
The Architecture Behind the Model
At its core, FLUX.3 Max uses a multi-modal diffusion transformer (MMDiT) architecture. Text and image tokens are processed together through shared attention layers rather than being kept separate and joined at final stages. The practical effect is that the model interprets complex, layered prompts much more precisely than older UNet-based approaches.
The model operates at native high resolution, meaning it does not require post-processing tricks to achieve sharpness. Hair strands, fabric weaves, skin pores, water droplets on glass, and wood grain all appear because the model learned them from high-resolution training data, not because an upscaler added them afterward.
How It Differs from FLUX.1 and FLUX.2
| Feature | FLUX.1 Dev | FLUX.2 | FLUX.3 Max |
|---|
| Resolution | 1024px native | 1024px native | 1440px native |
| Anatomy accuracy | Good | Very Good | Excellent |
| Prompt adherence | High | High | Very High |
| Inference speed | Fast | Moderate | Moderate |
| Best use | Rapid prototyping | Balanced output | Publication quality |
FLUX.3 Max sacrifices some inference speed compared to FLUX.1 Dev, but the quality gap is significant enough that most professional workflows prioritize output over iteration speed.
Setting Up for FLUX.3 Max
Knowing where and how to run FLUX.3 Max shapes the entire experience before you write a single prompt.
Access Points and Platforms
FLUX.3 Max is available through several routes:
- Self-hosted: Requires a GPU with at least 24GB VRAM for comfortable operation at 1024px. 40GB or more is recommended for 1440px outputs.
- API endpoints: Black Forest Labs provides a commercial API. Replicate also hosts the model.
- Platforms: Sites like PicassoIA make FLUX family models accessible without any infrastructure setup.
💡 Tip: If you are running FLUX.3 Max locally, use fp8 quantization to reduce VRAM requirements by roughly 40% with minimal quality loss.
Hardware and Runtime
For local inference, the sweet spot is a GPU in the RTX 4090 or A100 range. The model benefits from fast memory bandwidth more than raw CUDA core count, so a single card with high bandwidth memory typically outperforms multi-GPU setups for single-image generation.
For cloud or platform use, none of this matters. You get the full model and resolution without worrying about hardware.
Writing Prompts That Work
FLUX.3 Max has strong prompt adherence, but that only helps if your prompts are specific. Vague descriptions produce generic output. Treat the model like a cinematographer who needs precise direction.

Subject and Environment Description
The most impactful thing you can do is describe your subject with physical specificity and place them in a fully described environment. Compare these two prompts:
Weak: A woman sitting in a cafe
Strong: A woman in her early thirties with loosely braided auburn hair, wearing a navy linen jacket, seated at a corner table in a sunlit Parisian cafe, marble table with a ceramic espresso cup, afternoon light slanting through a tall window behind her at 40 degrees
The second prompt gives the model enough information to make compositional decisions, choose a lighting angle, and fill the environment with consistent detail.
Lighting and Atmosphere
Lighting description is where most users leave quality behind. FLUX.3 Max responds to lighting cues with photographic precision. Use terms that a photographer would recognize:
"volumetric morning light from the east at low angle" creates long shadows and golden warmth"overcast diffused daylight, soft fill, no hard shadows" gives flat even illumination for beauty shots"practical lighting from a single tungsten lamp at camera left" produces warm, directional, intimate atmosphere"golden hour backlight with rim lighting on subject" separates subject from background
Adding "Kodak Portra 400 film grain" to any prompt adds a layer of photographic realism that immediately elevates output quality.
Technical Camera Parameters
Including specific lens and shooting parameters locks in the visual character of the image:
- Portrait:
"85mm f/1.8 shallow depth of field, background bokeh"
- Landscape:
"24mm f/11 front-to-back sharpness, wide angle"
- Product/Detail:
"105mm f/2.8 macro, extreme foreground sharpness"
- Documentary:
"35mm f/5.6 natural perspective, handheld feel"
Ending prompts with "RAW 8K photography, photorealistic --ar 16:9 --style raw" consistently improves output realism in FLUX.3 Max.
Parameters That Control Output
FLUX.3 Max exposes several parameters that dramatically affect output. Knowing what each one does saves hours of trial and error.
| Parameter | Range | Effect |
|---|
num_inference_steps | 20-50 | Higher = more detail, slower |
guidance_scale | 1-7 | Higher = stronger prompt adherence |
seed | Any integer | Locks in randomness for reproducibility |
width / height | Up to 1440 | Output resolution |
prompt_upsampling | true/false | LLM expands prompt before generation |
Guidance Scale in Practice
The guidance_scale parameter is the single most misunderstood control. At 3.5, the model blends creative interpretation with your prompt. At 7, it follows your text almost literally, which is powerful but can over-sharpen outputs and reduce natural variation.
For portraits and lifestyle photography, 3.5 to 5.0 typically produces the most believable results. For precise commercial work where exact composition matters, push toward 6.0 to 7.0.
Using Seeds for Consistency
Setting a fixed seed locks the underlying noise pattern, which means you can iterate on a prompt while keeping the same basic composition. This is invaluable for:
- Client approval rounds: Show the client a composition, then refine color and lighting without changing the pose
- Style matching: Generate a series of images that share the same spatial structure but differ in subject
- Debugging prompts: Isolate whether a change in output came from the prompt or the noise
FLUX.3 Max on PicassoIA
PicassoIA provides direct access to FLUX family models without requiring API tokens or GPU setup. The platform hosts Flux Redux Dev, the Black Forest Labs variation model that takes an existing image and generates high-quality variations while preserving structural composition.
Using Flux Redux Dev for Image Variations
Flux Redux Dev works differently from standard text-to-image generation. Instead of generating from a blank canvas, it takes a reference image as its primary input and creates variations that maintain the structural DNA of the original. This makes it useful for:
- Brand consistency: Generate multiple ad images that share the same product placement and framing
- Character continuity: Keep a character's facial structure consistent across different scene setups
- Style iteration: Explore lighting and color variations without starting from scratch each time
Step-by-Step: Generate Your First Image
- Open PicassoIA and go to Flux Redux Dev
- Upload a reference image (or generate one with another text-to-image model first)
- Write a variation prompt describing what should change:
"same composition, golden hour lighting instead of overcast, warmer tones, soft shadows from the left"
- Set your steps to 28-35 for a good quality/speed balance
- Download and evaluate whether the composition was preserved to your satisfaction
💡 Tip: For best results with Redux Dev, your reference image should already be at the resolution you want to output. The model remixes existing structure rather than inventing new detail.
Upscaling Your Results
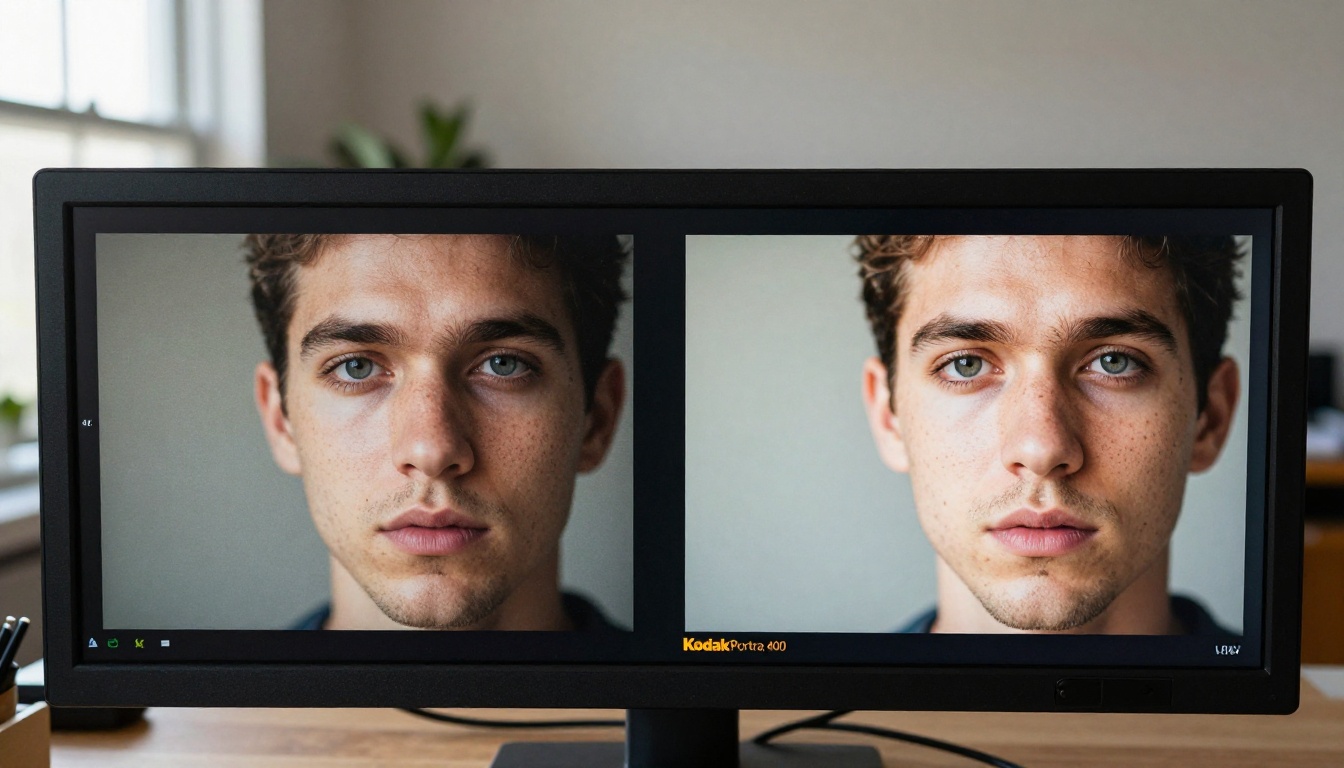
Even at 1440px native resolution, FLUX.3 Max output benefits from AI upscaling for large-format printing or billboard-sized display. PicassoIA's super-resolution tools take output to 4x or 6x without the halo artifacts that older upscalers produced.
Which Upscaler Fits Your Use Case
For most FLUX.3 Max output, Clarity Pro Upscaler or Topaz Image Upscale produces the cleanest results because both models are trained on photorealistic photography rather than illustration content.
Getting Clean 4x Results
The common mistake when upscaling AI images is applying too much denoising strength. AI images already have clean, noise-free areas that read as artificial under heavy denoising. The workflow that avoids this problem:
- Export from FLUX.3 Max at the highest native resolution available
- Apply upscaling with low creativity/denoising: stay between 0.2 and 0.4 on a 0-1 scale
- Sharpen selectively in post-processing: edges and textures only, not flat color areas
- Export as TIFF for print, JPEG at 95% quality for digital delivery
Pairing with LLMs for Better Prompts
One of the most effective but underused workflows is using a large language model to write or refine your FLUX.3 Max prompts. The output quality gap between a hand-written prompt and an LLM-assisted one is immediately visible.

Prompt Engineering with AI Assistants
PicassoIA hosts several LLMs that produce excellent prompts for image generation:
- GPT 5: nuanced, multi-layered prompt construction with strong creative writing capability
- Claude Sonnet 5: detailed descriptive writing with precise instruction-following
- Gemini 3.5 Flash: fast iteration when you need multiple prompt variants quickly
- Deepseek v3.1: cost-effective prompt generation for high-volume workflows
The workflow is simple: describe your image idea in plain language, ask the LLM to convert it into a FLUX-optimized prompt with specific lighting, lens, and texture descriptions, then paste the result into the generator.
Example instruction:
"Write a detailed FLUX.3 Max prompt for: a product shot of a glass perfume bottle on wet slate stone. Include specific lighting, camera lens, and atmosphere. End with photorealism modifiers. 60-80 words."
This approach produces prompts that would take a beginner hours to develop through trial and error. The LLM fills in all the photographic detail you might not think to specify on your own.
Real-World Output: What FLUX.3 Max Produces
Portrait Photography
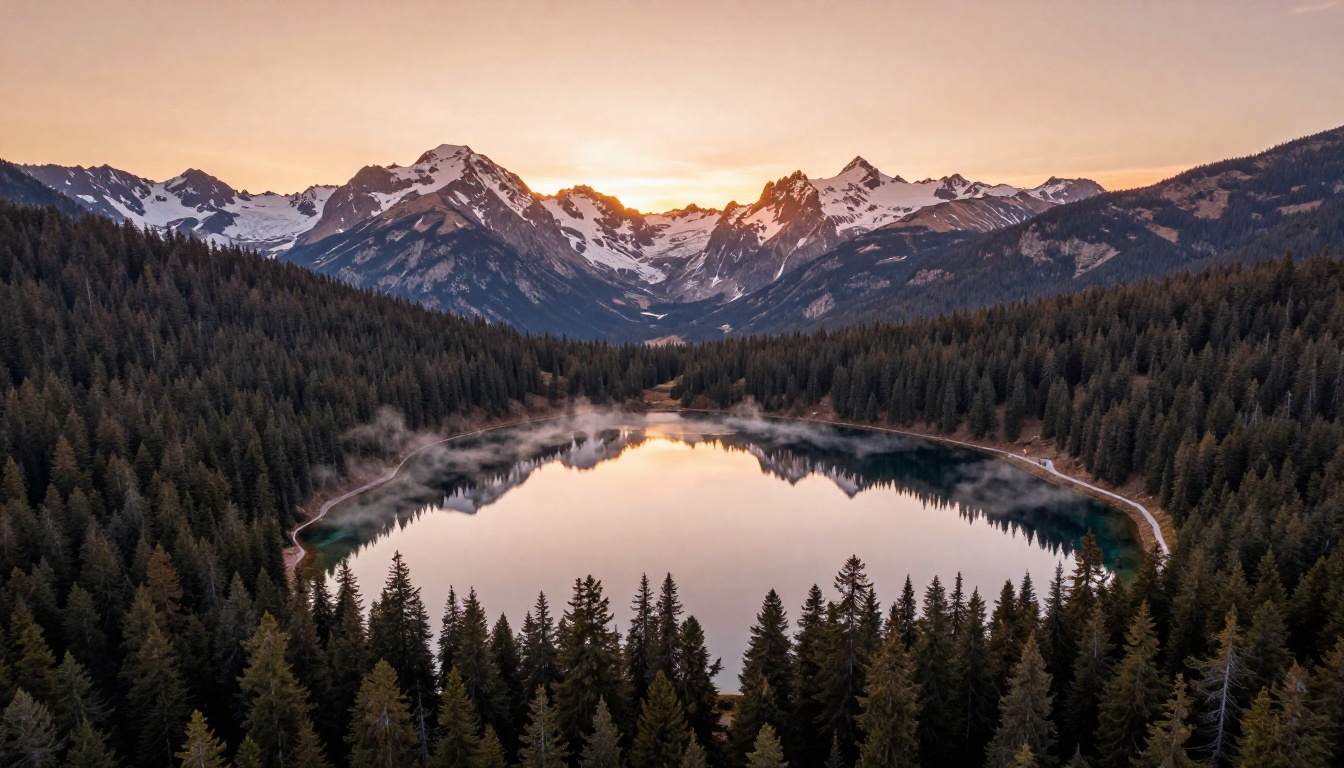
FLUX.3 Max handles human anatomy better than any previous iteration. Hands, which have been the traditional failure point for AI image models, are consistently correct. Skin texture, subsurface scattering, and eye catchlights appear without specific prompting. For studios doing AI-assisted editorial or advertising work, portrait quality is the most frequent reason they switch from earlier models.
Architecture and Landscape
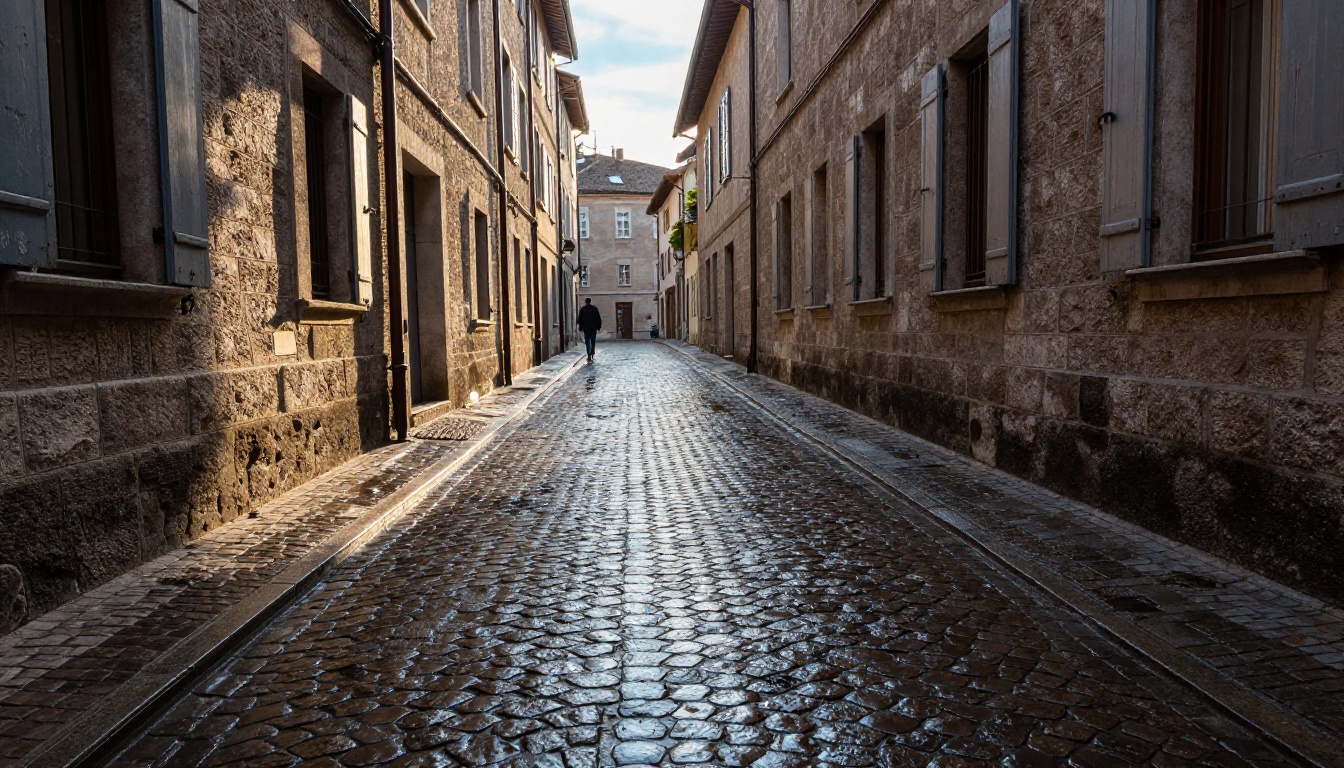
For architecture, FLUX.3 Max respects perspective geometry in a way that older models struggled with. Parallel lines stay parallel. Vanishing points are consistent across the frame. For landscapes, the model produces atmospheric depth with realistic haze, proper horizon lines, and believable sky-to-ground light transfer. Whether you are generating dense forest at dusk or open desert at midday, the output reads as photographically real rather than computer-generated.
Commercial and Product Shots
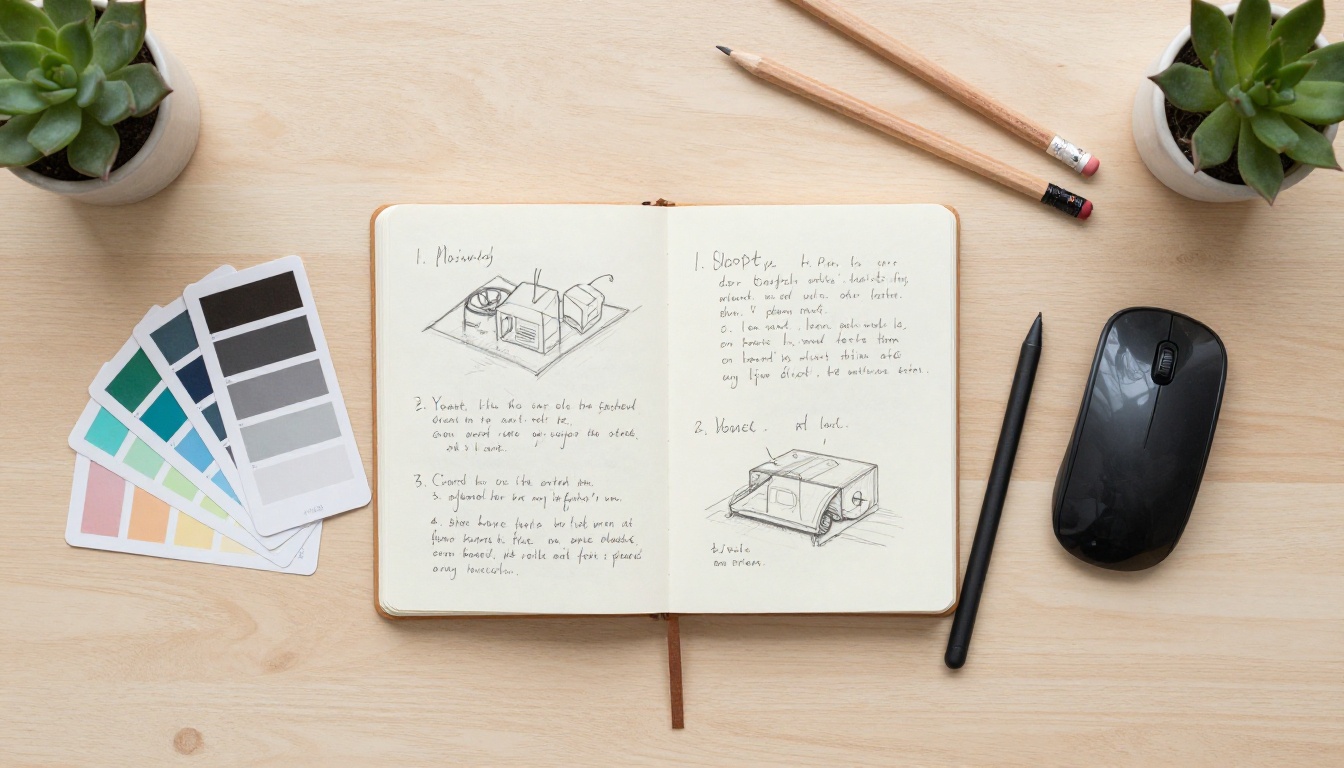
Product photography is where FLUX.3 Max competes directly with studio photography budgets. Material rendering (glass, metal, fabric, leather, ceramic) is accurate enough for catalog use. Combined with Recraft Crisp Upscale and Bria Increase Resolution, product images can reach print-ready quality without a studio shoot. For small brands and independent creators, this is a meaningful cost advantage.
5 Common Mistakes to Avoid
Most problems with FLUX.3 Max output come from predictable errors:
1. Overloading the prompt: Including too many competing subjects forces the model to make compromises. Keep the primary subject singular and clear.
2. Skipping lighting direction: "Good lighting" tells the model nothing. "Soft directional light from camera left at 45 degrees" produces a specific, consistent result.
3. Using style shorthand: Terms like "cinematic" or "professional" are interpreted inconsistently. Replace them with actual camera specs and lighting descriptions.
4. Ignoring the seed: Not setting a seed makes every regeneration unpredictable. Set a seed once you find a composition you like, then iterate on the prompt from that point.
5. Upscaling too aggressively: Pushing denoising strength above 0.5 on an already-clean AI image destroys the surface texture that makes it look photographic. Stay conservative.
Start Creating on PicassoIA
The fastest way to see what FLUX.3 Max can do for your specific use case is to run a prompt right now. PicassoIA puts Flux Redux Dev one click away alongside the full library of upscalers, including Clarity Pro Upscaler and Topaz Image Upscale, so you can go from a text prompt to a print-ready image in a single session.
Start with a prompt in your main area: portrait, landscape, product, or architecture. Describe the lighting explicitly. Set a seed. Generate at high resolution. Then run the result through one of PicassoIA's upscalers to take it to its final quality ceiling.
The full model catalog, including every text-to-image model, super-resolution tool, and LLM for prompt refinement, is available at picassoia.com/en/all-models.


