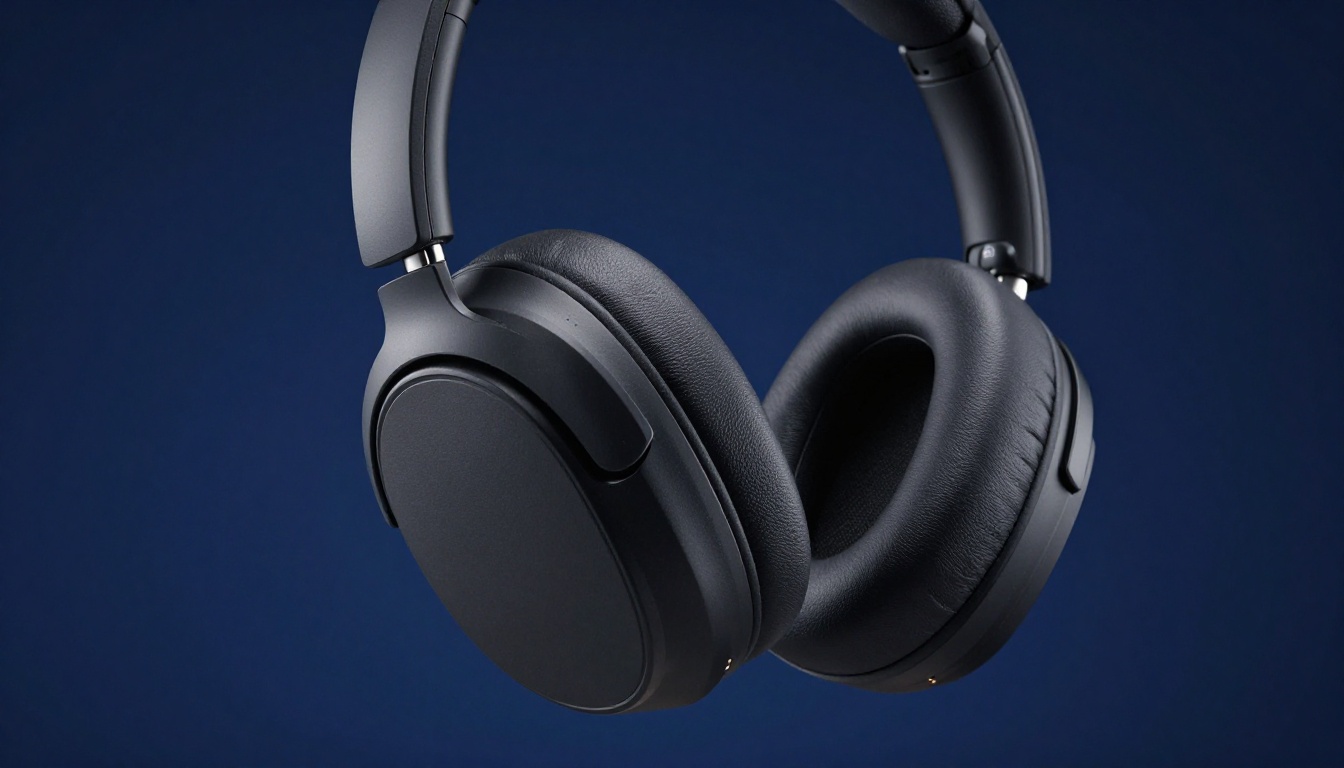
How to Use Nano Banana Pro for Product Photography
Want product photos that look like they cost thousands to shoot? Nano Banana Pro on PicassoIA generates photorealistic, commercial-quality product images from a text prompt in seconds. No camera, no lighting rigs, no studio sessions. This article shows you exactly how it works, from writing your first prompt to upscaling and finishing your final image.
Most product photographers charge $300 to $800 per hour for a studio session. Then add retouching, background removal, and licensing fees on top. For a small brand launching a new product line, that math gets painful fast. Nano Banana Pro changes the equation entirely, letting you generate photorealistic, commercial-grade product images from a text prompt in seconds, without a camera, a backdrop stand, or a single studio light.
This article walks you through exactly how to use Google Nano Banana 2 Lite on PicassoIA to produce product shots that hold up against anything shot in a real studio, covering prompt structure, lighting language, product categories, and the finishing workflow you need once the image is generated.
What Nano Banana Pro Actually Does
Nano Banana Pro is Google's lightweight, high-speed image generation model optimized for photorealistic outputs. Unlike heavier models that prioritize stylization or artistic interpretation, Nano Banana Pro is built for accuracy: accurate light physics, accurate surface textures, and accurate spatial relationships between objects in a scene.
For product photography specifically, that accuracy matters more than almost anything else. A product photo that looks "AI-ish" does not convert. Buyers need to see what they are buying at a level of detail that makes them feel confident about the purchase. Nano Banana Pro delivers that level of clarity because it was trained with a strong emphasis on photorealism rather than artistic flair.
The name "Nano" refers to the model's architecture size relative to larger variants, not to image resolution or quality. In practice, Nano Banana Pro generates full-resolution outputs that compete with much larger models, while doing so in a fraction of the time. For product photography workflows where you need to produce dozens of variations across a product catalog, that speed difference is significant.
Speed and output quality
One of the standout characteristics of the Nano Banana model family is generation speed. The Lite variant available on PicassoIA as Google Nano Banana 2 Lite generates results far faster than heavier diffusion models. For workflows where you need to rapidly iterate on a product concept, try five different lighting setups, or generate variations of the same scene with different props, this speed is a real operational advantage.
Output quality holds up at standard e-commerce display sizes. At 1080p and 1440p exports, the detail in fabric textures, glass surfaces, and metal finishes reads as genuine photography, not as a computer render.
How it compares to a real studio
Factor
Real Studio
Nano Banana Pro
Setup time
2-4 hours
0 minutes
Cost per product
$150-$600
Cents per image
Retouching required
Yes, always
Minimal to none
Iteration speed
Days
Seconds
Creative flexibility
Limited by physical props
Unlimited
Photorealism
100%
95-99%
The gap is closing fast. For most e-commerce use cases, especially early-stage product validation, social media content, and marketplace listings, Nano Banana Pro output is more than sufficient to drive buyer confidence and conversions.
Setting Up Your First Product Shot
Before you write a single word of a prompt, you need to make a few decisions about your product and the image's intended purpose. Prompts written without that context produce generic, average results that won't stand out in a competitive marketplace.
Picking the right product category
Different product categories have different photography conventions, and Nano Banana Pro responds well to prompts that follow those conventions. Buyers in each category have unconscious expectations about how a product should look in its photo. Meeting those expectations is what makes an image feel trustworthy.
Start by categorizing your product:
Hard goods (electronics, tools, kitchen items): Emphasize surface materials, reflections, and edge detail.
Soft goods (apparel, bags, pillows): Focus on fabric texture, drape, and fold patterns.
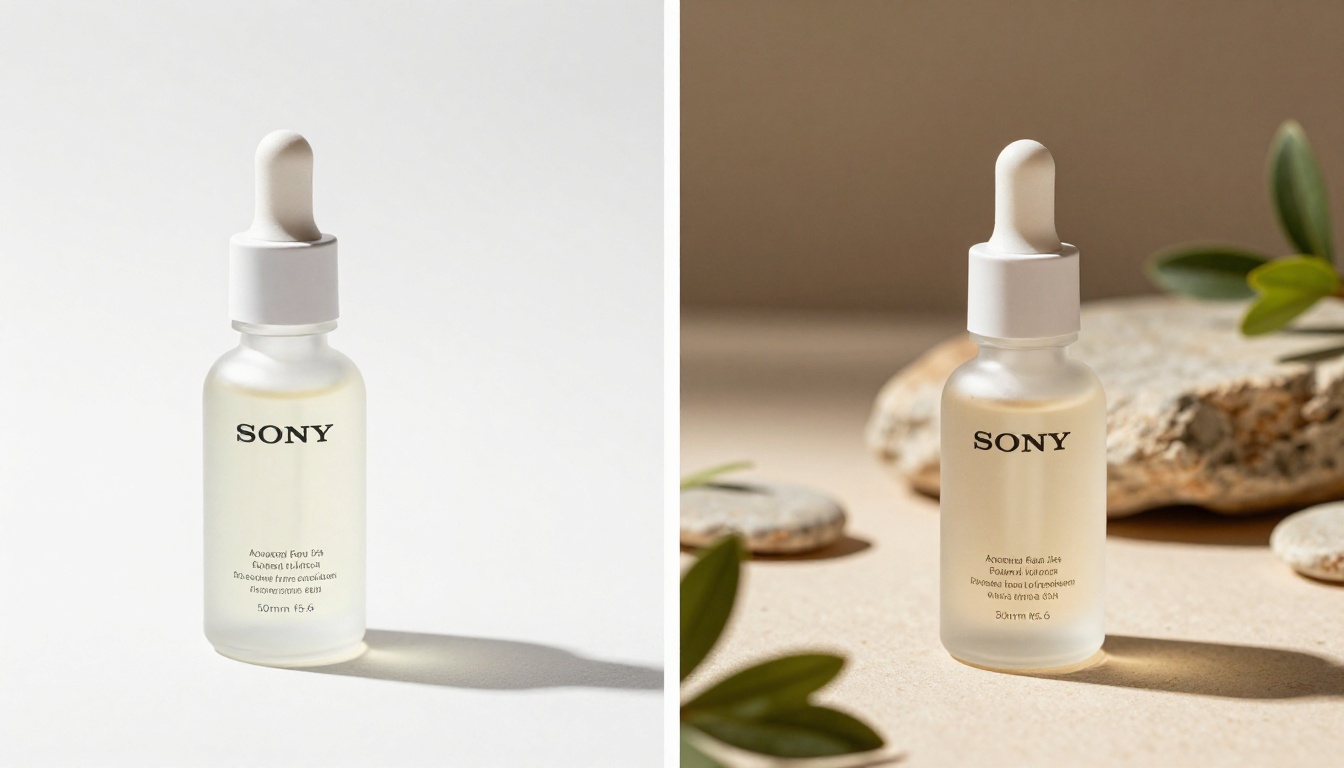
Beauty and skincare: Lead with packaging finish, matte versus glossy versus frosted glass, and styling props.
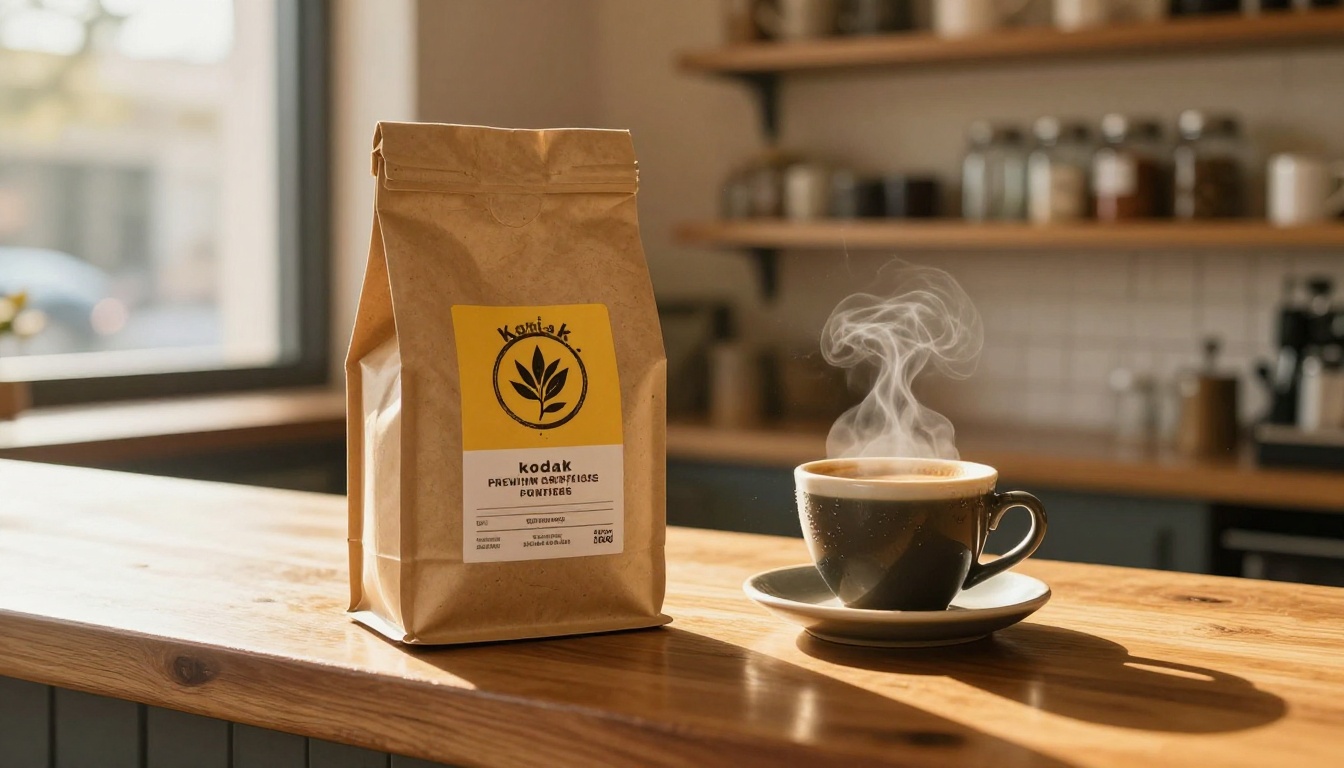
Food and beverage: Emphasize steam, condensation, color saturation, and ingredient context.
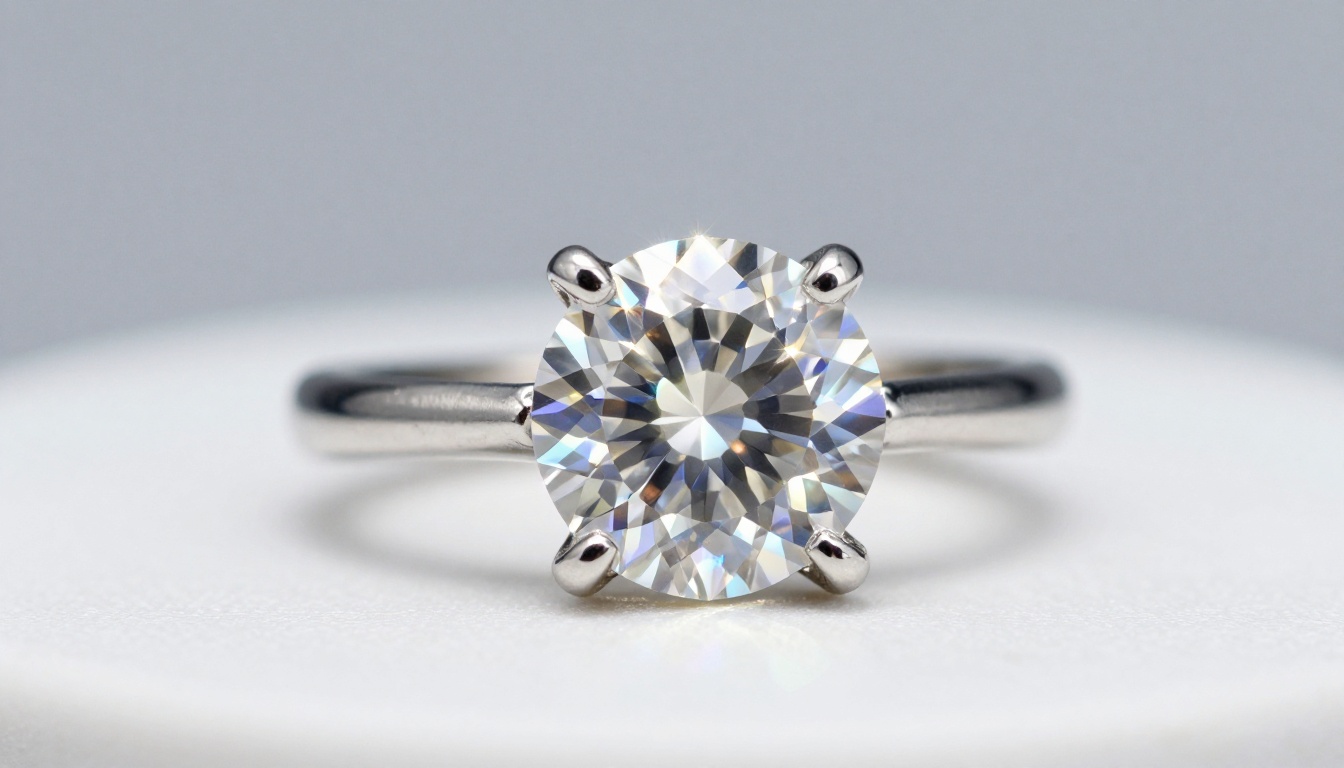
Jewelry: Macro detail, gemstone facets, and metal finish type are the priority.
Knowing which bucket your product falls into shapes every other decision in your prompt. A jewelry prompt written like a food photography prompt will produce a result that satisfies neither category.
Writing a prompt that works
The single biggest mistake people make with AI product photography is under-describing the scene. A vague prompt like "product on white background, professional photography" gives the model too much latitude and produces average results that could apply to anything.
A strong product photography prompt has five components, all in one continuous description:
The product itself: Material, finish, color, shape, and any distinctive features.
The surface: What the product sits on, its texture, and its color.
The background: Studio wall, environmental context, or gradient, and how far out of focus it is.
The lighting: Direction, quality (hard or soft), color temperature, and any secondary light sources.
The camera: Angle, lens focal length, aperture, and film stock.
When all five components are present and specific, the model has clear instructions and produces a result that matches your intent rather than its own default interpretation.
How to Use Nano Banana Pro on PicassoIA
Google Nano Banana 2 Lite is available directly on PicassoIA with no installation, API setup, or technical configuration required. Here is the step-by-step process from opening the model to finishing your first image.
Step 1: Open the model
Navigate to picassoia.com/en/collection/text-to-image/google-nano-banana-2-lite. The model interface loads with a prompt input field and configuration controls for aspect ratio, seed, and generation parameters. Select 16:9 ratio for standard product banners, website headers, and horizontal marketplace images. Select 1:1 for marketplace thumbnail listings on platforms like Amazon or Etsy where square images are the standard format.
Step 2: Build your prompt
Apply the five-component formula. Here is a worked example for a perfume bottle shot:
Amber glass perfume bottle with gold metallic cap, centered on white marble surface with subtle gray veining, scattered dried eucalyptus leaves and a pearl-white ceramic dish with scalloped edge as props. Background is soft white studio wall gradually out of focus. Volumetric morning light from left at 5600K daylight with white bounce card at right for even fill. Low angle 15 degrees from surface, 85mm f/2.0 prime lens, Kodak Portra 400 film grain, photorealistic, 8K --ar 16:9 --style raw
This prompt leaves nothing ambiguous. The model knows the surface, the props, the lighting direction and color temperature, the camera position, and the output style. The result will be consistent and commercial-quality.
Step 3: Refine and iterate
Your first output is always a draft. Look at it with a buyer's eye:
Is the product the right size in the frame, or does it feel too small or too large relative to the scene?
Are the shadows going the correct direction relative to the stated light source?
Does the surface material read correctly, or does glass look like plastic, or fabric look like paper?
Are the props supporting the product as the visual hero, or competing with it?
Adjust one component at a time rather than rewriting the whole prompt. If the lighting is wrong, change only the lighting description and regenerate. If the surface texture is wrong, change only the surface description. Within three to four iterations you will have a final image ready for use.
💡 Tip: Always add --style raw to the end of every product photography prompt. This flag suppresses the model's natural tendency toward stylization and pushes output toward documentary, photographic realism, which is exactly what product photography requires.
Prompt Structures That Win
Prompt quality is the single variable you control most directly. The model can only work with what you give it. These prompt structures consistently outperform generic descriptions across every product category.
The 5-part product prompt formula
Structure your prompt in this order every time:
[Product description] on [surface description] with [props or environment]. [Background description]. [Lighting: direction, quality, color temperature]. [Camera: angle, focal length, aperture, film stock]. [Quality flags].
Example for sneakers:
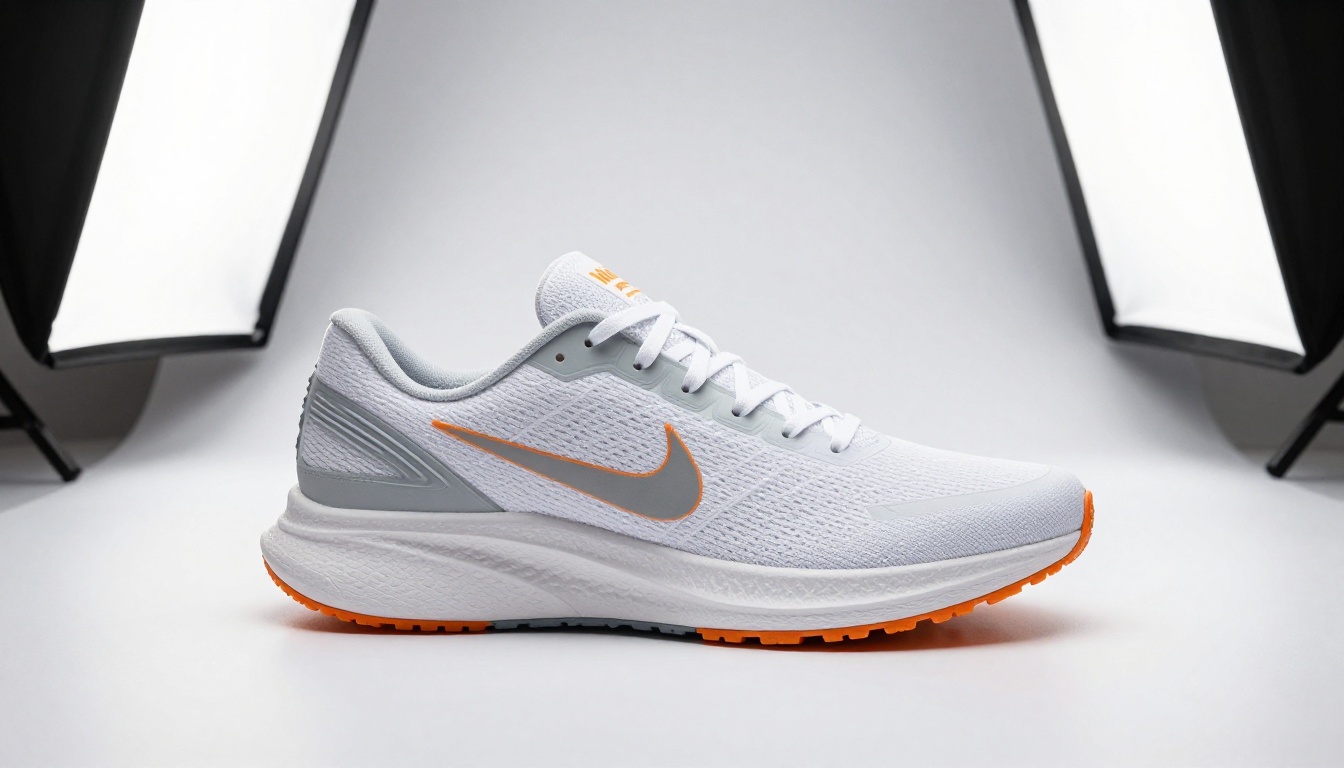
White and gray minimalist running shoe on glossy white acrylic surface, soft gradient shadow beneath. Pure white gradient studio wall background. Soft even illumination from two large octabox softboxes at 45 degrees left and right, 5500K daylight. Sony A7R5 85mm f/6.3, Kodak Portra 400 film grain, photorealistic --ar 16:9 --style raw
Example for a luxury watch:
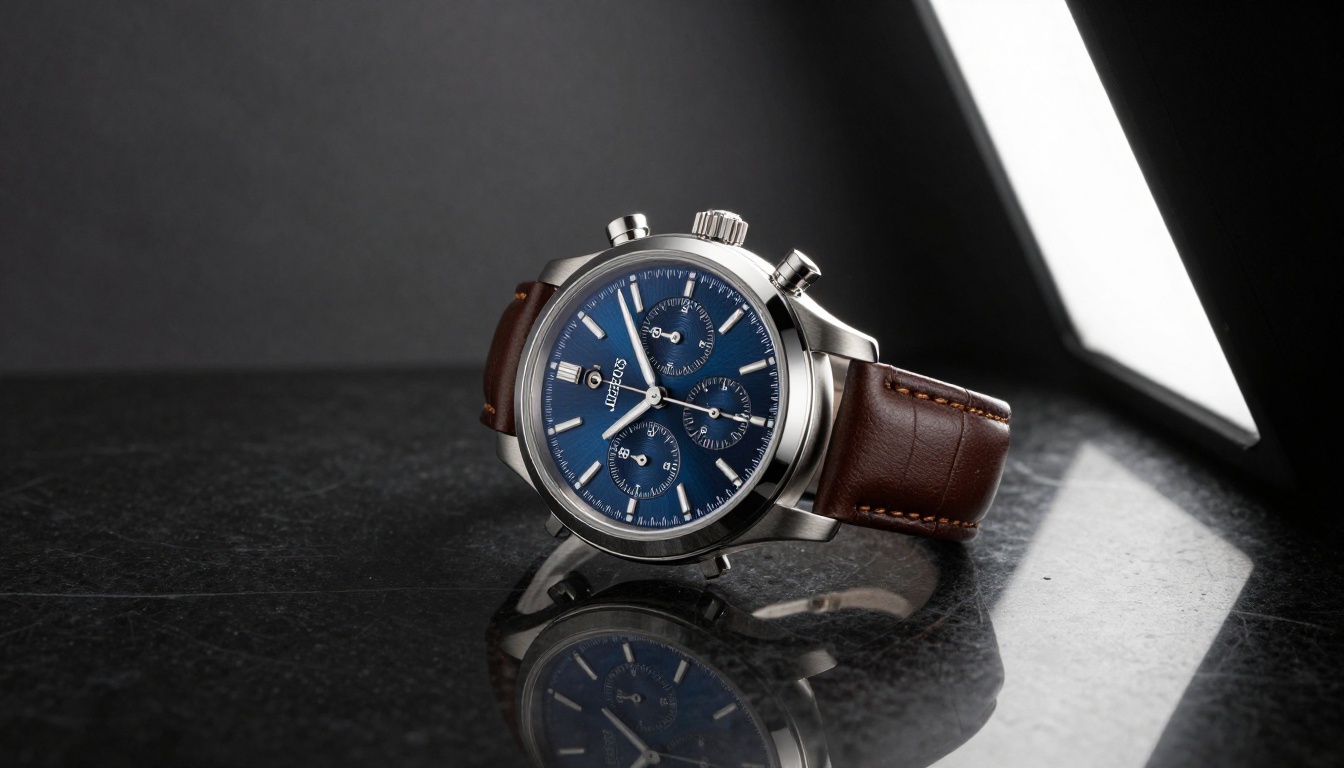
Swiss chronograph watch with blue sunburst dial and brown leather strap on polished black marble, diagonal placement showing dial and reflection. Dark charcoal studio wall softly out of focus. Dramatic single narrow strip softbox at 90 degrees right, ISO 200. Nikon Z9 105mm macro f/5.6, photorealistic metal surfaces with brushed and polished finish detail, film grain texture --ar 16:9 --style raw
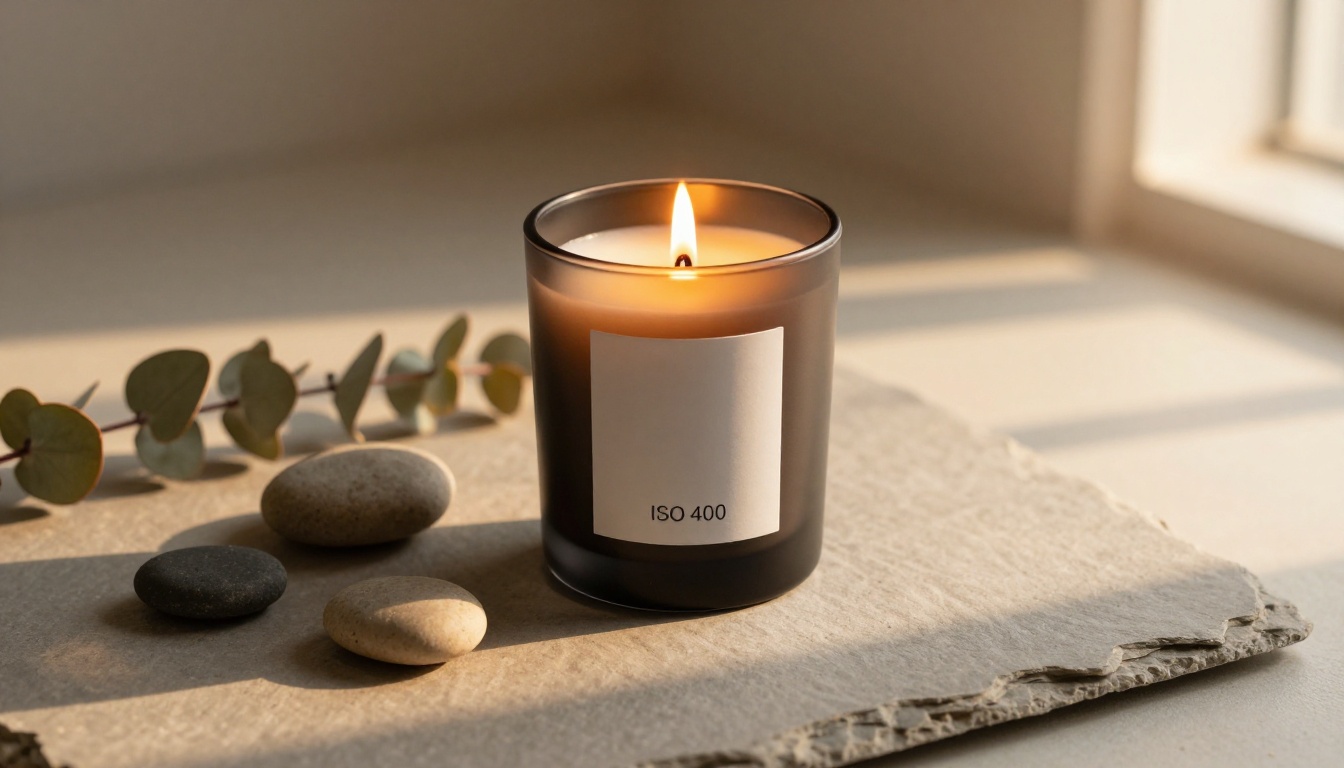
Example for a candle:
Matte black glass candle vessel with white minimalist label on light gray slate surface. Warm out-of-focus background. Golden hour window light from right at 4500K casting long warm shadow, eucalyptus branches and smooth river stones as styling props. Sony A7R5 85mm f/1.8 ISO 400, Kodak Portra 400 film grain, candlelight glow from within vessel, amber halo on surface --ar 16:9 --style raw
Lighting descriptions that matter
Lighting is where most people lose image quality. Vague lighting instructions produce vague lighting results. These specific descriptions produce the most consistent commercial-quality outputs:
"Volumetric morning light from left, 5600K": Natural, editorial feel. Strong for beauty, skincare, and lifestyle products.
"Single narrow strip softbox at 90 degrees right": High contrast, dramatic. Strong for watches, jewelry, and tech.
"Two large octabox softboxes at 45 degrees left and right, even fill": Flat, commercial, no harsh shadows. Strong for shoes, apparel, and packaging.
"Golden hour window light from right, long warm shadow, 4500K": Lifestyle warmth. Strong for food, candles, and home goods.
"Diffused overhead studio strobe, 5500K, no shadows": Clean e-commerce white background. Strong for any product requiring a pure white listing image.
💡 Tip: Always specify color temperature in Kelvin (4500K, 5600K, 6500K). It removes ambiguity and produces more consistent white balance across multiple generations of the same product.
Common mistakes to avoid
Describing the same element twice with conflicting details. If you write "white marble surface" and then "white background," the model may blend them into one continuous white plane with no distinction. Be precise about what is the surface and what is the background, and describe them separately.
Omitting the camera angle. Leaving angle out means the model picks one, and it is usually a flat, front-on view that feels like a driver's license photo. Specify "low angle 15 degrees from surface," "45-degree overhead," or "three-quarter front angle" every time.
Letting props dominate the frame. The product must be the visual hero. Props should occupy no more than 25 to 30 percent of the frame. If your prop list is longer than your product description in the prompt, trim the props.
After the Shot: Upscaling and Finishing
Nano Banana Pro outputs are production-ready for most digital use cases. For high-resolution print or very large-format digital displays, adding an upscaling step takes image quality to a level the base generation alone cannot reach.
When to upscale your product images
For standard digital use including e-commerce listings, social media, and website banners, the base resolution from Google Nano Banana 2 Lite is sufficient. For print marketing, trade show displays, or billboards requiring physical dimensions above 12 inches at 300dpi, upscaling is worth adding to your workflow.
PicassoIA has several upscaling models built into the platform. Clarity Pro Upscaler adds photorealistic detail at 2x and 4x magnification, which is particularly effective on product images because it sharpens surface textures and object edges without introducing artifacts or the oversharpening halos common in cheaper upscalers.
For a fast, no-frills 4x upscale on clean product images with simple backgrounds, Real ESRGAN is reliable and quick. For maximum sharpness at up to 6x magnification for print work, Topaz Image Upscale is the strongest option on the platform.
Removing and replacing backgrounds
Sometimes the AI produces the right product shot but the background reads slightly off. Rather than regenerating from scratch, use PicassoIA's editing tools to isolate the product and place it on a clean white, gradient, or custom environmental background.
The PicassoIA Image Editor Pro includes inpainting and outpainting tools that let you modify specific areas of a generated product image without touching the product itself. This is especially useful when the product and its immediate surface look correct but the background environment needs to change for a specific campaign or platform requirement.
Product Types That Perform Best
Nano Banana Pro does not produce equal results across every product type. These categories consistently produce the strongest outputs with the least amount of prompt iteration.
Beauty and skincare
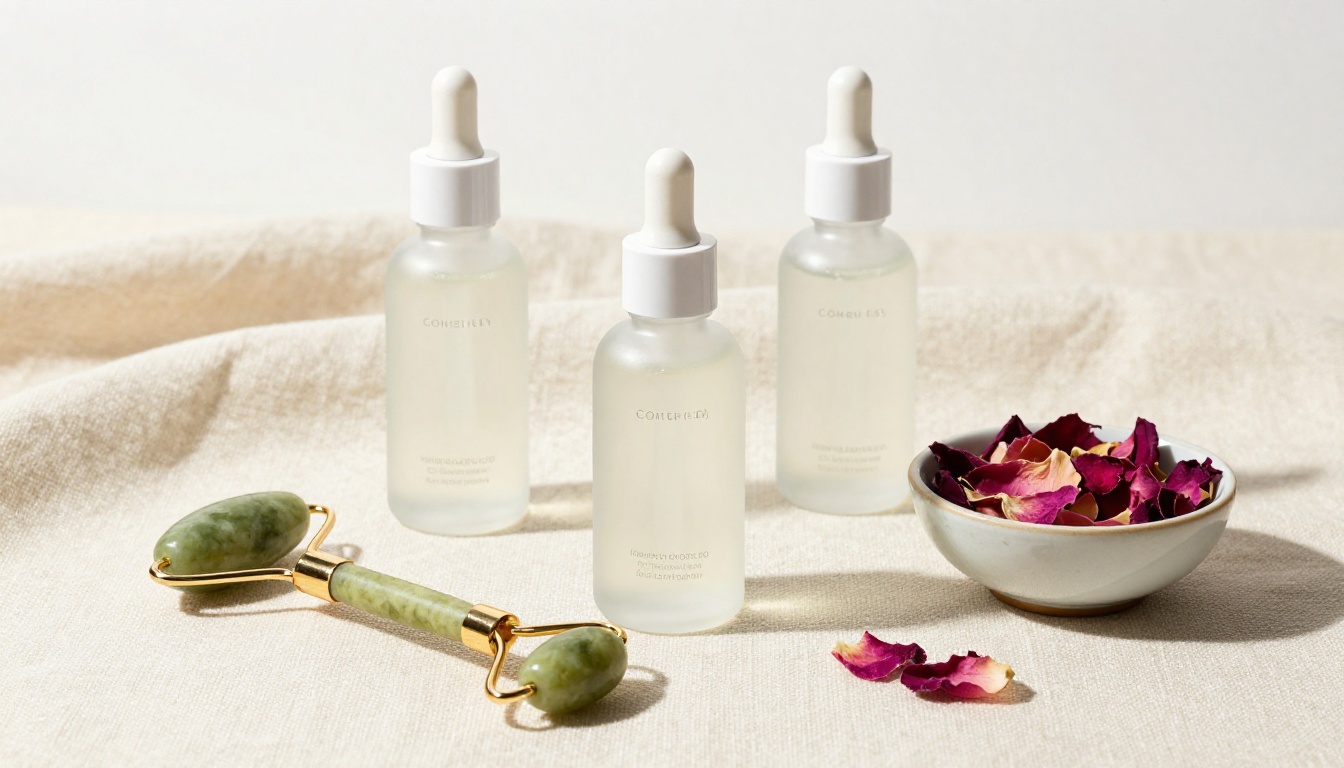
Skincare and beauty products benefit enormously from AI product photography because the category relies so heavily on aspirational styling. A serum bottle on a cream linen surface with rose petals and a jade roller is a proven composition, and Nano Banana Pro reproduces it with photographic conviction every time.
For beauty products where label typography must be legible and accurate, consider GPT Image 2, which handles text rendering within product shots better than most models on the platform.
💡 Skincare prompt tip: Always include the specific finish of the packaging: "frosted glass," "matte white HDPE plastic," or "high-gloss clear acrylic." The finish determines how light interacts with the product surface and is what separates a convincing product image from one that reads as fake.
Electronics and tech
Electronics are a strong category for Nano Banana Pro because the model handles specular highlights on metal and glossy plastic with high accuracy. Headphones, wireless earbuds, smartphones, and cameras all render with convincing surface detail when the lighting description is specific.
For tech products where exact geometric precision is required, such as devices that need perfectly parallel edges or precisely rendered display screens, Recraft V41 Pro is worth testing as an alternative or complement. It has particularly strong performance on products that require typographic accuracy on packaging or screen interfaces. Ideogram V4 Quality is another strong option for products requiring controlled compositional accuracy.
Food and beverage
Food photography requires the most detailed prompting of any category because so much of the visual appeal depends on specific cues: steam rising from a hot drink, condensation droplets on a cold glass, the sheen on a freshly glazed pastry. Nano Banana Pro handles all of these well when the prompt is specific enough about what those physical properties look like.
For food and beverage brands that need a warmer, more saturated, lifestyle-driven color palette, Seedream 4.5 is an excellent complement to Nano Banana Pro. It has particularly strong color rendering for warm-toned scenes with natural light and produces results that feel less clinical than standard studio setups.
Jewelry and accessories
Jewelry is the most technically demanding product category for AI image generation because it requires rendering tiny, highly reflective surfaces with physically accurate light behavior. Diamond facets must show internal reflections. Metal surfaces must show the difference between a polished mirror finish and a brushed satin finish. Gemstone colors must remain saturated without looking oversaturated.
Nano Banana Pro performs well here when paired with very specific lighting instructions. Always specify: the metal type (yellow gold, white gold, sterling silver, platinum), the finish (high-polish, brushed, hammered), the gemstone type and cut (round brilliant, princess, oval, emerald), and the exact number and position of studio lights in your scene. The more specific you are about physical material properties, the more accurate and convincing the output.
Start Shooting Without a Camera
If you are selling products online, or helping clients who do, the cost of commercial product photography just dropped to almost nothing. Google Nano Banana 2 Lite on PicassoIA produces images that would have cost hundreds of dollars per shot a few years ago, and it does it in seconds from a text description.
The workflow is repeatable and scalable. Write a structured five-part prompt, generate a draft, refine the lighting and angle, upscale if needed. Once you have a prompt structure that works for a specific product category, that structure becomes a reusable template across your entire catalog. Swap the product description, keep the lighting and camera parameters, regenerate. In one hour, a small brand can have a full product photography set that looks like it came out of a professional studio.
The prompt formula in this article is not complicated. It is just specific. Specificity is the entire skill. A vague prompt gives a vague result. A precise prompt describing material, surface, background, lighting direction, color temperature, focal length, and film stock gives a precise, commercial-quality result that buyers trust.
Pick one product from your catalog. Write a five-part prompt using the examples in this article as your template. Generate three variations. The difference in quality between that first prompted image and a generic "product on white background" generation will be immediately obvious.
Visit PicassoIA's full model collection to see everything available beyond Nano Banana Pro, from editing tools to upscalers to alternative generation models. The complete toolset for professional product photography is already there, no studio booking required.