Short answer: yes, but only when you use the right kind of model. Type "pixel art knight" into a general image generator and you will usually get a smooth illustration with a blocky filter on top. Use a model trained specifically on pixel grids and the result changes: sharp square pixels, limited palettes, clean outlines and sprites you can drop straight into a game engine. This article shows where AI succeeds, where it still stumbles, which free tools are worth your time, and the exact settings that separate usable pixel art from muddy mush.
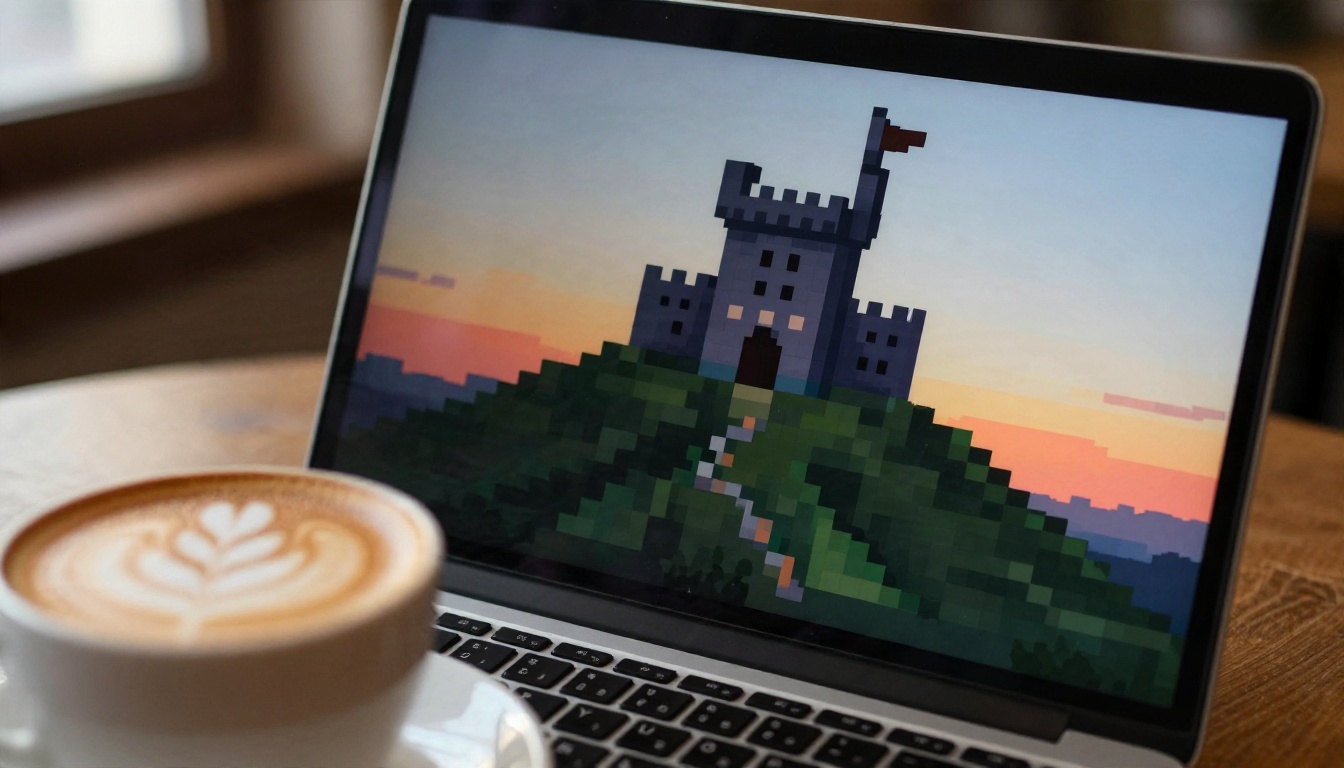
The Short Answer
Pixel art looks simple, which is exactly why it is hard to fake. Every pixel is a decision. A human artist places a 16x16 sprite one square at a time, and each square has to earn its spot. AI image models were built to paint smooth gradients across thousands of pixels, so the two goals pull in opposite directions.
Where AI Gets It Right
Models built for the job handle several things well:
- Consistent pixel size. Every square on the canvas is the same size, so the image reads as true low resolution art.
- Limited palettes. Colors stay in a tight family instead of drifting into thousands of shades.
- Fast iteration. You can try twenty character ideas in the time it takes to sketch one by hand.
- Asset variety. Items, icons, UI boxes, tiles and isometric objects are all within reach.
- Photo conversion. A reference photo can be turned into a stylized pixel version while keeping the composition.
Where It Still Fails
Be honest with yourself about the weak spots before you plan a whole game around generated sprites:
- Animation frames. Getting the same character in eight walk cycle poses with identical proportions is still unreliable.
- Tiny sprites. At 16x16, a single stray pixel can ruin an eye or a hand.
- Exact anatomy. Hands, weapons and symmetrical details sometimes need cleanup.
- Strict style matching. Matching an existing game's art style perfectly takes careful palette and seed control.
💡 Rule of thumb: treat AI pixel art as a very fast first draft. For a game jam or a prototype, that draft is often final. For a commercial release, plan on a short manual cleanup pass.
Why General Models Fake It
Most people try pixel art with whatever generator they already use, then decide AI is bad at it. The problem is the tool, not the idea.
The Fake Pixel Problem
A general model does not think in a grid. It paints a picture and then imitates the look of pixels. Zoom in and you find the giveaway: blocks of different sizes, soft anti-aliased edges, and gradients that no real pixel artist would use. A true pixel art image has a fixed grid, hard edges and flat color regions.
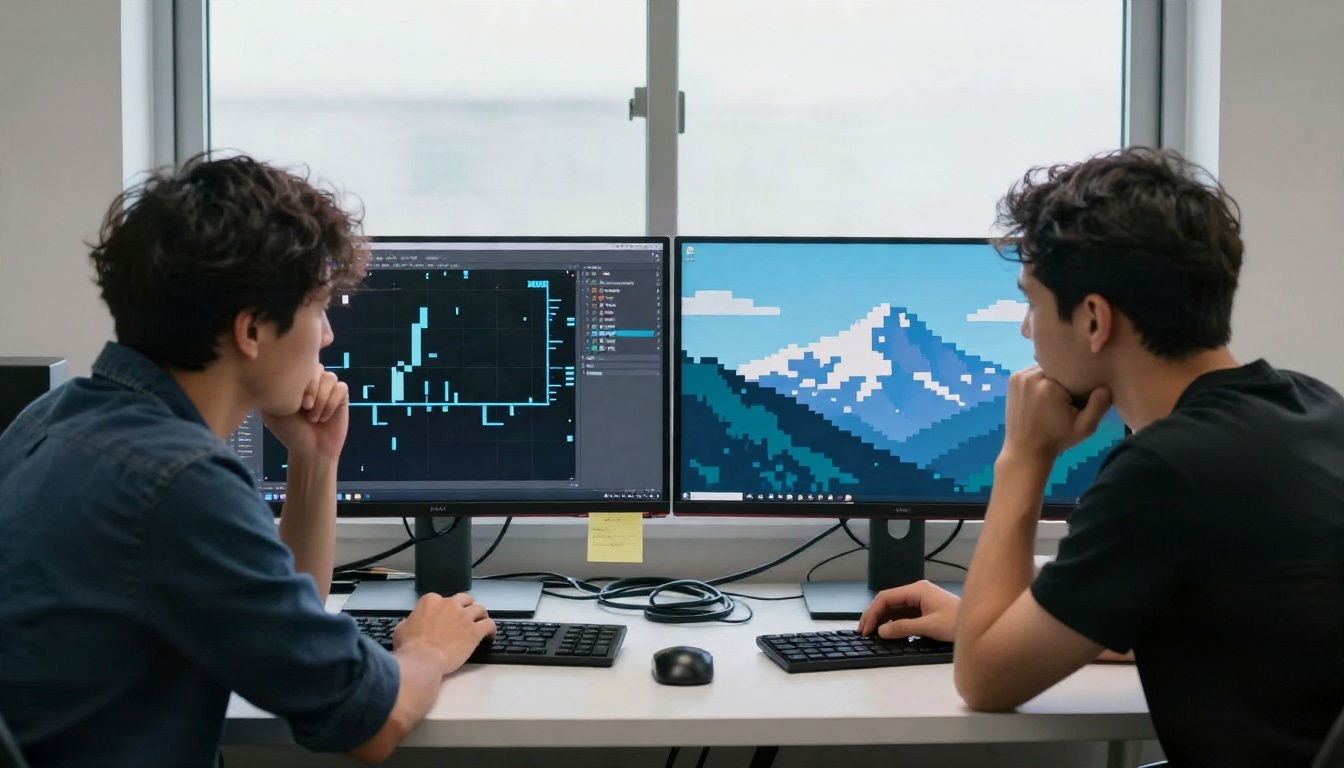
The photo above shows the difference in one glance. The left screen has uneven blocks and soft edges. The right screen has a single, consistent grid size. That consistency is the first thing to check in any generator's output.
Palette Drift and Outline Noise
Two other tells show up fast. Palette drift means the image uses hundreds of near-identical colors where a human would use six. Outline noise means the black borders around a sprite wobble in thickness instead of staying one pixel wide. Both make a sprite look cheap and both make it harder to recolor or animate later.
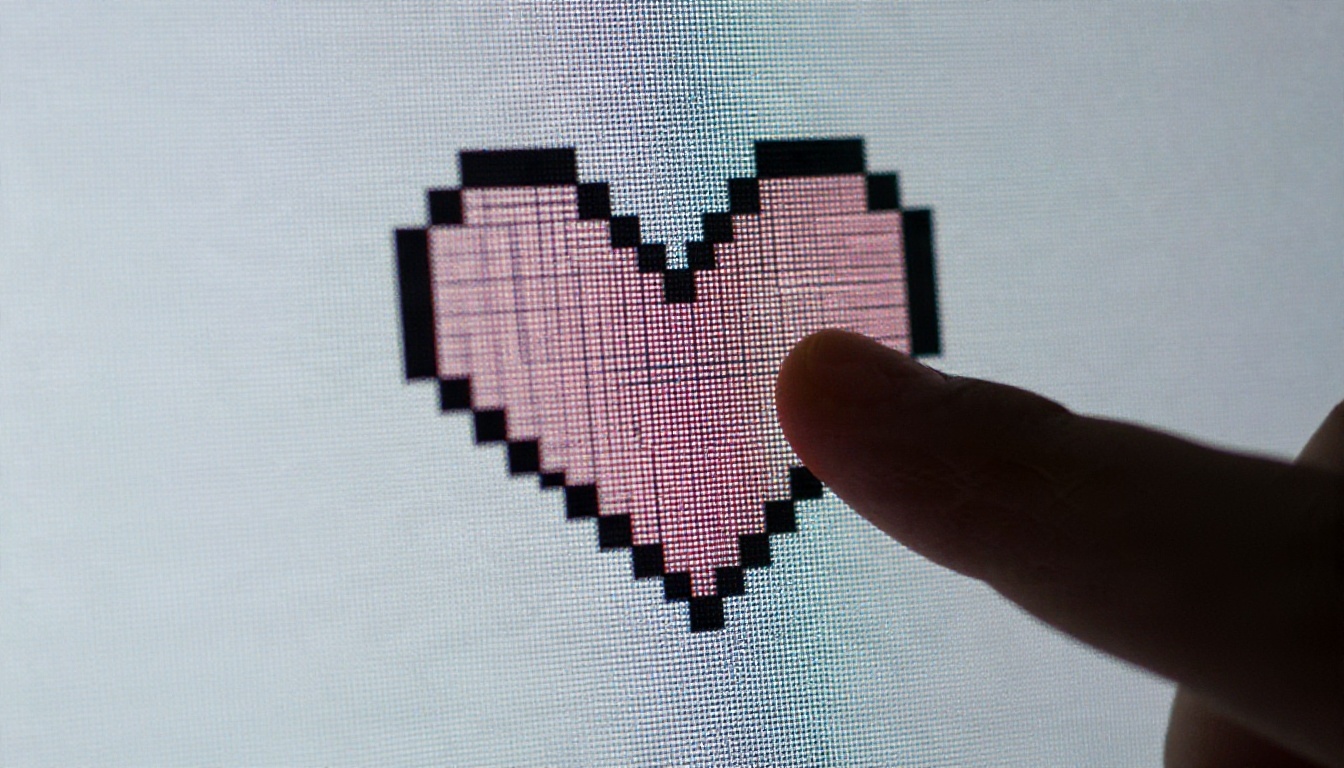
Examples of What Works
The best way to judge is by use case. Here is what generators built for pixel art handle well.
Sprites and Characters
Character sprites are the most common request. A good pixel model can produce a hero, an enemy or an NPC on a plain background, and some style presets output several viewing angles at once, which saves you from describing each direction separately. Rd Plus includes a character turnaround style for exactly this, and Rd Fast has a similar preset when you want quicker drafts.
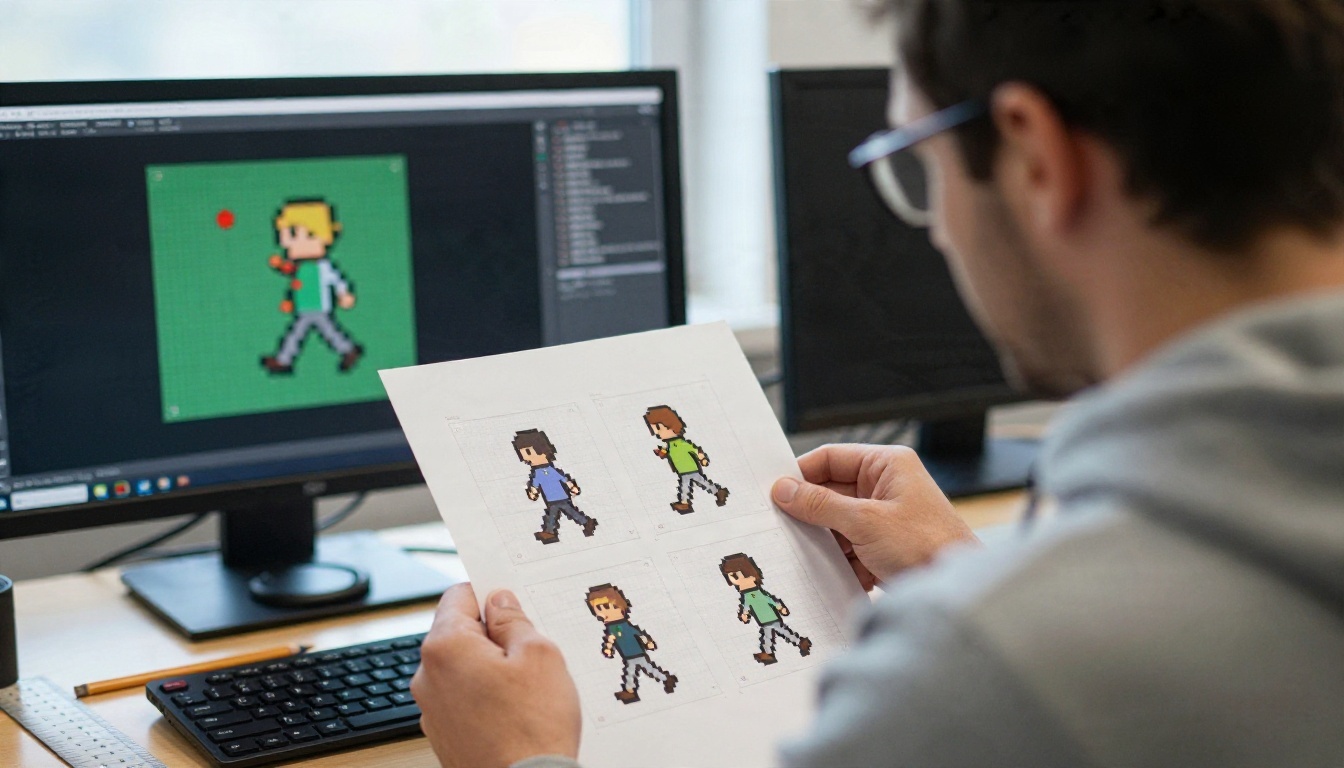
Tips that improve sprite results:
- Name the character's role and two or three visual traits, such as "red cloaked archer with a green hood".
- Ask for a plain, single color background so cutting it out is easy.
- Keep the prompt short. Long, flowery prompts push the model toward illustration.
- Generate several versions and pick the one with the cleanest silhouette.
Tilesets and Environments
Tiles are where AI saves the most time. Drawing a seamless grass tile with matching edge pieces by hand is tedious. Rd Tile is built for it and offers separate modes for full tilesets, single tiles, tile variations, tile objects and scene objects. You describe the terrain, set the tile size, and get a set that connects properly.
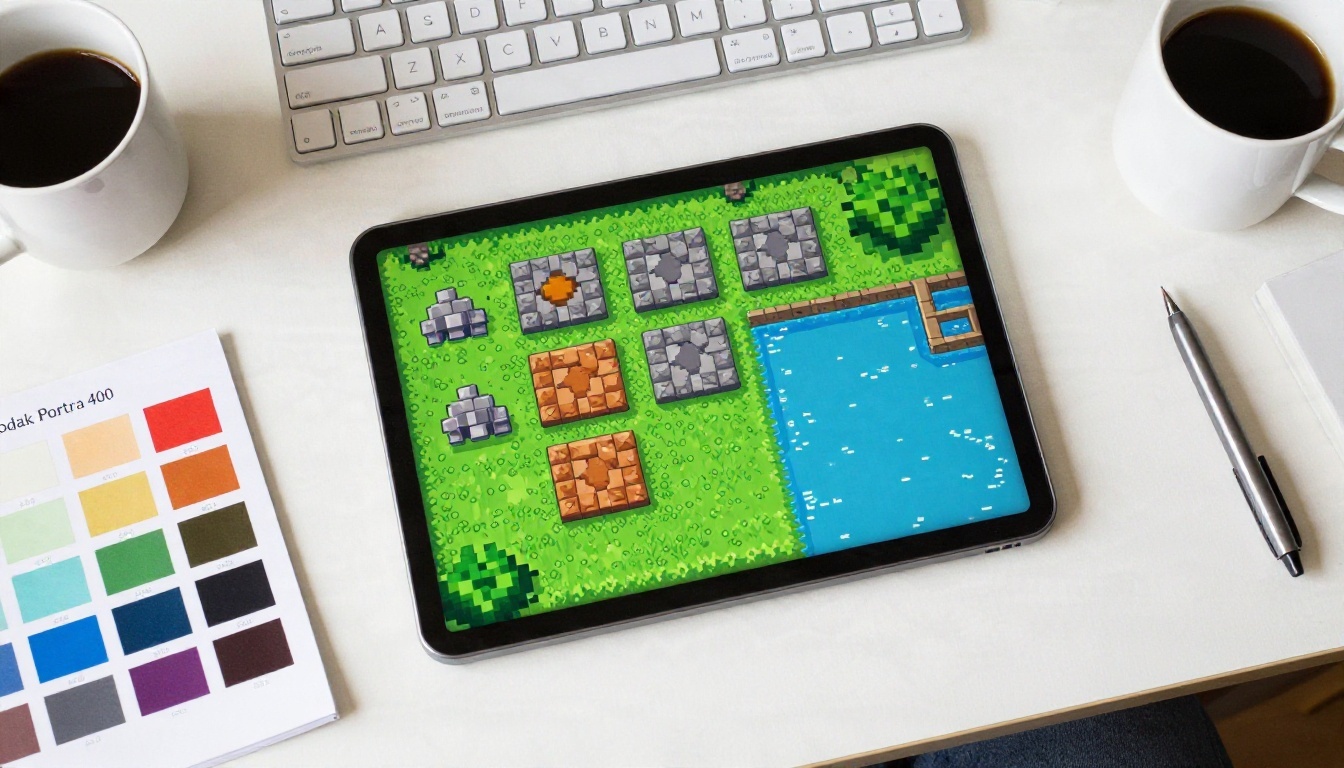
For single textures that need to repeat, Rd Plus offers tiling on the X axis, the Y axis, or both, so the edges line up when the image repeats across a surface.
Photo to Pixel Conversion
This is the most fun use. Upload a photo of your dog, your living room or a portrait of a friend, and ask the model to restyle it as pixel art. Both Rd Plus and Rd Fast accept an input image, and a strength value controls how much the output follows your text versus the original picture.
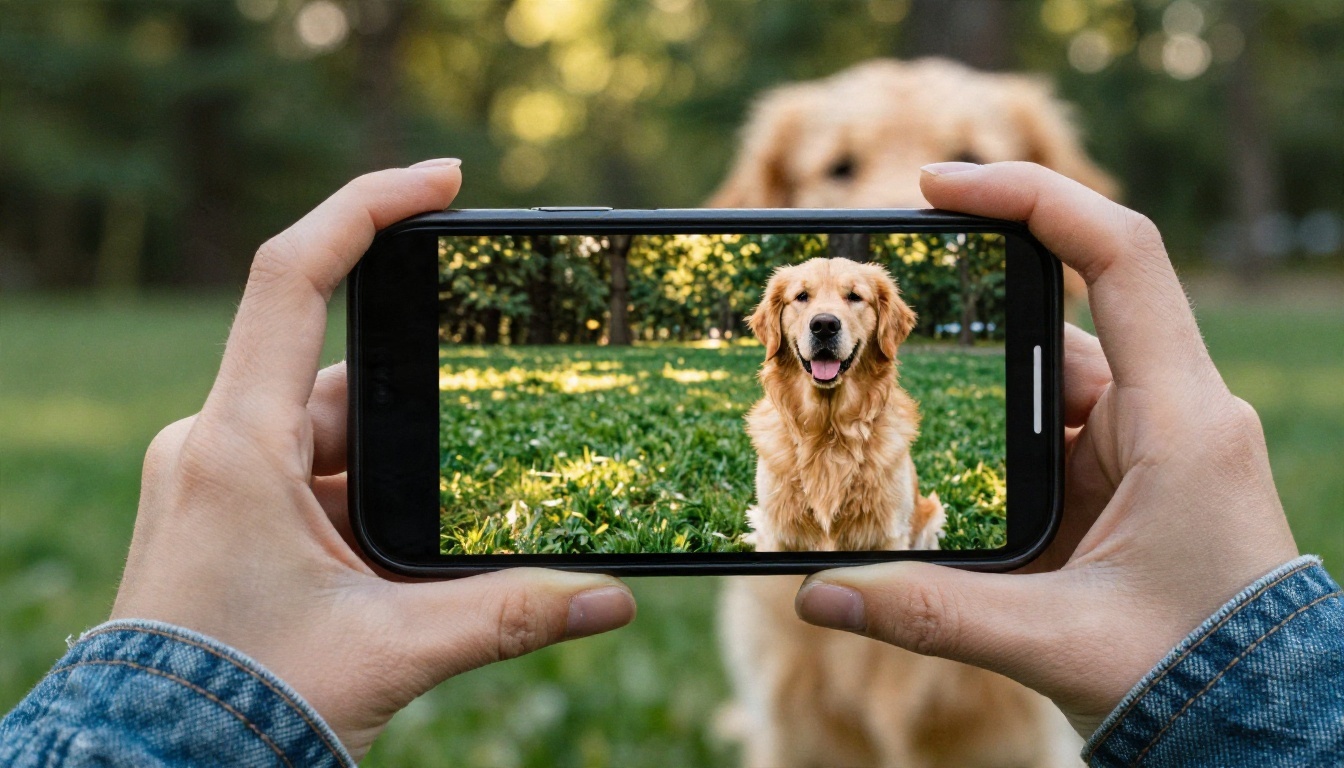
If the result drifts too far from the photo, lower the strength so more of the input shows through. If it looks too much like a filtered photograph, raise it.
Retro Console Looks
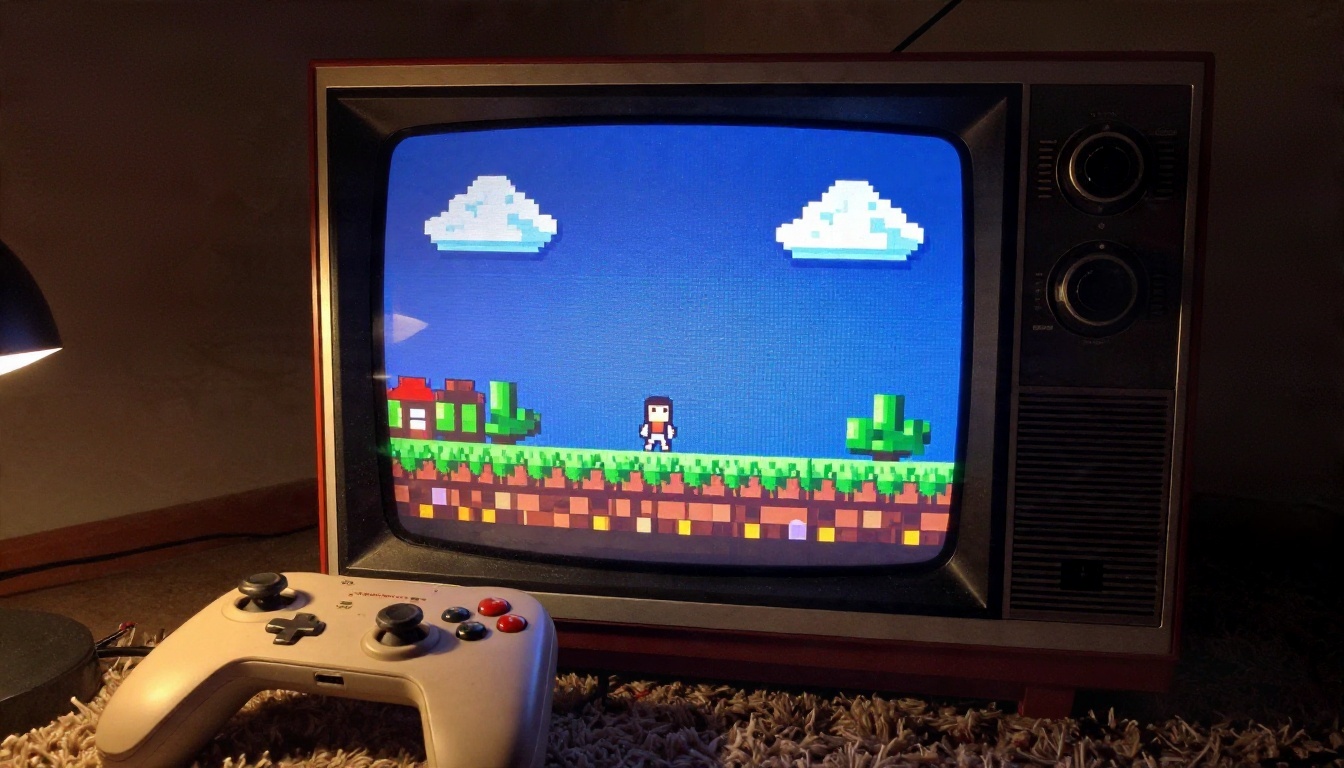
Different eras have different rules. The PC98 style, with its dithered shading and moody palettes, looks nothing like a clean modern indie sprite. A retro preset gives you that older arcade feel without you having to specify every detail.
Not every tool deserves the same attention. Here is a quick comparison of what is available on PicassoIA for pixel work, plus general models that can serve as fallbacks.
| Tool | Best for | Notable options |
|---|
| Rd Plus | Highest quality sprites, scenes, items | 19 styles, palette input, transparent export, tiling, image input |
| Rd Fast | Quick drafts and many variations | 14+ presets including 1-bit, portrait, UI, Minecraft items |
| Rd Tile | Tilesets and map objects | Tileset, single tile, variation, tile object, scene object |
| Nano Banana | Editing and restyling reference images | Image editing from prompts |
| Seedream 4.5 | Pixel art style concept scenes | Strong prompt following |
Pixel Specific Models
If your goal is a real game asset, start with the Retro Diffusion family. Rd Plus is the quality option, Rd Fast is the speed option, and Rd Tile is the specialist for environments. Together they cover characters, items, UI, textures and maps.
General Models as Fallbacks
General models can still be useful for pixel art style illustrations, such as a poster, a cover scene or a concept image where a perfect grid does not matter. Seedream 4.5 and Flux Schnell follow style prompts well, and Nano Banana is handy when you want to edit an existing image. Just do not expect a grid you can import into a tile editor.
💡 If a general model gives you an image you love, run the same idea through a pixel specific model afterwards. You get the composition from one and the clean grid from the other.
How to Use Rd Plus on PicassoIA
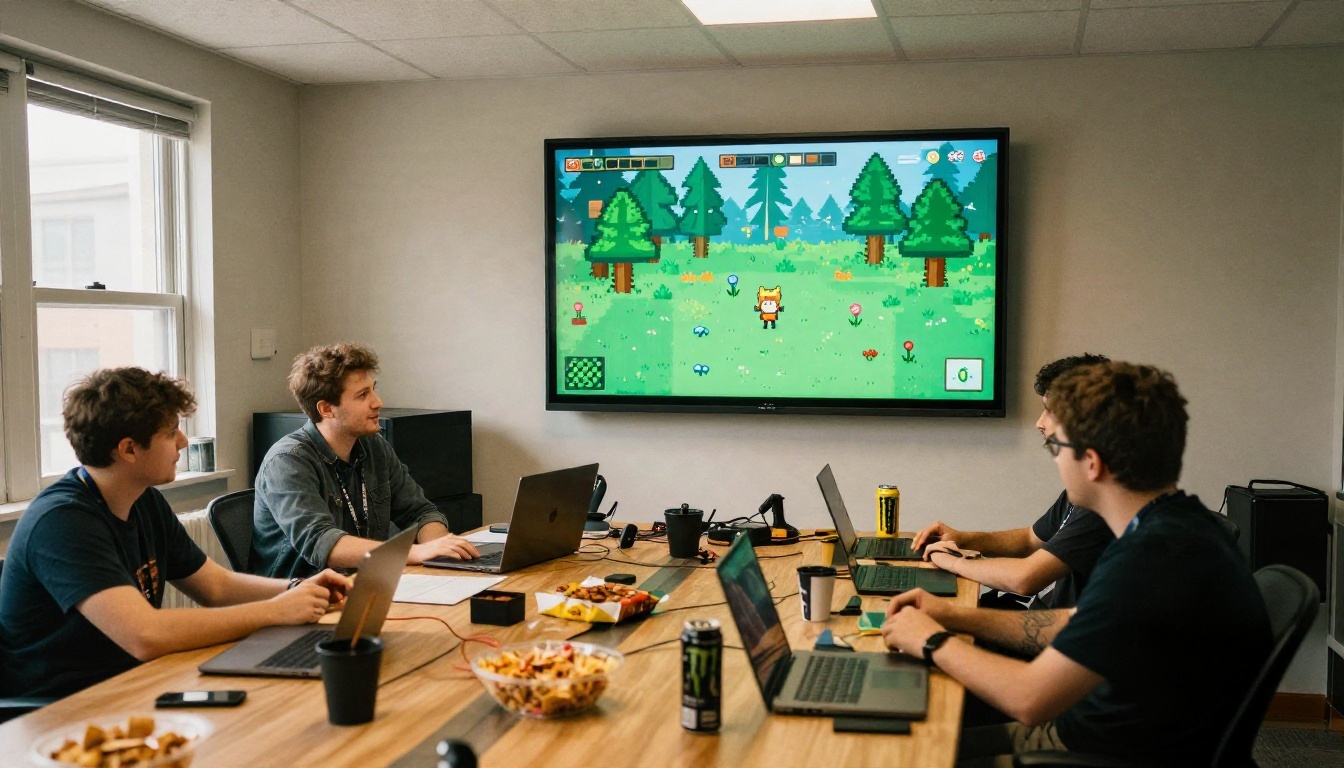
Rd Plus is the best starting point for most people. It turns a text prompt into pixel art with a choice of 19 styles, transparent export, tiling and image input.
Step by Step
- Open the Rd Plus page on PicassoIA.
- Write a short prompt describing the subject, for example "a small wizard holding a glowing staff".
- Choose a style from the dropdown. Start with default for clean bold outlines, or classic for medium resolution art with simple shading.
- Set width and height. The default is 256 by 256, and smaller sizes give chunkier, more authentic pixels.
- Switch on remove background if you want a transparent PNG for a game engine.
- Optionally upload an input image or a palette image to guide composition or colors.
- Set num images above one so you can compare several results at once.
- Generate, pick your favorite, and note the seed so you can reproduce it later.
Settings That Matter Most
| Setting | What it does | Suggested use |
|---|
| Style | Applies a preset look | Default for sprites, topdown_asset for map items, isometric_asset for 3D feeling objects |
| Width and Height | Sets the canvas size | Try 64 to 128 for sprites, 256 for scenes |
| Remove Bg | Exports transparency | On for characters, items and icons |
| Tile X and Tile Y | Makes edges repeat | On for ground and wall textures |
| Strength | Balances prompt against input image | Lower to stay close to the photo, higher to follow the text |
| Input Palette | Locks the color scheme | Use one swatch image across a whole asset pack |
| Seed | Makes results repeatable | Save seeds you like |
| Bypass Prompt Expansion | Turns off automatic prompt rewriting | Turn on if the model keeps adding details you did not ask for |
Settings That Work
The model matters, but how you set it matters just as much. These are the habits that consistently produce better pixel art.
Keep the Canvas Small
Big canvases invite detail, and detail is the enemy of readable pixel art. A 64x64 character with a clear silhouette looks better than a 512x512 one filled with noise. Start small. You can always scale a clean image up later with nearest neighbor resizing, which keeps the hard edges intact.
💡 Avoid smoothing upscalers on finished pixel art. A tool like Real ESRGAN is great for photos, but it will blur the hard pixel edges you worked to get. Enlarge pixel art with a nearest neighbor setting in your image editor instead.
Lock Your Palette
Consistency across a set of assets comes from the palette. Make a small swatch image with six to sixteen colors, upload it as the palette input, and every sprite in the pack will share the same colors. This is the fastest way to make AI output feel like it belongs to a single game.
Reuse Seeds on Purpose
When you find a character you like, save the seed. Keep the seed and change one word in the prompt, such as the weapon or the cloak color, and you get a variation that stays close to the original. Change the seed and you get a new character entirely.
Write Prompts Like Labels
Pixel models respond best to short, concrete phrases. Compare these two:
- Weak: "An epic, highly detailed, atmospheric masterpiece of a brave warrior in a dramatic pose with beautiful lighting"
- Strong: "warrior with a blue shield and short sword, side view"
The second gives the model a clear subject, colors and angle. Mood words tend to push it toward painterly output, which is the opposite of what you want.
Fixing Common Problems
Even with the right model, a few issues come up again and again.
Blurry or Soft Edges
If a result looks soft, check that you are viewing it at a whole number multiple of its size. Viewing a 64 pixel image at 150 percent in a browser creates blur that was not in the file. Zoom to 200, 300 or 400 percent instead. If the file itself is soft, try Rd Plus with a lower width and height.
Cluttered Sprites
When a sprite has too many tiny details, simplify the prompt and use a cleaner style such as simple in Rd Fast. Removing adjectives usually helps more than adding them.
Leftover Backgrounds
If the background is not clean, use the remove background option in the generator, or run the image through Remove Background. Check the edges afterwards, since automatic cutouts can leave stray semi-transparent pixels around a sprite.
Mismatched Characters Across Poses
This is the hardest problem. Use the same seed, the same palette and a turnaround style, then fix small differences by hand or with an editor such as PicassoIA Image Editor Pro. Expect to touch up some frames if you are building an animation.
From Screen to Wall
Pixel art is not only for games. Prints of clean pixel scenes look great on a wall, and they are a good test of quality: if the grid holds up on paper, it is consistent.
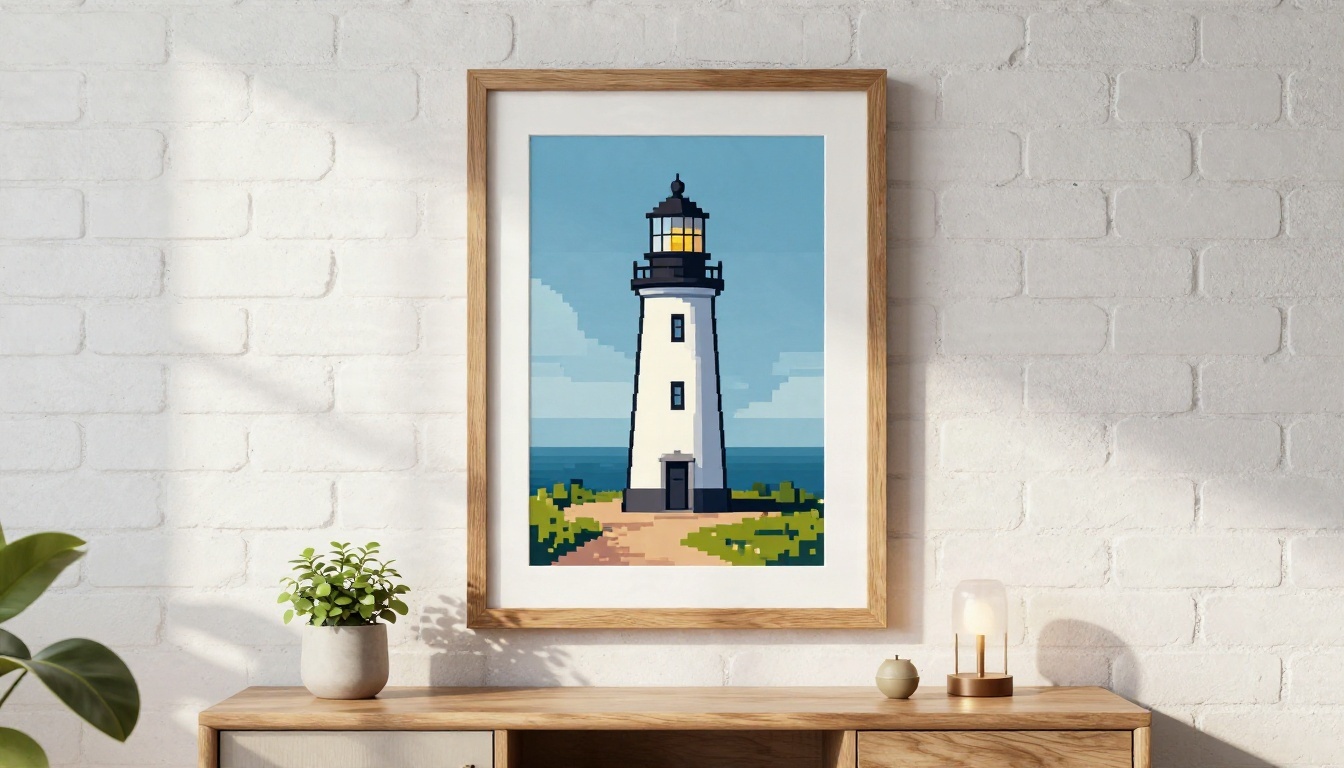
For prints, export at a size that is a clean multiple of the original, so every pixel becomes an identical square on paper. For posters with a smooth, vector look, a tool like Recraft v4.1 SVG is a different path, but for true pixel grids the Retro Diffusion models remain the better fit.
Try It Yourself
So, is AI good at pixel art? With a general model, only sometimes. With a model built around pixel grids, it is genuinely useful for sprites, items, tilesets and photo conversions, as long as you keep the canvas small, lock a palette and write short prompts.
Here is a simple first experiment: open Rd Plus, type a one line prompt for a character you would like in a game, set the size to 128 by 128, switch on remove background and generate four versions. Then try the same prompt in Rd Fast and compare the results side by side. When you are ready for maps, move to Rd Tile and build a small ground tileset.
You can find more image generators on PicassoIA at picassoia.com/en/all-models. Pick a model, write your first prompt and see what your own pixel world looks like.


