Most Instagram creators are still guessing when it comes to camera movement in their Reels. They add a random pan, hope it feels cinematic, and wonder why their content looks cheap compared to accounts growing at 10x speed. The difference is almost never the subject matter. It is the motion.
Kling v3 Motion Control changes that equation entirely. For the first time, AI-generated video can follow a precise camera path you define, producing the kind of deliberate, story-driven movement that used to require a physical gimbal, a dolly rig, and hours of post-production. This is not incremental improvement over Kling v2. The motion control system in v3 is a separate workflow with fundamentally different capabilities, and if you are creating content for Instagram Reels specifically, the details matter more than you think.
What Kling v3 Motion Control Actually Does
Before version 3, Kling produced camera movement the same way every other AI video tool did: you described movement in text, the model interpreted it, and results varied wildly. Sometimes a "slow push-in" turned into a chaotic zoom. A "pan left" might wobble or stall halfway through. The output was unpredictable at best.
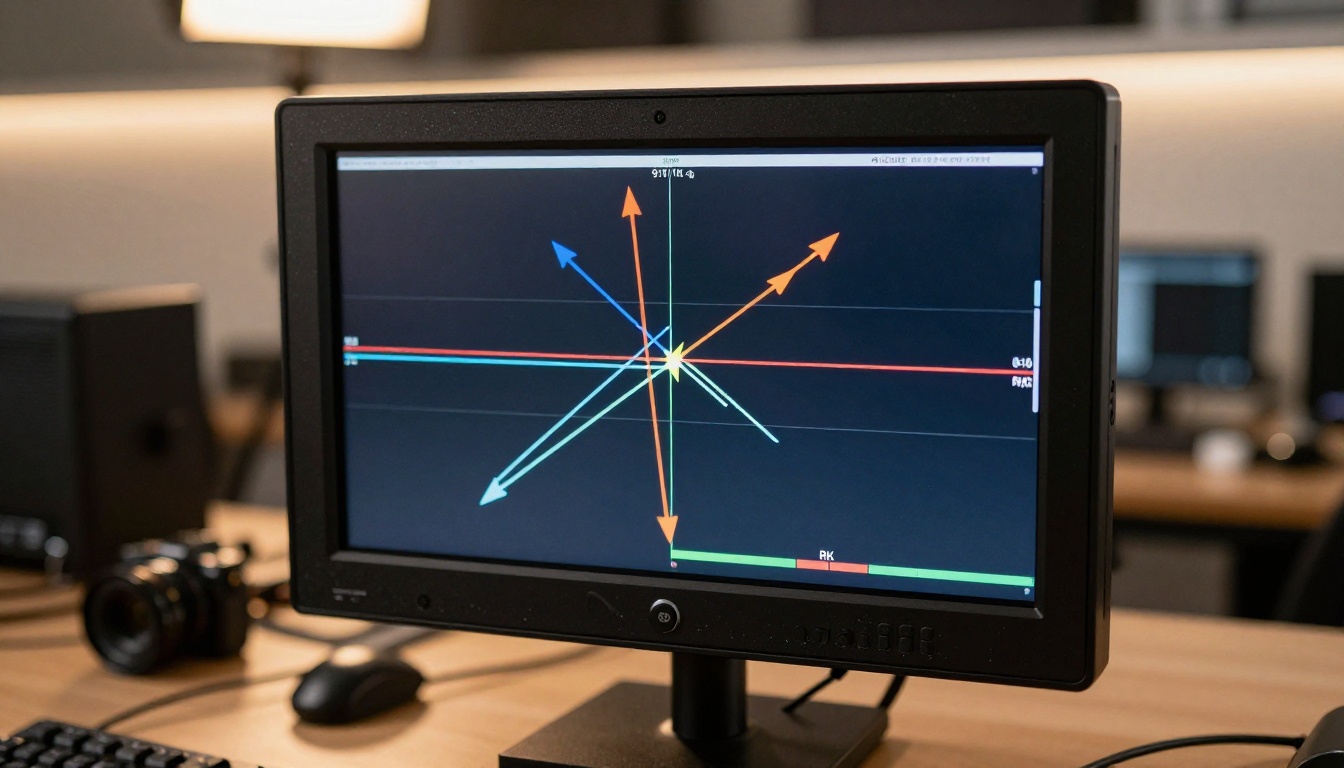
Kling v3 Motion Control replaces that text-interpretation system with a direct camera path editor. You draw the actual trajectory. You place keyframes. You define the speed curve between those keyframes. The model then executes that specific movement on the image you provide, generating realistic motion, parallax, and depth that match the path you drew.
The result is a completely different creative tool. Instead of hoping the AI understands "cinematic dolly-in," you tell it precisely how far the camera moves, at what speed, and in what direction across the five-second clip.
The Bezier Curve System
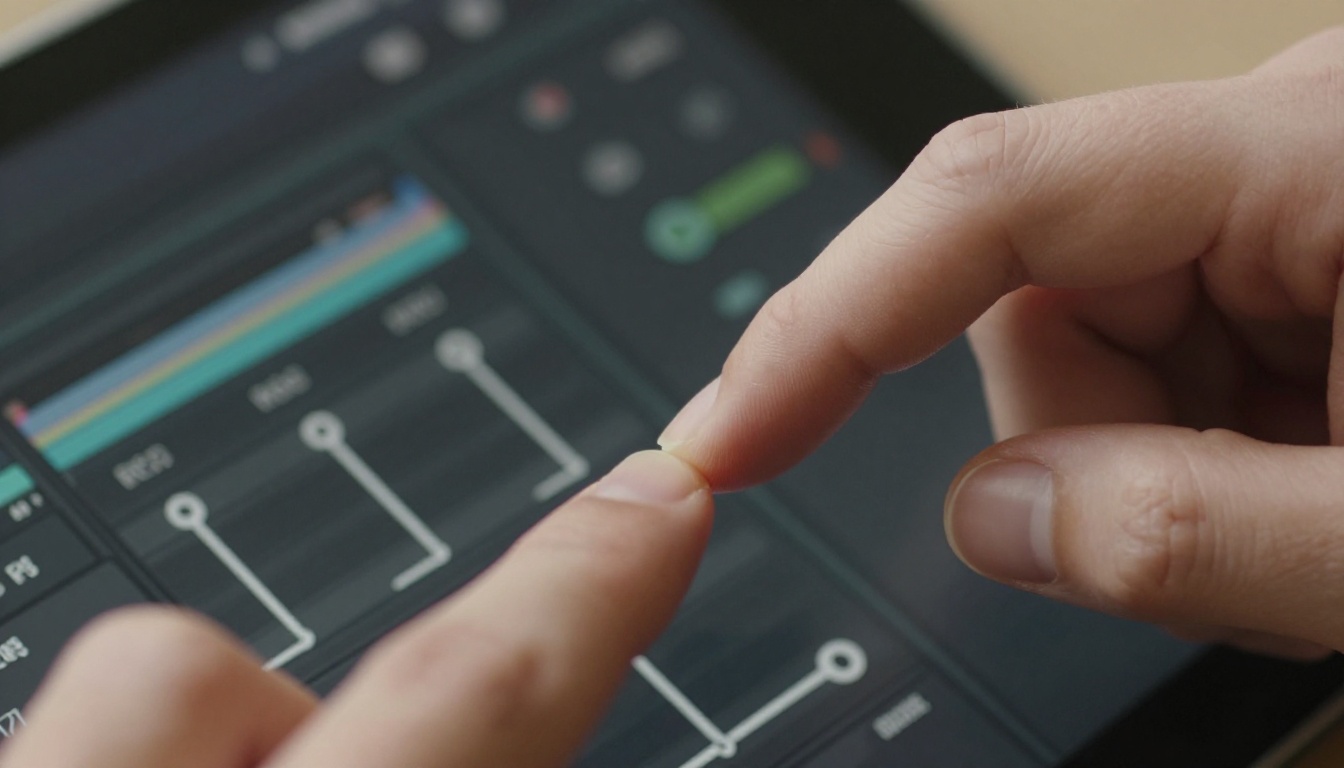
The motion path in Kling v3 uses bezier curve handles, the same control system used in professional animation software like Adobe After Effects and DaVinci Resolve. You set an anchor at the start position, drag the curve handle to define arc shape, and place the end position with its own handle. The curve defines both the path in space and the acceleration profile of the movement.
This matters for Instagram Reels because organic easing is what separates professional-looking motion from amateur video. A camera that starts slow, accelerates through the middle, and gently decelerates at the end reads as intentional filmmaking. A camera that moves at constant speed looks like surveillance footage.
Three Axes of Movement
Kling v3 Motion Control operates across three movement axes simultaneously:
- Horizontal (X): Left and right pan or slide
- Vertical (Y): Up and down tilt or crane movement
- Depth (Z): Push-in, pull-out, and dolly movement toward or away from the subject
Most motion effects for Reels combine at least two axes. A dolly-zoom uses Z-axis movement combined with subtle Y-axis compensation. An orbital shot combines X and Z simultaneously. The ability to control all three independently is what makes the output feel three-dimensional rather than flat.
Why Reels Demands Precise Motion
The Instagram algorithm rewards watch time completion rate. If users watch your Reel to the end, or replay it, the algorithm pushes it further. Camera movement is one of the most reliable tools for driving that behavior, but only when executed correctly.
Random or weak movement actually hurts completion rates. It signals amateur production, causes visual disorientation, and gives viewers an unconscious reason to swipe away. Precise, purposeful motion does the opposite: it creates visual pull, a sense that something is about to be revealed, which keeps eyes locked on the screen.
Vertical Format Physics
Reels run at 9:16 aspect ratio, and that vertical format changes how motion is perceived compared to widescreen cinema. In a vertical frame:
- Vertical camera movement (crane up/down) feels more dramatic because there is more headroom and floor space to reveal
- Horizontal pans cover less visual distance before hitting the frame edge, making them feel rushed if not eased carefully
- Z-axis push-ins feel more intimate and confrontational because the subject fills the frame faster
This is why default motion presets optimized for widescreen video often feel wrong when applied to Reels. You need to adjust the distance and speed of movement for the taller, narrower frame.
These are the specific motion patterns that perform consistently well in Reels, ordered by frequency of use among top-performing accounts.
The Slow Push-In
The simplest motion in the set is also the most effective. A slow Z-axis push-in over five seconds, starting 15-20% back from the subject and ending at natural portrait distance, creates a sense of presence and intimacy. It signals to the viewer's brain that something important is being revealed.
Settings in Kling v3 Motion Control:
- Axis: Z only
- Distance: 15-20% of frame depth
- Easing: Slow start, hold speed through middle, slow finish
- Best for: Talking-head Reels, product reveals, recipe content
The Orbital Reveal
An orbital shot moves around the subject in a partial arc, typically 30 to 90 degrees of rotation. This is achieved by combining X-axis pan with simultaneous Z-axis adjustment to maintain subject distance. It creates a cinematic "reveal" effect that makes static subjects look three-dimensional.
Settings in Kling v3 Motion Control:
- Axis: X + Z combined
- Arc: 30-45 degrees for subtle effect, 60-90 degrees for dramatic reveals
- Speed: Moderate, with ease-in at the start
- Best for: Product shots, architecture, fashion
The Dolly Zoom
The dolly zoom, sometimes called the Vertigo effect, moves the camera backward on the Z-axis while simultaneously adjusting field of view to keep the subject the same size in frame. The result is a distortion of background perspective that creates a powerful sense of unease or surprise. It is one of the most recognized cinematic effects in film history.
In Kling v3 Motion Control, achieving this requires pairing the Z-axis motion setting with the focal length compensation slider. The effect is striking when used selectively. Overuse it and the impact disappears.
Best for: Reaction moments, dramatic reveals, emotional beats in storytelling Reels
The Crane Up
A vertical crane movement starting at ground level or low on the subject, rising smoothly upward, reveals the subject and environment simultaneously. In vertical Reels format, this motion covers a lot of visual territory very efficiently, making short clips feel larger in scope.
Settings: Y-axis movement only, slow and steady ease, start tight on detail and end wide.
The Handheld Drift
This is not literally handheld footage, but a simulated micro-movement that mimics the slight, organic instability of a camera operator holding the shot. The movement is a combination of very small X and Y axis oscillation with minimal Z. Applied correctly, it makes AI-generated video look far more naturalistic and removes the "too smooth" quality that signals artificial generation.
Best for: Lifestyle content, behind-the-scenes Reels, any clip where you want a documentary feel
Using Kling v3 on PicassoIA
PicassoIA hosts Kling v3 Motion Control directly in its video generation collection. Here is exactly how to set up a Reel-optimized motion shot from a single image.
Step 1: Prepare Your Source Image
The quality of motion output depends heavily on the source image. For Instagram Reels, your source image should:
- Be in 9:16 ratio (portrait orientation) so the AI has the correct canvas to work within
- Contain clear depth separation between foreground and background, which helps the model generate realistic parallax
- Have your subject in a position that makes sense as a starting frame for the motion you plan
💡 Tip: If you do not have a suitable source image, use Kling v3 Video in text-to-image mode first to generate a photorealistic frame, then bring that into the motion control editor.
Step 2: Open the Motion Path Editor
After uploading your source image in the Kling v3 Motion Control interface on PicassoIA, you will see a canvas overlay with the path editor. Place your first anchor point at the desired start position, usually the center of frame for most Reels shots.
Step 3: Set Your Motion Path
Draw the path by placing the end anchor point where you want the camera to end after 5 seconds. Drag the bezier handles on each anchor to define the curve shape and easing:
- Handles pointing straight: Constant velocity
- Handles curving gently: Ease-in or ease-out
- Short handles: Tight, sharp movement
- Long handles: Gradual, sweeping movement
Step 4: Adjust Axis and Depth
In the sidebar controls, set which axes are active for your shot. For a pure push-in, activate only Z and set depth value. For an orbital, activate X and Z together. For a crane, activate Y alone.
Step 5: Generate and Review
Generation takes approximately 60-90 seconds. Review the output specifically for:
- Smoothness of easing: Does it feel intentional or mechanical?
- Background parallax: Does the background shift naturally relative to the subject?
- Edge coherence: Does the subject stay fully in frame throughout the motion?
If any of these fail, adjust the path anchor positions and regenerate. Two to three iterations is a normal workflow.
Kling v3 vs. Previous Versions
Understanding where v3 sits relative to earlier Kling models helps you choose the right tool for each project.
| Feature | Kling v1.5 Pro | Kling v2.6 Motion Control | Kling v3 Motion Control |
|---|
| Camera path control | Text description only | Basic keyframe | Full bezier path editor |
| Easing control | None | Linear only | Full ease-in/out curves |
| Multi-axis simultaneous | No | Limited | Yes, all 3 axes |
| Background parallax quality | Basic | Moderate | High |
| Output resolution | 1080p | 1080p | 1080p |
| Ideal for Reels | Moderate | Good | Excellent |
The jump from Kling v2.6 Motion Control to v3 is more significant than the jump from v1.5 to v2.6. The bezier curve editor alone raises the creative ceiling considerably.
Also worth noting: Kling v2.1 Master remains an excellent option for pure text-to-video generation where motion control is less critical, particularly when you need longer clips or specific narrative sequences. And Kling v2.5 Turbo Pro offers faster generation when turnaround speed matters more than path precision.

Other Motion Control Options on PicassoIA
Kling v3 Motion Control is the strongest option for precise, single-image-to-video motion work, but it is not the only tool worth knowing.
Video 01 Director
Video 01 Director by Minimax takes a different approach to camera control. Instead of a path editor, it uses named camera movement commands: dolly-in, dolly-out, pan left, pan right, crane up, crane down, and combinations thereof. It is faster to set up but less precise than v3's bezier system.
It shines for creators who want good camera movement without spending time on path editing. For quick-turn Reels production where you need decent motion rather than perfect motion, Video 01 Director is a strong second choice.
Seedance 2.5
Seedance 2.5 and Seedance 2.0 from ByteDance generate excellent camera movement from text prompts alone, without any path editor. The motion quality is high, particularly for natural-looking drone-style movement and smooth tracking shots. The limitation is predictability: you describe what you want and the model interprets it, which introduces some variance across generations.
Kling v3 Omni Video
Kling v3 Omni Video is the text-to-video sibling of Motion Control. It uses the same underlying model but accepts text prompts rather than image input with a path editor. If you want to generate a clip from scratch rather than animating an existing image, Omni Video is the right starting point within the Kling v3 family.
4 Common Mistakes With Motion Control
Getting the mechanics right is only half the problem. These are the mistakes that appear most often in motion-controlled Reels, even from creators who know the tools well.
Wrong Speed for the Content Type
Fast, aggressive motion works in action content and sports Reels. It fails badly in beauty, fashion, and food content where the viewer needs time to appreciate detail. The motion speed should match the emotional tempo of the content. A skincare product Reel with a violent dolly-in creates cognitive dissonance that the viewer cannot consciously identify but strongly feels.
Ignoring the First 0.5 Seconds
Instagram plays Reels with the first frame auto-displayed as a thumbnail before the video starts. If your motion begins with an interesting, high-information frame, the thumbnail is already working for you before a single second of motion plays. If your motion starts with a boring or empty frame, you have wasted that impression.
Overcomplicating the Path
The temptation with a full bezier editor is to use all of it: multi-axis, fast curves, dramatic arcs across the full five seconds. Resist it. The most effective Reels motion is almost always a single, clean movement executed with perfect easing. One push-in done well beats three simultaneous movements done poorly.
Mismatching Motion Direction
Viewers in Western markets naturally read left to right and have visual expectations that align with that. A camera moving from left to right feels like progression and forward momentum. A camera moving right to left reads as retreat or reversal. This is a subtle effect but measurable in performance data when you produce enough content to run proper tests.
These technical parameters affect how well your motion-controlled clip performs after export.
Resolution and Aspect Ratio
Always generate at 9:16 (portrait) and at minimum 1080p. Instagram applies aggressive compression to anything below 1080p, which makes motion artifacts far more visible. The smoother your AI-generated camera movement, the more compression artifacts it will reveal, so starting at the highest quality matters.
Frame Rate
Kling v3 Motion Control outputs at 24fps, which is the standard cinematic frame rate. Instagram Reels accepts and plays 24fps correctly. Some creators prefer 30fps for a slightly more video-like look, but 24fps consistently reads as more cinematic and intentional, which is an advantage for creators positioning their content as premium.
Audio Pairing
Motion-controlled clips from Kling are silent by default. For Reels, you will add audio in Instagram's editor or in a separate app. Choose audio with a tempo that matches the speed of your camera movement. Slow, flowing motion with fast-tempo music creates a disconnect that viewers register even if they cannot name it.
💡 Tip: PicassoIA also offers AI music generation and text-to-speech tools you can use to build a fully AI-produced audio track for your Reel before uploading.

Build Your First Motion-Controlled Reel
The gap between professional-looking Instagram content and amateur content is narrowing fast, but it has not closed. Creators who use precision motion control are still producing clips that most audiences cannot distinguish from expensive production. That advantage is real, and it is available right now on PicassoIA.
Kling v3 Motion Control gives you the bezier path editor, the multi-axis control, and the depth rendering that makes the difference. Pair it with a strong source image, pick one of the five motion patterns in this article, and focus on perfect easing rather than complex paths.
You can start generating motion-controlled clips today without any prior experience with camera operation or video production. Pick an image you already have, set a slow push-in, and watch the difference it makes compared to static content. Then iterate from there.
PicassoIA hosts not just Kling v3 but the full range of current video generation models, including Kling v3 Omni Video, Seedance 2.5, and Video 01 Director, all accessible from one platform. You can test different approaches within the same session and see directly which motion style works best for your content and audience.
The creators building audiences on Reels right now are not using better cameras or larger budgets. They are using better tools, applied with more precision. That is the actual difference. Start with a single image, pick a motion, and find out what your content looks like when the camera moves with intention.


