If you have a favorite anime male character, you already know exactly what he looks like in your head. The shade of his hair when the light hits it just right, the specific expression he gets when he is focused, the way his uniform collar sits against his neck. The problem is that getting an AI to reproduce that vision with any precision has always felt like an argument you keep losing. That changes once you know which tools to reach for and how to talk to them.
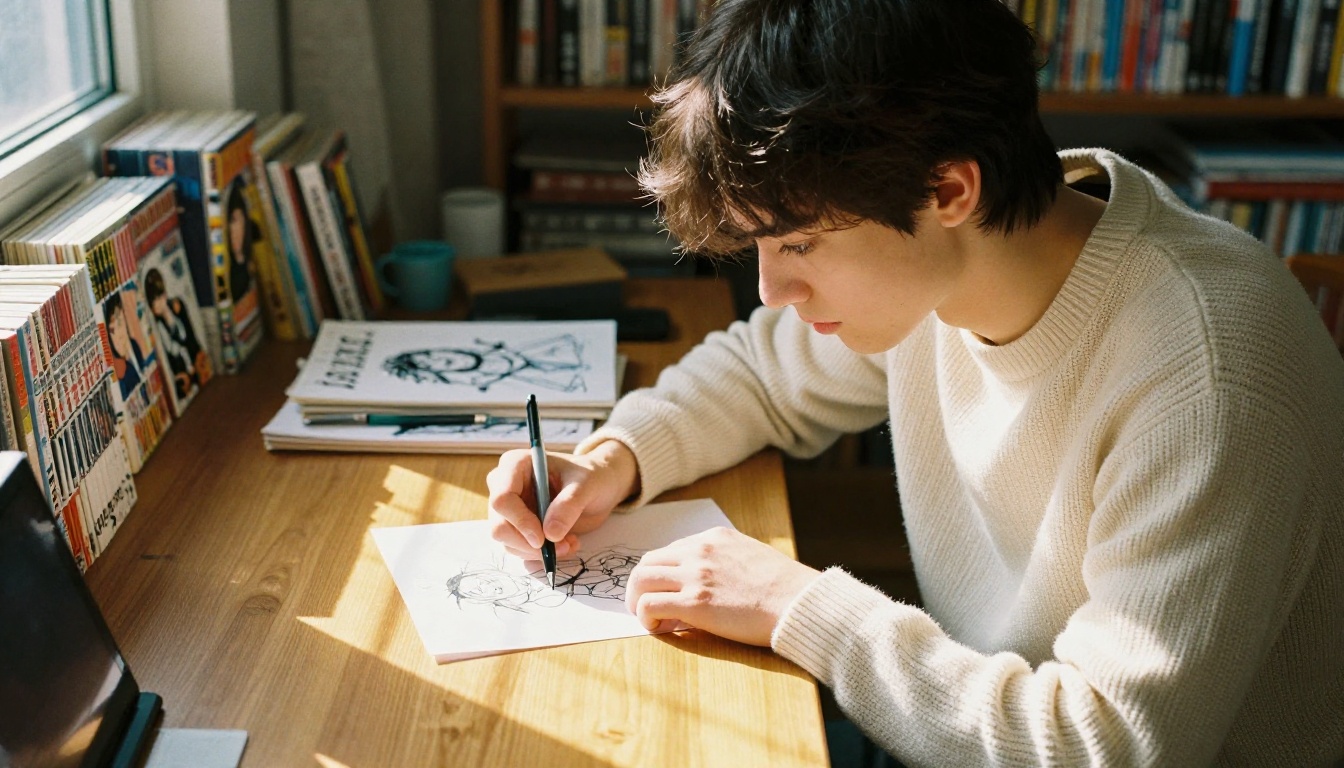
Why the Details Actually Matter
Most people describe their anime husbando in abstract terms: "he has dark hair and intense eyes." That is enough to trigger a recognizable output if the model already knows the source character. But for original designs, or for nudging a well-known character into your own interpretation, those broad strokes are where the results start going sideways.
What Makes a Character Instantly Recognizable
Research into character design consistently shows that audiences identify fictional characters primarily through three visual anchors: silhouette, hair, and color palette. Eyes come in fourth. This matters because most people, when writing prompts, front-load personality and expression while under-describing the things that actually make their character unique.
A character with "silver hair, swept to the right, with a single strand falling across his left eye" is recognizable. A character with "cool hair" is not.
The Gap Between Imagination and Output
Current AI models are outstanding at averaging. They synthesize plausible, attractive anime male characters because they have trained on thousands of them. That is precisely why your specific husbando dissolves into the average unless you give the model something specific to hold onto.
The solution is not writing longer prompts. It is writing structured prompts with distinct visual anchors at each level: macro (overall silhouette, color palette), mid (facial features, expression, outfit design), and micro (texture, material, lighting behavior on skin and fabric).
💡 Think of your prompt as a camera script, not a character biography. Describe what a lens would capture, not what the character feels like as a person.
Choosing the Right Model for the Job
Not every model on PicassoIA produces the same results for anime character generation. Some are built for photorealistic output, others handle stylized work better, and a few are specifically designed for character consistency across multiple images.
Models That Deliver for Anime Characters
| Model | Best For | Output Style |
|---|
| Seedream 4.5 | Detailed 4K character portraits | Cinematic, high-detail |
| Qwen Photo To Anime | Converting reference photos to anime style | Clean anime illustration |
| Flux Kontext Fast | Quick iterative edits and feature swaps | Flexible, precise |
| Ideogram Character | Maintaining one character across scenes | Consistent portraiture |
| Dreamina 3.1 | Cinematic scenes with dramatic presence | Atmospheric, 4MP |
| Reve Remix | Generating variations from a reference image | Reference-guided |
💡 Start with Seedream 4.5 for initial character creation. It handles fine detail in hair and clothing accurately and responds well to specific color descriptions.
When to Use Photo-to-Anime Conversion
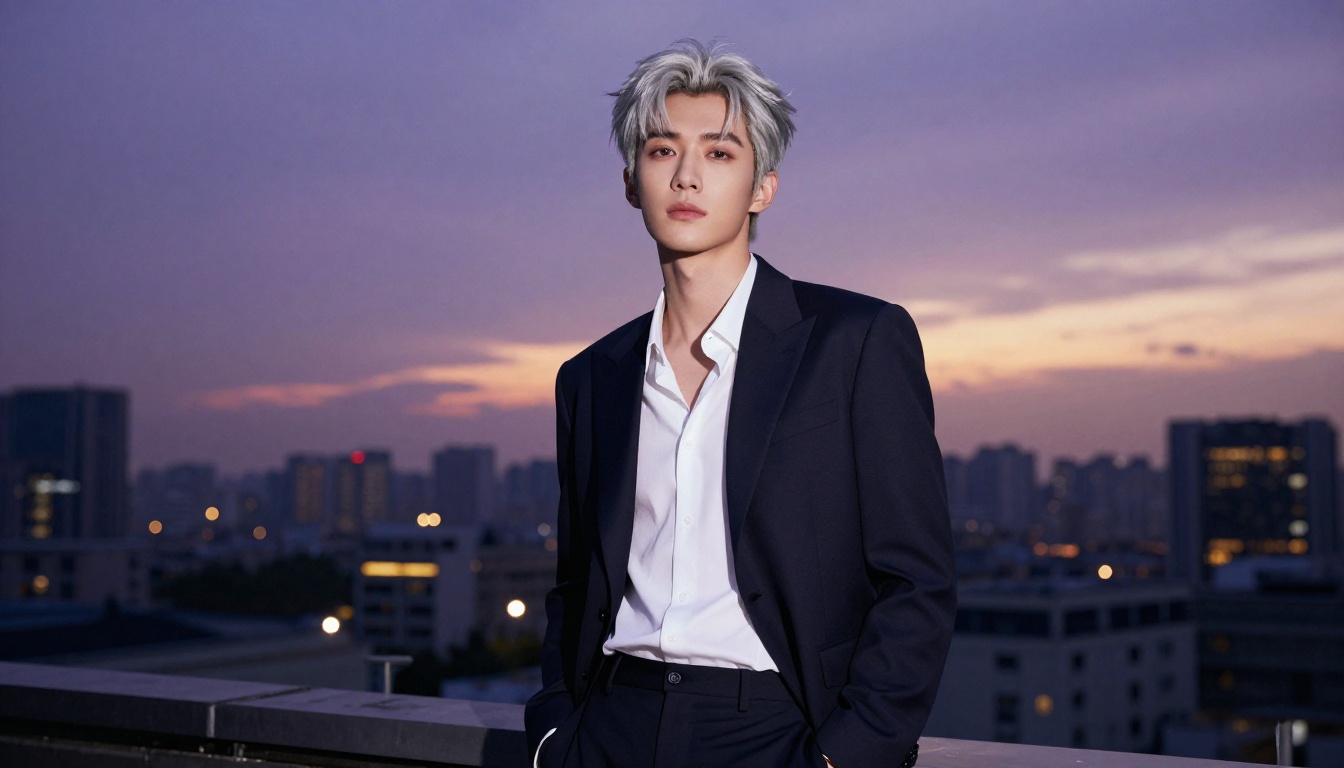
If you already have a reference image, whether a screenshot from the source material, a fanart piece, or even a real photograph that captures the vibe you are after, the Qwen Image Edit Plus LoRA Photo To Anime model short-circuits the entire prompt-writing problem. You feed it an image, it outputs a clean anime rendering. From there, you use editing tools to fine-tune individual features.
How to Use Qwen Photo To Anime on PicassoIA
This workflow produces reliable results in three focused steps.
Step 1: Prepare Your Source Image
The Qwen Image Edit Plus LoRA Photo To Anime model works best with:
- Clean frontal or three-quarter portrait shots
- Good, even lighting with no heavy backlight or harsh direct flash
- Minimal background clutter so the model can focus on the subject
If you are starting from a screenshot of anime source material, crop it to focus on the face and upper body before uploading.
Step 2: Write Your Edit Prompt
The model uses a text prompt to control what kind of anime style it applies. Specificity matters enormously here.
Weak prompt: "anime style"
Strong prompt: "convert to clean anime illustration style, sharp eyes with detailed iris, defined jawline, hair drawn in distinct strands with subtle highlights, uniform with visible stitching detail, warm skin tone, soft studio lighting from the upper left"
Step 3: Iterate on the Output
Your first result will rarely be perfect. Use Flux Kontext Fast to make targeted edits: change eye color, adjust hair length, swap individual outfit elements. This is significantly faster than re-running the full generation each time you want a small change.
💡 Save every version as you iterate. You will often want to return to an earlier pass when later edits start drifting from what you originally had.
Writing Prompts That Actually Work
The most common frustration in anime character AI generation comes from prompts that are vague at the wrong level. Here is a reusable structure that consistently produces better results.
Hair: Your Most Powerful Visual Anchor
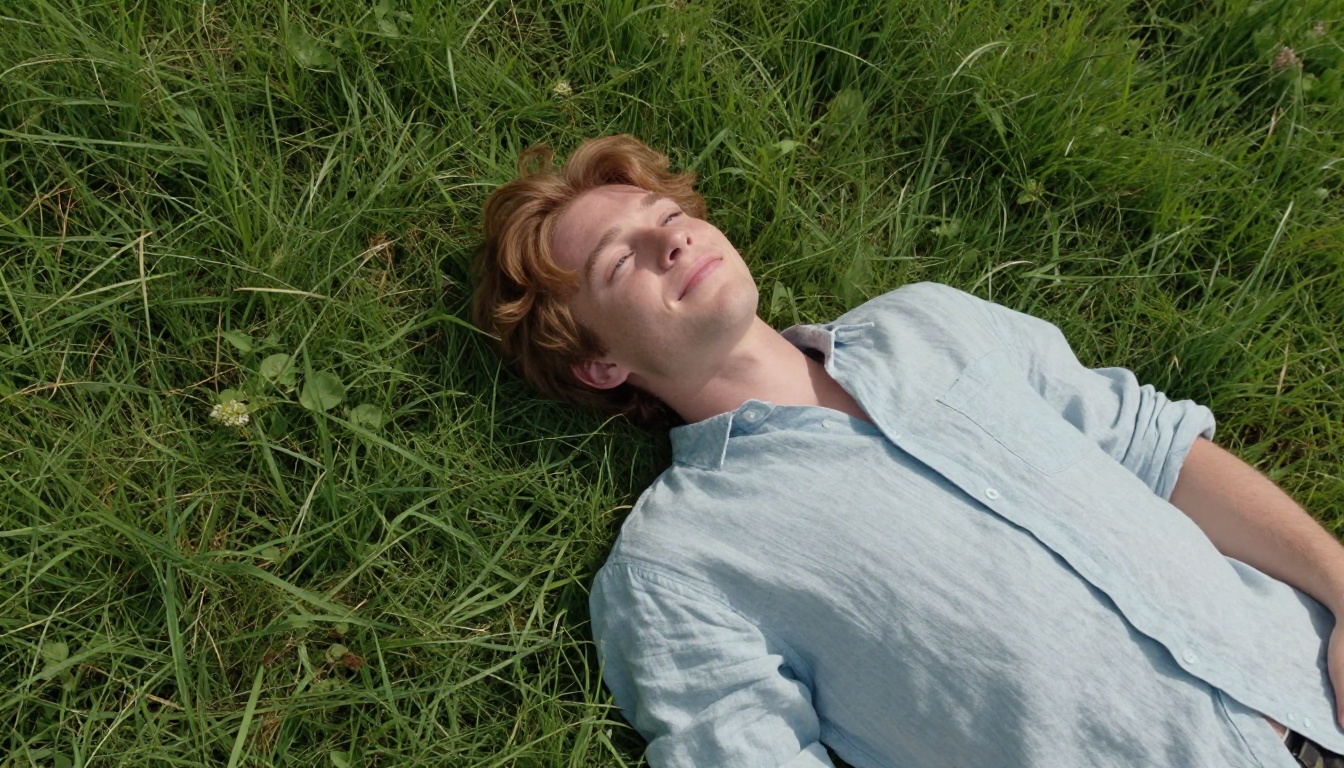
Hair is the first thing a viewer reads as identity in anime. Prompt it with the same specificity you would use to describe a real hairstyle to a hairdresser:
- Length: to chin / to shoulder / mid-back / floor-length
- Texture: pin-straight / slightly wavy / thick and voluminous / fine and wispy
- Movement: slicked back / swept to the side / falling forward over one eye / wind-blown
- Color: not "blue hair" but "deep cobalt at the roots fading to ice blue at the tips, catching the light as bright silver on the top layer"
- Notable details: a single stubborn ahoge, undercut visible at the nape, tied at the nape with a dark ribbon
Eyes and Facial Structure
In anime, eyes carry enormous expressive weight. The shape and color of the iris, the thickness of the lashes, and the style of the highlight all signal character archetype immediately.
Eye descriptors that work:
- "Narrow, half-lidded eyes with a sharp outer corner, dark burgundy iris with a small bright highlight point at 2 o'clock position"
- "Wide, rounded eyes with heavy upper lashes, deep violet iris, double highlight catch-light"
- "Downturned outer corners giving a perpetually exhausted expression, grey-blue iris, no visible lower lashes"
For facial structure, describe proportion and contrast rather than abstract terms like "handsome":
- "Strong, squared jaw softened by rounded cheekbones, giving a combination of strength and approachability"
- "Narrow face with a high forehead, sharp cheekbones, pointed chin"
- "Broad face with a low, prominent brow and wide-set eyes, inherently authoritative at rest"
Outfits and Accessories as Character Signals
Clothing in anime is rarely incidental. It is costume design. When you prompt it, treat it that way:
- Fit: how the garment sits on the body (loose, fitted, oversized, tailored)
- Material: wool, cotton, leather, silk, denim, jersey, satin
- Condition: new and crisp, worn and slightly faded, rumpled from a long day
- Details: collar style, lapels, buttons, patches, visible wear points at elbows and cuffs
- Layering: what is under what, is there a hood, are sleeves rolled up
The Recraft 20B model handles detailed clothing generation particularly well when you describe material properties explicitly. For very specific outfit designs, Flux Canny Pro lets you use a sketch or reference to control the exact structure of what he is wearing.
Keeping the Same Character Across Multiple Images
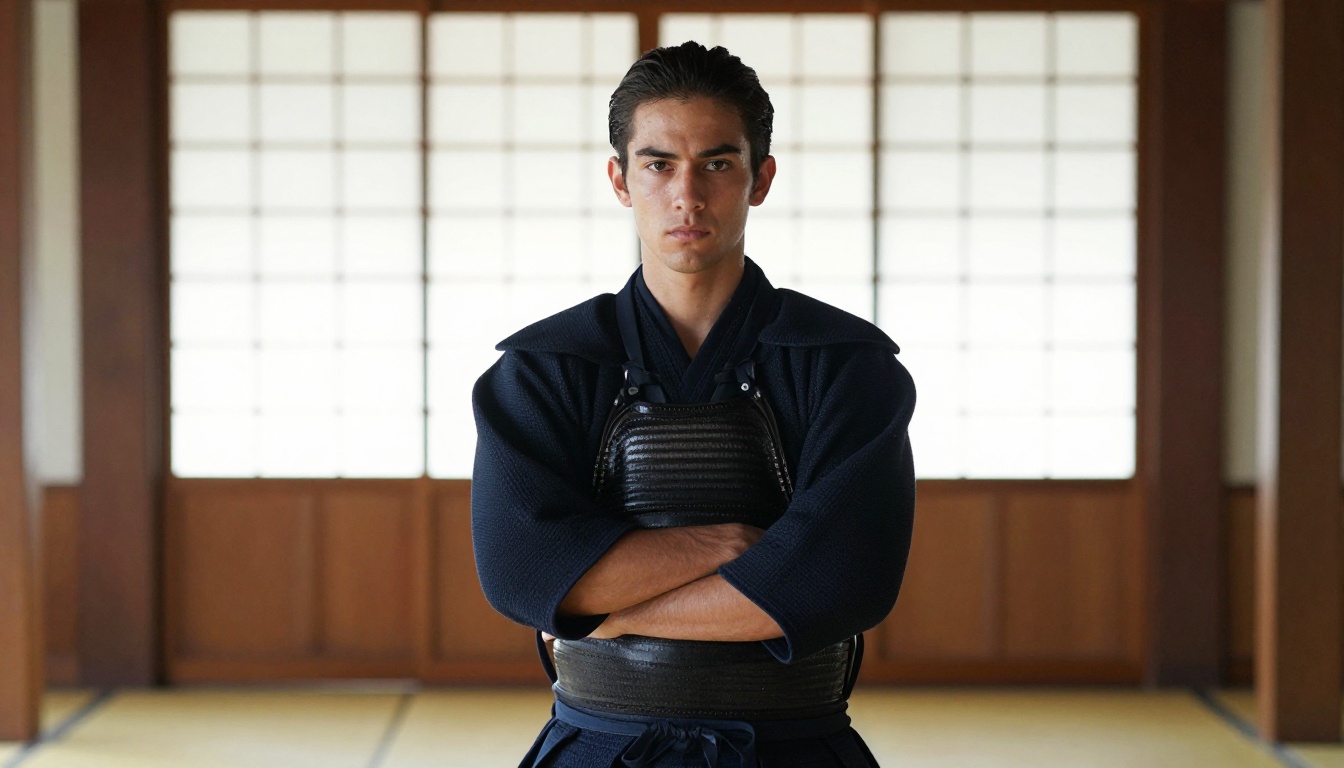
One image is rarely enough. You want your husbando in different scenes, different lighting, different outfits. Maintaining visual consistency across those images is where most people hit a wall.
Using Ideogram Character for Consistency
The Ideogram Character model is built for exactly this challenge. It takes a reference image of your character and generates new images using that visual identity as an anchor:
- Generate your best single character portrait first using Seedream 4.5 or Dreamina 3.1
- Feed that image into Ideogram Character as your reference
- Write the new scene description in the prompt
- The model holds the face, hair, and color signature stable while changing everything else
The Reference Sheet Approach
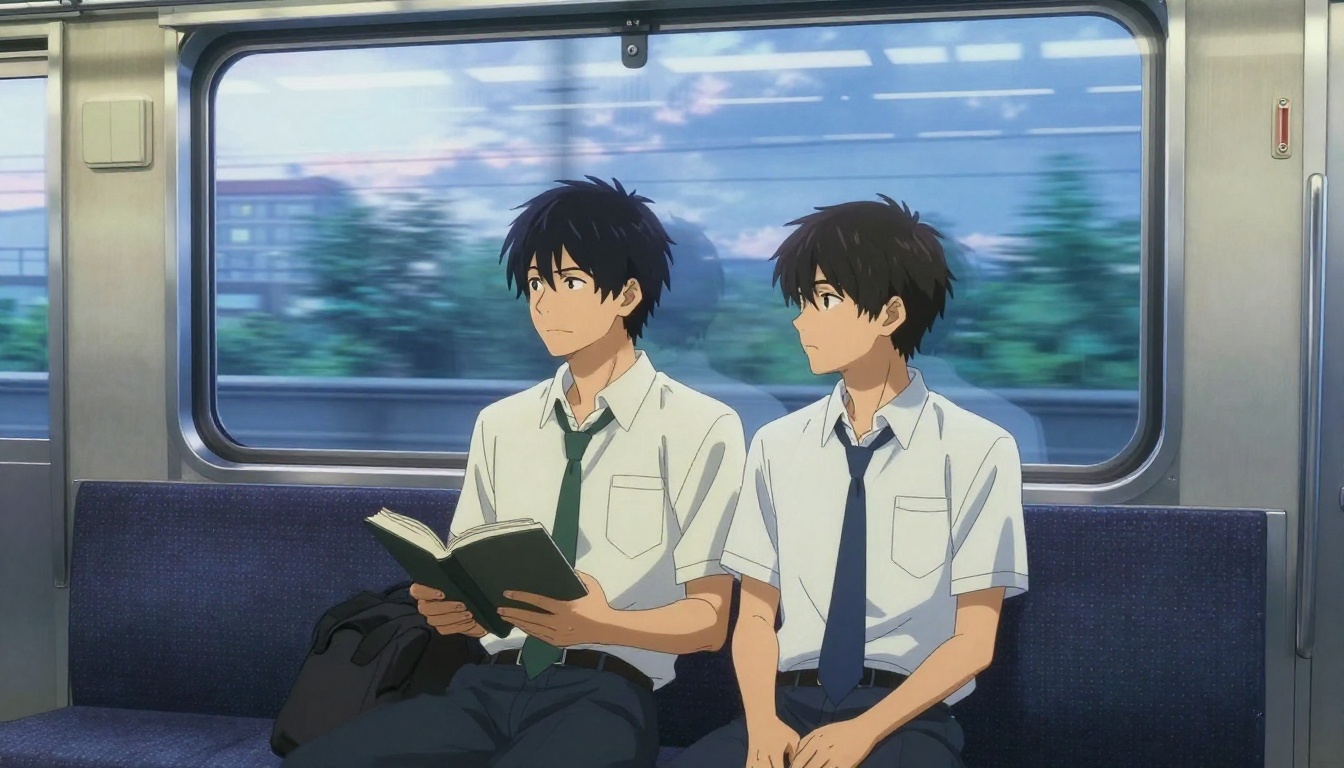
Before generating multiple scenes, build a character reference sheet: one image from the front, one from the side, one showing the full outfit. You can do this with Multi Image Kontext Max, which combines multiple images into a single coherent output, or by generating separately and keeping all three results together.
When you have a reference sheet, feeding those images into subsequent generations gives you significantly better consistency than prompting alone can provide.
💡 Store your reference images alongside the exact prompts that produced them. Models can give slightly different results on re-runs, so your notes are your consistency insurance.
When the Output Does Not Match Your Vision
This happens often. Here is how to diagnose and correct the most common problems without starting over from scratch.
The Face Looks Generic
Cause: Your prompt described personality rather than physical features.
Fix: Remove abstract descriptors like "kind," "mysterious," or "strong," and replace them with specific physical details. Describe what a camera would actually capture, not what the character feels like as a person.
Hair Color Came Out Wrong
Cause: AI models frequently shift blue or purple tones toward grey or black, and green tones toward yellow-green.
Fix: Specify the color in multiple ways. Instead of "blue hair," write "vivid electric blue hair, the shade of a clear summer sky, not grey, not dark, bright and saturated." Include the lighting condition because the same hair reads completely differently under warm tungsten light versus cool overcast daylight.
The Style Is Too Realistic or Too Cartoon-ish
Cause: The model defaulted to its preferred output range rather than your target.
Fix: For more anime-forward results, add explicit style anchors: "clean anime illustration style, defined line work, cel-shaded color areas, soft gradient shading in hair, bright highlight catch-lights in eyes." For output that sits between anime and photorealism, try Seedream 5 Pro with naturalistic lighting descriptors.
Outfit Details Disappeared
Cause: When prompts run long, less prominent elements get deprioritized by the model.
Fix: Move the outfit description earlier in the prompt. Use emphasis language: "wearing, most importantly: a white school uniform jacket with navy collar trim and gold buttons." Alternatively, generate the character first in a simple neutral outfit, then use Flux Kontext Fast to swap the specific outfit elements afterward.
Styling Your Husbando's Environment
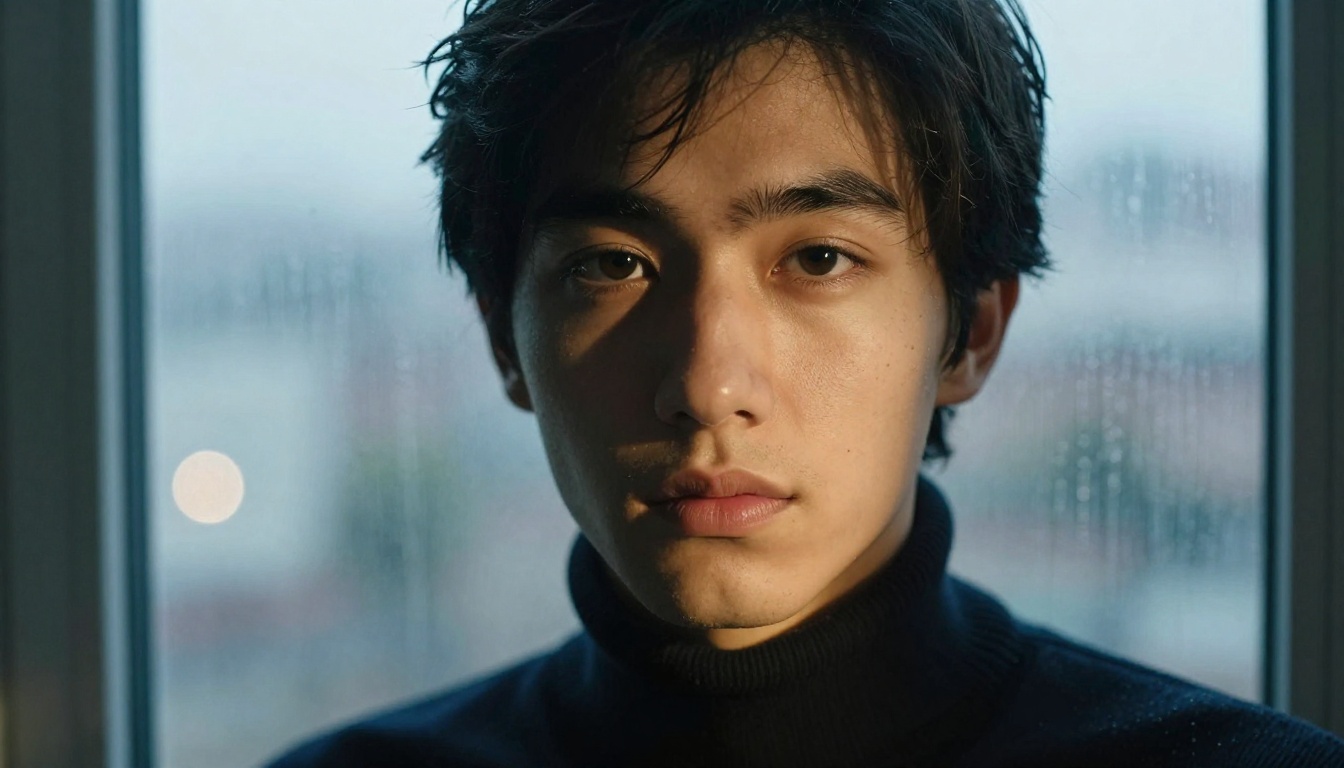
The right background does not just place your character somewhere. It tells the viewer who he is. A character standing in a sun-dappled library reads entirely differently from the same character silhouetted in a doorway at dusk.
Matching Environment to Character Type
| Character Archetype | Environment That Works | Lighting Cue |
|---|
| Brooding intellectual | Rain-streaked window, library, rooftop edge | Cool overcast, single warm lamp |
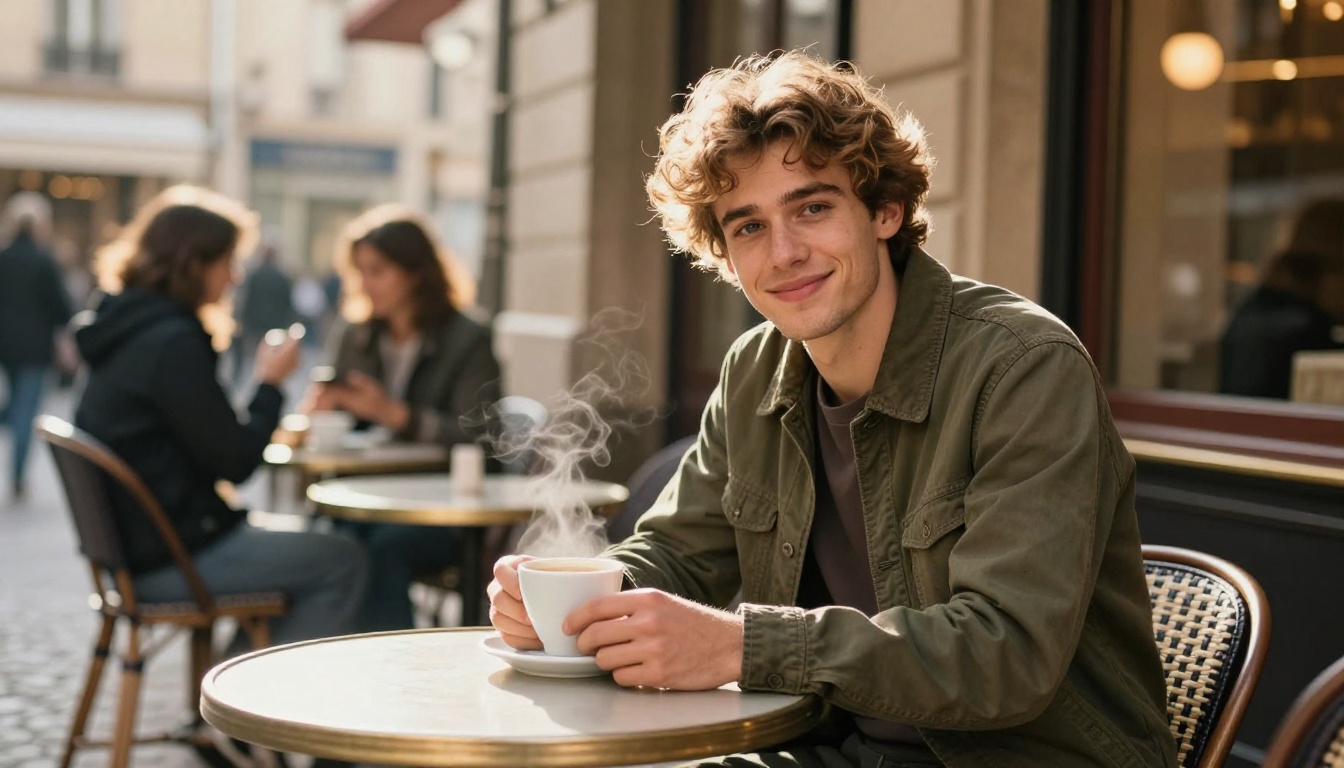
| Warm, dependable type | Kitchen, sunlit classroom, outdoor cafe | Golden hour, soft natural fill |
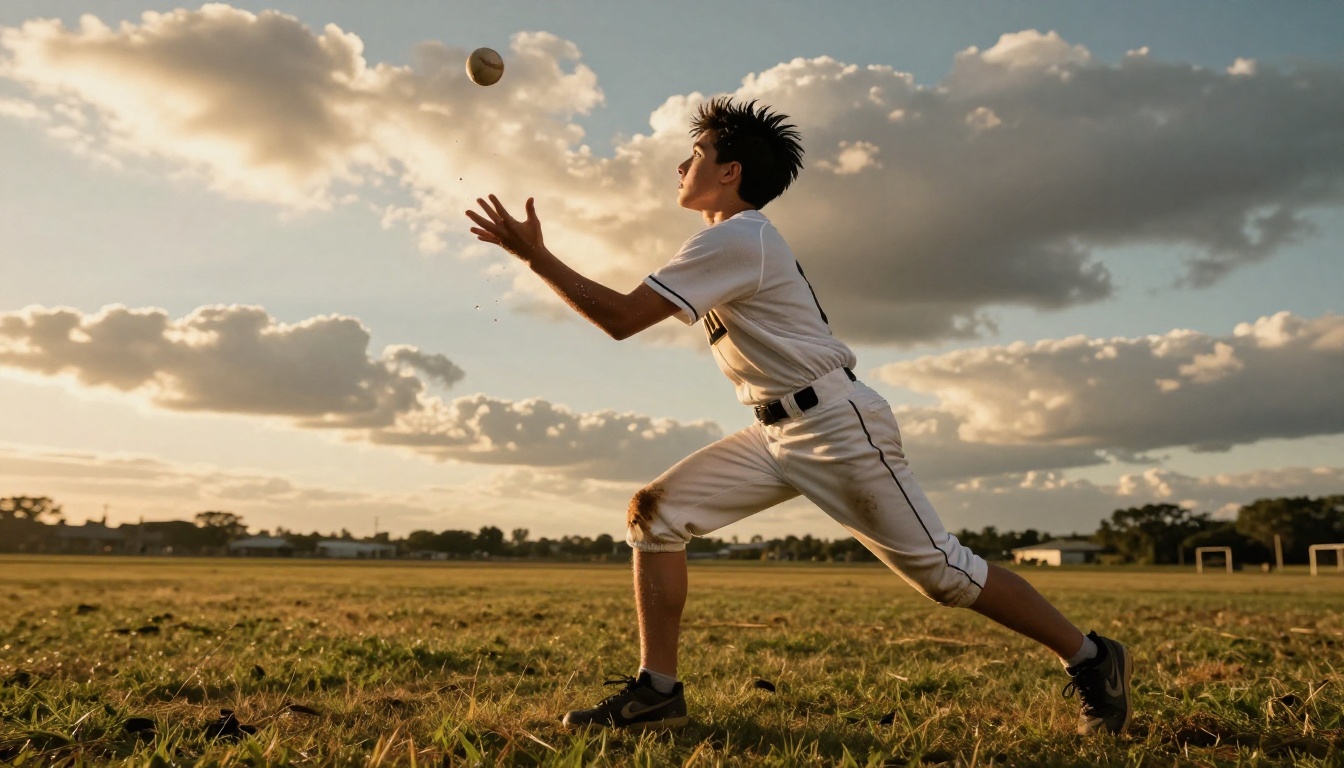
| Athletic rival | Sports field, gym corridor, staircase | Bright noon, hard directional shadows |
| Mysterious transfer student | Empty hallway, rooftop at night, darkened room | Side rim light, colored ambient glow |
| Soft, creative type | Art studio, park bench, cozy bedroom | Warm indoor, diffused window light |
Camera Angle as Character Statement
The angle you choose communicates personality and power at a glance:
- Low angle (looking up at him): authority, confidence, strong presence
- Eye level: sincerity, directness, equality
- Slightly high angle: vulnerability, approachability, warmth
- Extreme close-up on the face: emotional intensity, intimacy
Use Portrait Series to generate your character across multiple angles and environments from a single source image. It gives you a richer set of assets and makes maintaining consistency across scenes much easier.
Advanced Touches That Separate Good from Great
Once the fundamentals are solid, these details push your results into genuinely impressive territory.
Lighting as a Storytelling Tool
Every light source in your image is a creative decision. The most expressive lighting setups for anime character portraits:
- Volumetric morning light from the left: gentle, hopeful mood, works for warm and sincere characters
- Single overhead lamp in darkness: dramatic stark shadows under the eyes and jaw, works for morally complex characters
- Backlight at sunset with rim light catching the hair: silhouette-driven, romantic, works for emotional scenes
- Cool blue window light at night: introspective, melancholy, works for quiet contemplative moments
When you prompt lighting, describe the source, the direction, and the color temperature together: "soft warm golden light entering from the left window at a low angle, casting long shadows across the floor, catching the edge of his hair with a bright rim highlight."
Skin and Texture Details
This is where anime character images typically lose believability. Adding texture language, even when aiming for a stylized result, grounds the character in visual reality:
- "Skin with natural warm undertones, subtle shadow at the jaw from light facial stubble"
- "Slight moisture on skin from physical activity, catching the light as small specular highlights on the nose and cheekbone"
- "Visible pores at the nose bridge, natural skin texture, not overly airbrushed"
For targeted post-generation skin work, Qwen Image Edit Plus LoRA Skin lets you adjust skin specifically without touching the rest of the image.
Changing Individual Features Without Rebuilding
When you have a solid base image and only want to adjust one element, use specialized editing tools rather than regenerating everything:
- Change Haircut: swap hair length and style on an existing portrait without affecting the face or outfit
- Reve Remix: use your existing image as a reference to generate a new scene variation that preserves the character's visual identity
- Flux Fill Pro: repaint specific areas of the image to change an outfit detail, add an accessory, or fix a background element
Put It to Work Right Now
You have the full toolkit: the right models, the prompt structure, the troubleshooting logic, and the consistency workflow. The only remaining variable is your specific vision, which only you carry.
PicassoIA has over 90 text-to-image models available, which means when one output falls short, another model will almost certainly nail it. Start with Seedream 4.5 for your initial generation, use Qwen Photo To Anime if you have reference material to work from, and reach for Flux Kontext Fast for targeted adjustments until the result matches exactly what you picture.
The full library of models, including character consistency tools, anime style generators, photo-to-anime converters, and targeted image editing options, is at picassoia.com/en/all-models. Every tool you need to make him look exactly right is already there.


