Most video models sit behind a login and a credit meter. MiniMax H3 does not have to. Its open weights run inside ComfyUI on your own graphics card, and a single pass returns up to 15 seconds of 24 fps video with a stereo soundtrack already mixed in: dialogue, sound effects and music together. It sounds plug and play, and it mostly is, provided you pick the right model files, write prompts the way H3 expects them, and know where a LoRA actually helps. This article follows the MiniMax H3 ComfyUI workflow in the order you will hit each problem: hardware, files, the three generation modes, prompting, speed, character LoRAs and longer clips.
What MiniMax H3 Actually Does
H3 is an omni-modal video model. Instead of rendering silent frames and asking a second tool to add sound, it synthesizes picture, voice, effects and music in the same pass. ComfyUI added native support in version 0.30.0, so the basic templates need no custom node at all.
Three Modes in One Model
- Text to video (T2V): a prompt and nothing else. Describe the scene and the model returns a clip with audio.
- Image to video (I2V): one still image, plus optional first and last frame inputs. The model fills in the motion between the two frames.
- Reference to video (R2V): a prompt plus up to 9 reference images, 3 reference videos and 3 audio clips. You decide which reference drives identity, style, motion, camera or voice.
The weights split along the same line. T2V and I2V use the FL2VA checkpoints, while R2V uses the Ref2VA checkpoints, so plan a separate download if you want all three modes.
The Numbers That Matter
| Spec | Value |
|---|
| Clip length | Up to 15 seconds |
| Frame rate | 24 fps |
| Audio | Native 32 kHz stereo |
| Speech languages | 11: Arabic, Chinese, English, French, German, Italian, Japanese, Korean, Portuguese, Russian, Spanish |
| Headline resolution | Up to 2K |
| Template presets | 960×544, 1152×640, 1216×672 |
| Minimum workable size | 384p (256p fails) |
| Size rule | Width and height in multiples of 32 |
💡 Read the resolution line carefully. "Up to 2K" is the ceiling. One community write-up describes a native canvas of about 768 px on the short edge, so treat the presets above as your realistic starting point and test larger sizes on your own card.
Hardware and Disk Reality
Before you download anything, check what your machine can carry. H3 is a large model, and the gap between "it runs" and "it runs well" is wide.
VRAM by Card Class
The figures below come from one community benchmark, not an official spec, so expect variation with drivers, resolution and quantization.
| Card class | What to expect |
|---|
| 6 GB (RTX 2060 class) | Runs, but with mushy detail, rougher audio and roughly 10 to 15 minutes per clip |
| 12 to 16 GB (RTX 4060 class) | About 6 minutes for a 480p, 5 second clip, cleaner than the 6 GB tier |
| 24 GB (RTX 4090 class) | Higher resolution with fewer compromises, and enough room for LoRA training |
| 32 GB and up (RTX 5090, RTX 6000) | The recommended tier, with longer 15 second clips at higher resolution |
| Apple Silicon | A 4-bit NF4 build runs from as little as 8 GB, with a visible quality drop on busy scenes |
Model Files and Disk Space
Each component comes in three precisions, and the choice is a trade between quality and memory. The pruned INT8 diffusion files and the nvfp4 text encoder are the ones the template notes recommend, because they leave the most room for the video itself. Move up to INT8 or BF16 only if you have spare VRAM and can see a difference in your own side-by-side tests.
| File | Size | Role |
|---|
| FL2VA pruned INT8 ConvRot | 19.5 GB | Recommended for T2V and I2V |
| FL2VA INT8 ConvRot | 31.7 GB | Larger INT8 option |
| FL2VA BF16 | 61.7 GB | Full precision |
| Ref2VA pruned INT8 ConvRot | 19.5 GB | Recommended for R2V |
| Qwen3-VL text encoder, nvfp4 AWQ | 14.6 GB | Recommended encoder |
| Qwen3-VL INT8 ConvRot | 25.3 GB | Larger encoder option |
| Qwen3-VL BF16 | 48.0 GB | Full precision encoder |
| Video VAE FP16 | 4.9 GB | Required |
| Audio VAE FP32 | 0.6 GB | Required |
The lean T2V and I2V setup (pruned INT8 diffusion model, nvfp4 text encoder and both VAEs) adds up to about 39.6 GB. Add another 19.5 GB if you want R2V. Keep everything on an NVMe drive, because loading 40 GB from a spinning disk is painful.

Local Setup in ComfyUI
Update and Open the Template
- Update ComfyUI to 0.30.0 or later.
- Open Workflow, Browse Templates, Video and pick a MiniMax H3 template.
- Place the downloaded files in
models/diffusion_models/, models/text_encoders/ and models/vae/.
- Restart ComfyUI so the loaders see the new files.
Run one short, low-resolution T2V test first. A good first test is a 384p clip with a single sentence of dialogue and one obvious sound effect, such as a door closing. If the picture appears but the audio is silent, the likely culprit is the audio decode path and not your prompt. If both work, you have a safe baseline to change one setting at a time.
Audio output depends on the VAEDecodeAudio node, which the templates already include. The image-to-video node is MiniMaxH3ImageToVideo, and it exposes the first_frame and last_frame inputs.
Sampler Settings That Hold Up
The baseline from community notes is the res_multistep sampler with the simple scheduler at 20 steps. Quality drops noticeably below roughly 15 steps. If your card supports it, launch ComfyUI with --use-sage-attention for up to about 2x faster generation. For test runs, drop to 384p and a short duration, then raise the size once the motion and audio are right.
A One-Graph Alternative
ComfyUI-MiniMaxH3-Easy is a community custom node that packs T2V, I2V, first and last frame, and R2V into one compact workflow. Install it by cloning the repository into ComfyUI/custom_nodes or by searching its name in ComfyUI Manager. Generation needs no API credentials. Accounts for OpenAI, Gemini or Ollama are only used by its optional prompt optimizer, and samplers, LoRAs and attention patches stay ordinary ComfyUI connections. It also supports a digital human mode driven by a single audio track, which is handy for talking-head clips.
Prompting H3 Like a Director
Scene First, Then Shots
H3 responds best to a prompt that states the overall scene first (location, character, what is happening) and then breaks the clip into timed shots. Include camera moves and the audio you want, not just the picture.
Example prompt: A rainy night market in Osaka, a street vendor in a yellow raincoat ladling broth into a paper bowl. 0 to 4 s: slow push-in on the steam rising from the pot, rain drumming on a tarp. 4 to 9 s: medium shot as the vendor hands the bowl to a customer and smiles. 9 to 15 s: handheld follow as the customer walks into the crowd. Audio: rain, sizzling oil, distant chatter, soft shamisen music.
Compare that with a thin prompt such as "a man cooks noodles in the rain." H3 will still return something watchable, but the camera, pacing and soundtrack are all guesses. Spelling out the beats gives the model a timeline to follow, and it gives you something concrete to edit when one shot misses. Change a single beat per test run so you can tell which edit caused which result.
A short checklist keeps prompts consistent:
- Scene: where, when and who.
- Shots: one line per beat, with seconds.
- Camera: push-in, handheld follow, orbit or locked-off.
- Audio: dialogue, effects and music, each named separately.
Dialogue and Sound in the Prompt
Because audio is generated alongside the picture, name it. Say who speaks and what they say, then list effects and music on their own line so they do not blend into the description of the image. With 11 supported languages, you can write the dialogue in the language the character should speak. In the Easy node, typing # opens a dialogue block that is converted at run time into the <d>...</d> tags H3 expects.
Reference Tags for R2V
In reference mode, refer to each input by tag, in the exact order you connected it: <Picture 1>, <Video 1>, <Audio 1>. Then state which reference drives which part of the shot:
Use <Picture 1> for the character's face and outfit, <Video 1> for the camera movement, and <Audio 1> for the voice.
In the Easy node, @Image1, @Video1 and @Audio1 are converted to those tags for you.
First and Last Frame Control
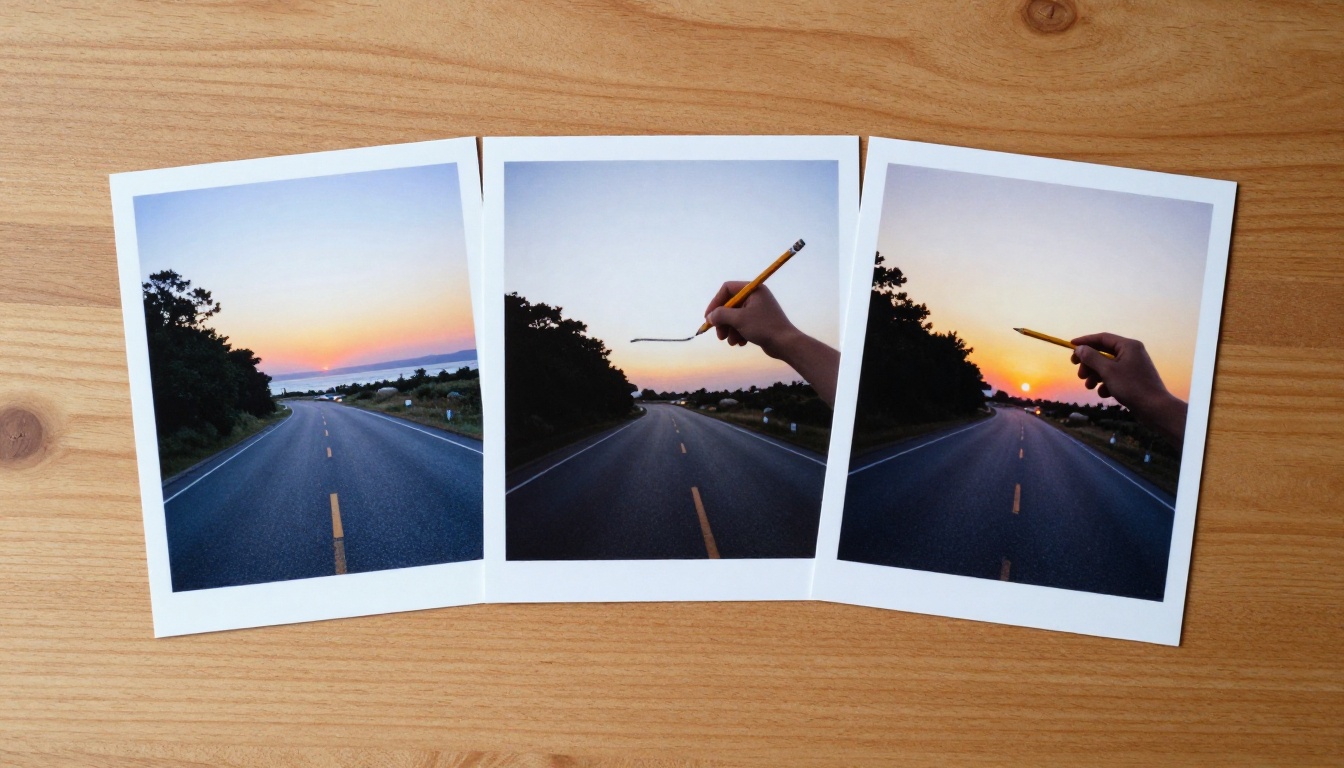
Two stills often steer a clip better than another hundred words of prompt. In I2V mode, first_frame and last_frame are both optional, and the model generates the motion between them.
Build and Match Endpoint Stills
Create both frames before you open ComfyUI. PicassoIA Image or Seedream 5 Pro can produce the opening still, and an editing model such as PicassoIA Image Editor Pro lets you adjust that image into the closing one, so subject and lighting stay close.
Match lens feel, light direction and subject scale. If the first frame is sunrise and the last is dusk, H3 has to invent a whole day inside 15 seconds. It can, but the result reads as a time-lapse. Pick endpoints the action can realistically reach within the clip length.
LoRA: Speed and Identity
LoRA claims around H3 get muddled quickly. There are really two separate things: a speed LoRA that changes how many steps you need, and an identity LoRA you train on your own images.
The Turbo LoRA for Speed
The community MiniMax-H3-Turbo-LoRA (Apache 2.0, about 744 MB in bf16) cuts the sampling steps from roughly 20 to as few as 4.
| Setting | Value |
|---|
| Steps | 4 to 8, with 6 to 8 preferred |
| LoRA strength | 1.0 |
| Scheduler | simple |
| Speedup | About 5x in sampling |
| Recommended file | minimax_h3_turbo_v4_step600_ema.safetensors |
The practical effect is on your iteration loop. Suppose a 480p test clip takes about 6 minutes at 20 steps on a 12 to 16 GB card. A 5x sampling speedup would land near a minute and a half per test. That is back-of-the-envelope math rather than a measurement, and decoding still takes time, but it explains why people run Turbo for drafts and the full 20 step setup for the final render.
Install the ComfyUI-MiniMax-H3-Turbo custom node, drop the .safetensors file in your LoRA folder, and insert the Turbo LoRA node between the model loader and the sampler of an existing workflow.
💡 Known limit: at 4 steps with heavy motion, v4 can show smear and ghosting, and audio behavior during intense action is still being improved. Use 4 steps for static or small-motion shots and 6 to 8 for action.
Training a Character LoRA
One creator trained a character LoRA on a 12 GB RTX 4070 with ai-toolkit, using a quantized model and CPU offloading. The numbers they reported:
| Setting | Value |
|---|
| Dataset | 31 to 32 images at 512×512 |
| LoRA rank | 16 |
| Steps | 1000, batch size 1 |
| VRAM during training | About 11.7 of 12 GB |
| System RAM | About 32 to 37 GB |
| Time | Roughly 6 to 7 hours |
| Must-have config | num_frames: 1 and auto_frame_count: false |
Two details decide whether this works. First, with auto_frame_count left on, a still-image dataset is treated as video and training reports that no images were found. Second, mixed full-body shots gave poor results. The creator switched to a face-focused set, where the face fills most of the frame, with a simple caption made of a trigger word plus a short subject label. The finished LoRA loads through the LoraLoaderModelOnly node.
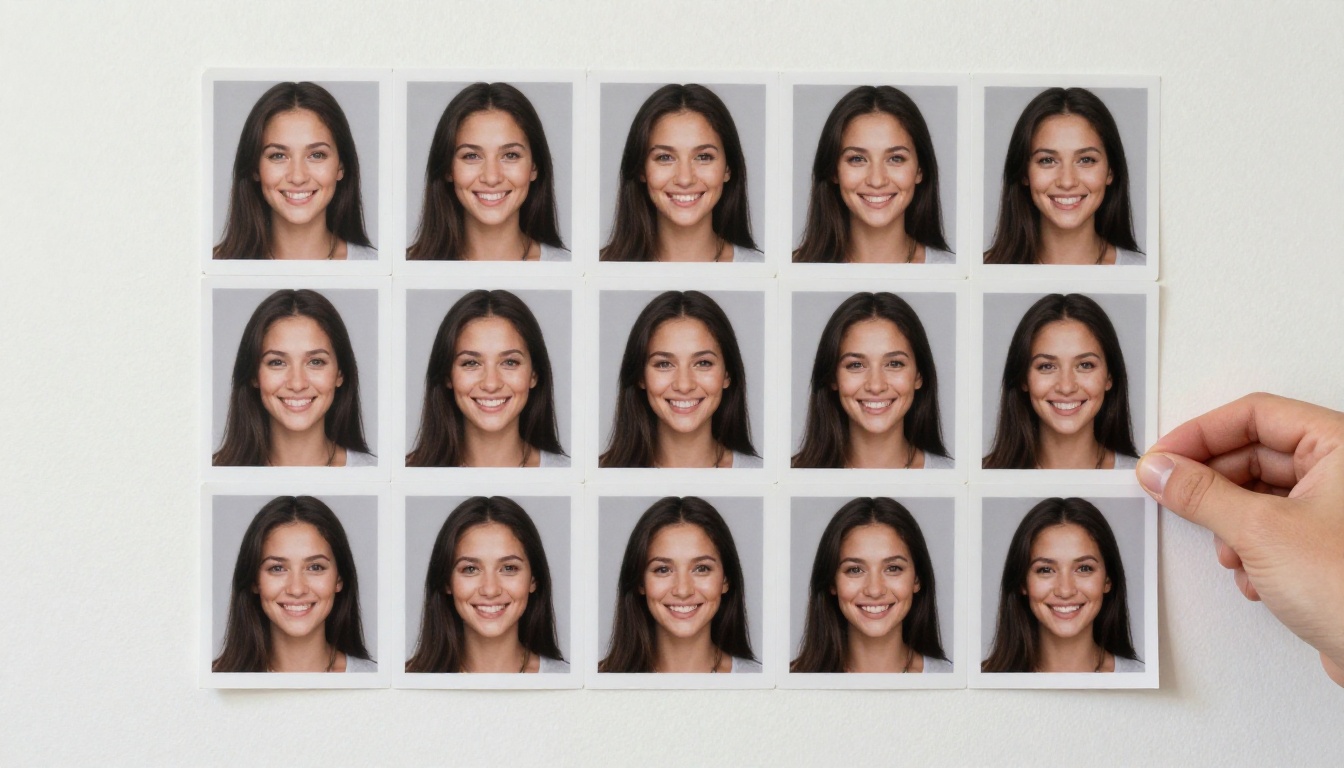
💡 Skip the H3 LoRA when a still will do. If all you need is a consistent character as the first frame or a reference image, train an image-side LoRA instead. P Image Trainer on PicassoIA builds a LoRA for the p-image model from a zip of at least 10 images, with 1000 steps as the default.
Video LoRAs are a different story. The same creator noted that training on video clips is likely out of reach at 12 GB, and community benchmarks point to 20 GB or more for practical video training. For most setups the sensible split is simple: an identity LoRA or reference images for the character, and the Turbo LoRA when render time is the bottleneck.
Longer Clips and Common Fixes
Chain Clips With Motion Context
Fifteen seconds is the single-pass ceiling. The ComfyUI MiniMax H3 Extender chains several clips while keeping continuity. When you approve a clip, its latent is cached to disk and becomes the motion context for the next one, so the new shot continues from the previous clip's final frames.
- Per-clip prompts, seeds and durations
- Seed modes: Randomize, Fixed, Increment, Decrement
- The same reference limits: 9 images, 3 videos, 3 audio tracks
- Export in H.264, H.265/HEVC or FFV1
Install it from ComfyUI Manager or by cloning it into ComfyUI/custom_nodes. Plan the whole sequence on paper first: one line per clip, with the shared character references listed once, so each segment inherits the same identity instead of drifting from clip to clip.
Fixes for Frequent Errors
| Symptom | Likely cause | Fix |
|---|
| A 256p run fails outright | Below the minimum size | Use 384p or higher, in multiples of 32 |
| Video renders with no sound | Audio decode missing | Add VAEDecodeAudio and load the audio VAE |
| Soft, smeared detail | Too few steps | Use 20 steps and avoid going under about 15 |
| Ghosting on fast motion with Turbo | 4 step setting | Raise to 6 to 8 steps |
| LoRA training finds no images | auto_frame_count is on | Set it to false and num_frames to 1 |
| Slow renders on a capable card | Default attention | Launch with --use-sage-attention |
Try It on PicassoIA
MiniMax H3 is not in the PicassoIA catalogue at the time of writing, but the same jobs it handles in ComfyUI have close matches you can run in a browser, with no 40 GB download and no VRAM budget to manage.
A practical loop works well: build your endpoint stills and character references in PicassoIA, run a few cheap tests there to settle the scene and camera language, then carry the winning prompt into your local H3 graph for the final render with native audio. Pick one still from your last ComfyUI test, drop it into Wan 2.7 I2V, and compare the motion against your H3 clip. The fastest way to find out what your prompts can do is to make something today, so open PicassoIA and create your first images and videos.


