Everyone who has tried to generate a muscular AI husbando knows the frustration. You type "muscular handsome man" and get something that looks like a potato wearing a shirt. Getting the physique right, the muscle definition right, the proportions right — that requires a completely different approach to prompting, model selection, and iterative refinement. This article covers every practical tip you need to create the exact muscular AI character you have in mind, from anatomy vocabulary to lighting techniques to knowing which model on PicassoIA will actually give you uncensored, unrestricted results.
Why Muscle Anatomy Changes Everything
Most people prompt AI images the way they would describe something casually. "Big muscles" is not a prompt. "Broad shoulders with defined deltoids, visible trapezius, prominent bicep peak with a visible brachialis, forearm vascular texture" — that is a prompt. AI models trained on real photography respond to specific anatomical language because that is what the training data contains.
The gap between vague and specific is enormous. Vague prompts produce average-looking results that the model considers "reasonable." Specific prompts force the model to draw from a much narrower, higher-quality distribution of reference images.
The 3 Core Muscle Groups to Specify
Every muscular male figure reads as well-built when these three groups are explicitly described:
- Upper body frame: Trapezius, deltoids, and pectoral detail. These define the silhouette from the front.
- Arms: Bicep peak, tricep definition, forearm vascular texture. These communicate raw strength.
- Core: Rectus abdominis, obliques, serratus anterior. These connect upper and lower body visually.
Add at least two specific terms from each group and your results will improve immediately.
Proportions vs. Bulk: Picking Your Style
There is a significant difference between an athletic swimmer build and a bodybuilder mass aesthetic. AI models can produce both, but you need to be explicit about which you want:
| Style | Key Prompt Terms |
|---|
| Athletic swimmer | Lean muscle, V-taper, long limbs, defined without bulk |
| Sprinter or fighter | Explosive build, thick thighs, wide lats, low body fat |
| Classic bodybuilder | Symmetrical mass, peaked biceps, full chest, thick neck |
| Fantasy warrior | Exaggerated proportions, wide shoulders, heroic stature |
| Slim romance lead | Visible abs without size, elegant posture, slender waist |
Pick one style and prompt consistently for it. Mixing terms from multiple styles produces incoherent anatomy.
The Best AI Models for Male Body Generation
Not all AI image models handle male anatomy equally. Some are censored and will refuse to generate anything beyond a T-shirt. Others produce flat, soft results with no definition. The models below are the ones worth using on PicassoIA for this kind of work.
Seedream 4.5: No Limits, Raw Results
Seedream 4.5 is the model to start with for muscular AI husbando generation. It produces 4K photorealistic output with no content blocking on legitimate adult content, handles male anatomy with precision, and responds well to detailed anatomical prompts. The rendering quality on skin texture and muscle definition is consistently among the best on the platform.
For body customization specifically, Seedream 4.5 handles lighting-based muscle definition better than most. Side lighting prompts translate directly into visible shadow on muscle groups rather than being smoothed over.
PicassoIA Image Editor Pro: Refine Without Restrictions
Once you have a base image you like, PicassoIA Image Editor Pro is the tool for refinement. It offers unlimited generations and functions as both an inpainting and outpainting editor. You can select a specific area — an arm, the torso, the face — and regenerate just that part with a targeted prompt.
This is how you fix anatomy issues without starting over. Got the body right but the face looks off? Mask the face and regenerate. Chest muscles too flat? Inpaint the chest area with a more specific prompt about pectoral definition.
💡 Tip: PicassoIA Image Editor Pro's unlimited generation count makes it ideal for iterating on small corrections. Use it after your initial Seedream 4.5 generation.
3 More Models Worth Trying
- Wan 2.7 Image Pro: Exceptional at 4K detail rendering. Great for full-body shots where texture and environmental detail matter as much as the character.
- Hunyuan Image 2.1: Consistently strong on realistic male proportions. Works well for portraits and upper-body focus shots.
- Flux 2 Klein 9B Base LoRA: Ideal if you want to apply a specific character style or aesthetic. The LoRA support means you can fine-tune for a consistent look across multiple images of the same character.
Writing Prompts That Actually Build Muscle
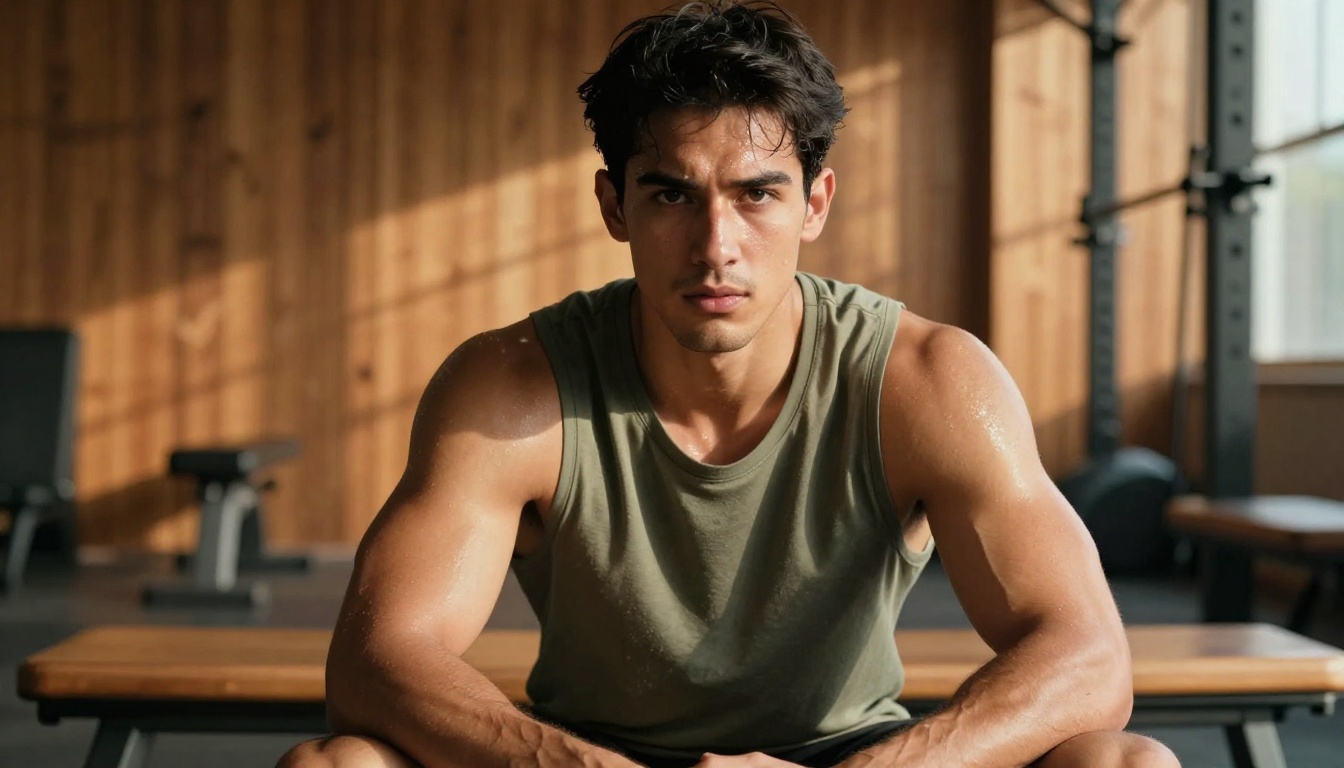
The single biggest improvement most people can make is in their prompt structure. A well-structured prompt has a predictable hierarchy: subject, anatomical detail, environment, lighting, camera specification, and style.
The Anatomy Vocabulary That Works
These terms produce reliable results across all major photorealistic models:
For upper body mass:
- "Broad trapezius rising from thick neck"
- "Developed anterior deltoids with clear cap definition"
- "Full pectoral sweep with visible lower chest line"
- "Peaked bicep with visible brachialis on outer arm"
- "Dense tricep horseshoe definition"
For core definition:
- "Chiseled rectus abdominis with deep separation"
- "Serratus anterior visible under lats"
- "Oblique cuts framing the waist"
For lower body:
- "Powerful quadriceps with visible teardrop"
- "Thick hamstring sweep"
- "Diamond-shaped calf musculature"
Using three to five of these specific terms in a single prompt will consistently outperform generic descriptions.
Lighting Tricks That Define Physique
Lighting is arguably more important than the prompt anatomy vocabulary. The same body looks completely different depending on light direction:
- Side lighting: Creates the strongest shadow definition on muscle groups. Use "directional light from the left/right" or "Rembrandt lighting."
- Low key with single source: Maximum contrast for dramatic muscle definition.
- Backlight with rim light: Creates a glowing silhouette that emphasizes body shape and size.
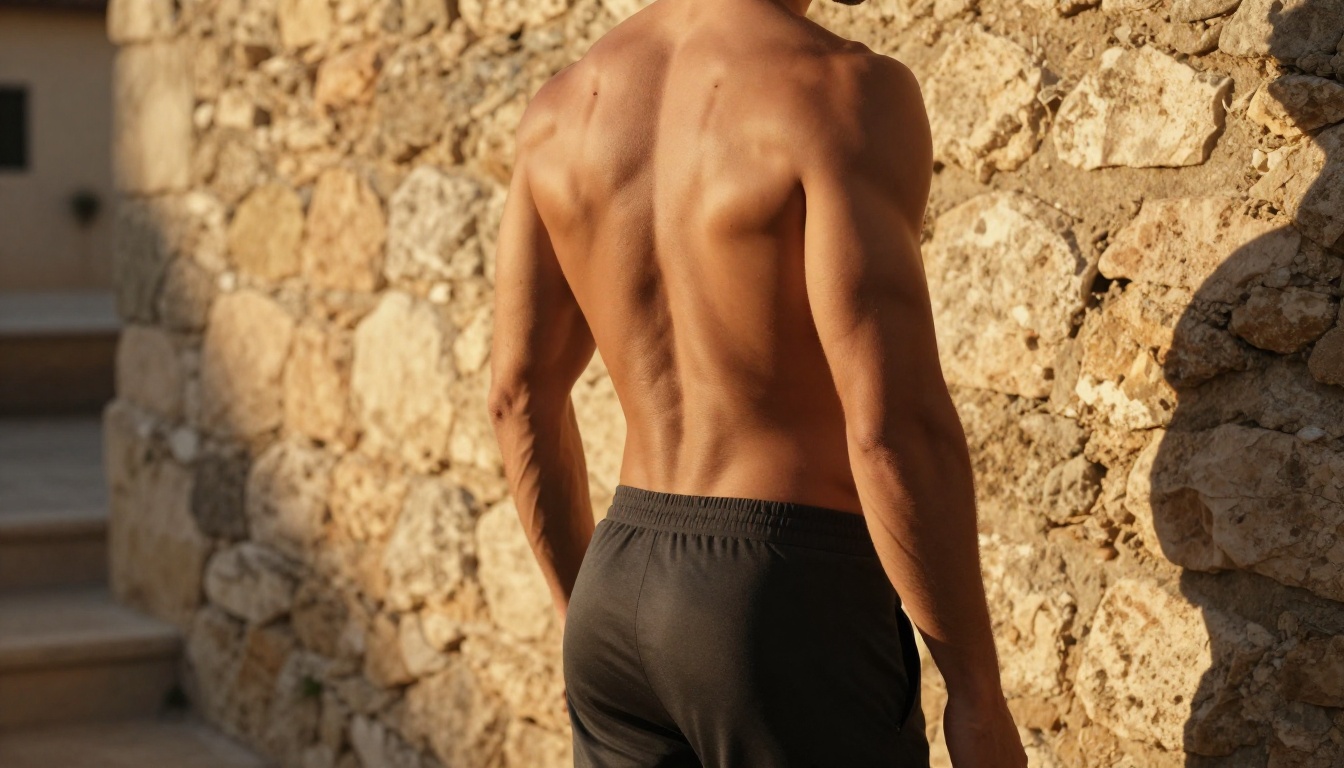
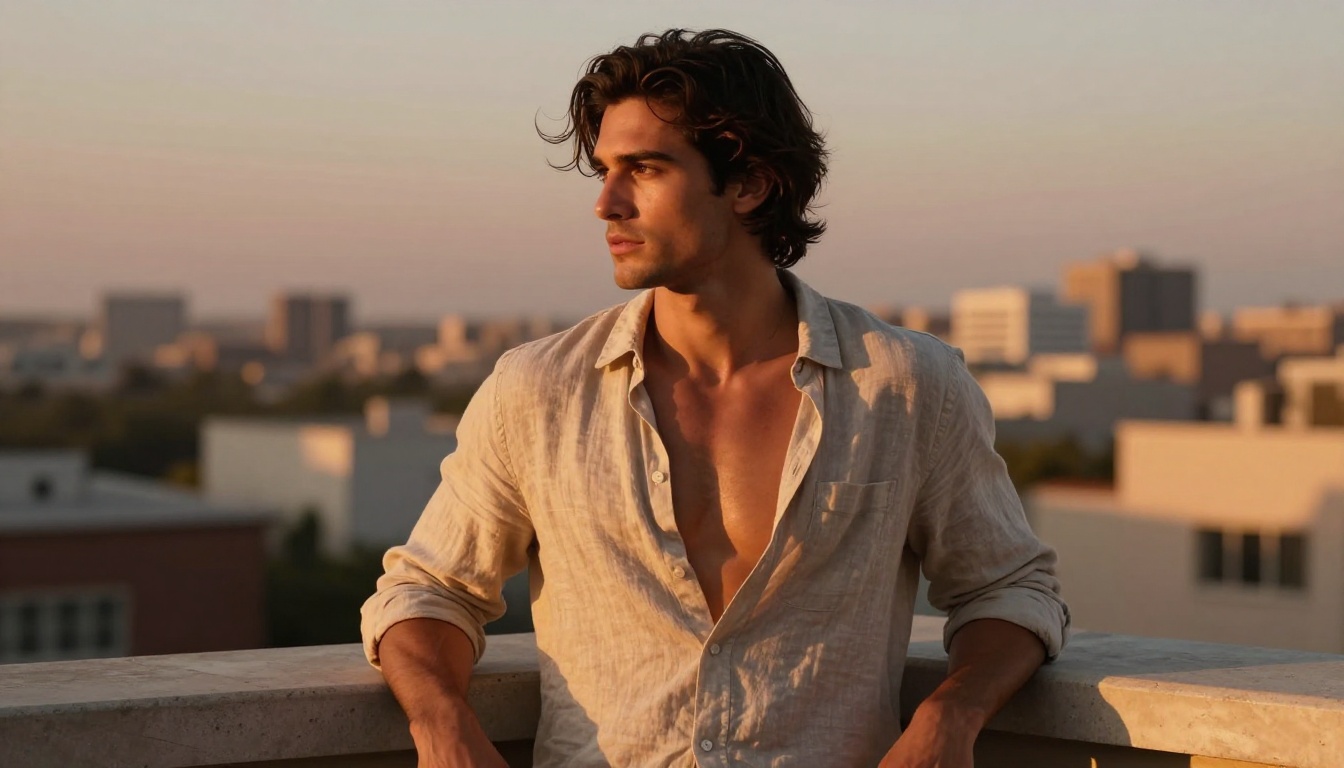
- Golden hour: Warm lateral sunlight is the most natural-looking definition enhancer. Use "golden hour light from the upper left" or "low sun from behind the subject."
💡 Tip: Always specify the direction of your light source. "Good lighting" is useless. "Volumetric side light from the right casting diagonal shadows across pectoral muscles" is what works.
Avoid These 5 Prompt Mistakes
- Using "muscular" without specifics: Too vague. The model will pick whatever average it thinks is "muscular."
- Overloading styles: Mixing "anime" with "photorealistic" confuses the model. Pick one.
- No camera specification: Without a lens and aperture, you lose depth of field and photographic realism.
- Describing clothing too vaguely: "Wearing clothes" gives the model full discretion. Be specific about fabric, fit, and coverage.
- Forgetting skin tone: If you do not specify, you get the model's default. State the specific tone you want.
Body Type Presets Worth Knowing
These are three prompt frameworks you can copy and adapt directly. Each targets a distinct husbando archetype.
Athletic Swimmer Build
Focus on length and V-taper rather than mass. This is the clean, aesthetic physique that reads as effortlessly strong.
"Tall athletic man, wide shoulders tapering to a narrow waist, defined lean musculature without bulk, visible shoulder cap definition, flat stomach with subtle abdominal lines, long muscular limbs, natural tan skin, photographed in natural light, full body frame, 50mm f/2.0 lens, RAW 8K photography"
Classic Bodybuilder Proportions
This one needs heavier anatomical vocabulary and high-contrast lighting.
"Powerfully built man with peaked biceps, thick trapezius, full chest with deep pectoral line, defined six-pack with deep muscle separation, wide lats creating dramatic V-taper, wearing minimal athletic shorts, dramatic side lighting creating deep shadows on muscle groups, low angle shot, 85mm f/1.8 lens, RAW 8K"
Fantasy Warrior Physique
For a slightly exaggerated but still photorealistic hero build. Works beautifully with Seedream 4.5's handling of scale and proportion.
"Heroically built young man with exaggerated broad shoulders, thick neck, massive forearms with prominent veins, powerful thighs, tall commanding stature, outdoor setting with dramatic sky, wearing minimal dark clothing, low camera angle looking up, cinematic natural light, 35mm f/2.0 lens, RAW 8K photography"
Skin, Texture, and Detail Control
The difference between a good AI husbando image and a great one is usually in the skin. Flat, plastic-looking skin is the most common failure mode in AI male character generation.
Skin Tone Options and How to Prompt Them
AI models respond well to specific skin tone descriptions. Here are the terms that work reliably:
| Skin Tone | Prompt Terms |
|---|
| Pale or fair | "porcelain skin," "fair complexion with cool undertones," "light ivory skin" |
| Medium | "warm golden-brown skin," "natural tan," "olive complexion" |
| Dark | "deep mahogany skin," "rich dark complexion," "ebony skin with warm undertones" |
| Sun-kissed | "bronzed athletic tan," "farmer's tan lines," "sun-weathered skin" |
Always pair with a skin texture term: "fine pores visible," "natural matte skin surface," "realistic skin imperfections."
Sweat, Veins, and Scar Details
These micro-details add significant realism and character:
- Sweat: "perspiration glistening on skin," "sweat droplets on forehead and chest," "post-workout moisture"
- Veins: "prominent forearm vascularity," "vein definition on bicep," "visible neck vein under exertion"
- Scars: "small training scar on chin," "faded shoulder scar," "natural skin marks from sports"
- Facial stubble: "three-day stubble with natural growth pattern," "clean jawline stubble"
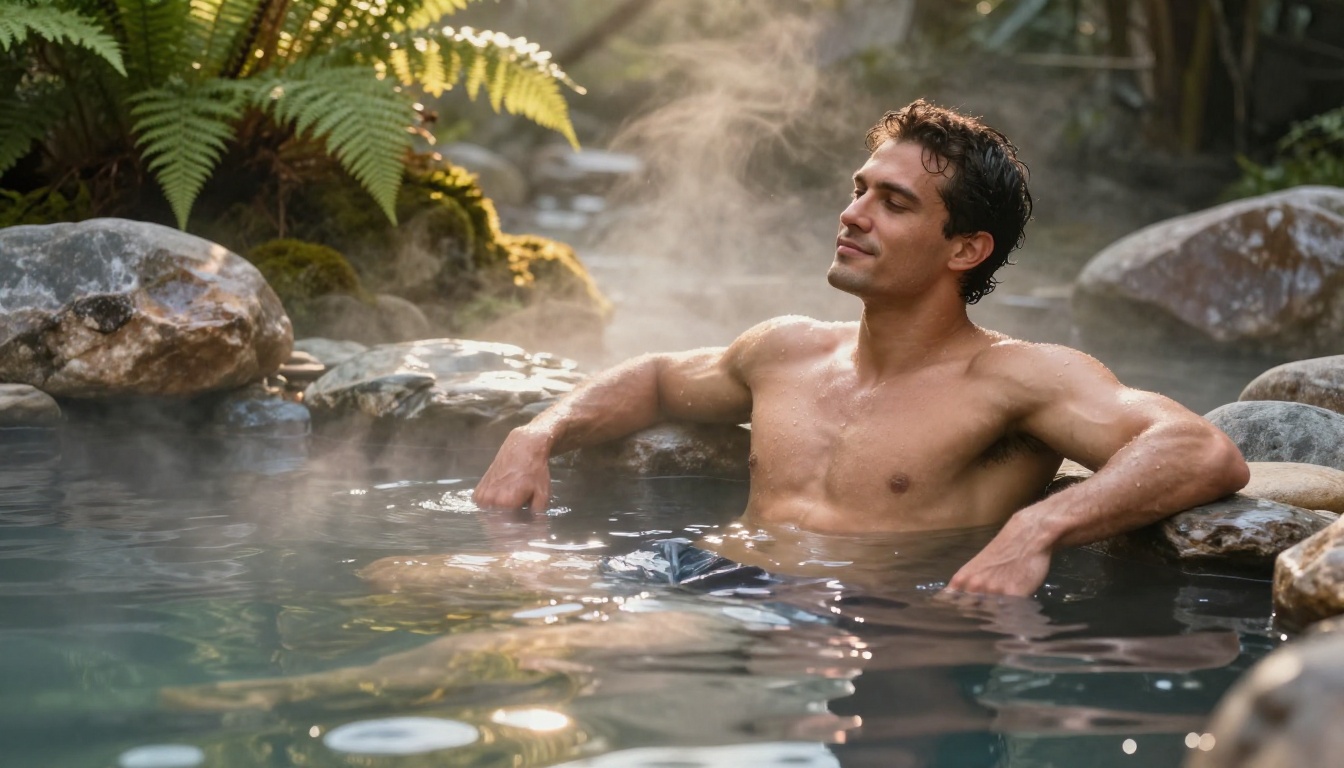
Pose and Expression Matching
A muscular physique reads completely differently depending on pose and expression. A powerful build in a relaxed casual pose creates warmth and approachability. The same physique in an aggressive stance reads as threatening.
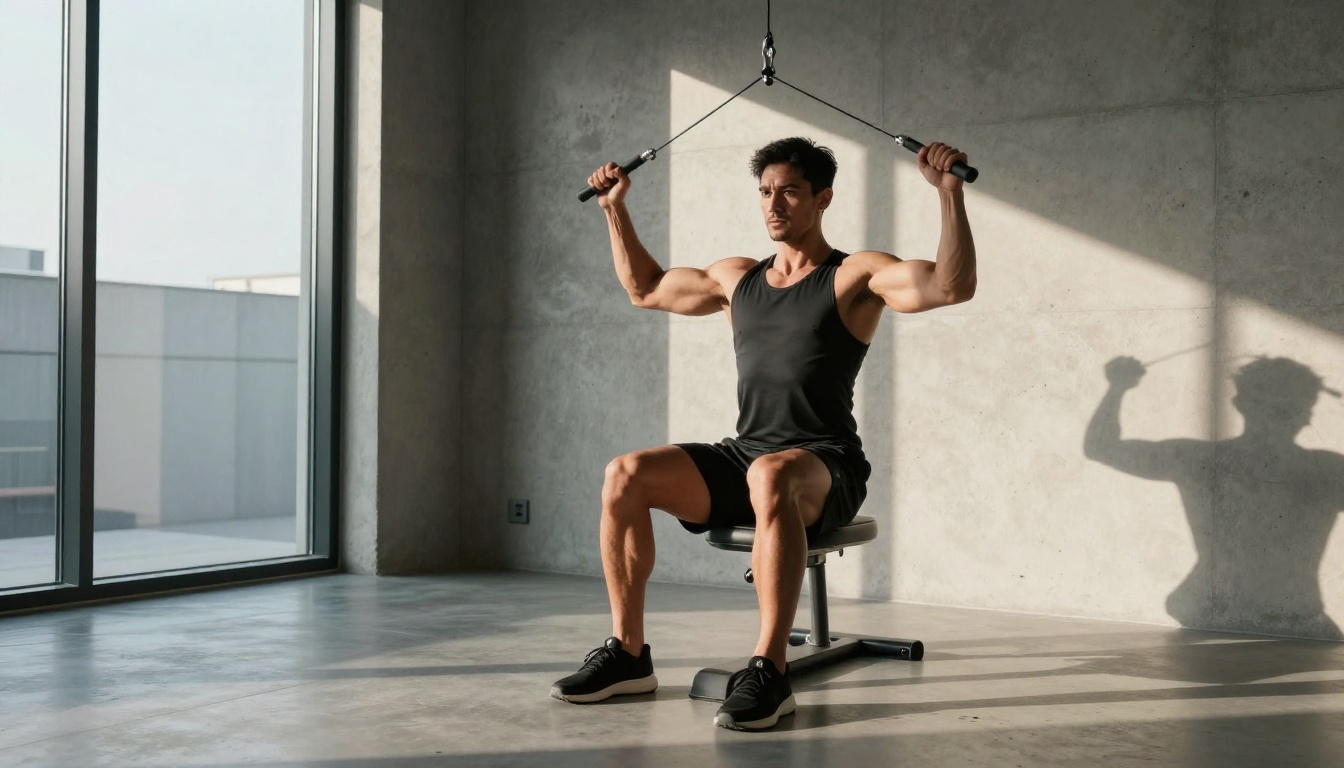
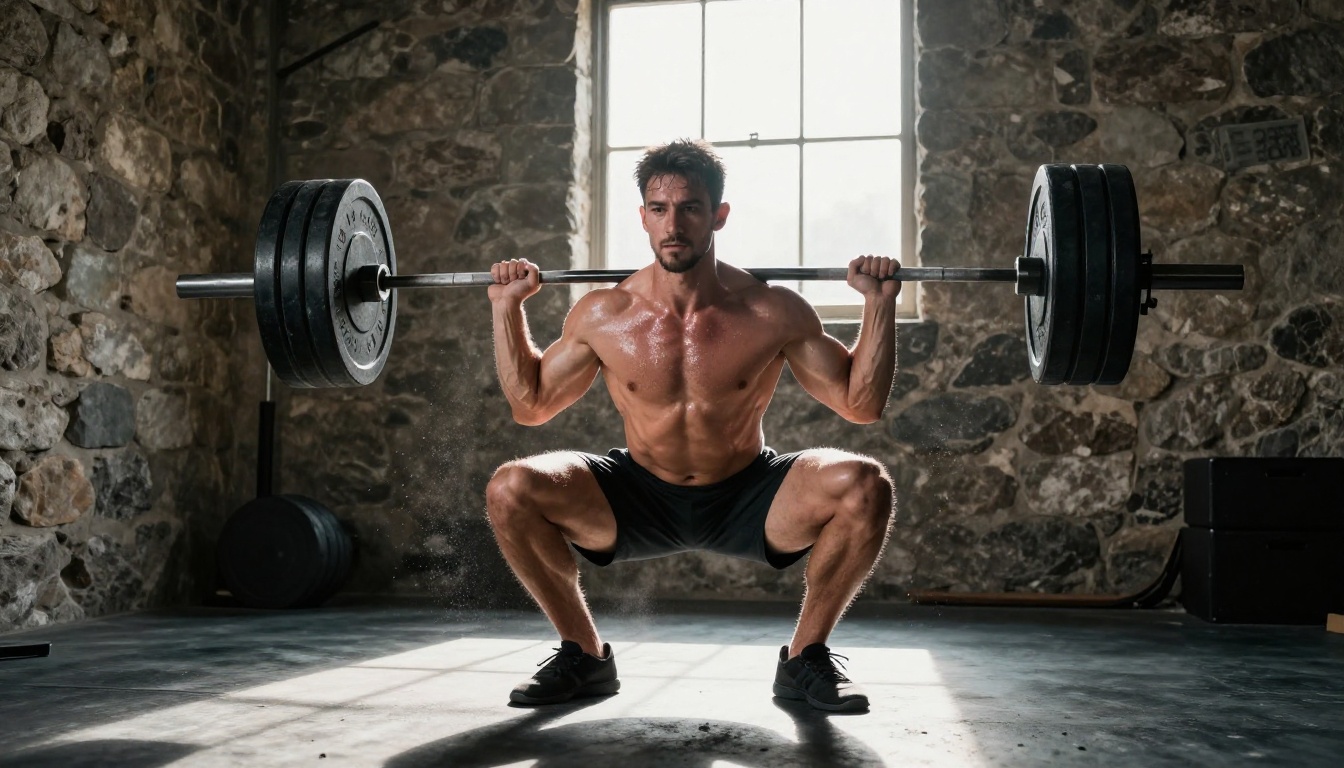
Dynamic Action Poses
For action and power:
- "Barbell deadlift at peak contraction, full back engagement"
- "Jump squat mid-air, powerful leg extension"
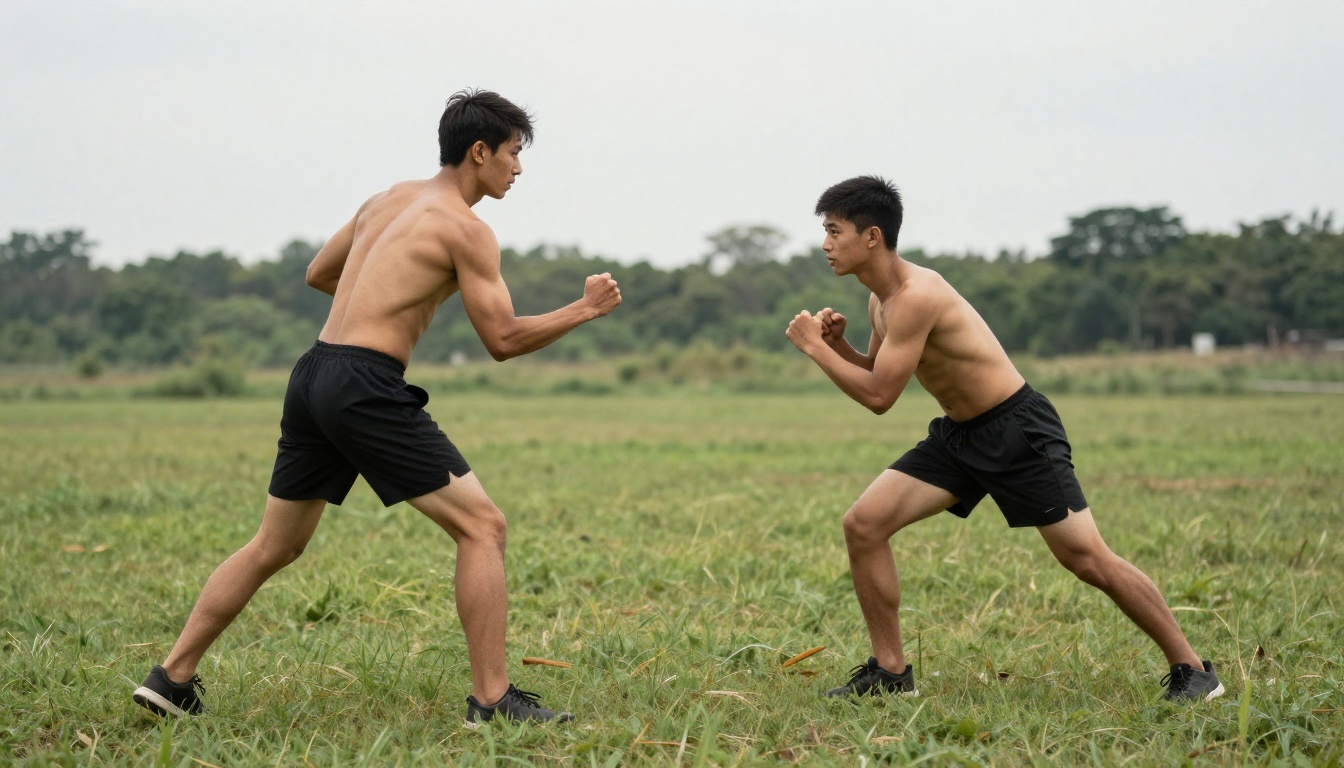
- "Sparring stance with raised guard, weight forward"
- "Sprint starting position, explosive push from blocks"
Pair with: "low camera angle looking up," "motion blur on extremities," "dust particles in air"
Relaxed and Romantic Poses
For husbando warmth and intimacy:
- "Leaning against wall, arms crossed, slight smile"
- "Lying on back in bed, arms behind head, relaxed expression"
- "Looking directly at camera, close portrait, soft expression"
- "Seated on steps, elbows on knees, thoughtful gaze"
Pair with: "soft window light from left," "warm room ambiance," "bokeh background"
Using Outpainting and Inpainting for Body Edits
Even a great initial generation will have something to fix. AI anatomy is imperfect, and iterating on specific areas is more efficient than starting over.
Fixing Proportions After Generation
The most common anatomy issues with AI-generated muscular figures:
- Arms too long or short: Use inpainting to select the arm and regenerate with "correctly proportioned arm length for the body" added.
- Chest too flat: Mask the chest area and add "full pectoral development, deep pectoral line, chest muscle sweep."
- Waist too wide: Inpaint with "narrow waist, tapered obliques."
- Face on wrong scale: Mask the face and regenerate with a detailed facial prompt that matches the lighting direction.
PicassoIA Image Editor Pro handles all of these edits in a single tool with unlimited generations, making iterative body work fast and non-destructive.
Adding or Adjusting Clothing
Clothing changes the entire mood and context:
- Removing a shirt: Inpaint over the clothing area with "bare chest, natural skin texture" while keeping the rest of the image.
- Adding swimwear: Mask the lower body and specify "minimal swim shorts, low waist, specific color."
- Changing fit: Regenerate clothing areas with specific fabric and fit terms — "fitted cotton shirt stretching over broad shoulders."
💡 Tip: When inpainting clothing, always include a reference to the lighting in your inpainting prompt so the new clothing matches the existing light source direction.
How to Use Seedream 4.5 on PicassoIA
Seedream 4.5 on PicassoIA gives you direct access to 4K uncensored generation without rate limits disrupting your workflow. Here is a practical three-step process for building a consistent character across multiple images.
Step 1: Build Your Character Reference Sheet
Before generating anything, write down a fixed character description you will reuse across all generations:
- Hair: color, length, style
- Skin tone: specific descriptor
- Face: jawline shape, eye color, facial hair
- Build: which body type preset from above
- Distinguishing features: scars, tattoos, or specific physical features
Keep this reference in a text file. Paste the core character description into every prompt before adding pose and environment variations.
Step 2: Layer Detail Progressively
Start with a full-body shot establishing proportions. Then zoom in for torso and arm close-ups to capture texture. Then go for portrait shots of the face. This order ensures you establish the overall silhouette before getting lost in details.
Each generation should add one new layer:
- Full body, pose, environment
- Close-up torso with detailed skin and muscle prompt
- Portrait with facial detail
- Action pose using your established body type
Step 3: Iterate with PicassoIA Image Editor Pro
Take your best full-body result into PicassoIA Image Editor Pro and address any anatomy issues systematically. Work from largest to smallest: body proportions first, then muscle detail, then skin texture, then face.
The unlimited generation count means you can correct, compare, and refine without any resource constraint.
Which Model for Which Build?
Quick reference for choosing the right model based on your specific goal:
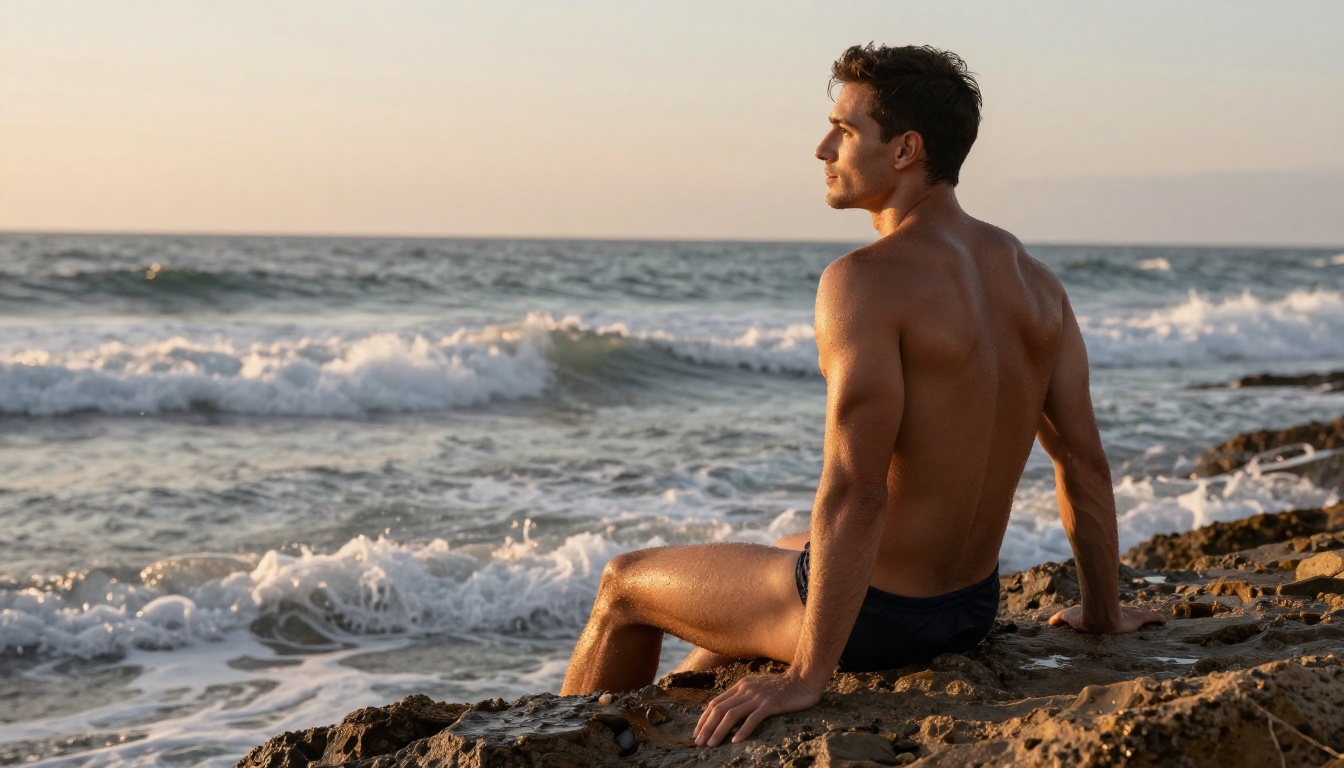
Start Creating Your AI Husbando Right Now
The tips in this article cover the full spectrum of what separates weak AI male character results from the kind of images that look genuinely photorealistic and striking. Specific anatomy vocabulary, lighting-first thinking, the right model for each task, and systematic iteration with inpainting are the actual levers that change results.
The fastest way to see the difference is to try it. Head to Seedream 4.5 on PicassoIA and run your first generation using one of the body type prompt frameworks from this article. Compare it to what you were generating before. Then take that image into PicassoIA Image Editor Pro for targeted refinements.
If you want to see every available model for character generation across all categories, the full catalog is at picassoia.com/en/all-models. There are over 90 text-to-image options to experiment with, and the variety in style, resolution, and content handling means there is always a better model waiting to be tried.