The question isn't just about resolution numbers. When you're staring at a pixelated image that needs saving, or a batch of product shots that need to look sharp enough for a magazine spread, the choice between Nano Banana Pro's free and paid tiers becomes very concrete, very fast. The 4K upgrade sits at the center of that choice, and it genuinely splits users into two camps: those for whom it changes nothing, and those for whom it changes everything.
What Nano Banana Pro Does
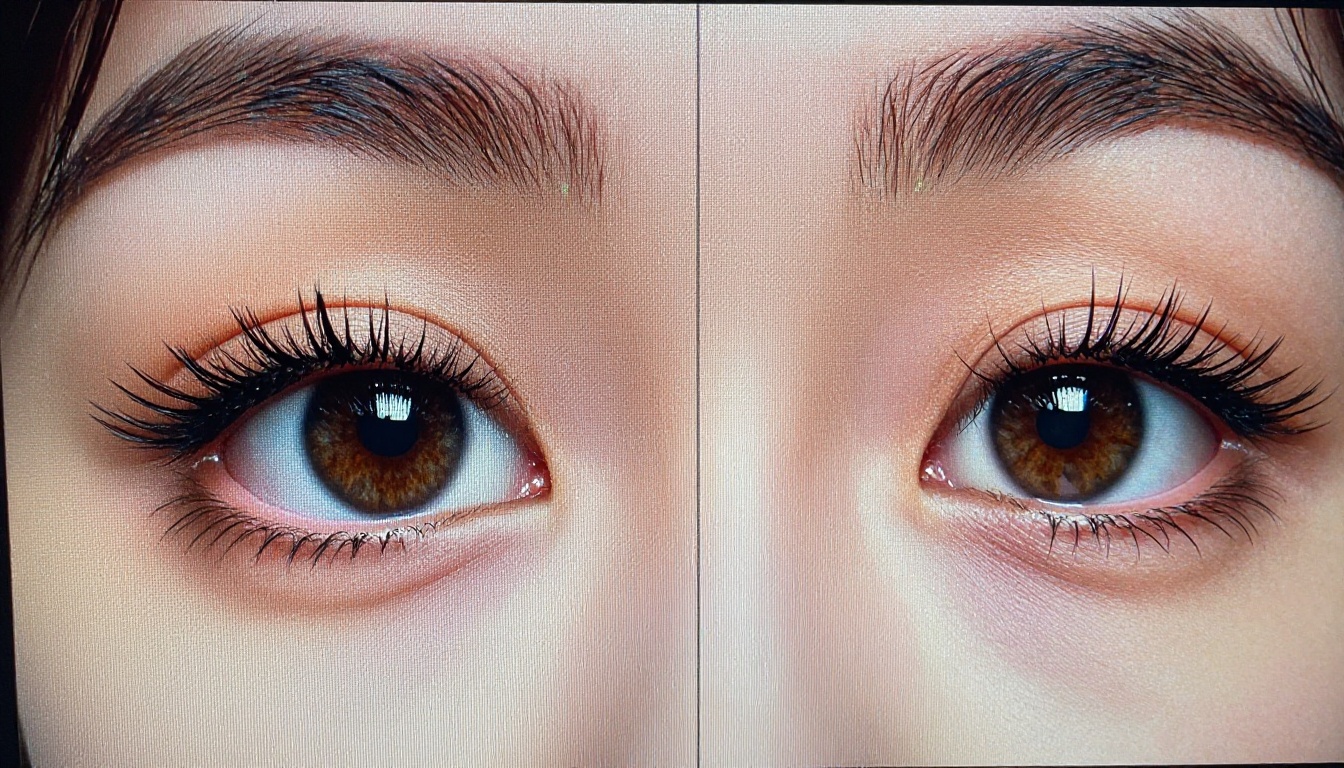
Nano Banana Pro is an AI-powered image upscaling and enhancement tool designed to increase image resolution without the blurring and artifact smearing that old-school bicubic interpolation produces. It uses machine learning models trained on massive datasets to predict and reconstruct pixel information that wasn't there in the original, producing outputs that look naturally detailed rather than artificially sharpened.
At its core, the tool handles two things well: resolution multiplication and noise reduction. Whether you're starting from a 720p smartphone snapshot or a compressed JPEG that's been through one too many email attachments, Nano Banana Pro attempts to infer what the image "should" look like at a higher resolution.
The Free Tier Basics
The free plan gives you meaningful access to the core upscaling functionality, but with a ceiling that becomes visible quickly:
- Output resolution: Up to 1080p (Full HD)
- Daily processing limit: Typically capped at 5 to 10 images depending on server load
- Watermarking: Applied to downloads or at least to previews in most configurations
- Queue priority: Lower, meaning peak hours can mean longer waits
- Maximum scale factor: 2x upscaling
For a casual user who occasionally needs to sharpen a vacation photo or improve the quality of an old family portrait, this is entirely serviceable. The outputs at 1080p look noticeably better than the originals in most cases, and the AI inference is solid at this resolution tier.
What Paid Unlocks
The paid tier is where the resolution ceiling lifts significantly:
- Output resolution: Up to 4K (3840x2160) and beyond
- Unlimited or high-volume processing depending on the plan tier
- No watermarks on any output
- Priority queue processing for faster turnaround
- 4x and 8x scale factors for extreme upscaling scenarios
- Batch processing capabilities for handling multiple images at once
- Commercial use rights on outputs
The Real Difference in Resolution
Here is where the marketing language stops and physics starts. A 1080p image contains roughly 2.07 million pixels. A 4K image contains 8.29 million. That is a 4x increase in pixel count, which means the paid tier is not offering a marginal improvement; it is offering four times the visual information density.
The visible difference depends heavily on context. On a phone screen or viewed in a browser thumbnail, 1080p and 4K are often indistinguishable. The gap becomes stark when you:
- Print at large format (anything above A4 at standard printing DPI)
- Display on a native 4K monitor at 100% zoom
- Crop aggressively into a detail area
- Use the image in a video production timeline at 4K resolution
Standard vs 4K Output
The fundamental question is whether the AI can actually generate convincing 4K detail from a lower-resolution source, or whether it just interpolates and you end up with a large blurry file. This is where model quality matters enormously.
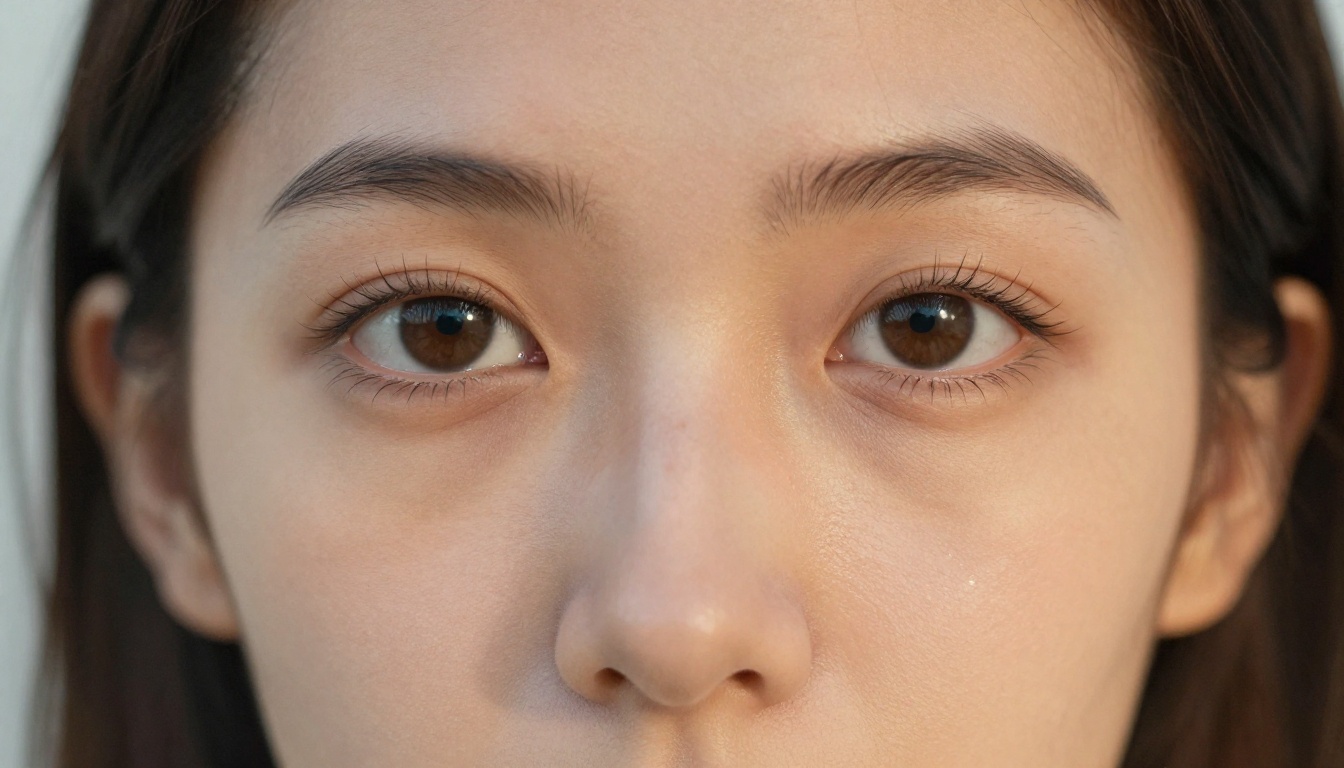
The better-performing super resolution models do genuine reconstruction. They identify edges, surfaces, textures, and faces, and they synthesize plausible high-frequency detail based on what they know about how those features look at higher resolutions. The results on portrait photography are particularly impressive: individual pores, fine hair strands, and iris textures appear in the output that simply weren't visible in the source.
File Size and Storage Trade-offs
Going to 4K is not free in storage terms. A typical uncompressed 4K image at high quality sits between 15MB and 45MB, depending on color depth and compression settings. If you are batch processing product catalogs of hundreds of images, your storage requirements scale accordingly.
This is a practical consideration many reviews skip over. The paid tier delivers 4K, but you need a storage and delivery workflow that can handle those file sizes without creating bottlenecks downstream.
💡 Tip: If you need 4K for print but 1080p for web delivery, process once at 4K and export web-optimized derivatives from that. Running two separate upscaling passes wastes both time and credits.
Free vs Paid: Side by Side
| Feature | Free Tier | Paid Tier |
|---|
| Max Output Resolution | 1080p | 4K (3840x2160) |
| Max Scale Factor | 2x | 4x to 8x |
| Daily Image Limit | 5 to 10 images | Unlimited or high-volume |
| Queue Priority | Standard | Priority |
| Watermark on Output | Yes (on most outputs) | No |
| Batch Processing | No | Yes |
| Commercial Use Rights | No | Yes |
| API Access | No | Yes (higher tiers) |
| Processing Speed | Variable | Consistently fast |
Feature Breakdown by Use Case
The table above shows what you get, but what actually matters is whether those features align with what you are doing:
- Social media content: Free tier is enough. Platforms compress uploads anyway, so 4K pixel counts are largely wasted.
- Print work: Paid tier is non-negotiable. You need the pixel density for any print above A4.
- E-commerce product photography: Paid tier, especially for zoom functionality on product listing pages.
- Old photo restoration: Depends on final destination. 4K restoration for print needs paid; for digital sharing, free may suffice.
Who Should Stay on the Free Plan
The free tier is not a stripped-down disappointment. For a significant portion of users, it is exactly the right tool.

Social Media Creators
If your primary output destination is Instagram, TikTok, Facebook, or YouTube thumbnails, you are operating in a world where the platform's own compression pipeline will downsample your image anyway. Instagram compresses uploaded images aggressively. Uploading a 4K file delivers a marginally better result than a well-prepared 1080p file in most cases, but the gap is not worth a monthly subscription for casual posting.
The free tier's 1080p cap is well above the display resolution of most mobile screens, which typically sit at 1080p or 1440p at most. The perceptible quality ceiling is not the tool; it is the display hardware your audience uses.
Hobbyist Photographers
If you shoot for personal enjoyment, manage a photography portfolio on a personal website at standard web sizes, or occasionally restore old family photos to share digitally, the free plan handles this comfortably. You get genuine AI-powered quality improvement, the 1080p output looks excellent on screens, and the daily limit of 5 to 10 images covers most hobbyist workflows without friction.
💡 When to stay free: You never print larger than A4, you share images online or by email, and you process fewer than 10 images per day. The free plan is the honest answer here.
When the Paid Tier Pays Off
The paid upgrade stops being an optional luxury and becomes a workflow requirement in specific, well-defined situations.
Print and Commercial Work
Large-format printing is where 4K stops being a feature and starts being a technical requirement. Standard offset printing runs at 300 DPI. For a print measuring 30cm x 20cm at 300 DPI, you need approximately 3543 x 2362 pixels, which is above 1080p resolution. For anything larger than a standard photo print, you need to be working at 4K or above.
Commercial photography for advertising, billboards, packaging, or editorial use sets similar requirements. A magazine spread at high DPI needs source material that can hold up to scrutiny at print resolution. The paid tier's 4K output at 4x upscaling delivers files that meet these professional standards.
Batch Processing at Scale
Volume changes the math entirely. If you run an e-commerce store with 200 product images that need upscaling, processing 5 to 10 images per day on the free tier means a 20 to 40 day processing backlog. The paid tier's batch processing capability lets you handle all 200 in a single session, which is a completely different operational reality.
The commercial use rights that come with paid tiers also matter here. If you're using AI-upscaled images in commercial contexts, selling products, running ads, or publishing content for revenue, the free tier typically does not grant commercial rights to AI-processed outputs. That legal distinction is not a small print detail; it is a meaningful liability difference.
💡 When to upgrade: You print at A3 or larger, process more than 10 images daily, use outputs commercially, or need batch processing for volume workflows. At that point the paid tier is a cost of doing business, not a luxury.
How to Upscale to 4K on PicassoIA
PicassoIA provides direct access to several powerful upscaling models that deliver results comparable to or better than dedicated commercial tools, with the flexibility to choose the right model for your specific content type.
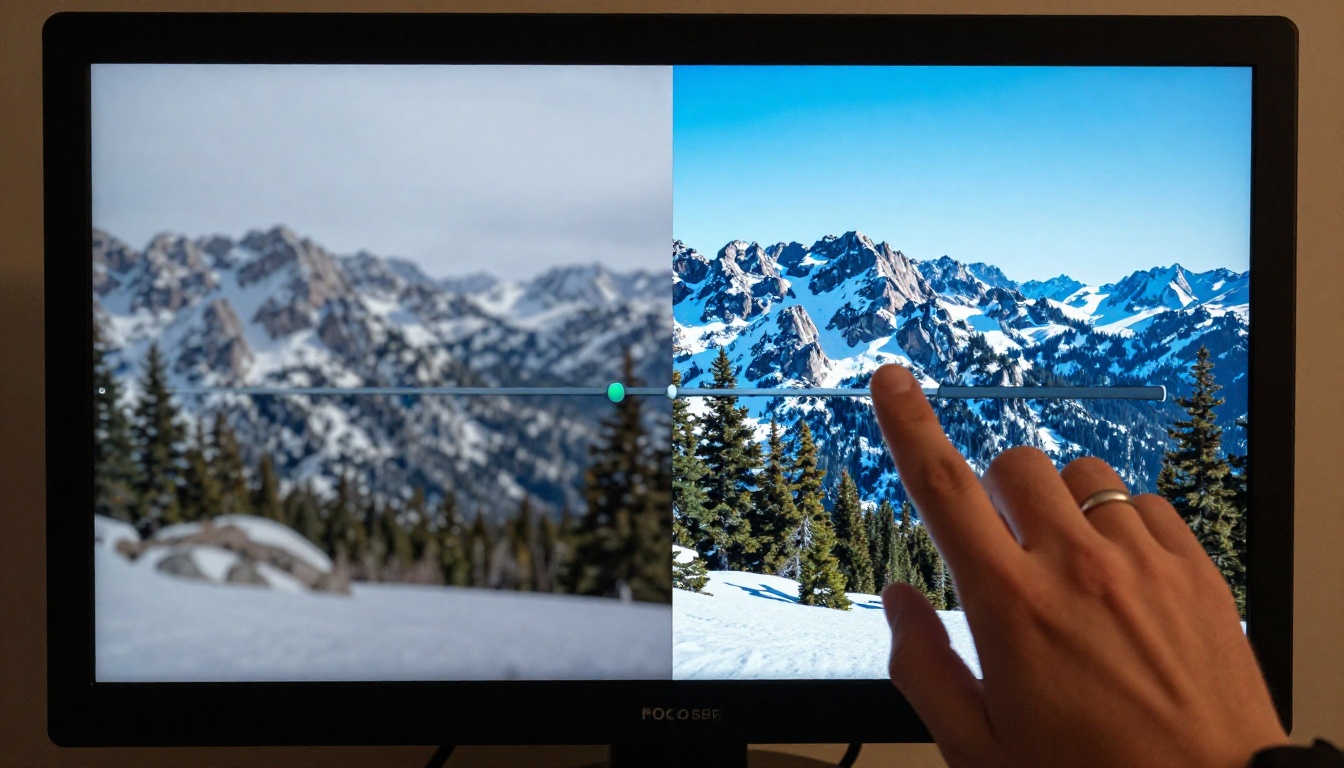
Step-by-Step with Clarity Pro Upscaler
Clarity Pro Upscaler is one of the top performers on the platform for photorealistic upscaling, particularly for portraits, landscapes, and any image where texture authenticity is critical.
Step 1: Upload your source image. The model works best starting from at least 512px on the short edge, though it handles lower-resolution inputs well.
Step 2: Set your target scale factor. For 4K output from a 1080p source, select 2x. For more dramatic upscaling from lower resolutions, use 4x.
Step 3: Adjust the creativity slider. Lower creativity preserves more of the original character; higher creativity lets the model infer more detail, which works well for compressed or degraded images but can introduce synthesized detail on already-clean sources.
Step 4: Enable face enhancement for portrait work. This applies a specialized face-detail pass that dramatically improves eye, skin, and hair rendering in portraits.
Step 5: Download your 4K output and verify at 100% zoom before committing it to production. AI upscaling occasionally introduces subtle artifacts in complex backgrounds that are invisible at reduced zoom but visible at 1:1.
Other Top Models to Try
PicassoIA's super-resolution category has multiple strong options depending on your content type:
P Image Upscale runs fast, producing sharp results in roughly one second for standard resolution inputs. Ideal for speed-priority workflows where you're processing many images quickly without sacrificing meaningful quality.
Real ESRGAN is a battle-tested model that performs exceptionally well on illustrations, graphic content, and photographic material alike. It preserves hard edges cleanly, making it the right choice for logos, product renders, or any image with sharp geometric elements alongside organic textures.
Image Upscale by Topaz Labs handles extreme upscaling ratios up to 6x without visible deterioration, making it the strongest option when you need to rescue genuinely low-resolution source material and need maximum pixel expansion.
Crystal Upscaler specializes in portrait upscaling with a particular focus on facial feature fidelity. The 4x upscaling on portrait photography produces results that hold up to print-resolution scrutiny where competing models often show synthetic softness.
Recraft Crisp Upscale delivers clean, artifact-free outputs ideal for product photography, where clean edges and accurate color reproduction matter more than adding synthetic texture detail.
Google Upscaler provides 4x upscaling backed by extensive training infrastructure, producing consistently reliable results across a wide range of image types without requiring model-specific tuning for each content category.
For workflows that require adding creative detail rather than pure fidelity preservation, Recraft Creative Upscale adds depth and texture synthesis beyond what the source image contains, which works well for stylized photography or when you want the final image to feel richer and more textured than the original.
Increase Resolution by Bria supports 4x scaling and is particularly well-optimized for commercial and product photography contexts where clean, accurate output is more important than dramatic AI enhancement.
Choosing the Right Model for Your Content
Different image types respond differently to different models. Here is a quick reference:
Is the 4K Upgrade Actually Worth It
The answer is use-case specific, not universal. Two clear scenarios emerge from any honest comparison:
Pay for 4K if: You print at large format, use images commercially, process more than 10 images per day, need batch processing, or produce content for 4K display contexts like video production, digital signage, or high-end editorial publishing.
Stay free if: You create for social media, share images digitally, process fewer than 10 images per day, and do not need commercial use rights. The free tier is not a compromise in these contexts; it is the correct tool for the job.
The quality difference at the model level is real. PicassoIA's upscaling models at 4K produce outputs that contain genuine reconstructed detail, not just magnified blur. Individual textures, facial features, and fine structures appear in 4K outputs that are simply absent from 1080p versions of the same image processed with the same model.
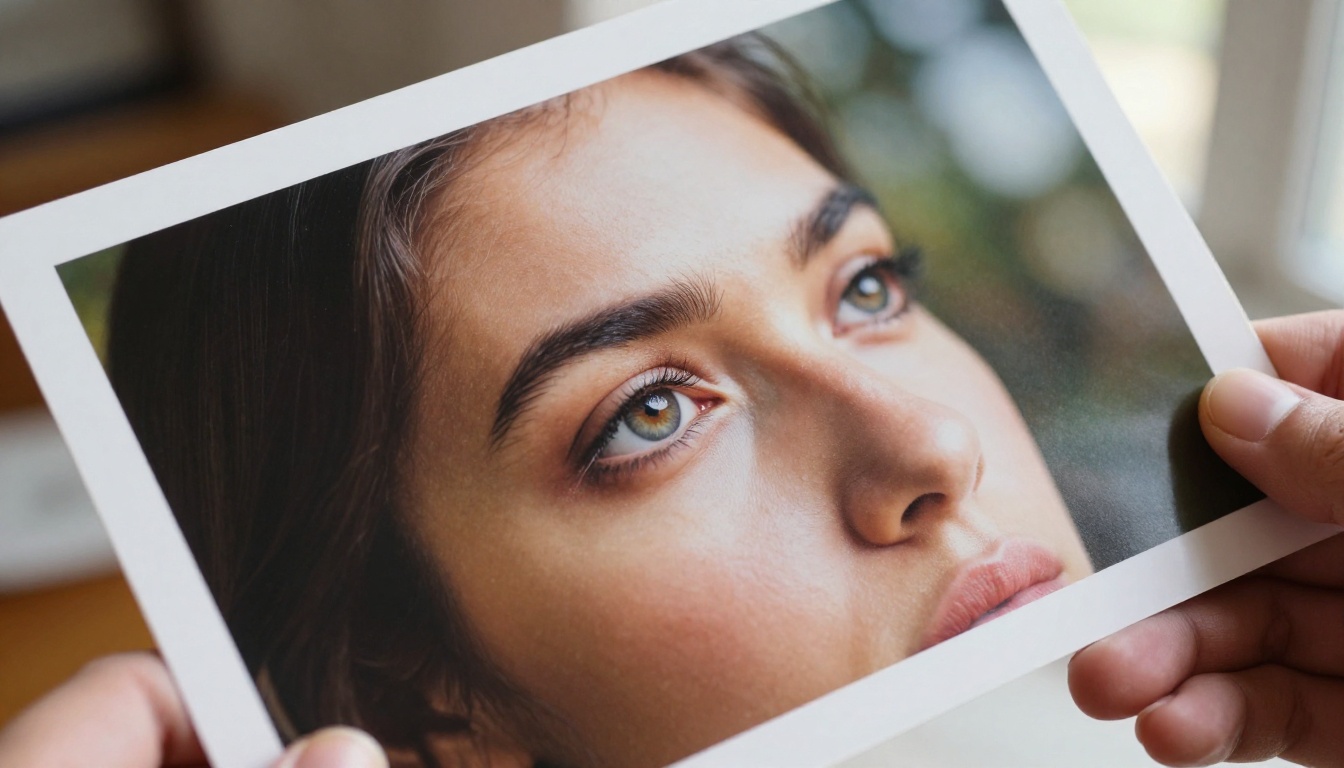
The models on PicassoIA also give you something the standalone tool comparison misses: choice. You are not locked into a single upscaling algorithm. Portrait work gets a portrait-optimized model. Product photography gets a clean-edge model. Extreme upscaling scenarios get a model specifically built for that use case. That flexibility compounds the value of the 4K resolution capability significantly.
If you have images sitting on your hard drive that are too small for the project you have in mind, the most direct way to evaluate the 4K difference is to try it on your actual source material. Upload one of your images to PicassoIA and run it through Clarity Pro Upscaler or Image Upscale by Topaz Labs at 4K output. The result from your own real content will tell you more than any written comparison whether the upgrade makes sense for your specific workflow.


